Introduction
GNOME is a widely used desktop environment for Linux systems. While servers are typically managed via the command line, there are cases where a graphical interface is required — for example, for application testing, administrative tools, or users unfamiliar with CLI.
In this guide, you’ll learn how to install GNOME on Ubuntu 22.04 and configure remote desktop access using xRDP and VNC. We’ll cover system preparation, desktop installation, remote connection setup, and common troubleshooting steps.
Preparing for installation
To get started, make sure you're using Ubuntu 22.04, as it is compatible with the GNOME desktop environment. Initial system setup as in our instruction.

MobaXterm – an excellent tool for managing various types of connections to your server. It supports SSH, RDP, and VNC connections, which are essential for this guide. If you don't have it installed, download and install it on your local machine for seamless remote access to your server.
Updating packages
Before starting the installation of GNOME, it's crucial to update your system to ensure you have the latest software and security patches. Run the following commands to update your package list and upgrade installed packages:
apt update && apt upgrade -yInstalling GNOME on Ubuntu
GNOME can be installed on Ubuntu through the ubuntu-gnome-desktop package. It requires at least 2.5 GB of free disk space. To install the GNOME desktop environment, run the following command:
sudo apt install ubuntu-desktop-minimal -yThe installation process will begin, and depending on your server's connection speed, it might take a few minutes to complete. Once finished, you can proceed to configure remote access.
Installing xRDP
To access your GNOME desktop remotely, you'll need to install xRDP, a tool that allows remote desktop connections via the RDP (Remote Desktop Protocol). To install xRDP on your Ubuntu server, run the following command:
sudo apt install xrdp -yThis will download and install the xRDP package. Once installed, you need to start and enable the xRDP service so that it runs automatically at boot:
sudo systemctl enable --now xrdpNext, you should check the status of the xRDP service to ensure it's running properly:
sudo systemctl status xrdpBy default, xRDP does not allow root login, and enabling it is not recommended for security reasons.
Instead, create a regular user and grant it sudo privileges:
sudo adduser gnomeusersudo usermod -aG sudo gnomeuserUse this user account to log in via xRDP.
After setting the root password, restart the xRDP service to apply any changes:
sudo systemctl restart xrdpNow, your Ubuntu system is ready for remote desktop access. You can connect using the Remote Desktop Connection tool on Windows or any RDP-compatible client on other systems. To do so, simply enter the server's IP address and log in with your user credentials or the root account, depending on your configuration.
Configuring the Desktop Environment
Let's set up the desktop as follows, start the installation as in Screen 1.
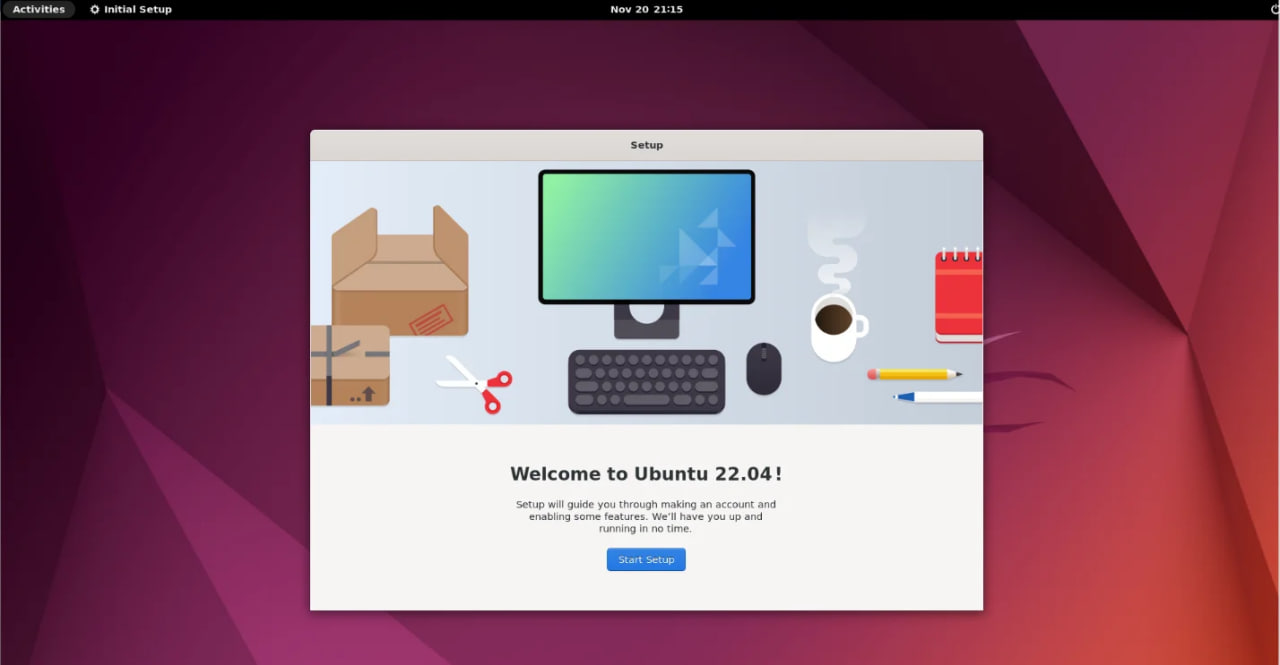
Screen 1 – Starting the Desktop Installation: Begin by configuring the desktop environment through the provided setup wizard. Choose the appropriate keyboard layout and other settings as shown in the following screens.
If you can't connect via xRDP. You must set the password for the root user by logging in through the root user and use the command:
passwdLet's choose the keyboard layout as in Screen 2:
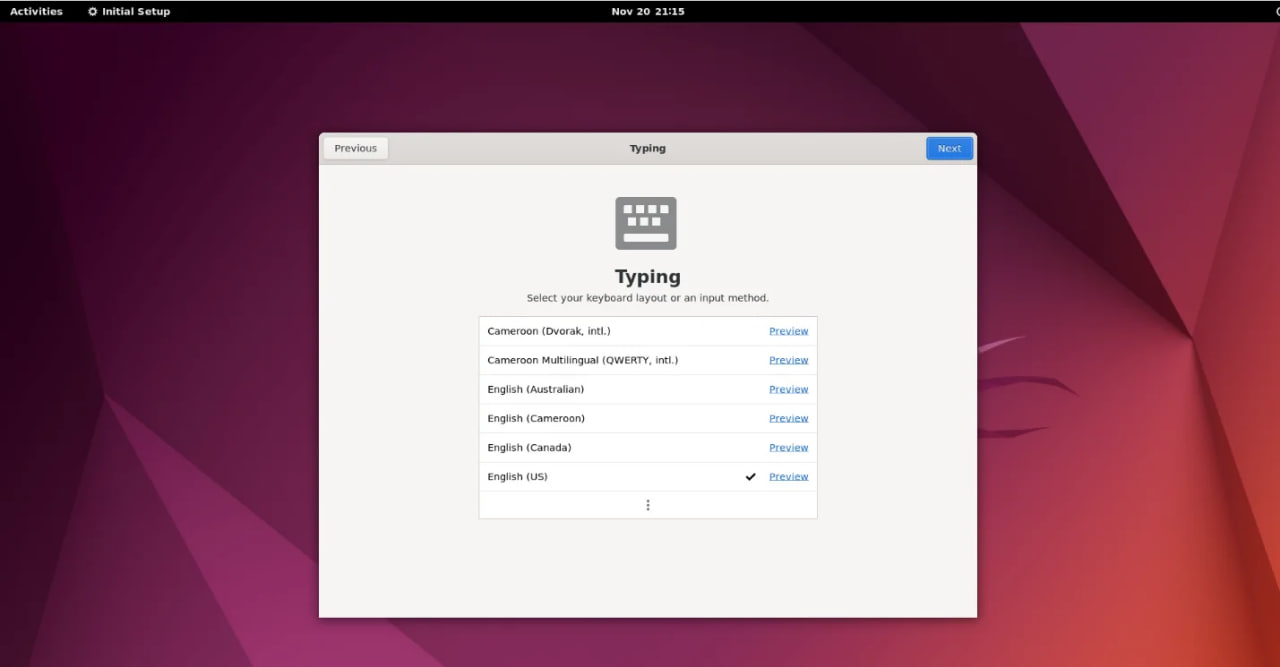
Screen 2 – Keyboard Layout Selection: Choose your preferred keyboard layout during the installation process.
Let's turn off the agreement with the transfer of data to applications requiring geolocation, as shown in Screen 3:
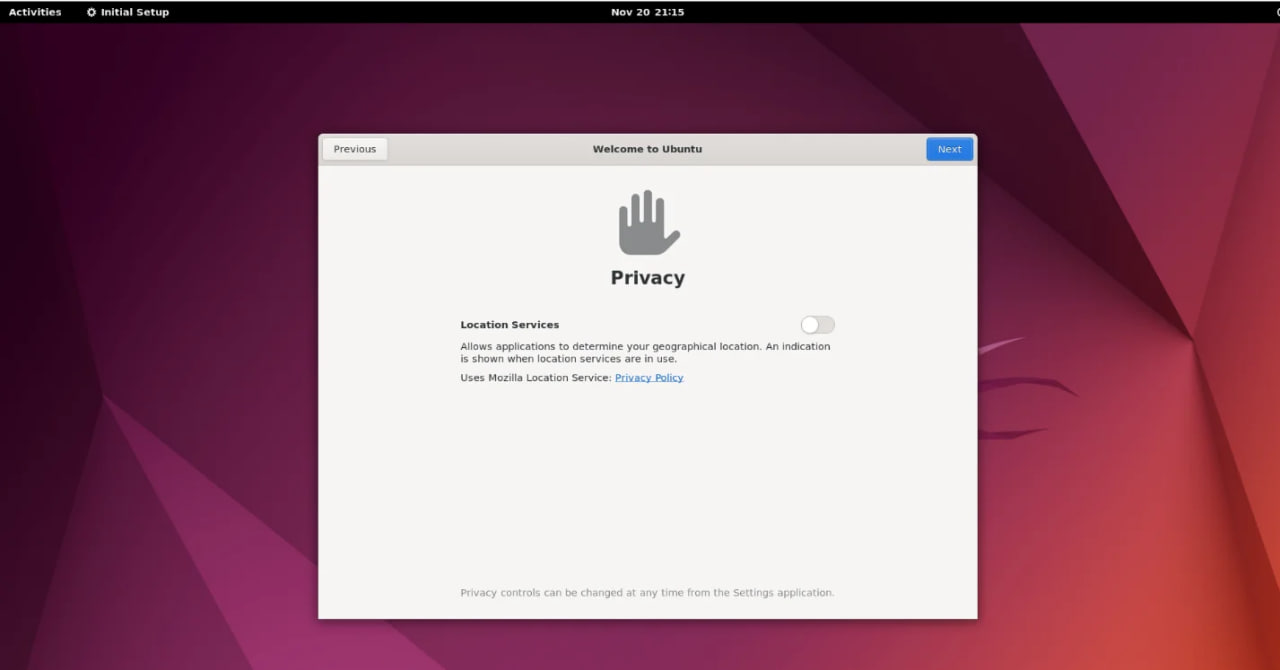
Screen 3 – Geolocation Agreement: It's recommended to disable the geolocation sharing, as shown in Screen 3, for privacy reasons.
The result is about setting up the working environment as shown in Screen 4, the result is successful:
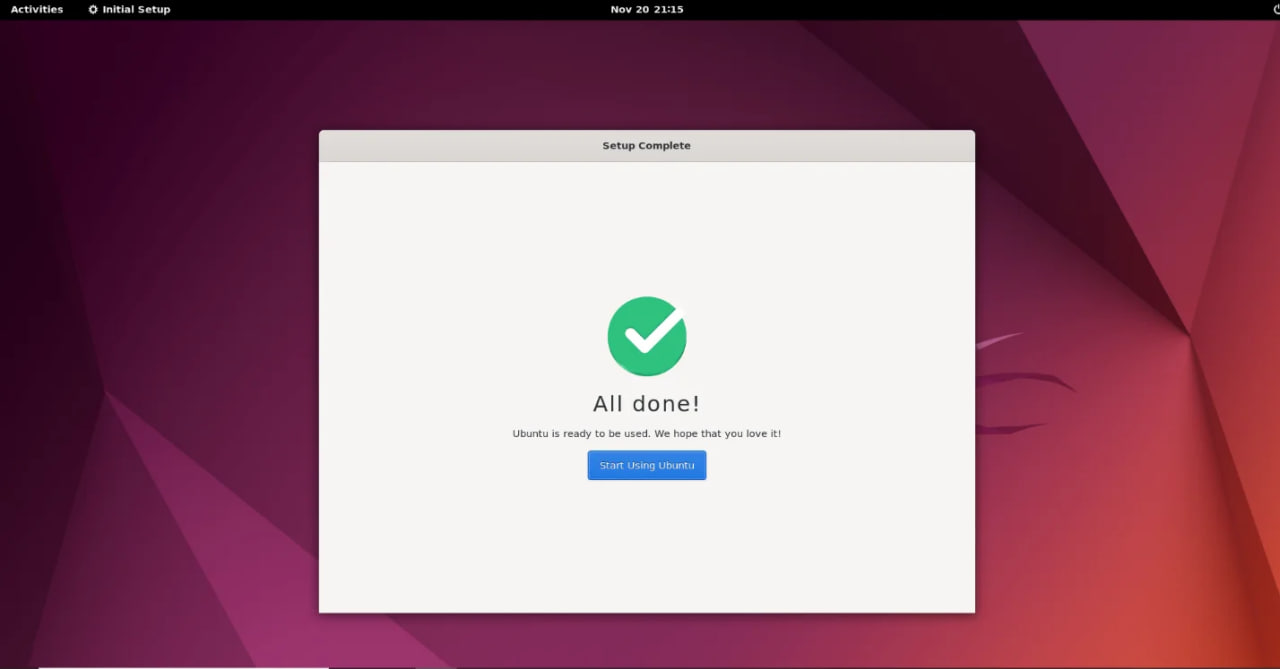
Screen 4 – Successful Installation: After completing the setup, your system should be ready with the GNOME desktop environment. The result will look like Screen 4.
Verifying System Information
To check your system’s information, including the operating system and version, use the following command:
cat /etc/os-releaseThis will display details about your Ubuntu installation, ensuring everything is in order.
According to Screen 5:

Installing and Launching Firefox
Once GNOME is installed, you can start using the desktop environment to install applications. For example, to install Firefox, run the following:
apt install firefoxOnce the installation is complete, you can launch Firefox with the command:
firefoxThe result is shown in Figure 6:
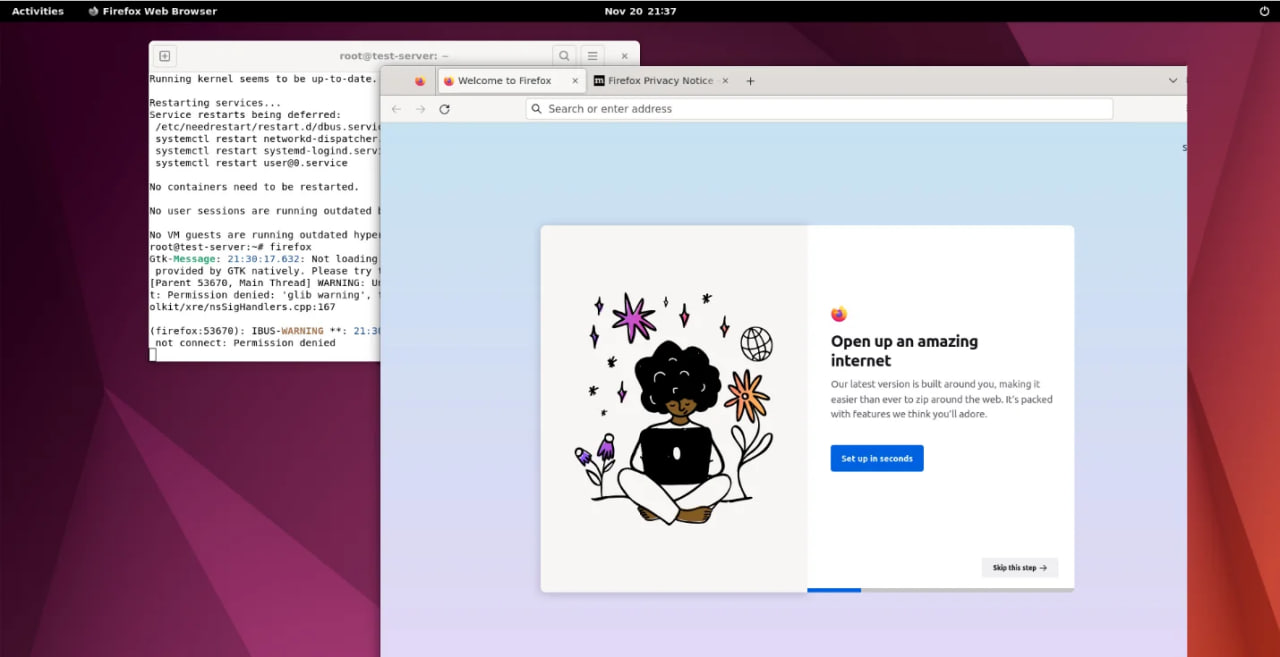
Screen 6 – Launching the Browser: The result will display the Firefox browser running on your newly installed GNOME desktop.
Configuring VNC
To set up VNC access, follow the instructions in our guide - "How to Establish VNC Connection Over SSH tunnel in Ubuntu 20.04".
Using MobaXterm, you can configure a session for remote access by entering your server’s IP address and port number (assigned by the vncserver).
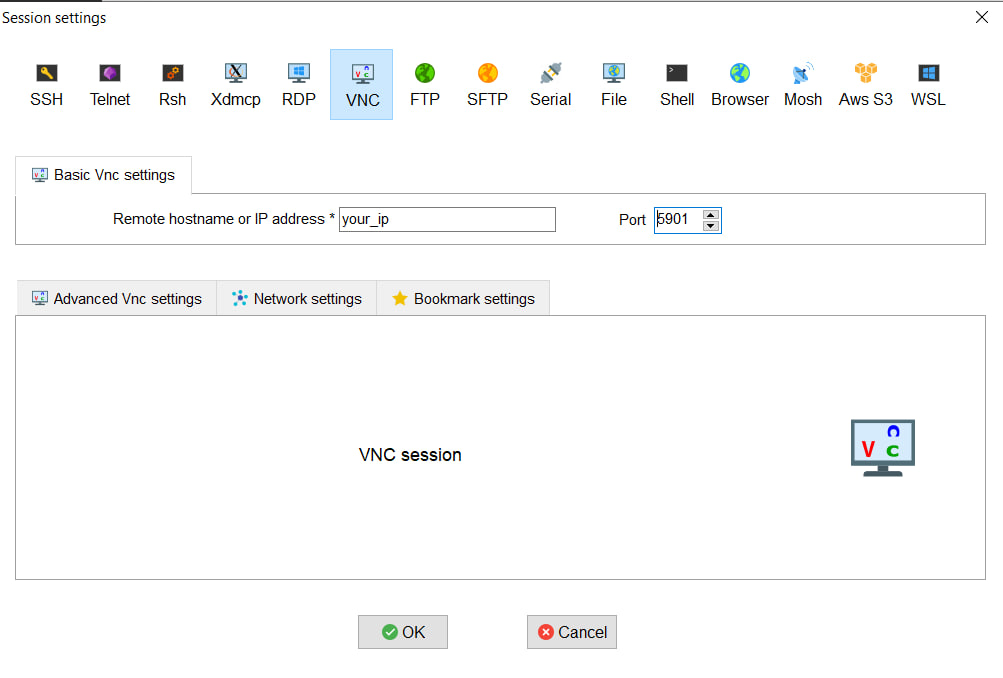
Screen 7 – VNC Session Setup: Enter the required details in MobaXterm and click “OK” to start the session.
The result of connecting using VNC is shown in Screen 8:
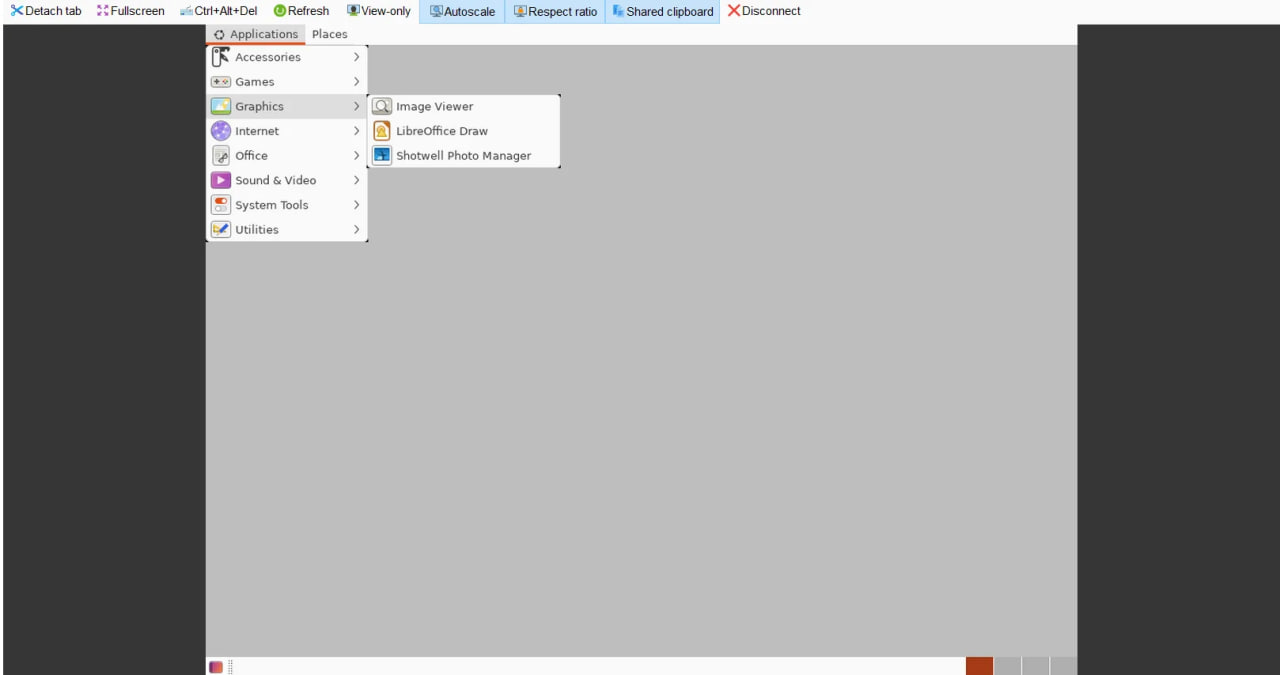
Screen 8 – VNC Connection Result: Once connected, you will see the GNOME desktop environment displayed via VNC.
Conclusion
In this guide, we’ve covered the following:
- Installing GNOME on Ubuntu 22.04
- Connecting via xRDP for remote desktop access
- Setting up VNC using MobaXterm
For most use cases, xRDP provides better performance and easier integration with standard RDP clients. VNC can be useful in specific scenarios, especially when combined with SSH tunneling, but may feel slower compared to xRDP.
With proper configuration, a GNOME desktop can significantly simplify server management when a graphical interface is required.
FAQ
- Can I install GNOME on other Ubuntu versions?
Yes, GNOME works on most Ubuntu releases, but we recommend Ubuntu 22.04 for maximum stability and compatibility. Older versions may require different package names or additional configuration steps. - What should I do if I can’t log in via xRDP?
First, check if the xRDP service is active by running:
sudo systemctl status xrdp
If it’s inactive, restart it:sudo systemctl restart xrdpAlso ensure that your root password is set. Without it, login through xRDP may fail.
- Can I use a different remote desktop client instead of MobaXterm?
Absolutely. Any RDP client (like the built-in Remote Desktop Connection on Windows, Remmina on Linux, or Microsoft Remote Desktop on macOS) will work with xRDP. For VNC, you can use popular clients such as RealVNC, TigerVNC, or TightVNC, as long as they are properly configured. - What are the minimum requirements for installing GNOME on a server?
You’ll need at least 2.5 GB of free disk space and a stable internet connection. More RAM and CPU power will significantly improve performance, especially when using GNOME remotely. - Is it possible to uninstall GNOME later?
Yes. If you decide you no longer need GNOME, remove it with:sudo apt remove ubuntu-gnome-desktop --purgesudo apt autoremoveThis will delete GNOME and clean up unused dependencies.
- Which is better for remote access: xRDP or VNC?
xRDP generally provides a smoother experience and is easier to set up for most users. VNC can be useful in specific cases (like tunneling over SSH), but it may feel slower compared to RDP.
password is set up and that the xRDP service is running. You can restart xRDP with the command:sudo systemctl restart xrdp - Can I use other remote desktop clients instead of MobaXterm?
Yes, you can use any RDP client (e.g., Windows’ built-in Remote Desktop Connection or other third-party tools) for connecting via xRDP. For VNC, ensure that your VNC client is properly configured. - Is there a way to uninstall GNOME if I no longer need it?
Yes, to uninstall GNOME, run:sudo apt remove ubuntu-gnome-desktop --purge
sudo apt autoremoveThis will remove GNOME and any unnecessary dependencies.


