
WireGuard is a modern and lightweight VPN solution for Linux, known for its high performance, simplicity, and strong cryptographic security. Designed originally for the Linux kernel, WireGuard offers faster connection speeds and a smaller attack surface compared to traditional VPN technologies.
In this step-by-step guide, you’ll learn how to install and configure WireGuard VPN on Ubuntu 20.04, generate encryption keys, set up a secure client connection, and verify that your VPN tunnel is working correctly.
When should you use WireGuard VPN on Ubuntu 20.04?
- Secure remote access to servers and cloud infrastructure
- Encrypting traffic between private networks
- Replacing OpenVPN or IPSec with a faster VPN solution
- Protecting data on public or untrusted networks

Installing the WireGuard Client on Ubuntu
The installation process for the WireGuard client mirrors the steps for the server-side setup.
- Log into your Linux server via SSH.
- Once logged in, update your system by running:
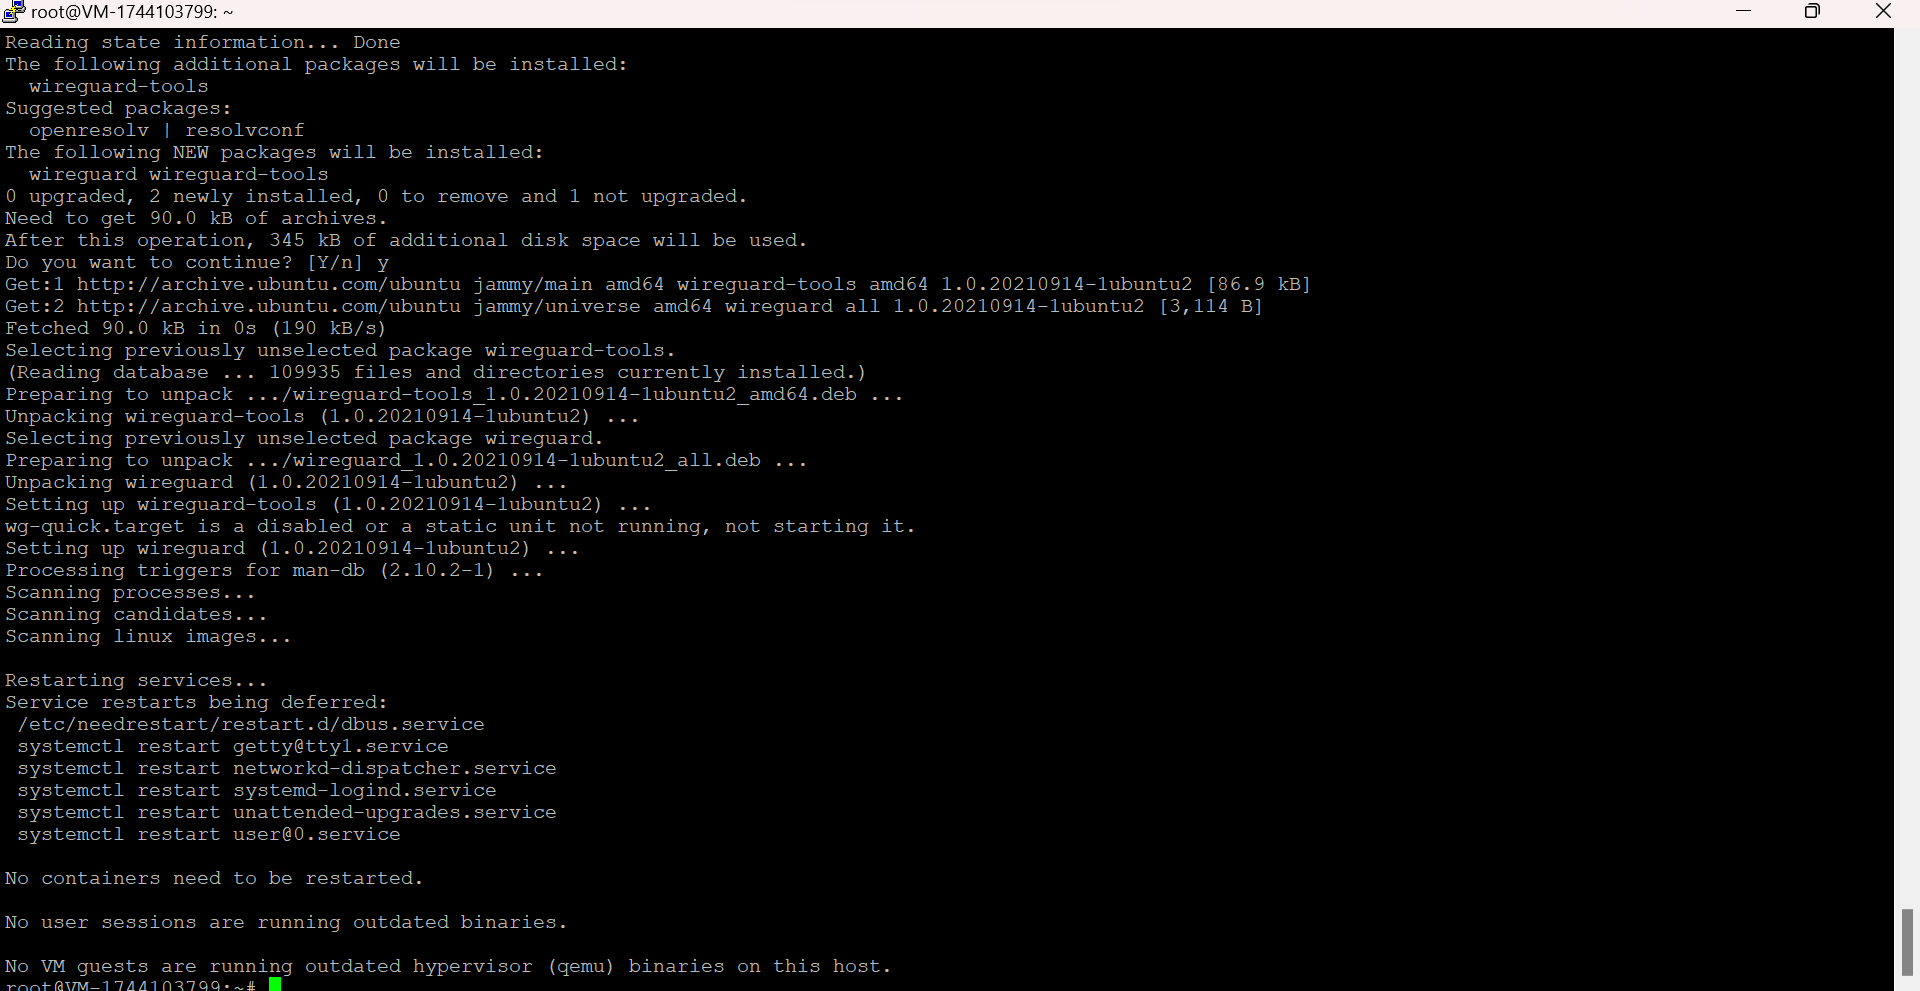
sudo apt-get update && sudo apt-get upgrade - Install WireGuard with the following command:
sudo apt-get install wireguard
Creating Private and Public Keys
WireGuard relies on public and private key pairs for securing communication. The public key is shared with the other party, allowing them to encrypt messages that can only be decrypted with the corresponding private key. For mutual communication, both sides must have their own key pairs.
To generate a client key pair, run the following command:
wg genkey | tee private.key | wg pubkey > public.keyNext, create the configuration file for the client in the specified directory:
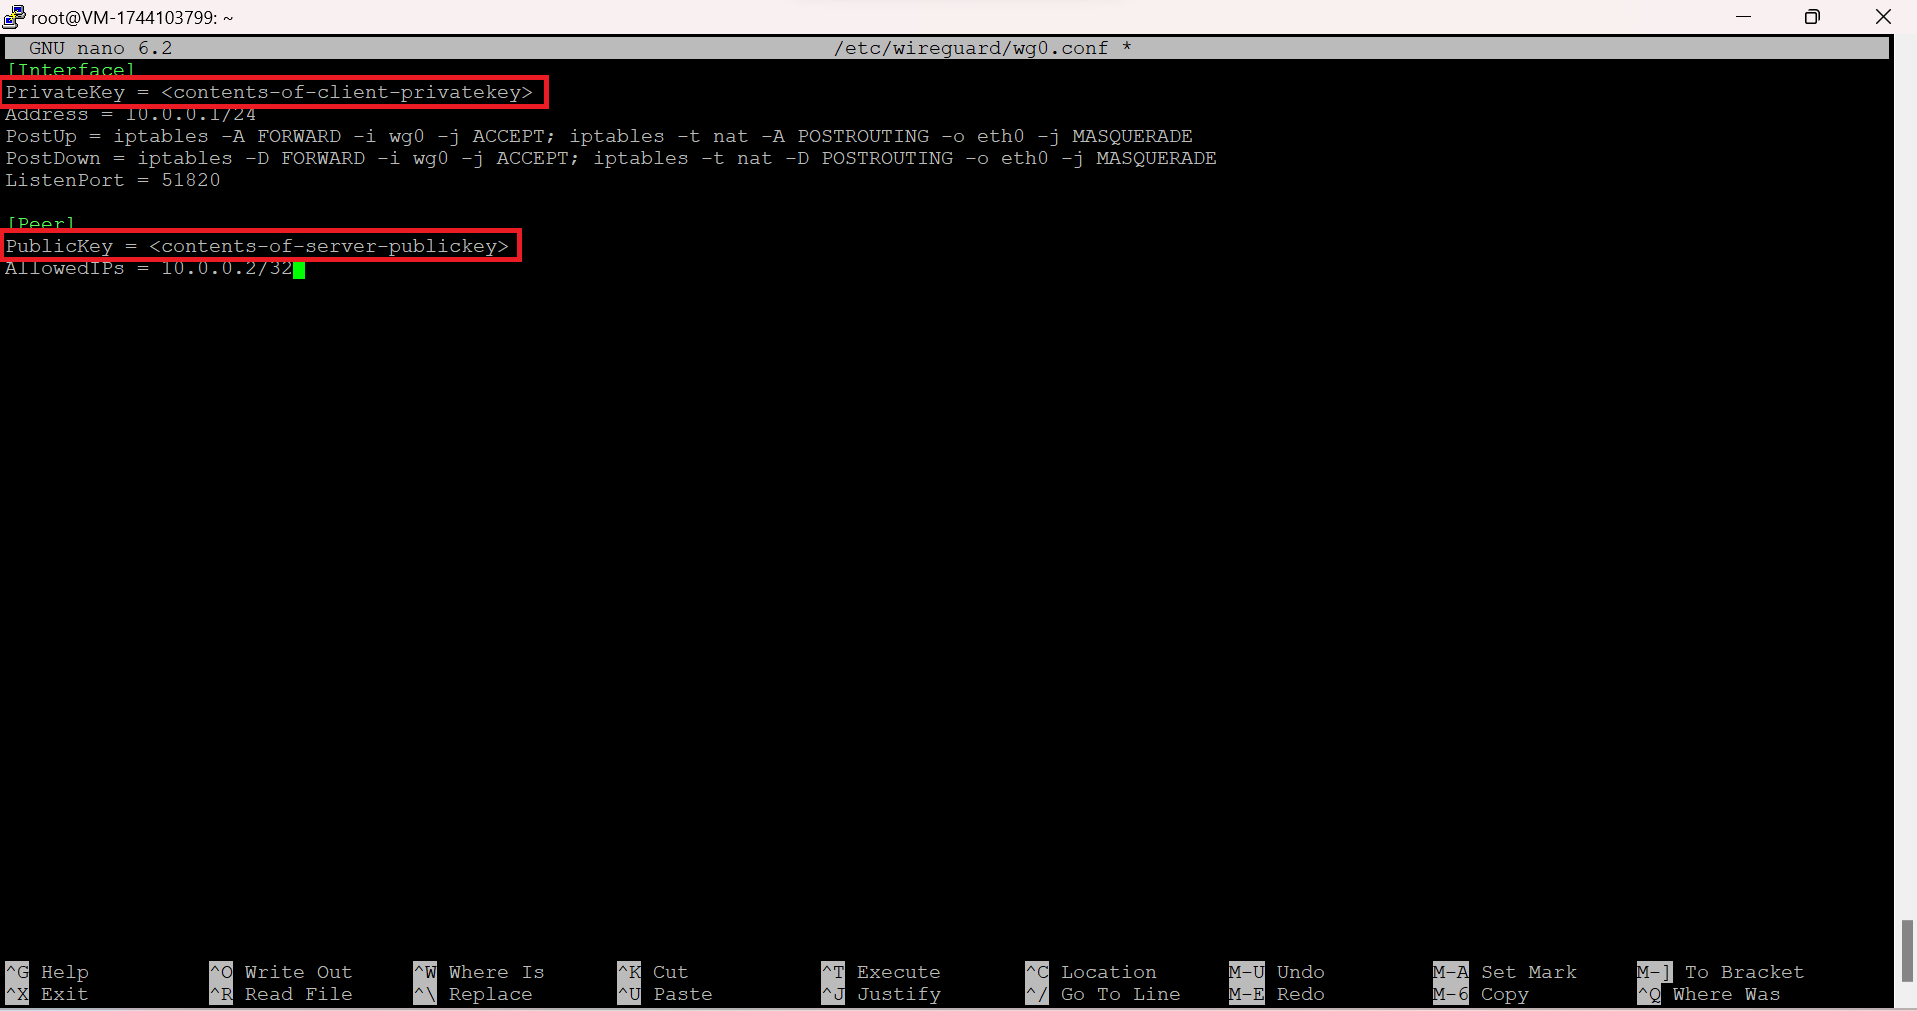
sudo nano /etc/wireguard/wg0.confAdd the following content to the file:
[Interface]
PrivateKey = <contents-of-client-privatekey>
Address = 10.0.0.1/24
PostUp = iptables -A FORWARD -i wg0 -j ACCEPT; iptables -t nat -A POSTROUTING -o eth0 -j MASQUERADE
PostDown = iptables -D FORWARD -i wg0 -j ACCEPT; iptables -t nat -D POSTROUTING -o eth0 -j MASQUERADE
ListenPort = 51820
![Creating Private and Public Keys]()
[Peer]
PublicKey = <contents-of-server-publickey>
AllowedIPs = 10.0.0.2/32
Important Notes:
- Replace the PublicKey with the server's public key (generated on the server).
- Place the client’s private key in the PrivateKey field. You can display the key with the command:
cat private.key
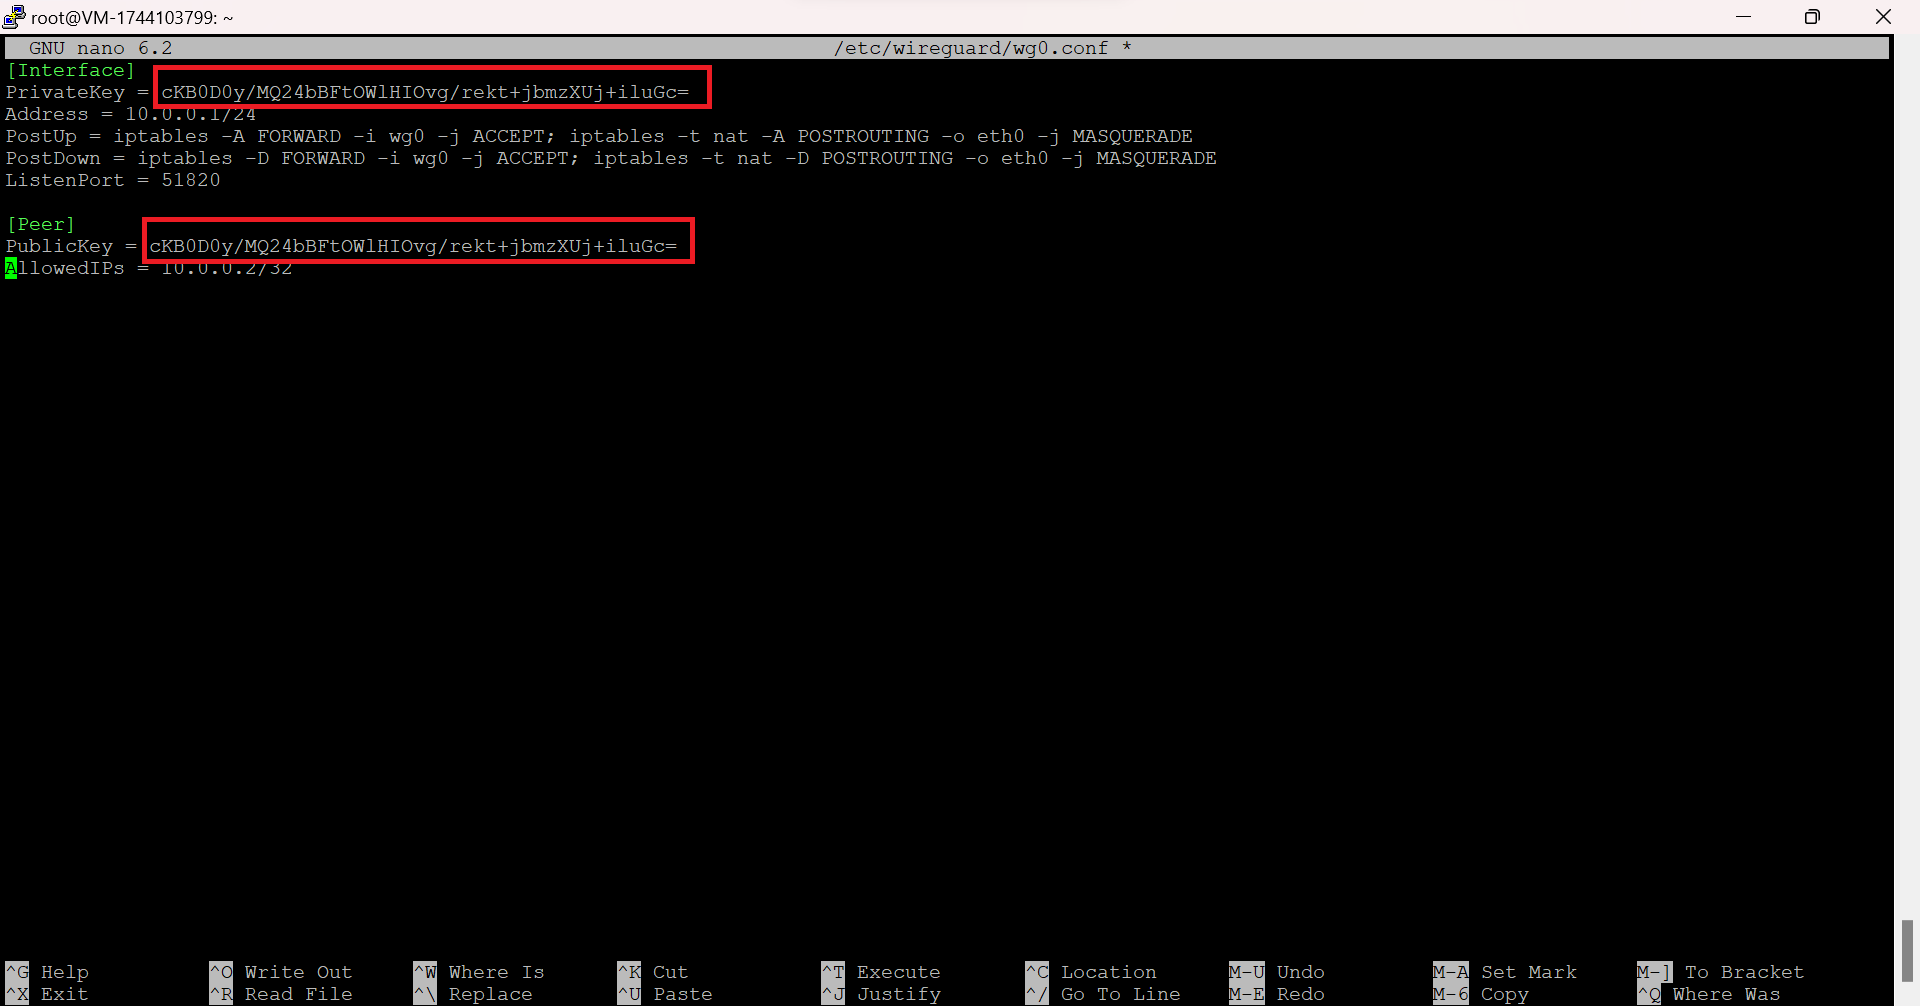
Example of nano file with our keys:
Starting WireGuard
To activate the VPN connection, use the following command:
sudo wg-quick up wg0You should now be able to communicate with the server. To verify the connection, try pinging the server:
ping 10.0.0.1To check the connection status, run:
sudo wg showThis command will show all relevant connection details.

Congratulations! Your client machine is now successfully connected to the VPN network.
Conclusion
This guide demonstrated how to install and configure WireGuard VPN on Ubuntu 20.04 step by step — from installing the client and generating encryption keys to establishing a secure VPN connection.
Thanks to its speed, simplicity, and strong security model, WireGuard is an excellent VPN solution for Ubuntu servers, cloud environments, and personal use. With proper firewall rules and key management, it provides a fast and reliable way to protect your network traffic.
FAQ
Q: How can I ensure WireGuard starts automatically on boot?
- To ensure WireGuard starts automatically on boot, enable the service with the following command:
sudo systemctl enable wg-quick@wg0

Q: What should I do if I can't ping the server after setting up WireGuard?
- Double-check the firewall rules on both the client and server, making sure that traffic on the WireGuard port (51820 by default) is allowed. Verify the configuration files for any errors or mismatches in the key pairs.
Q: How do I update WireGuard?
- To update WireGuard, simply run the following commands to update the package list and upgrade the installed packages:
sudo apt-get update && sudo apt-get upgrade

Q: How do I troubleshoot WireGuard connectivity issues?
- To troubleshoot, you can use sudo wg show to inspect the connection status and check for errors. Ensure the client and server configurations are correct, and verify that the firewall rules are not blocking the WireGuard traffic.
Q: Can I use WireGuard on multiple devices?
- Yes, WireGuard can be configured on multiple devices. Each device requires its own configuration file with unique key pairs. You can also configure multiple peers on the same server by adding more [Peer] sections in the server's configuration.


