Introduction
In the previous article we covered installation of dependencies, libraries, DNS records and software to make it work. In the second part of the tutorial we will continue with installing and configuring the software with the DNS records on the server. In this case we are using a quick install via application containerization instead of a manual install. This has advantages and disadvantages, so check it out before you decide!
The advantages of setting up a mail server manually:
- Flexibility: Manual installation allows you to fully configure the server according to individual needs and requirements. You have full control over every aspect of the setup and can make changes as needed;
- Deeper understanding: When installing manually, you get a deeper understanding of the work of the mail server and its components. This can be useful when troubleshooting and managing the server in the future;
- Smaller size: An installation without Docker may have a smaller size, since it does not require the use of additional Docker containers and images.
The disadvantages of setting up a mail server manually:
- Configuration complexity: Installing a mail server manually can be difficult and require more indepth knowledge of system administration and working with configuration files;
- Scaling difficulty: When installed manually, it may be more difficult to scale the mail server and manage a large number of users or traffic;
- More time and resources: Installing and configuring a mail server manually may take longer and require more resources, as you will need to manage every aspect of the process yourself.
The choice between installing a mail server manually or via Docker depends on your specific needs and level of experience. Docker can be a more convenient solution for quick server installation and management, especially if you need to scale and isolate containers. However, a manual installation can provide more flexibility and an indepth understanding of how the server works.

Requirements
- Domain name;
- Docker CLI >= version 20
- Docker Compose >= version 2.0;
- Root rights;
- Configured FQDN;
- Optional: SSL certificate.
Continue installation:
Now, very significant part! If you want use only IPv4 or just don't have interfaces with IPv6 address you need to disable bunch of parameters, else nginx or web part don't start due to problem with connect via this addresses. First of all indicate all IP to listen mode in our system, for this go to the file mailcow.conf and add the BIND parameter, which help to determine our range of addresses:
nano /main/mail/mailcow-dockerized/mailcow.conf
HTTP_BIND=0.0.0.0

HTTPS_BIND=0.0.0.0
Set value in two rows to 0.0.0.0, for nginx server indicate using IP addresses. For save file press the combination of button Ctrl+O and Ctrl + X for exit of text editor. Now modify Docker configuration for our requirements and find needed row via press combination of button to search Ctrl + W and enter value enable_ipv6: true. Change it to false like in the picture below:
nano docker-compose.yml
enable_ipv6: false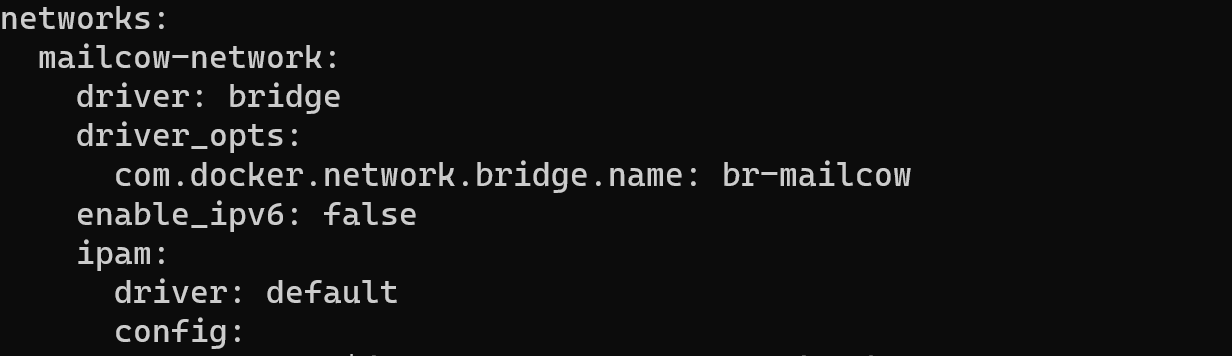
That setting allow to use this solution without adding IPv6 interface.
Then we need to turn off mailcow-nat container, for that go to the directory and create override file:
nano /main/mail/mailcow-dockerized/docker-compose.override.ymlThat will create file and open in accordingly directory for us, write follow config to the file:
version: '2.1'

services:

ipv6nat-mailcow:

image: bash:latest

restart: "no"

entrypoint: ["echo", "ipv6nat disabled in compose.override.yml"]
In the log of this container by the command:
docker logs -f ipv6nat-mailcowStart all system, wait to pulling and creating all the container and then we clean part of remains config IPv6:
cd /main/mail/mailcow-dockerized && docker compose up -d 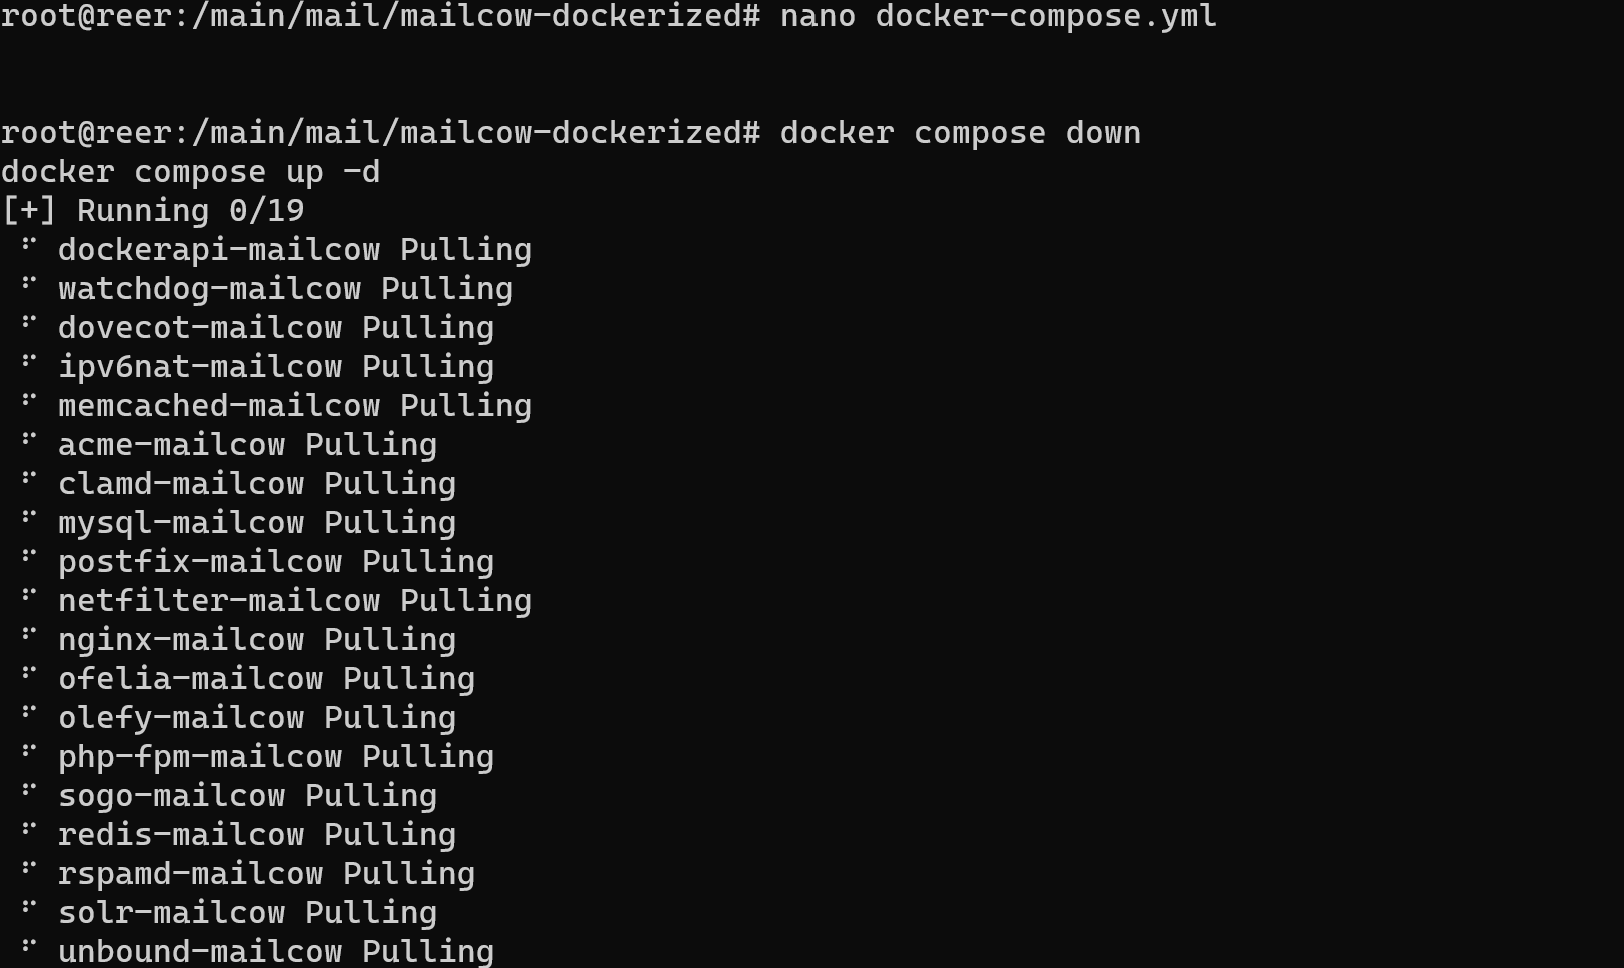
That take some time to installation and check all system, but when it will finish you need to open file to turn off settings.
Modify the configuration file data/conf/unbound/unbound.conf by setting the doip6 parameter to no:
nano cd /main/mail/mailcow-dockerized/data/conf/unbound/unbound.conf 
Now restart the container which we modify:
docker compose restart unbound-mailcowGo to the next file in directory data/conf/postfix/ and create file with settings:
nano /main/mail/mailcow-dockerized/data/conf/postfix/extra.cfAnd enter with saving needed file:
smtp_address_preference = ipv4

inet_protocols = ipv4
For applying new settings you need to restart all system:
docker compose restart 
For the next step we need to delete all mention IPv6 in another and remains files for this enter command below:
sed -i '/::/d' ./data/conf/nginx/listen_*

sed -i '/::/d' ./data/conf/nginx/templates/listen*

sed -i '/::/d' ./data/conf/nginx/dynmaps.conf

sed -i 's/,\[::\]//g' ./data/conf/dovecot/dovecot.conf

sed -i 's/\[::\]://g' ./data/conf/phpfpm/php-fpm.d/pools.conf
For properly work all system check written DNS record from Linux machine, install dnsutils by the command below:
apt install dnsutils 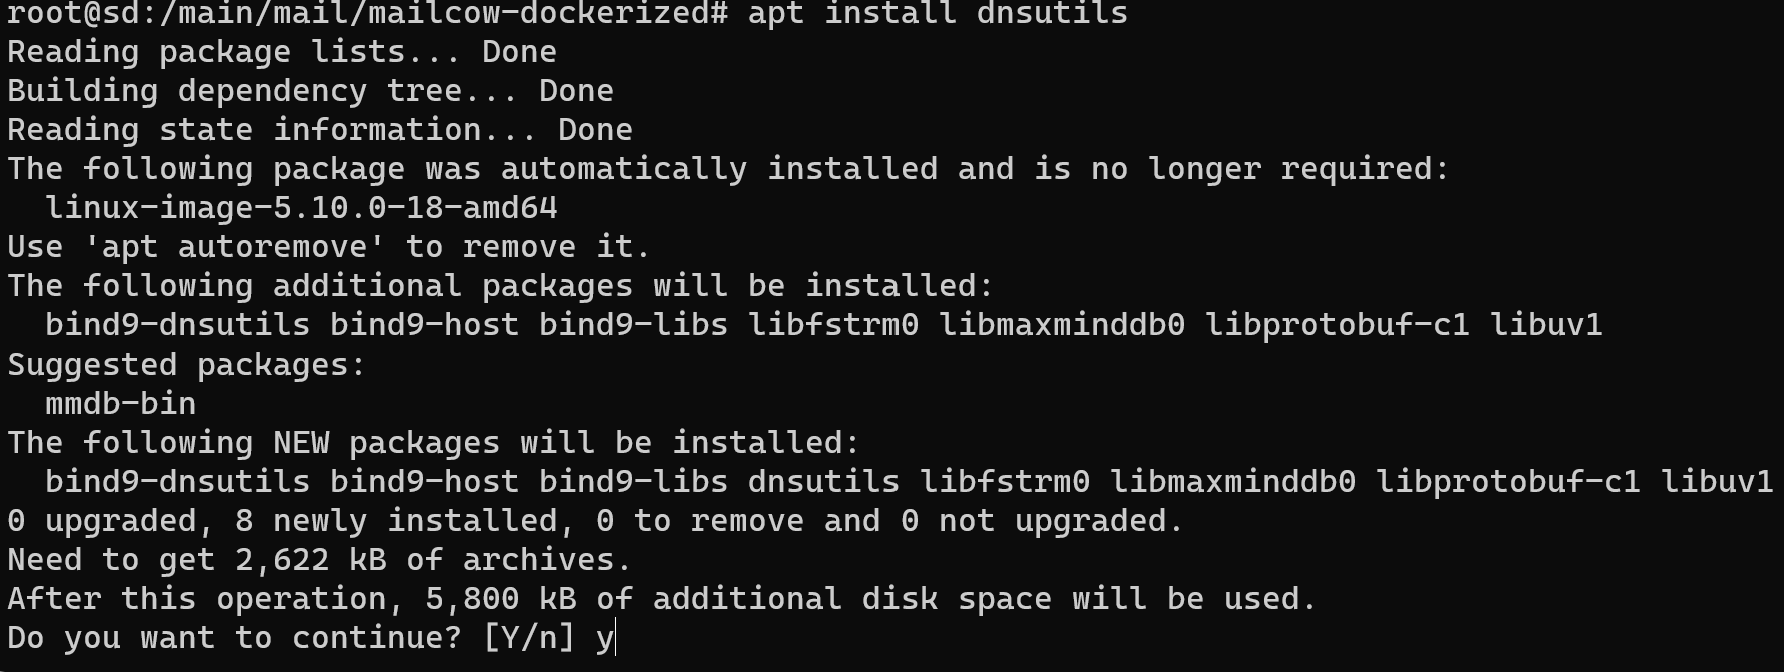
And make request for the NS server, like this:
dig vdushu.space && dig test.vdushu.spaceBy default, dig will provide you with various DNS information, such as the query time, the IP address associated with the domain, and additional DNS records. For specific query you need to use t flag like this:
dig -t MX vdushu.space Symbol @ determine which DNS server will resolv that domainname:
dig vdushu.space @8.8.8.8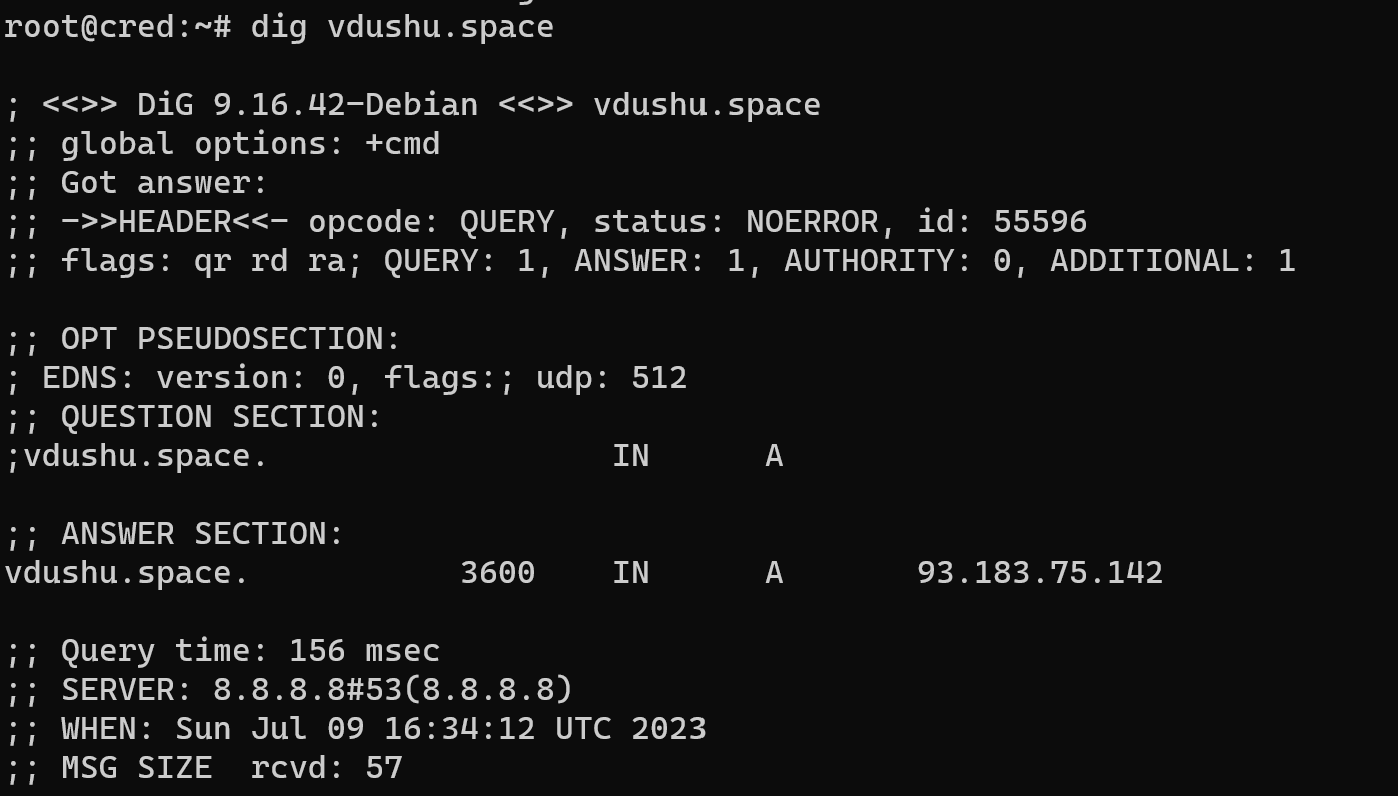
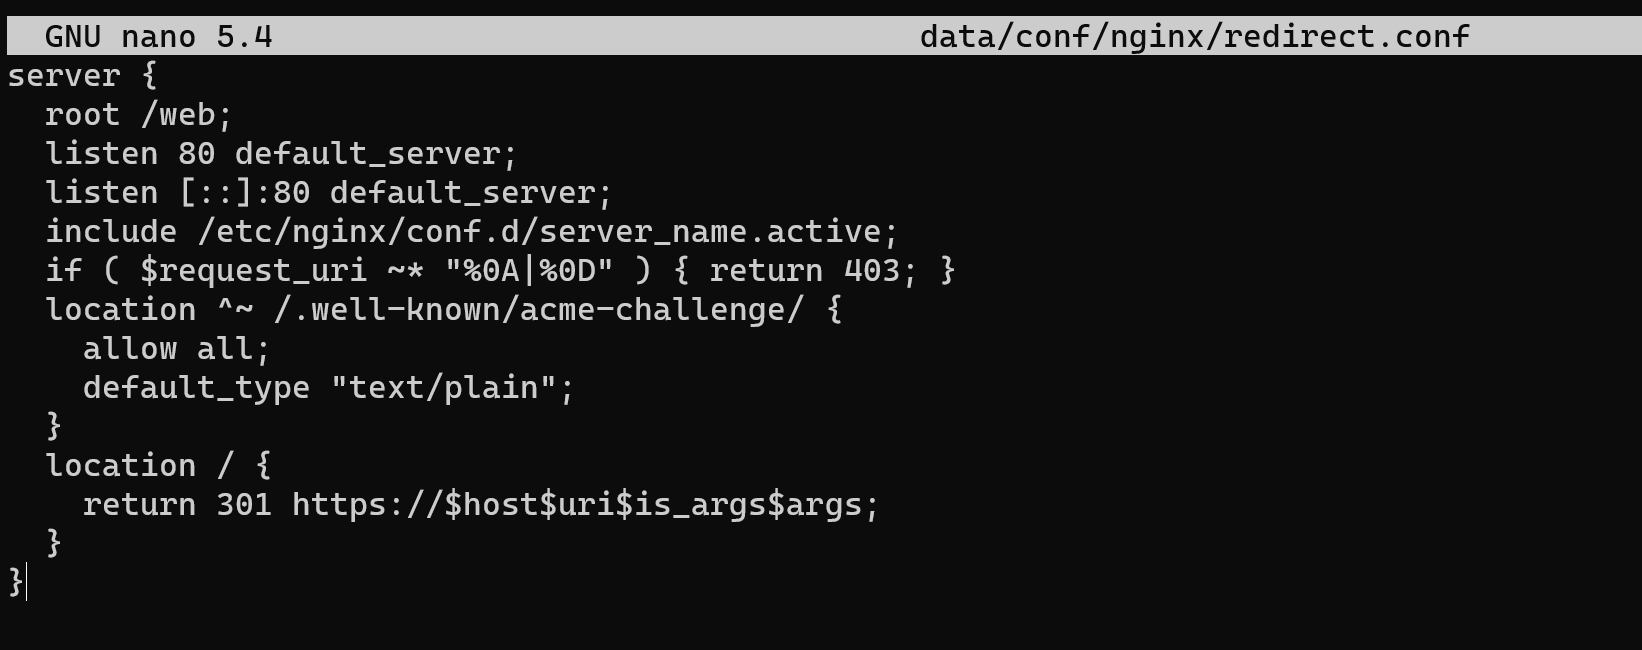
Response will in the section Answer. For more securely connection setup redirection in the Nginx configuration, we need to go to the directory data/conf/nginx/redirect.conf :
nano /main/mail/mailcow-dockerized/data/conf/nginx/redirect.confSignificant! Don't forget comment line with IPv6 it's important for Nginx work properly:
 server {

root /web;

listen 80 default_server;

#listen [::]:80 default_server;

include /etc/nginx/conf.d/server_name.active;

if ( $request_uri ~* "%0A|%0D" ) { return 403; }

location ^~ /.well-known/acme-challenge/ {

allow all;

default_type "text/plain";

}

location / {

return 301 https://$host$uri$is_args$args;

}

}
This code help to redirect all traffic via https protocol and encrypt them regardless query from client!
Fine! We install all system, in the next episode of the series instruction we consider how to config anti spam mail for trusted email service and will write new DNS record for our servers!
Conclusion
The second part of the tutorial focused on the installation and configuration of the mail server using application containerization instead of manual installation. It highlighted the advantages of manual installation, such as flexibility in configuration, a deeper understanding of the server's components, and potentially smaller size. However, it also mentioned the disadvantages, including the complexity of configuration, difficulty in scaling, and increased time and resource requirements.


