Introduction
In the previous article we covered finished installation of server software, disable IPv6 addresses in a bunch of settings and Nginx redirecting. In that part of instructions we finished our journey in the Email world and we will write DKIM, SPF, DMARC and other DNS records, configure domain for mail and use delivery message agent! Why is modern and competitive company should have GUI interface for email?
Graphical environments are important for mail because they enhance the user experience and provide several benefits:
- User-Friendly Interface: Graphical environments offer a visually appealing and intuitive interface that makes it easier for users to navigate and interact with their emails. Icons, buttons, menus, and other graphical elements provide a familiar and interactive way to manage and organize email messages.
- Efficient Email Management: A graphical environment allows users to perform various tasks easily, such as composing, reading, replying, forwarding, and deleting emails. The interface usually includes features like drag-and-drop functionality, context menus, and keyboard shortcuts, which streamline email management and improve overall productivity.
- Rich Formatting and Multimedia Support: Graphical email environments enable users to compose emails with rich formatting options, including font styles, colors, bullet points, and alignment. They also support attaching files, embedding images, videos, and other multimedia content directly into email messages. This versatility helps users create more visually appealing and engaging emails.
- Organizational Tools: Graphical email interfaces typically provide organizational tools like folders, labels, tags, and search functions, making it easier for users to sort, categorize, and find specific emails. These features simplify email organization and retrieval, especially when dealing with a large volume of messages.
Overall, graphical environments for email provide a visually appealing, user-friendly, and efficient way to manage, organize, and communicate through email. They enhance productivity, facilitate email organization, and offer a more engaging and customizable experience for users.

Requirements
- Domain name;
- Docker CLI >= version 20
- Docker Compose >= version 2.0;
- Root rights;
- Configured FQDN;
- Optional: SSL certificate.
Configurate:
Go to any browser in another machine and check that your web part of email work properly! If you have some troubles with it then check the Nginx logs:
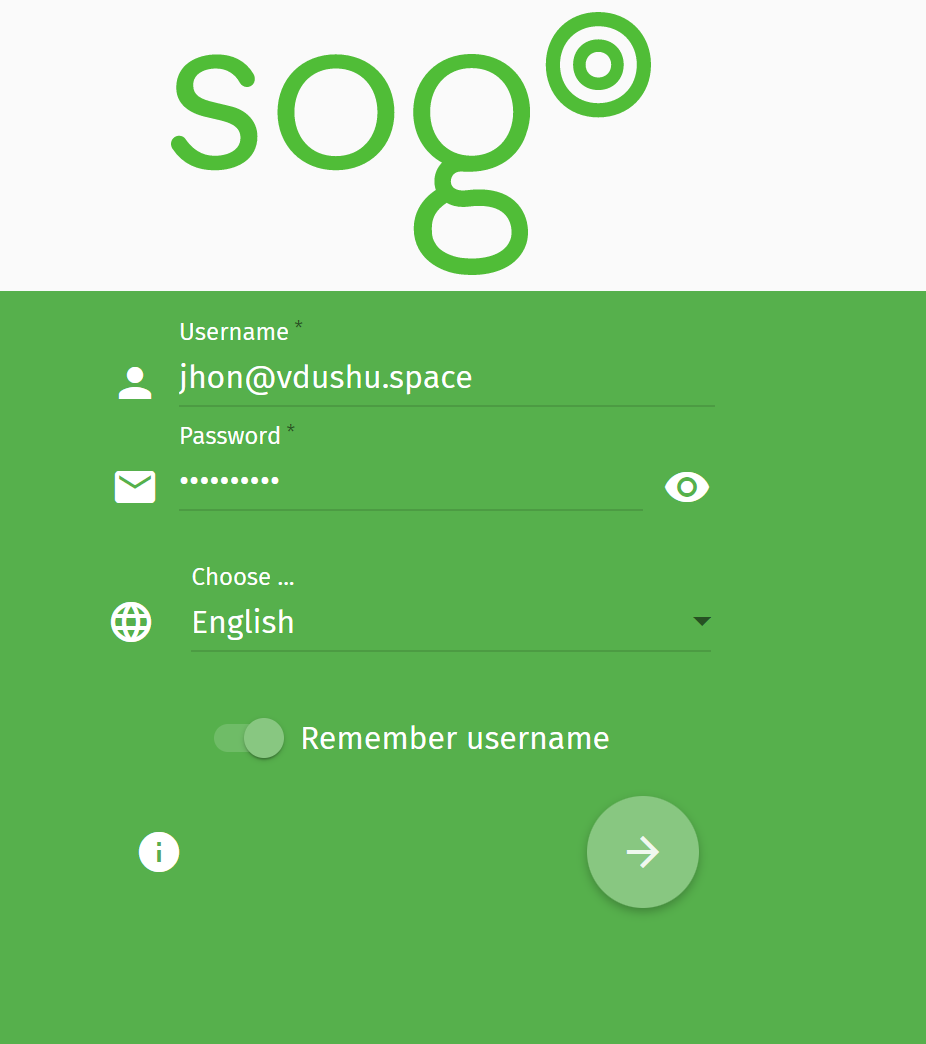
docker logs -f nginx-mailcowIf you will see warning or emergency message, something went wrong and you need to check all previous step for disable IPv6 address. There is probability that you skipped or misconfigured your system, please check more thoroughly all steps before. But if you system successfully was start look at the field of login, password and at the whole page:
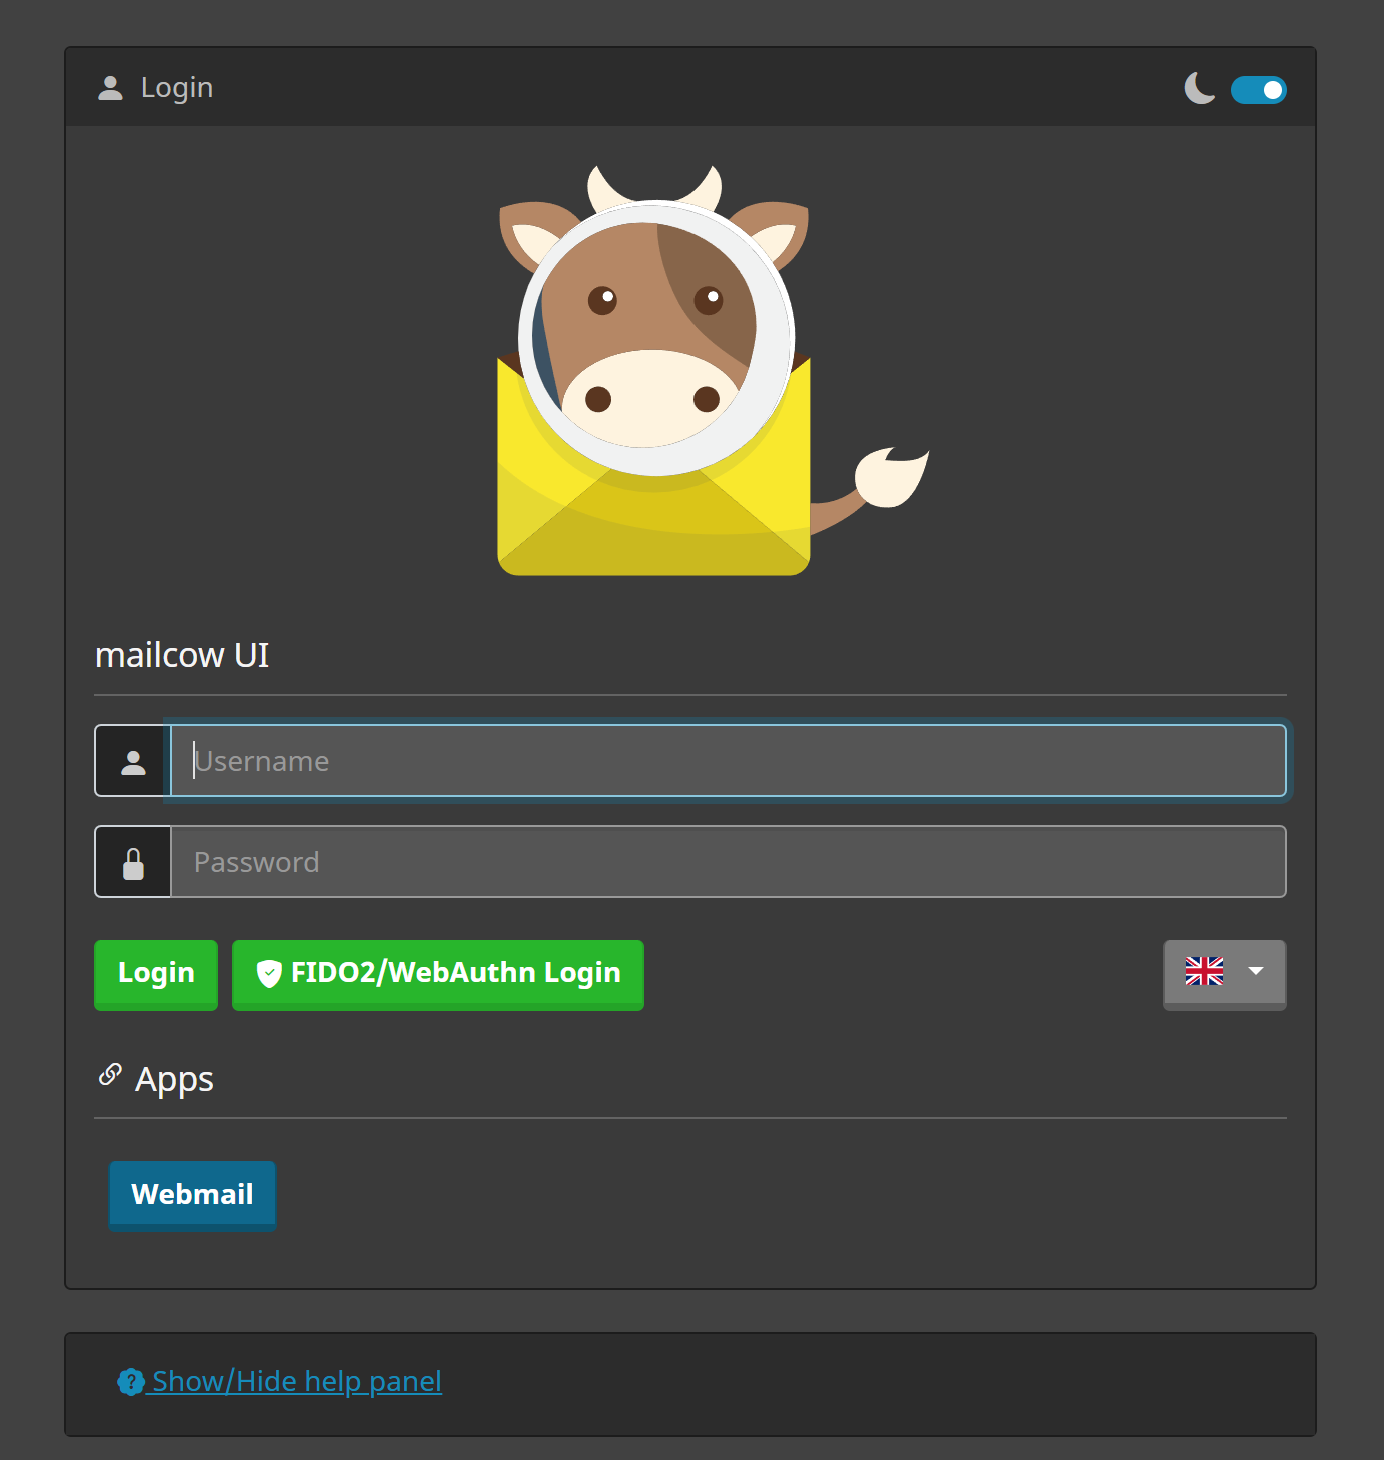
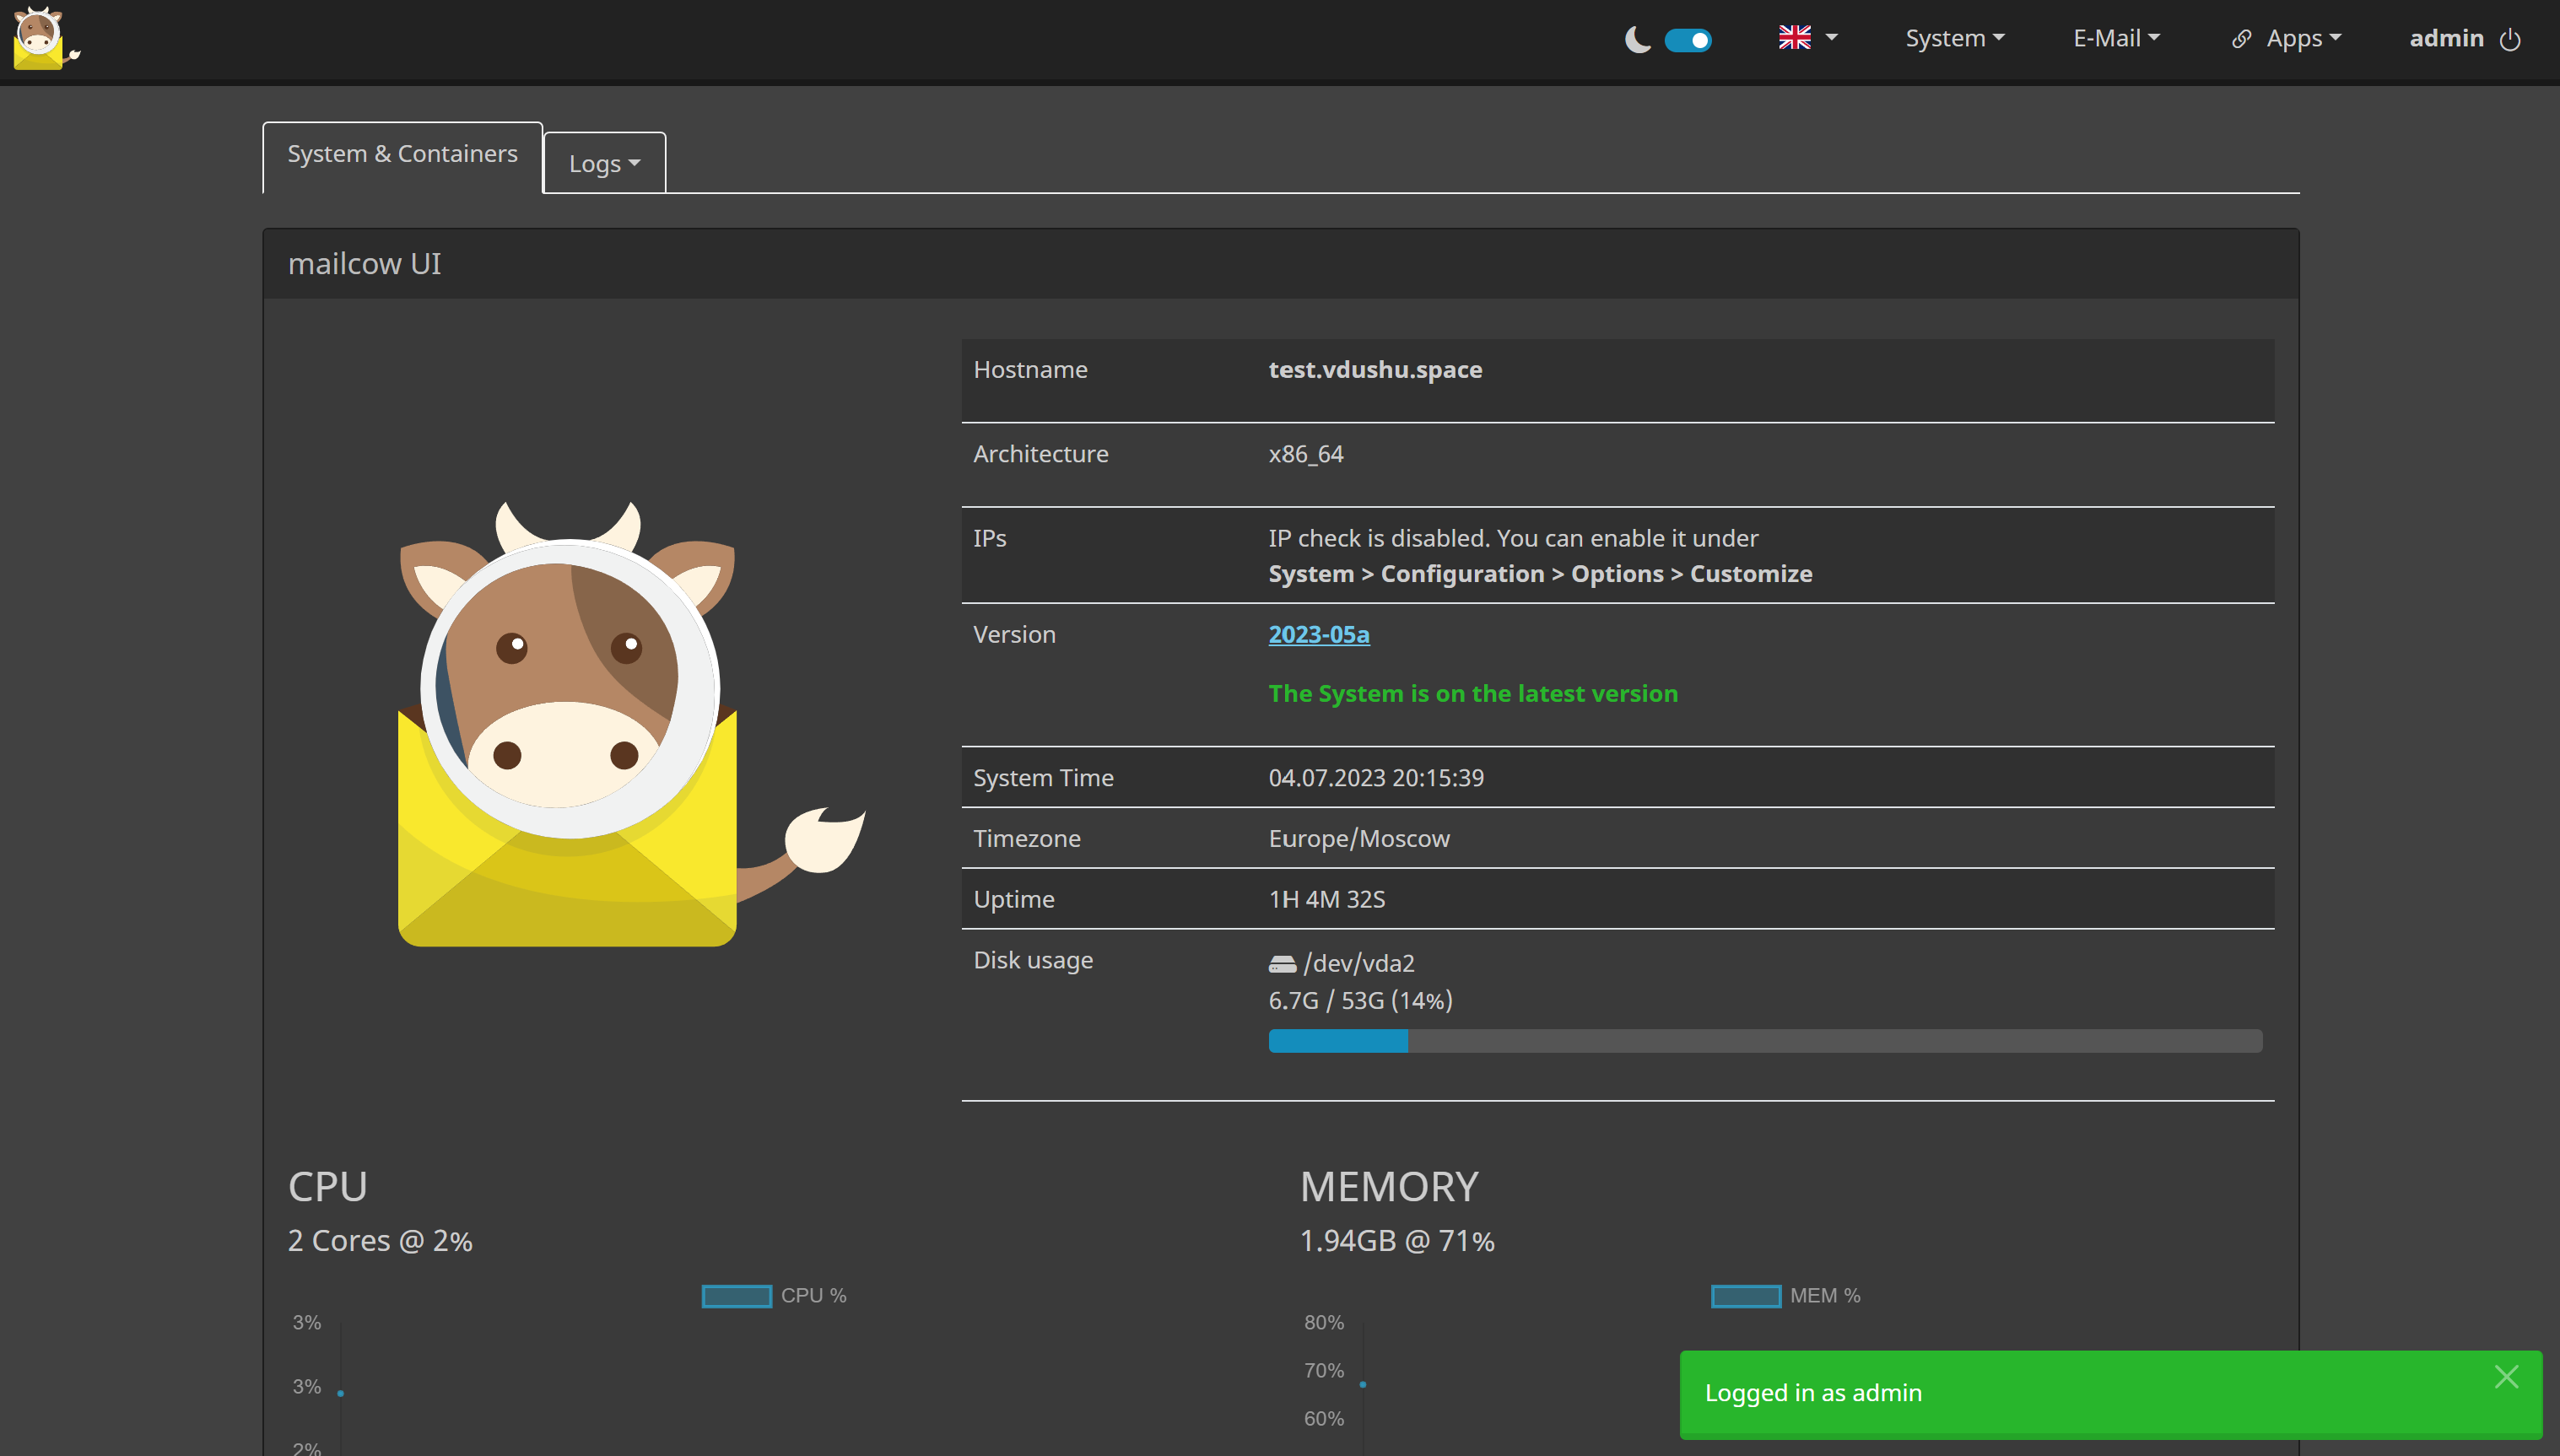
You will see page for login in admin panel and control of whole mail, also on the page we see button FIDO2 it's modern way to securely authorization through 3 main method of two factory login. OTP token: you can download any application that support such encryption algorithm, TouchId or similar technology of biometric printing etc. In that case we will use standart method via login and password. For enter in a panel write Login: admin and Password: moohoo and press button Login. In the main window we can see summary information about our server and statistics of usage resources that very useful!
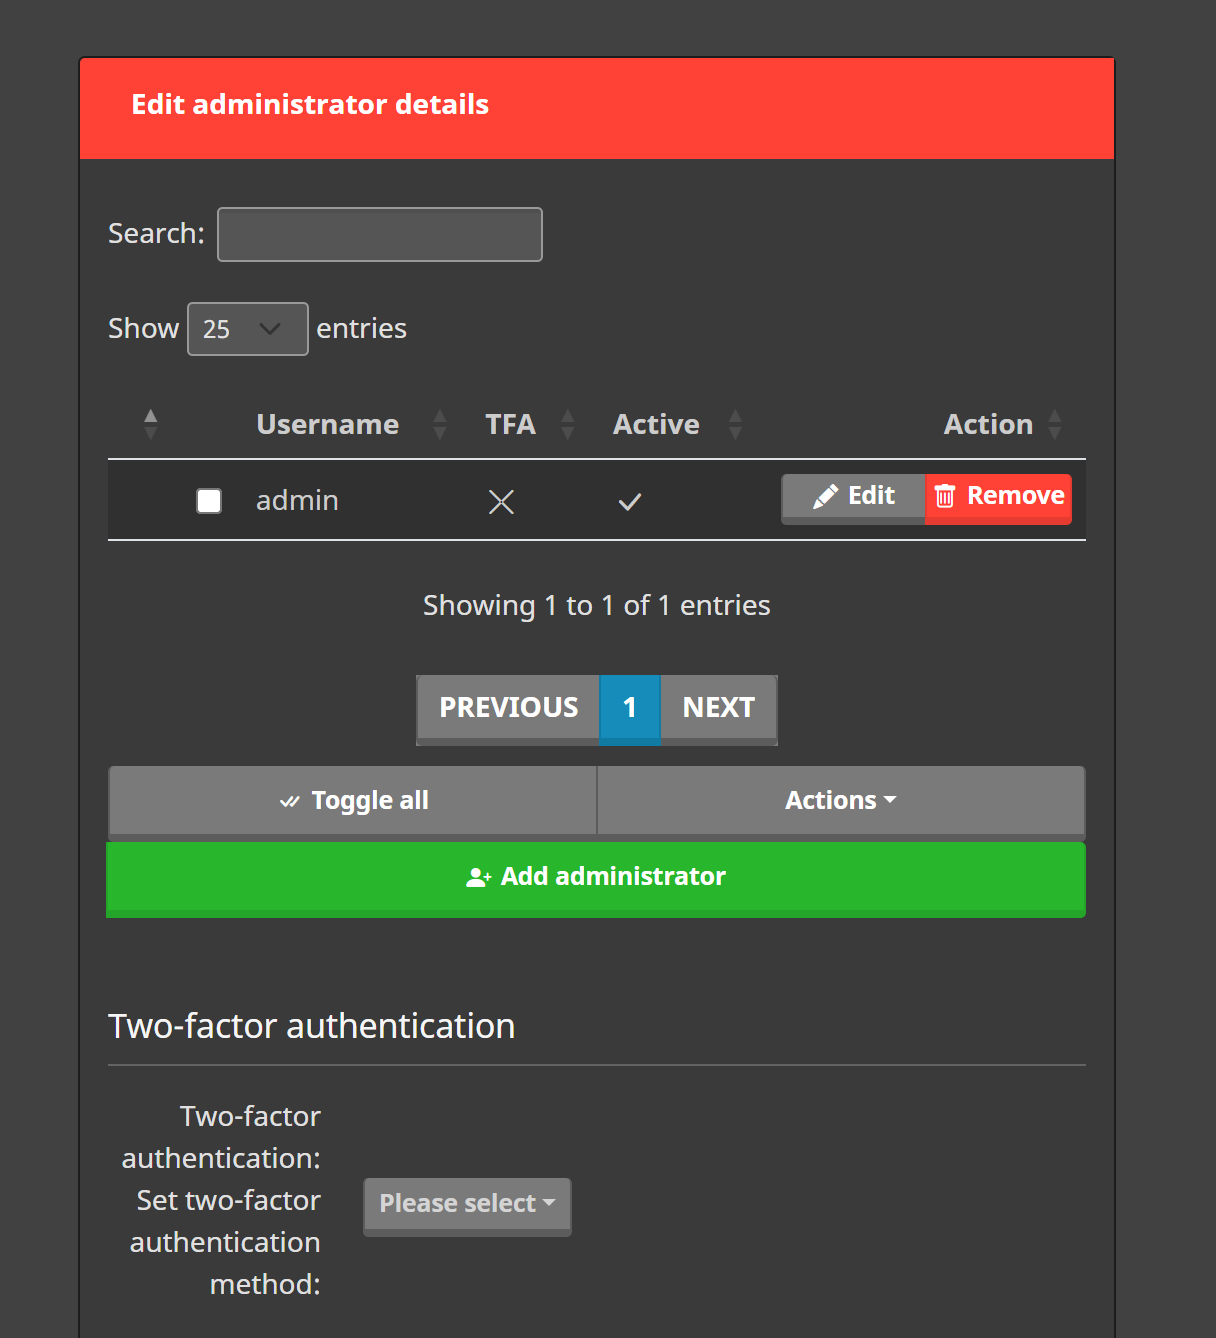
Click on the button above System and go to the config web mail. In opened window we will see panel of control Administrators, if you need add some users and create additional methods of login for more securely:
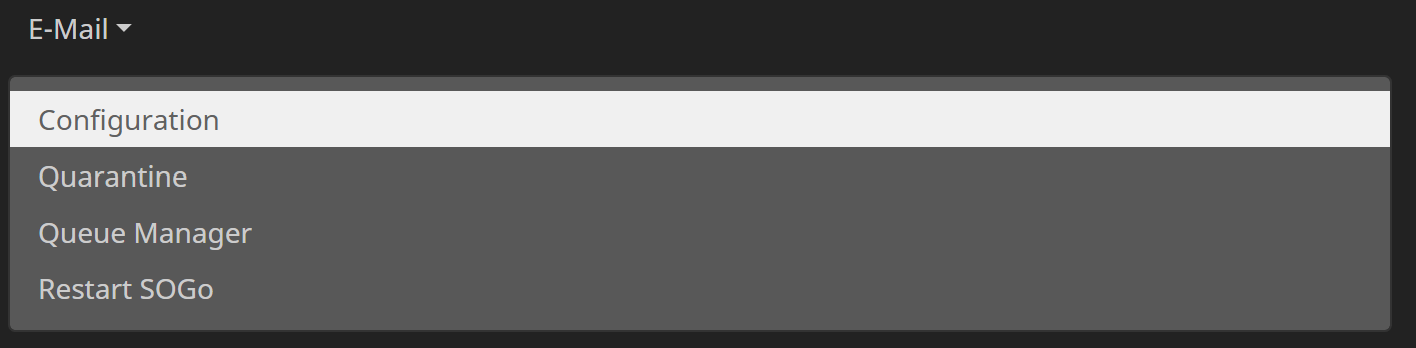
After editing standart password you need to create your first email, go to the Configuration like in the picture below:
First of all in this step we need to add domain, which will display nearly with username such as jhon@vdushu.space so choose domain more carefully:
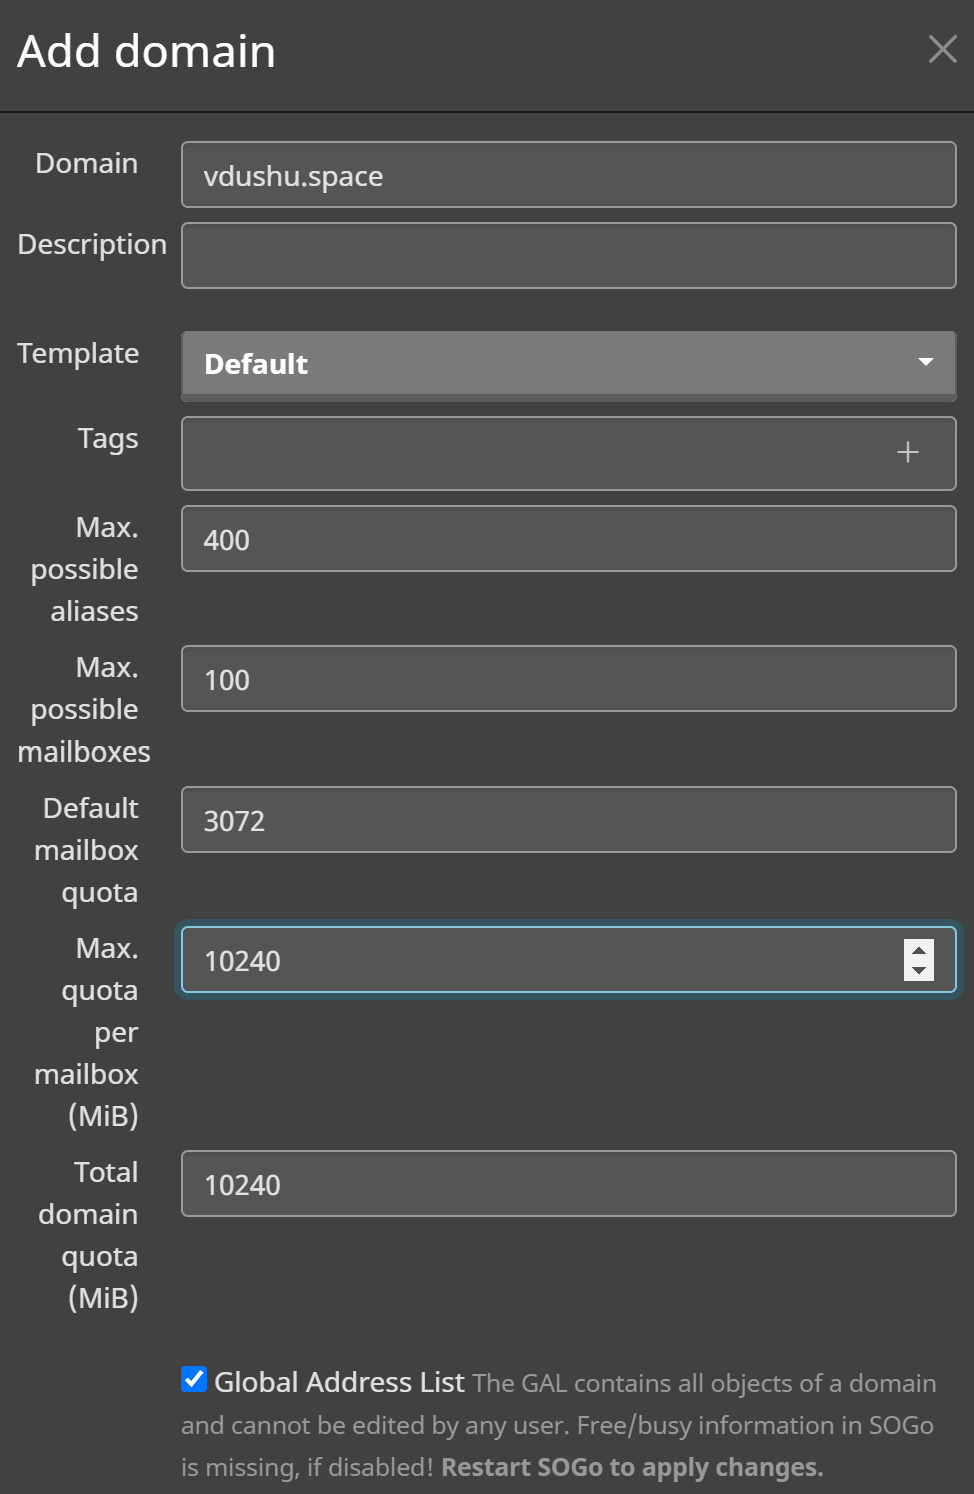
Dedicate needed and allowed resources to your current domain, check point Global Address List. For that action server will restart GUI or Web interface and after this you receive pop up message about process. Also in Selector field choose dkim with 1024 key lengths because not at all mail can provide and check such signature:

Click for button Add domain and restart SOGo that restart docker:
docker compose restartThen you can see your added domain:
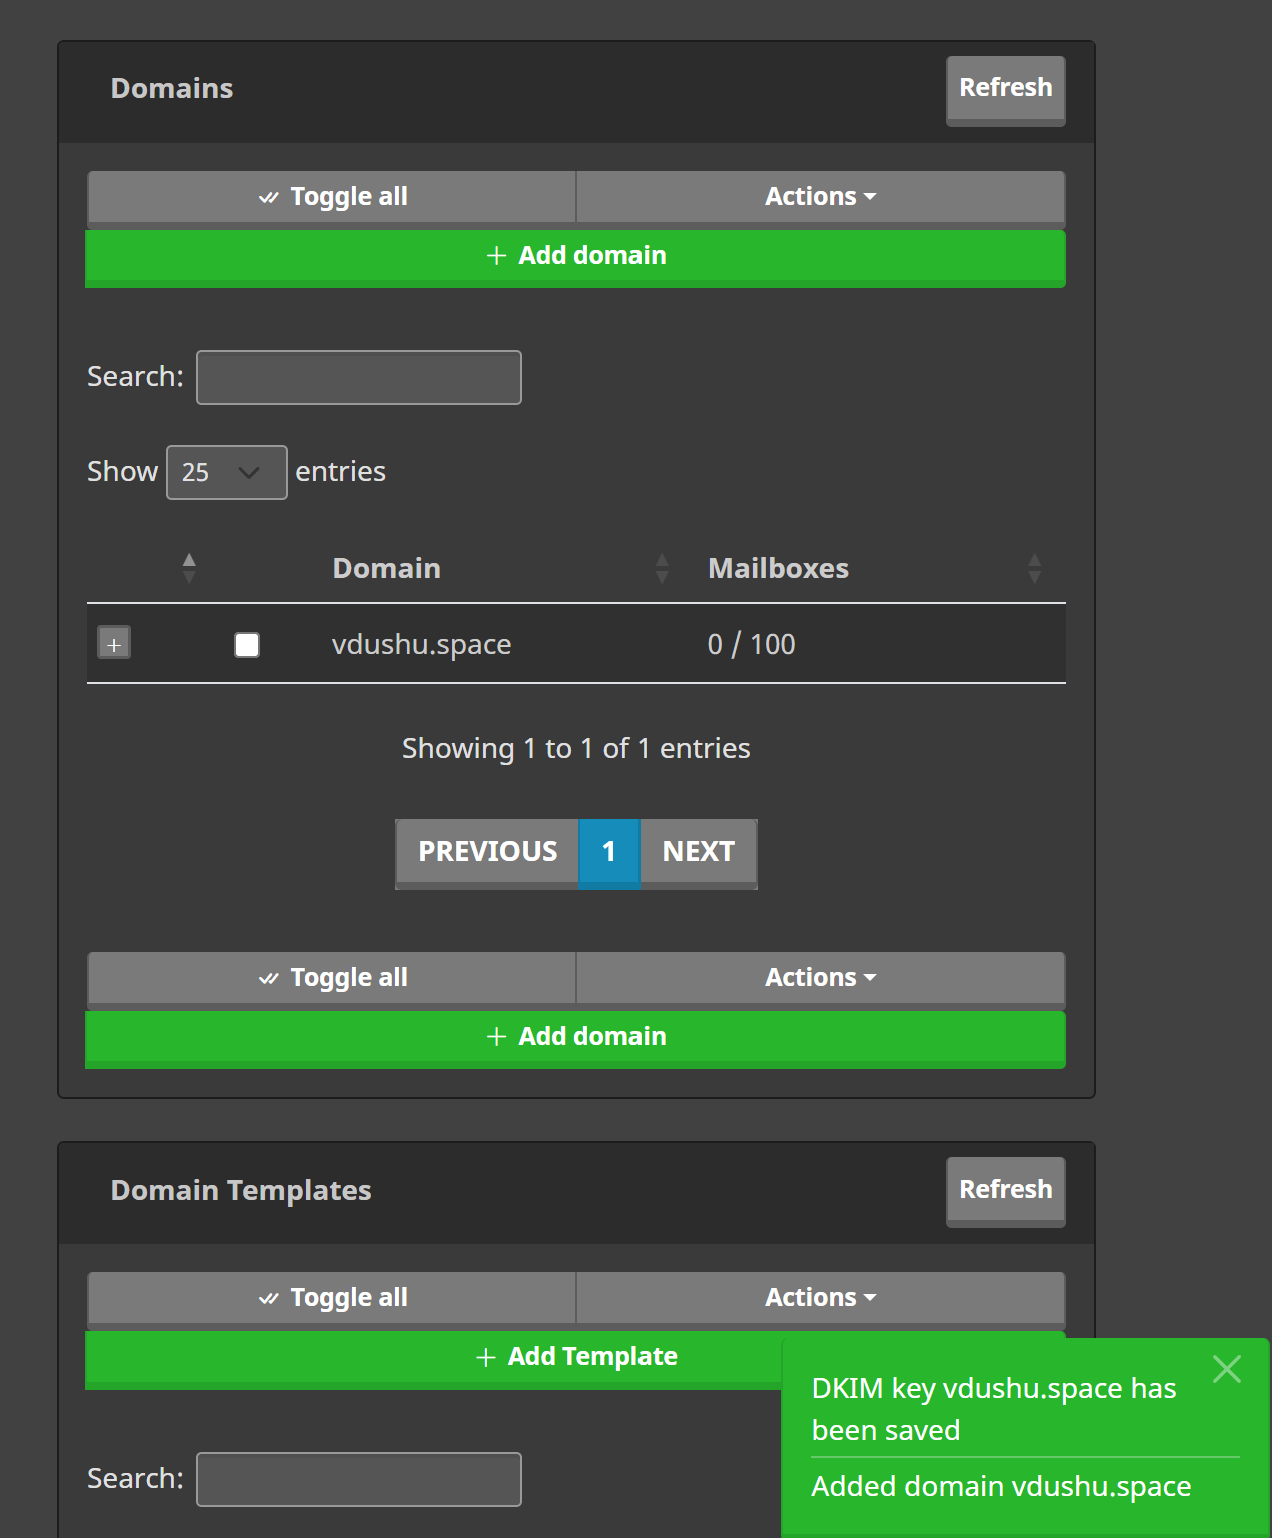
With pop up message we can see DKIM key and domain were added successfully! Next step will be massive, you need to write DNS records to your domain:
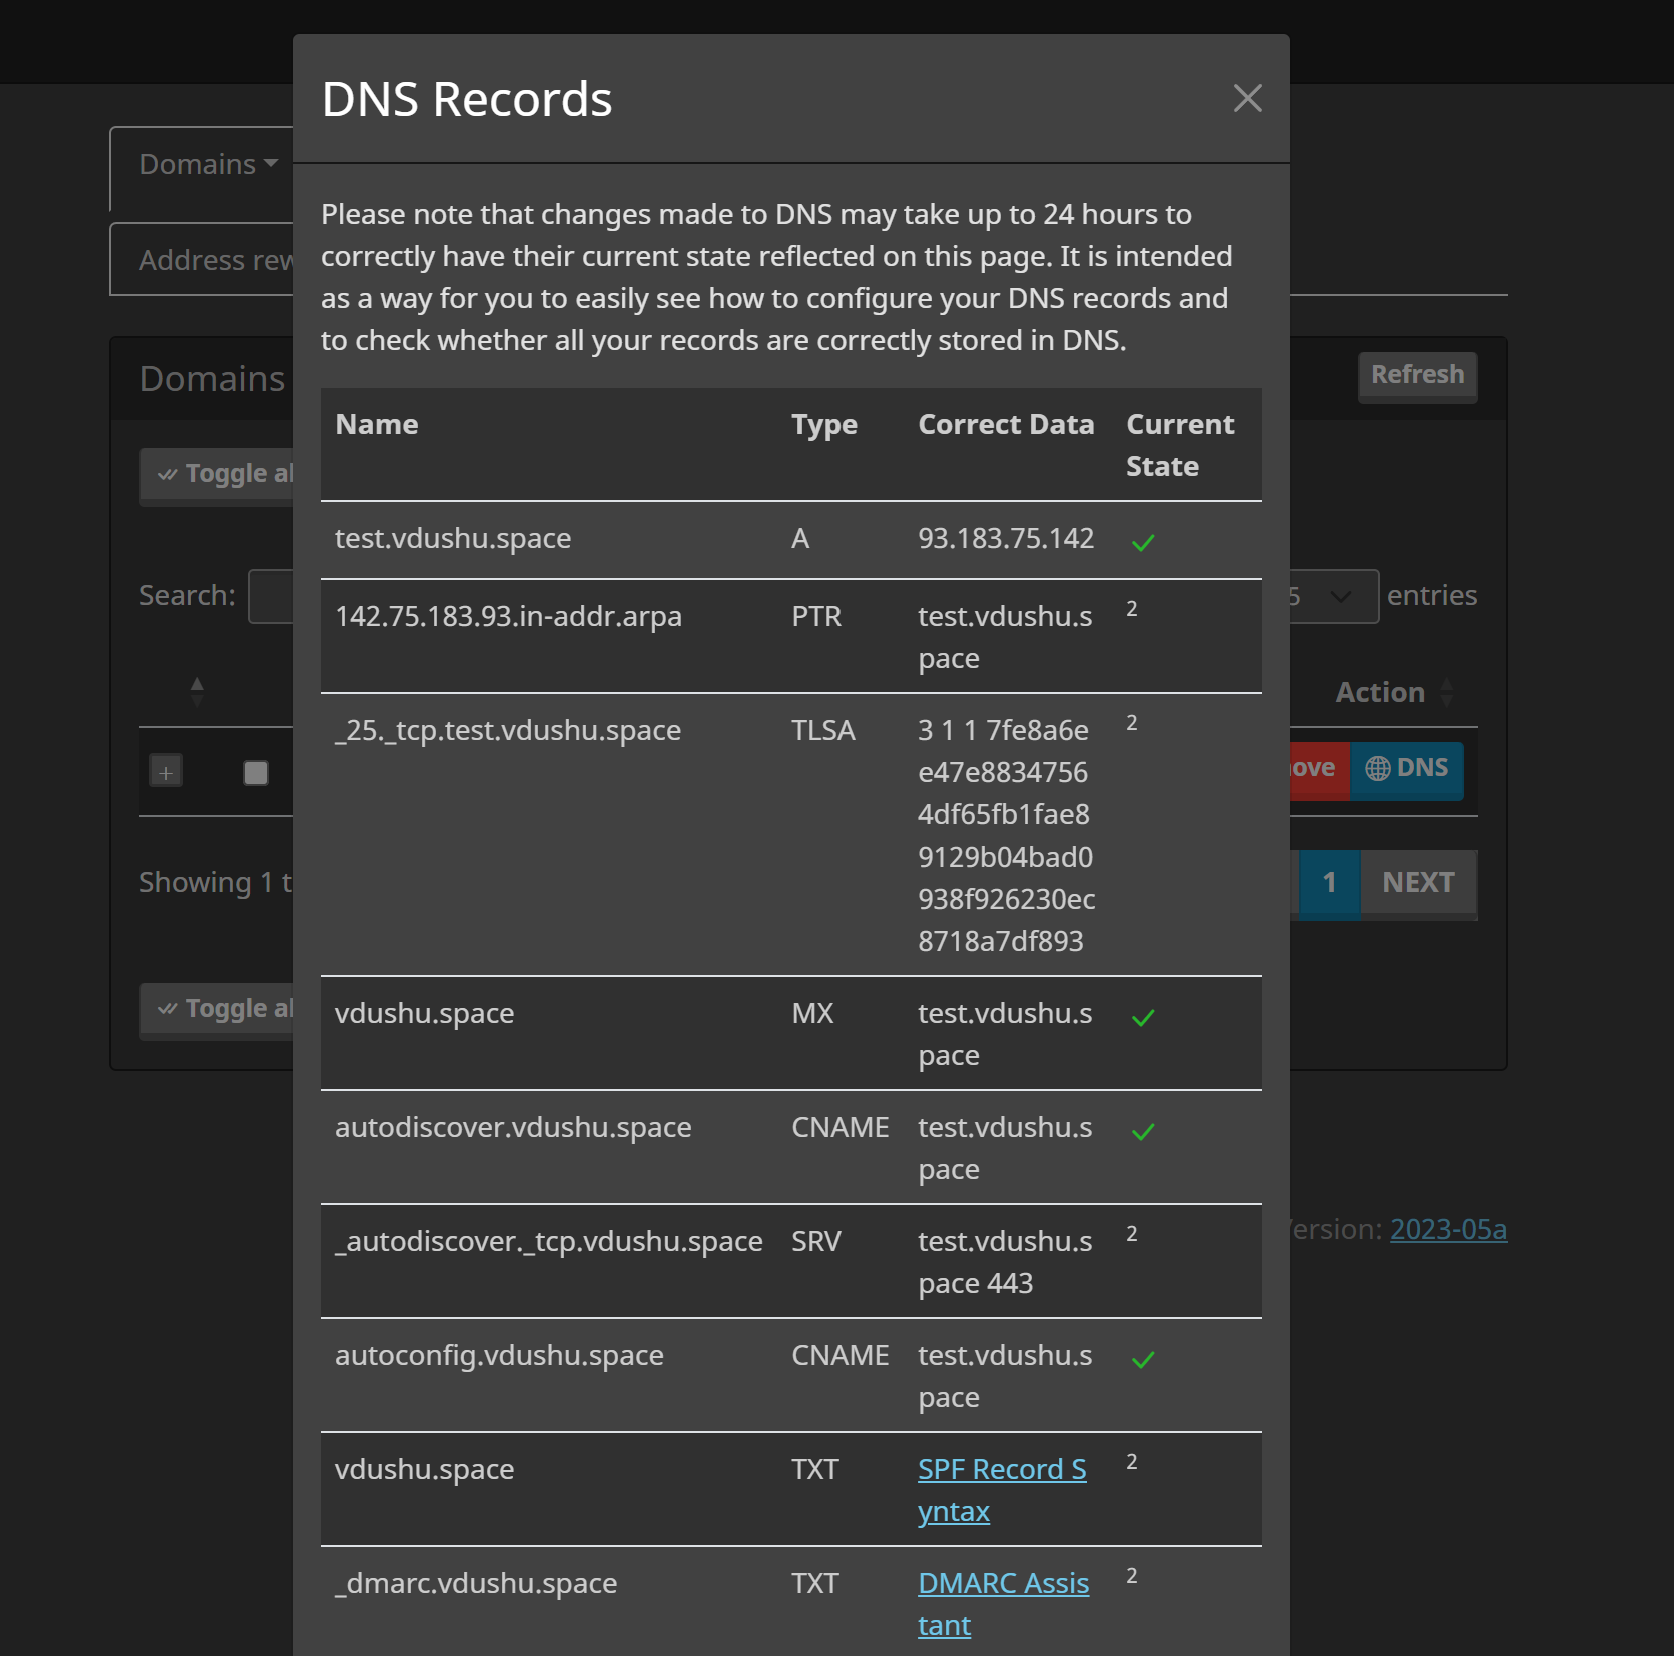
All of that need to write into your panel, exceptions in that case SRV and TLSA type records, they optional to write, two last record need to configure with special tools for DMARC:
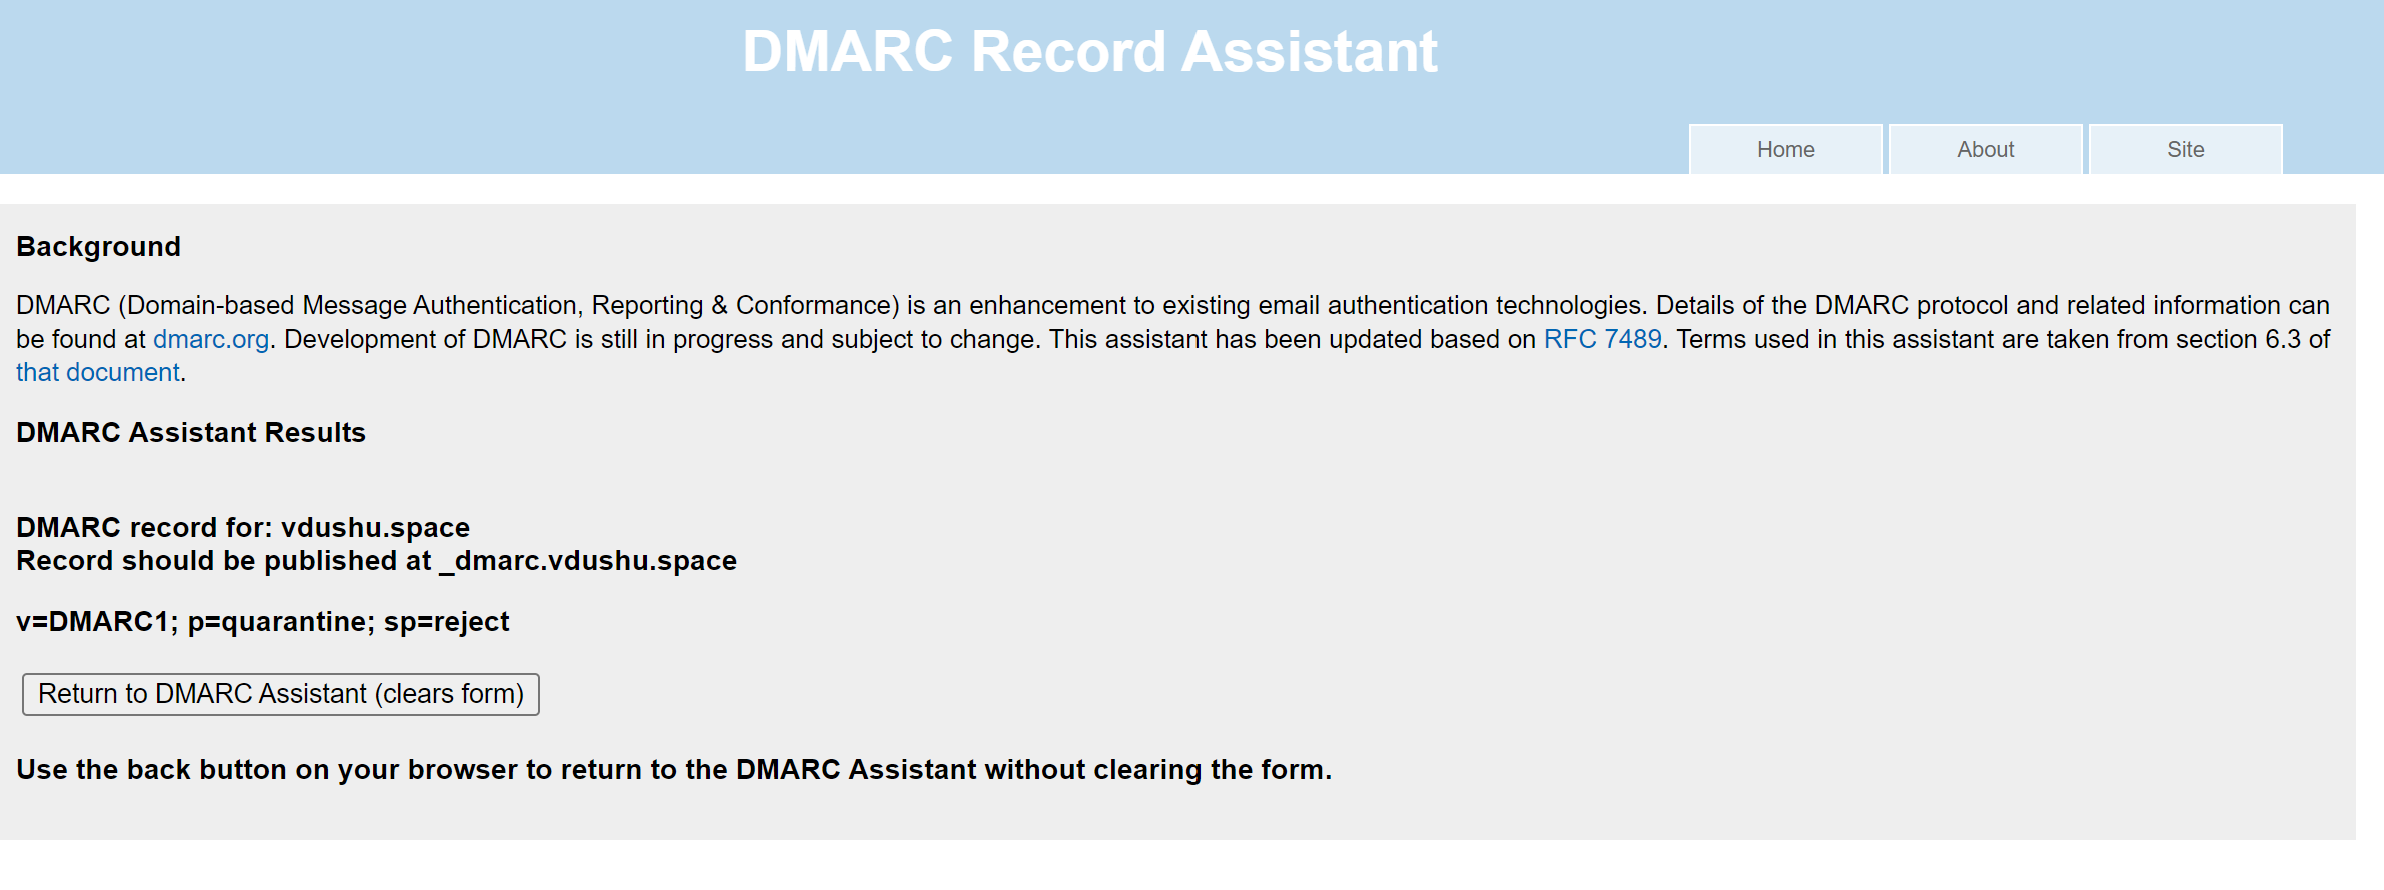
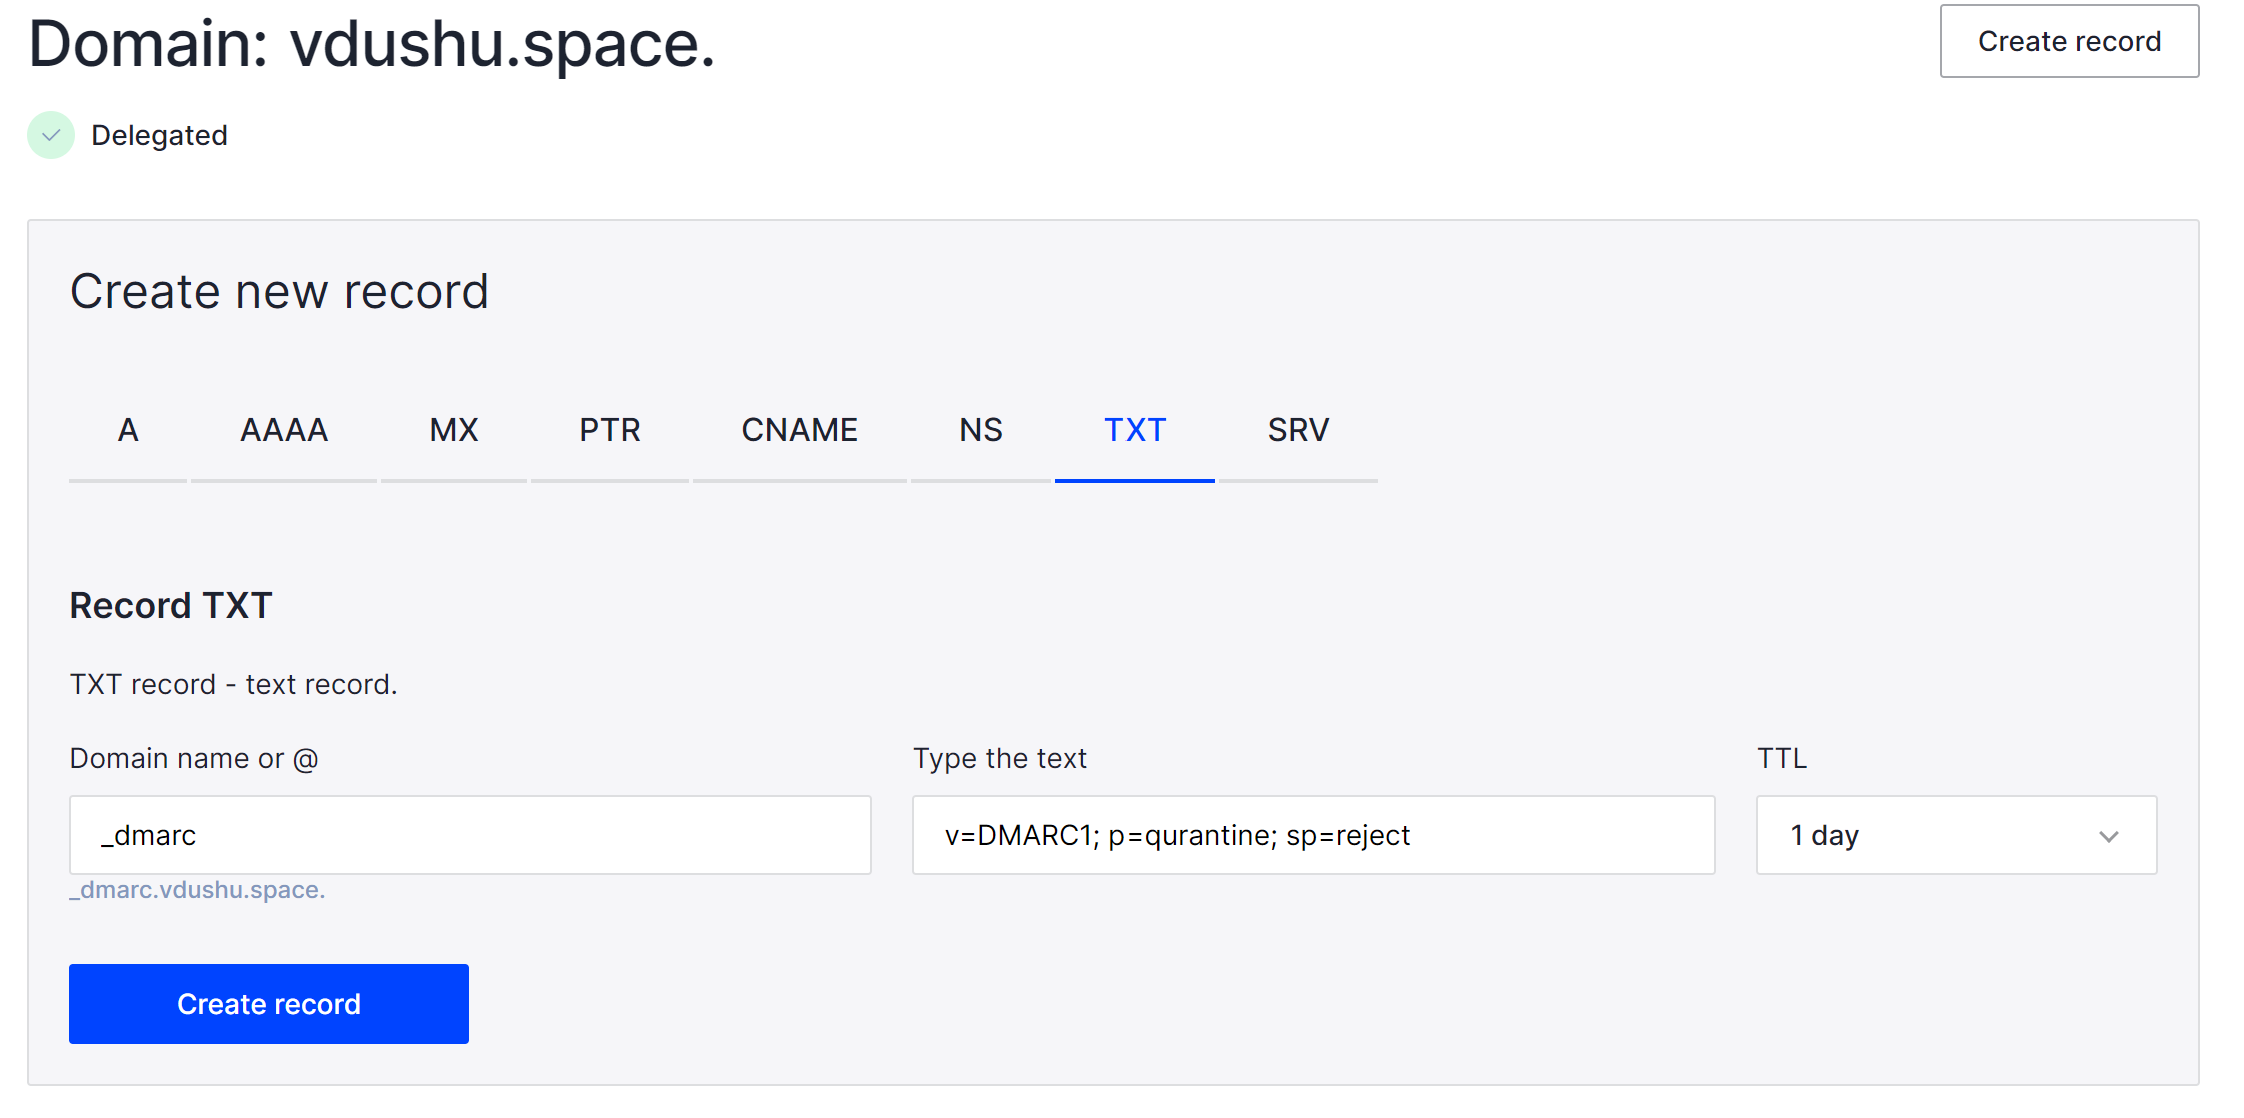
In the Domain name field, specify _dmarc in the Text field v=DMARC1; p=quarantine; sp=reject. In the control panel of your DNS — hoster, select the type of record and enter its contents for each type:
Indicate your domain name and rules for mail which dont accordance with your SPF and DKIM record! Then click to button and get your result. For SPF record enter this:
v=spf1 ip4:185.104.114.103 include:test.vdushu.space ~allParameters: Type: TXT, Name: @, TTL: Auto. Enter that and save DNS record!
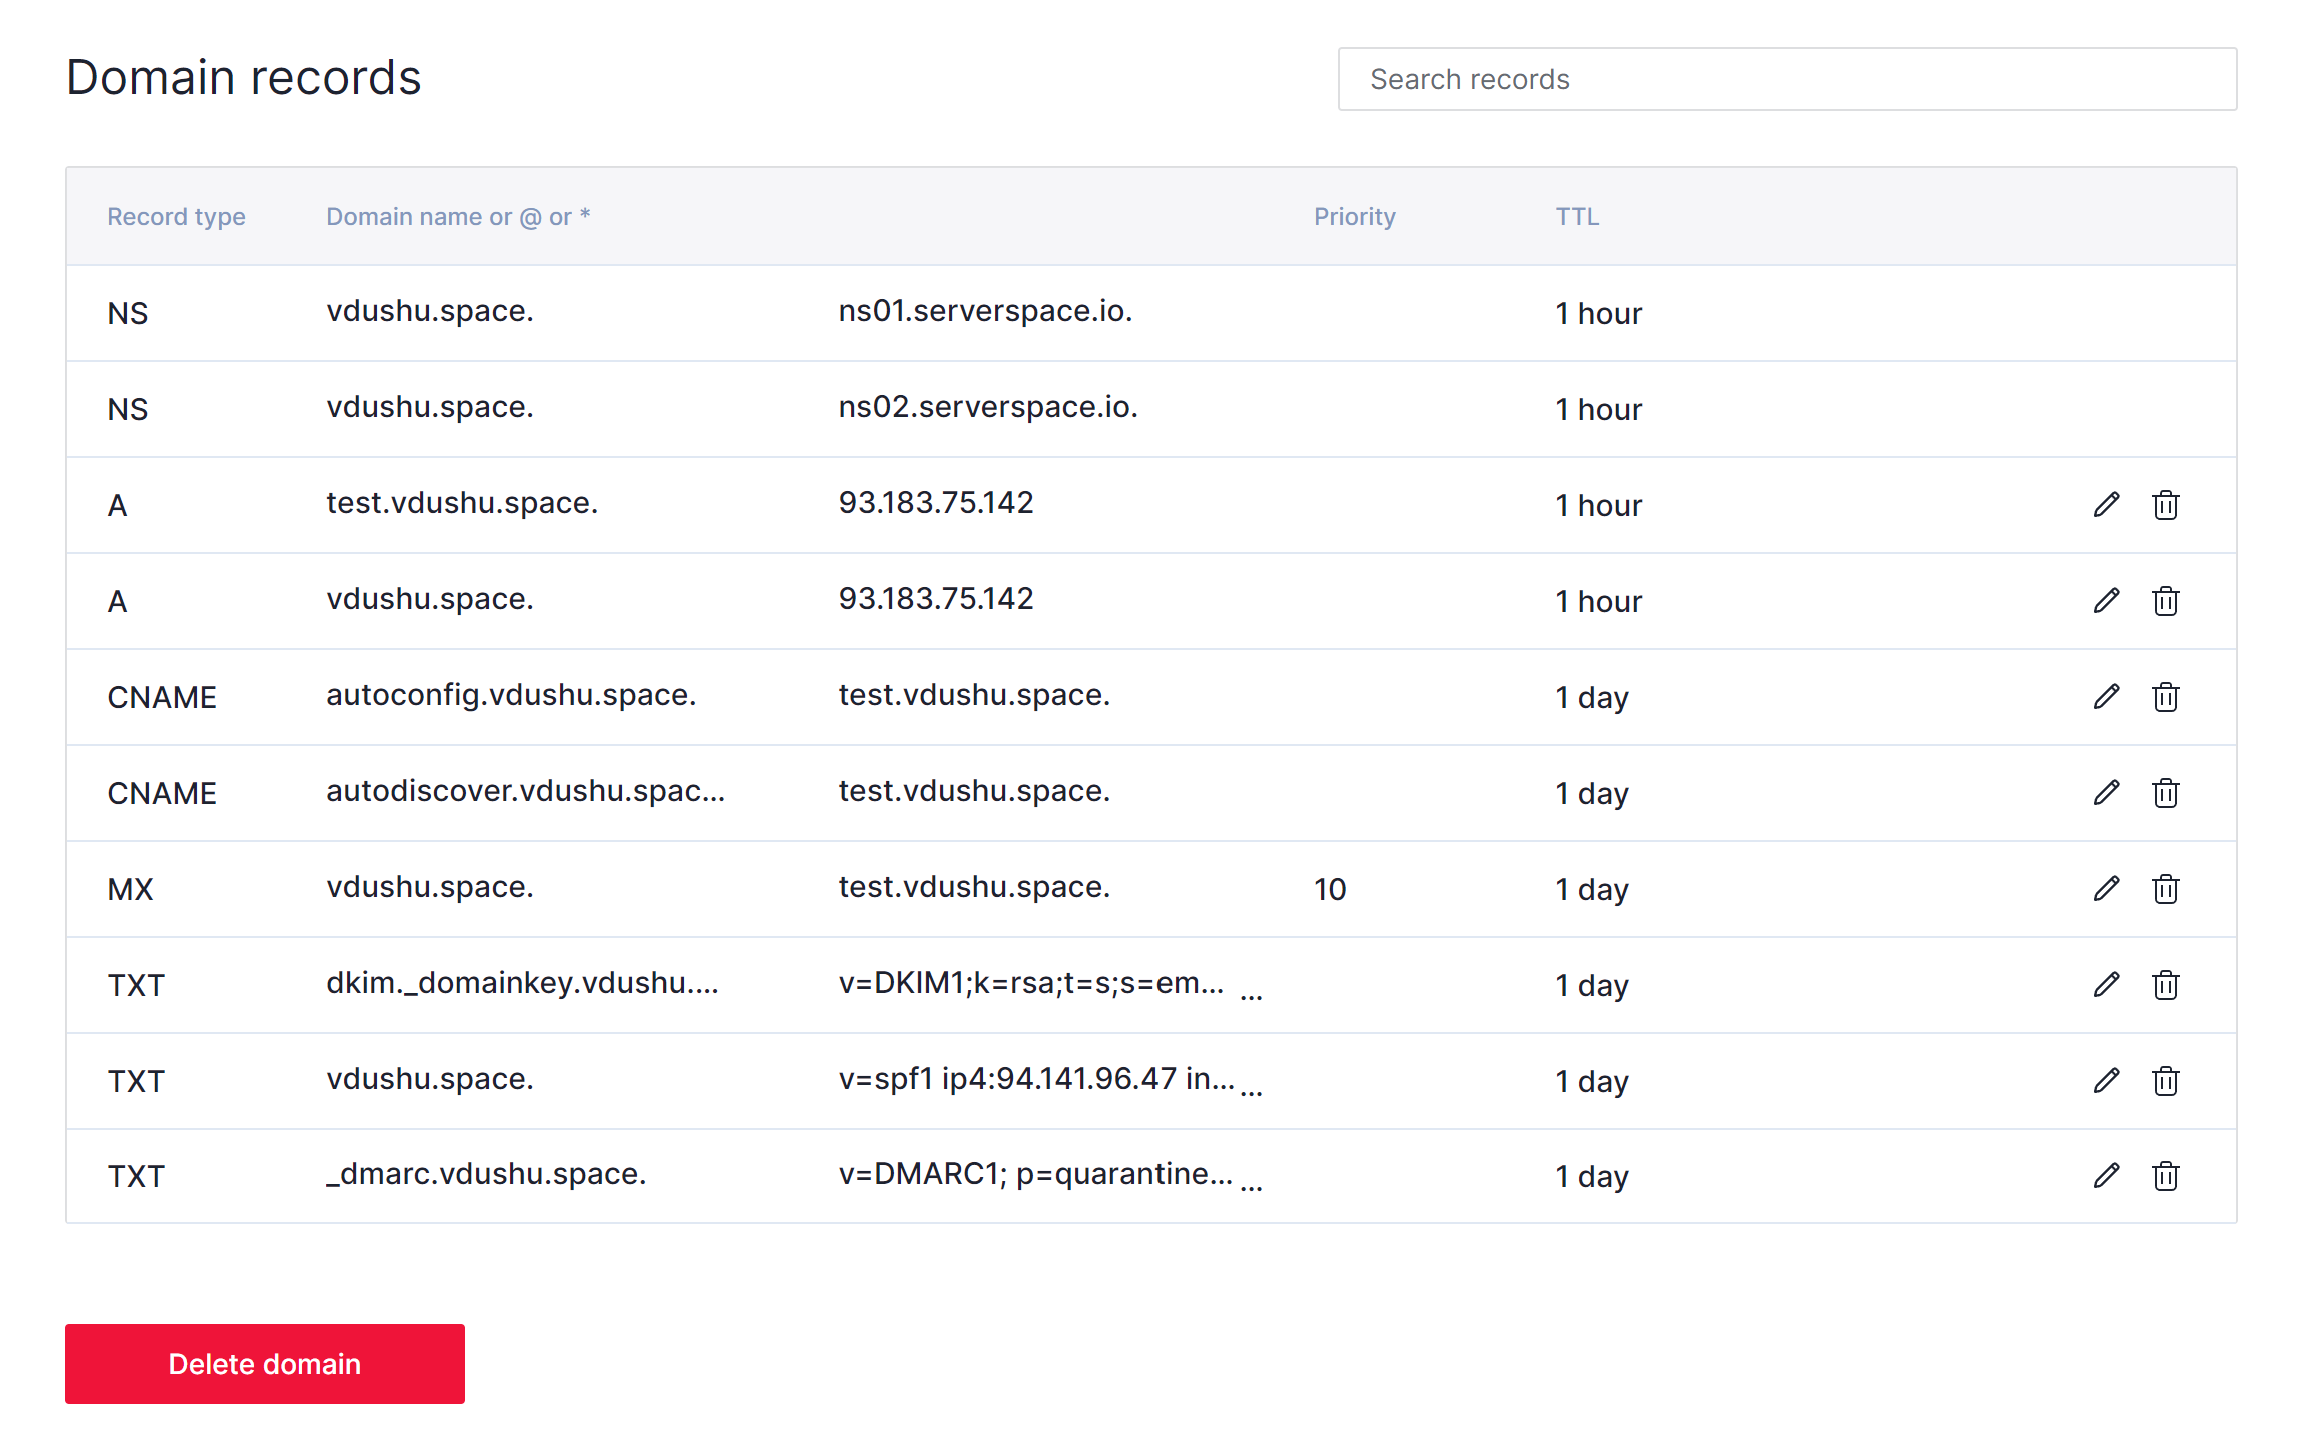
Adding each one, the overall list will look like this:
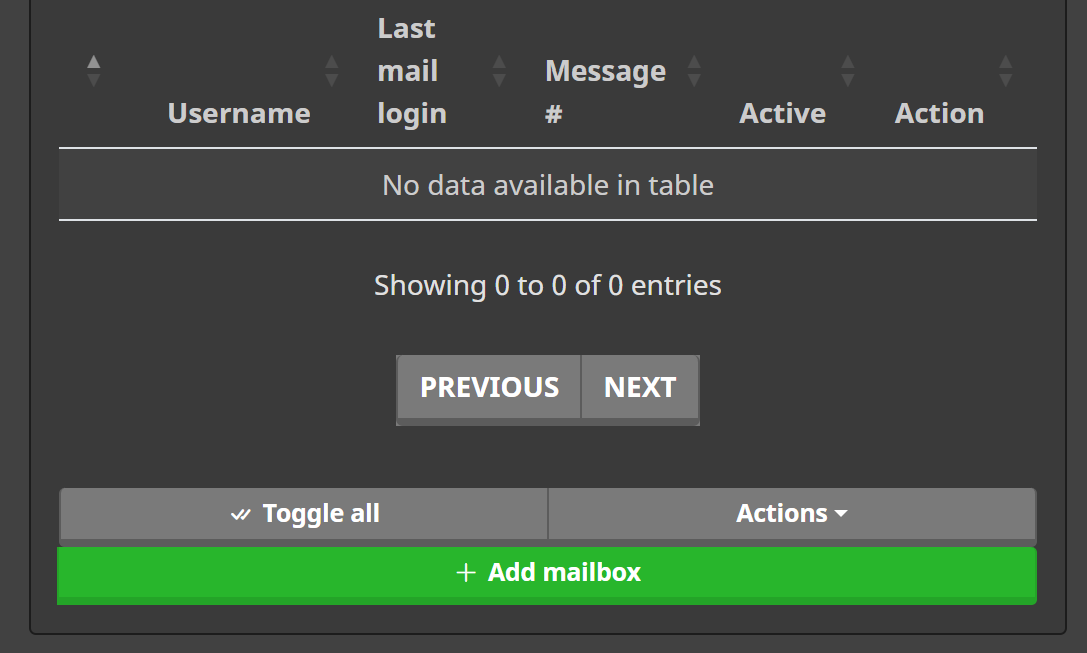
Go to the Configuration > Mail Setup > Mailboxes and press button Add mailbox:
Choose needed parameters in the field:
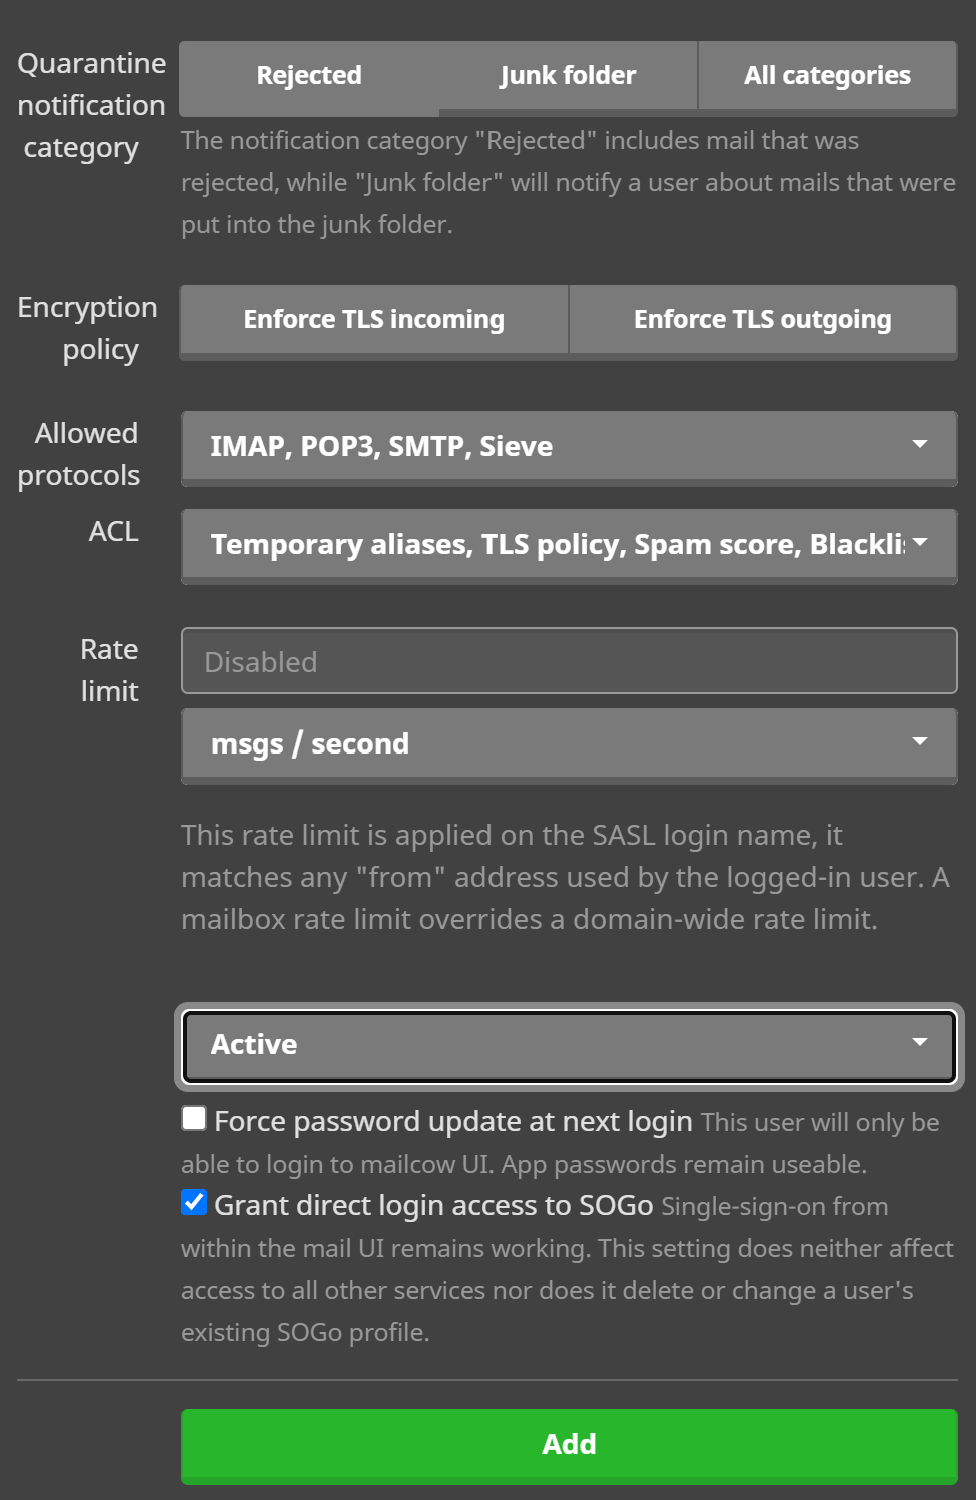
And necessarily press on the check point and button Add! Check pop up message and go ahead.

Return to homepage and choose Webmail, login in SOGo GUI with your credentials that you create several second previously:
Go to the any tester of mail and check legacy our email in email providers eyes! Our server and DNS record setting up almost perfect, if you want to reach 10/10 you need top TLD *.us, *.gb, etc. But that almost doesn't affect. If you have problem is in the form of rate, check recommendations below of list:
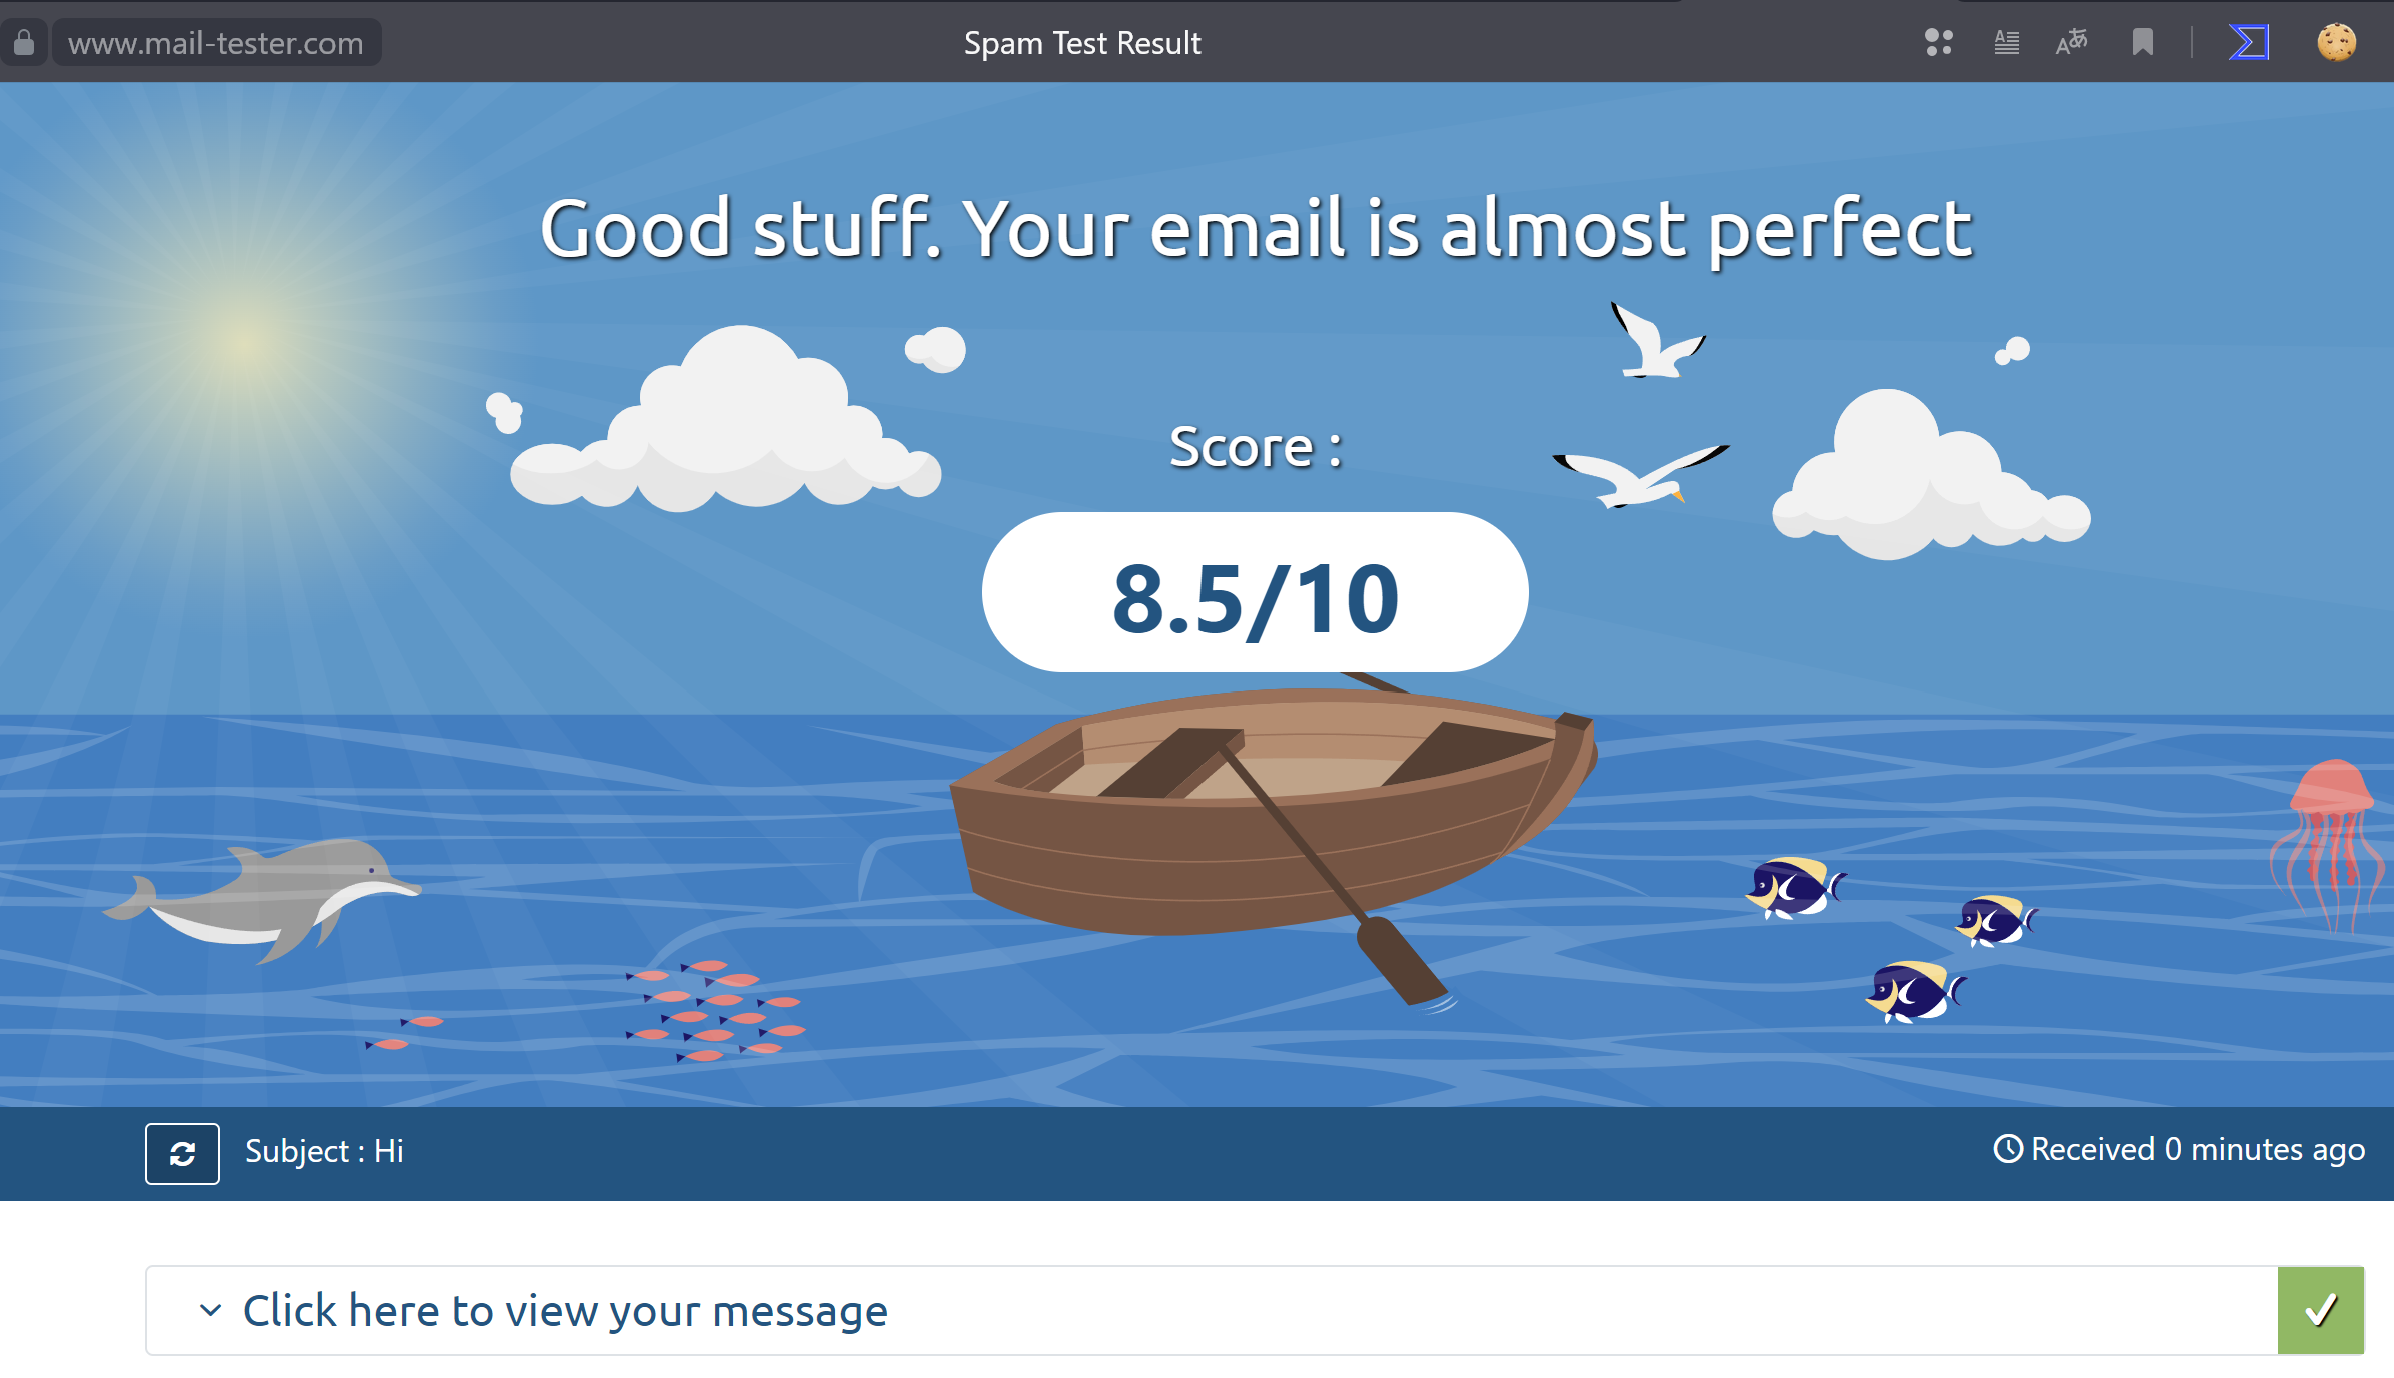
Send mail to check efficiency our mail server:

As you can see our mail go properly and awesome work!
Conclusion
In conclusion, a graphical user interface (GUI) for email offers a user-friendly interface, efficient email management, rich formatting and multimedia support, and organizational tools. It enhances productivity, simplifies email organization, and provides a more engaging user experience.


