Introduction
Nginx – is one of the most popular web-servers for posting major sites with high trafic of users. Also, it is an utility very comfartable both for a web server or for configuring a reverse proxy.

In our instruction we are going to look through:
- Installing Nginx on already deployed serer;
- Configuring firewall;
- Configuring server block for deploying more than one domain on one server;
Preparations
Before we could start working we need to deploy a Debian/Ubuntu/CentOS server, minimaly configure system with a new user and configure rights for using sudo command, using this instruction.
After that lets install Nginx on our server.
Installing Nginx
Nginx is a standart package in mostly all OS repositories. If server was configurated recently, lets update indexes of software packages and install Nginx package:
apt update

apt install nginx -y
With -y key you are agreed on an automatic package installation.
Configuring firewall
After installation of Nginx package you have to configure firewall to be able to connect to Nginx externally.
Lets look on available utilities added to a firewall list:
ufw app listWe need to find this lines, which we are going to add in the future:
Nginx Full – responsible for ports 80 (HTTP – normal and traffic is not encrypted) and 443 (HTTPS – encrypts traffic using TLS/SSL protocols)

Nginx HTTP – normal and traffic is not encrypted

Nginx HTTPS – traffic is crypted via TLS/SSL

OpenSSH – remote connection to the server via port 22
Firstly lets turn on acces for a port 80:
ufw allow 'Nginx HTTP'Check the status of adding rule in firewall you can with that command:
ufw statusAs a result we can see a list with Nginx HTTP – Allow – Anywhere.
Checking Web-server
After installing of a package, system is automaticaly starting utility, you need to add a logon for Nginx starting, after that beyond restarting system our web-server will be automatically turned on.
Status of utility you can check using:
service nginx statusAccording to the results we can ensure that web-server is succsefully started. After that we need to check on our main system that Nginx is available. Open a browser and in the adress bar type your server adress. To see your adress use this comnmand:
curl ifconfig.meResult - adress wich we should type in the adress bar.
After transition on a page we can see this:
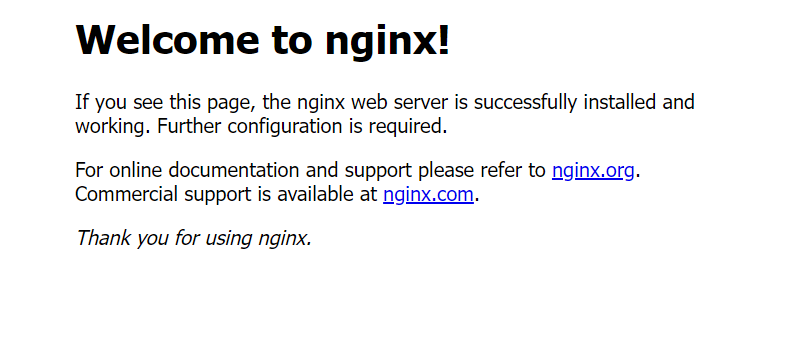
On this step we already installed and configured Nginx. And we configured acces to Web-server from external host.
Nginx process managment
Nginx process managment is running using some command lines starting with systemctl, # sign - is a commented line, and we put some infromation about what the code actually do in it:
start nginx # starting nginx

reload nginx # if the configuration changes and performs a reboot without disconnecting the connection

restart nginx # restarting service

stop nginx # stopping service

disable nginx # disable from system auto-upload

enable nginx # enable to system auto-upload
We just looked through some usefull command for working with Nginx.
Configuring server block (Recommended)
To use Nginx lets use server block part of web-server. Actually you can use encapsulation of details to configure and deploy more than one site on your server.
Lets look on serverspace.tm domain configuration, you need to buy a domain to review Nginx test work.
In Nginx one server block is turned on, and it is processing the configuration from the /var/www/html directory. This variant is good for one deployed site, but will prevent web-server work if you are going to deploy more than one site on one server. Best way to fix this is to separate an additional website from the main directory.
Lets create a new directory with "-p" key in /var/www/:
mkdir -p /var/www/serverspace.tm/htmlTo avoid permission issues, from the application that owns the domain document's root directory and all files in the directory, use Nginx ( www-data ):
sudo chown -R www-data: /var/www/serverspace.tmAfter that in /var/www/serverspace.tm/html directory lets create file with index.html as a name, let's make some changes using any text editor with you prefer and paste the following piece of code into the file.
<!doctype html>

<html lang="eng">

<head>

<meta charset="UTF-8">

<title>Welocme to a ServerSpace.tm</title>

</head>

<body>

<h1>Successfully! Your domain ServerSpace.tm is working! </h1>

</body>

</html>
Save file and exit it.
Let's execute the output with further file saving.
If you want Nginx to process that file, you need to create a configurating file to process current directory. Instead of editing default configuration file, lets create a new file for our domain in /etc/nginx/sites-available/ directory:
vim /etc/nginx/sites-available/serverspace.tmAdd this configuration, and content from index.html will be processing:
server {

listen 80;

listen [::]:80;
root /var/www/serverspace.tm/html;

index index.html index.htm index.nginx-debian.html;
server_name serverspace.tm www.serverspace.tm;
location / {

try_files $uri $uri/ =404;

}

}
After that lets create symbolic link of the file in the /etc/nginx/sites-enabled/ directory to Nginx to process then web-server is started.
ln -s /etc/nginx/sites-available/serverspace.tm /etc/nginx/sites-enabledSymbolic link resembles a label, in the main folder sites-available you can make changes in the configuration file and the changes will affect the file from the sites-enabled directory.
To avoid problems with cache memory that occurs due to additional server names, uncomment line server_names_hash_buckets_size 64 in the file /etc/nginx/nginx.conf:
vim /etc/nginx/nginx.confhttp {
...
server_names_hash_buckets_size 64;
...
}
...Save file and lets connect.
Check configuration accuracy via:
nginx -tIf no errors occure, lets restart Nginx process and type in the search bar:
http://serverspace.tmAs a resilt we will have that page:

Conclusion
In our instruction we looked through:
- Nginx package installation;
- Firewall configuration using ufw utility;
- Domain testing with Nginx web-server.


