Previous episode
In the previous episode we delved into the concept of automating the creation of network data profiles, which proves invaluable in tackling intricate and uncertain scenarios. That should help our system to create normal profile traffic to identify legitimate users and requests. But we need to automate usage this profile, because of manually in a large network infrastructure possibility to control and filtering traffic is quite small. In that instruction, we will consider installation of IPS/IDS system: rapidly deployment. Let’s have a look!

Software
For our purposes we will use pretty popular and open—source solution, which provide a large degree of stability in deployment, the audit will add confidence in the security of the software. Bundle of Snort and Snorby represent main module with IDS/IPS and web interface accordingly order. By incorporating Snort into your deployment, you gain its extensive rule-based detection capabilities. Snort examines network traffic and compares it against a predefined set of rules to identify potential security threats such as malware, network attacks, or policy violations. It can actively block or alert on suspicious activity, providing an added layer of security to your system.
Install and exploit
At the beginning write this command to update the index of the package :
sudo apt update –y && sudo apt upgrade –y
All packages and path to utility will be update, but pay attention to choose command for upgrade this. Because of this command less stable than upgrade, however, it's you decision. For the next stage install Docker, if say about this utility in two words: compiled application. You don't need to find repositories with deprecated libraries and manually writes path for connecting different modules in your system. Rapidly deployment and comfortable usage:
sudo apt install docker.io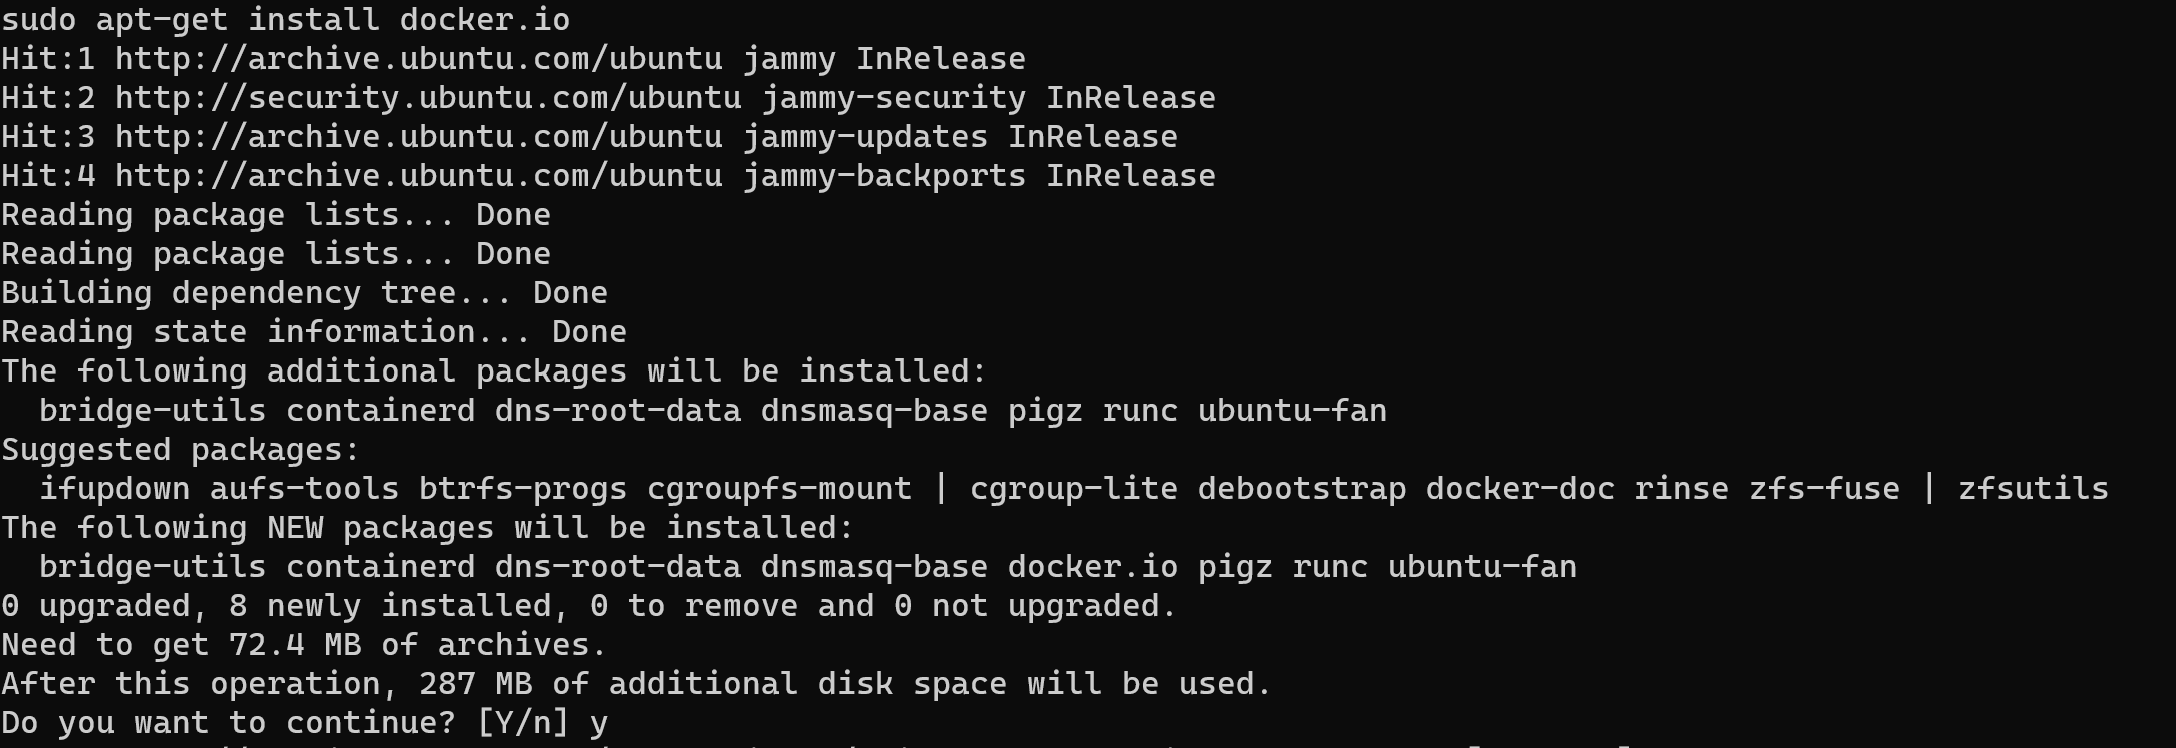
After this check how finished installation and how process was started via command below:
systemctl status docker
Below of summary information we can see journal of process, make shure that all packets are alright, such as in the picture above! Next we have to login into Docker repository and register on the site:
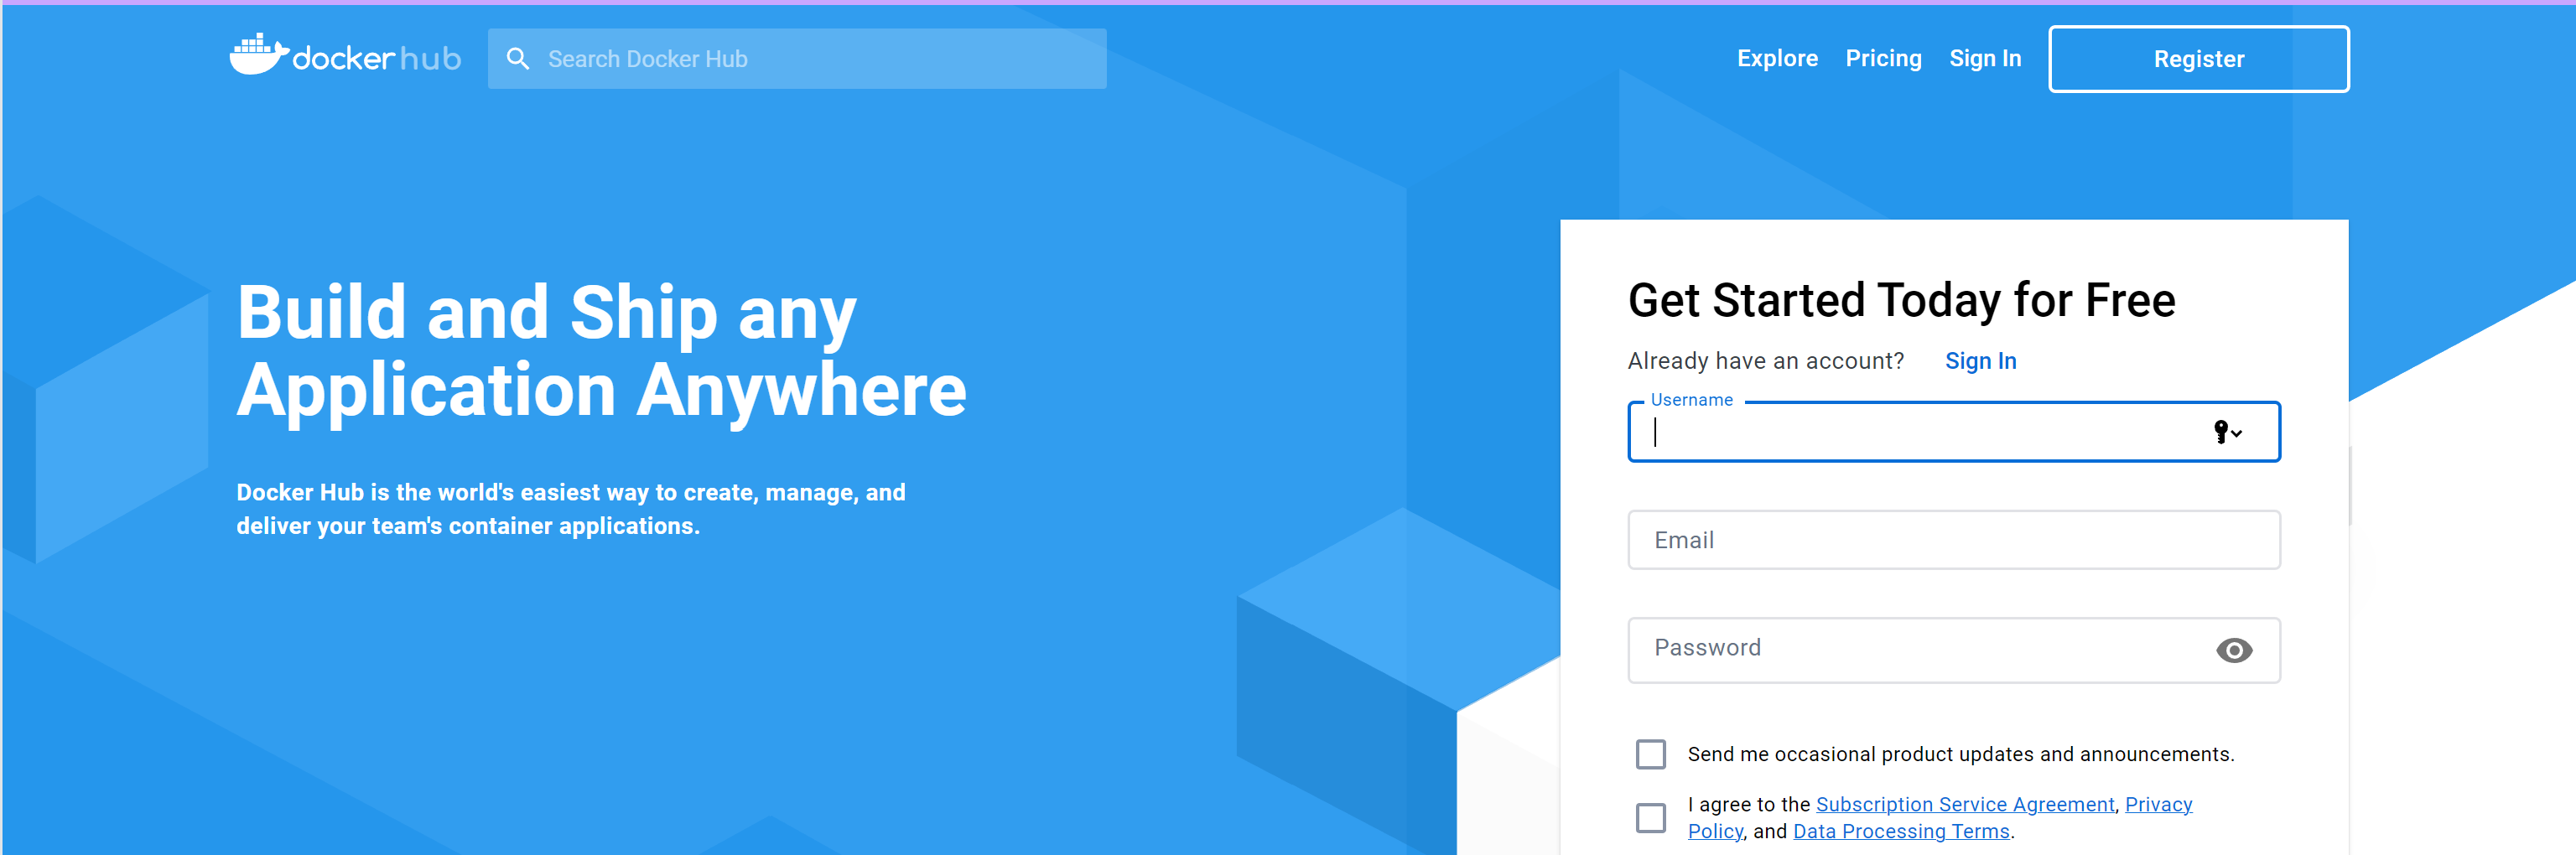
Fill all needed credentials and confirm your email, then login on the server via command:
docker login
When you enter the password, you will not see anything data excluding login. Now we can start pulling or downloading Docker container. Process is pretty simple. Enter command below:
docker pull ciscotalos/snort3

docker pull polinux/snorby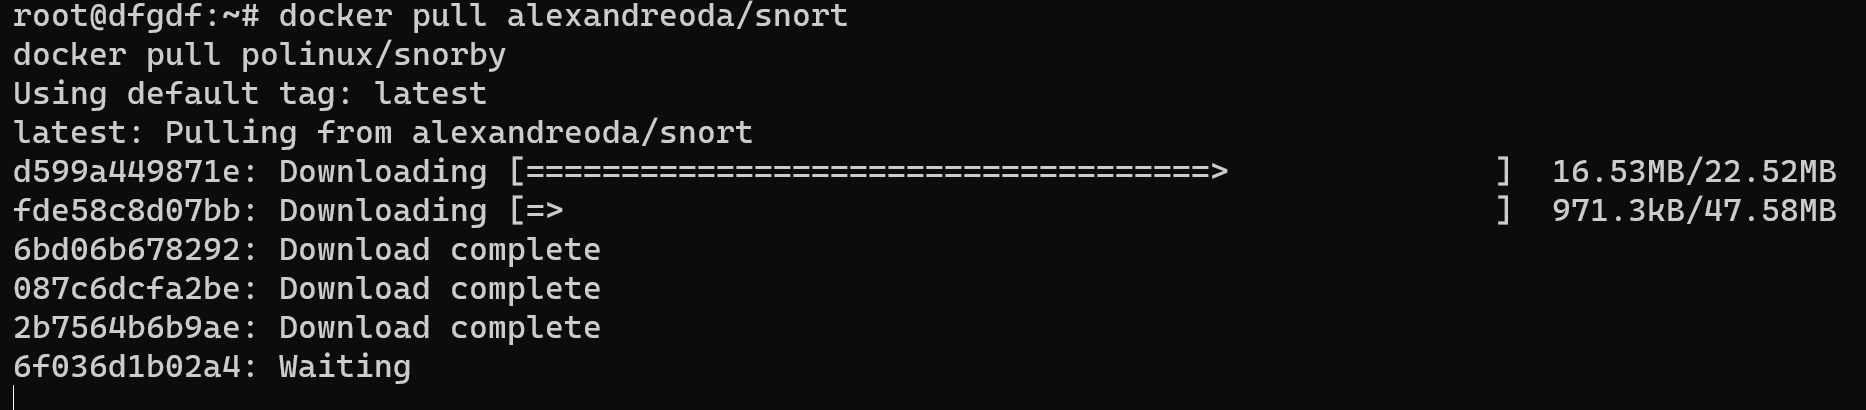
However, for normal the system to work, we also need database, which will POST and GET information for our system. Let's install:
docker pull million12/mariadbdocker run \
-d \
--name snorby-db \
-p 3306:3306 \
--env="MARIADB_USER=admin" \
--env="MARIADB_PASS=admin" \
million12/mariadb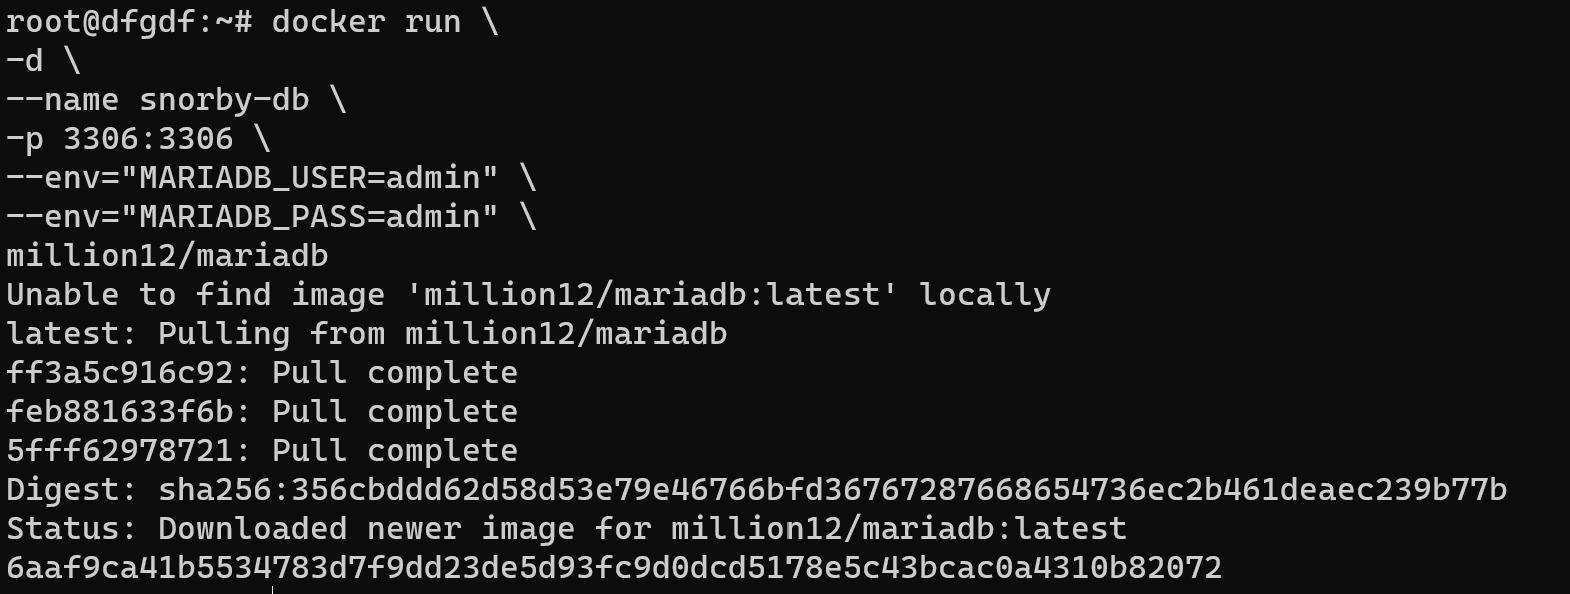
In line indicate user login and password, enter your credentials and save in secure folder! Then run container with main module:
docker run --name snort3 -h snort3 -u snorty -w /home/snorty -d -it ciscotalos/snort3 bashdocker run \
-d \
--name snorby \
-p 3000:3000 \
--env="DB_ADDRESS=localhost:3306" \
--env="DB_USER=admin" \
--env="DB_PASS=admin" \
polinux/snorbyAfter running this component we cause CLI version:
docker exec -it snort3 bash
After that you will see bash shell which you can use for configurating IDS/IPS. You have to use normal traffic profile that we build for seven days and set parameters accroding to them or you can use examples of security. For go out bash shell of container you need to type:
exitThen we need install graphical shell for use Snorby:
sudo apt install ubuntu-desktop
Open web console and type data:
Go to the http://localhost:3000 and enter default credentials Username: snorby@snorby.org and Password: snorby
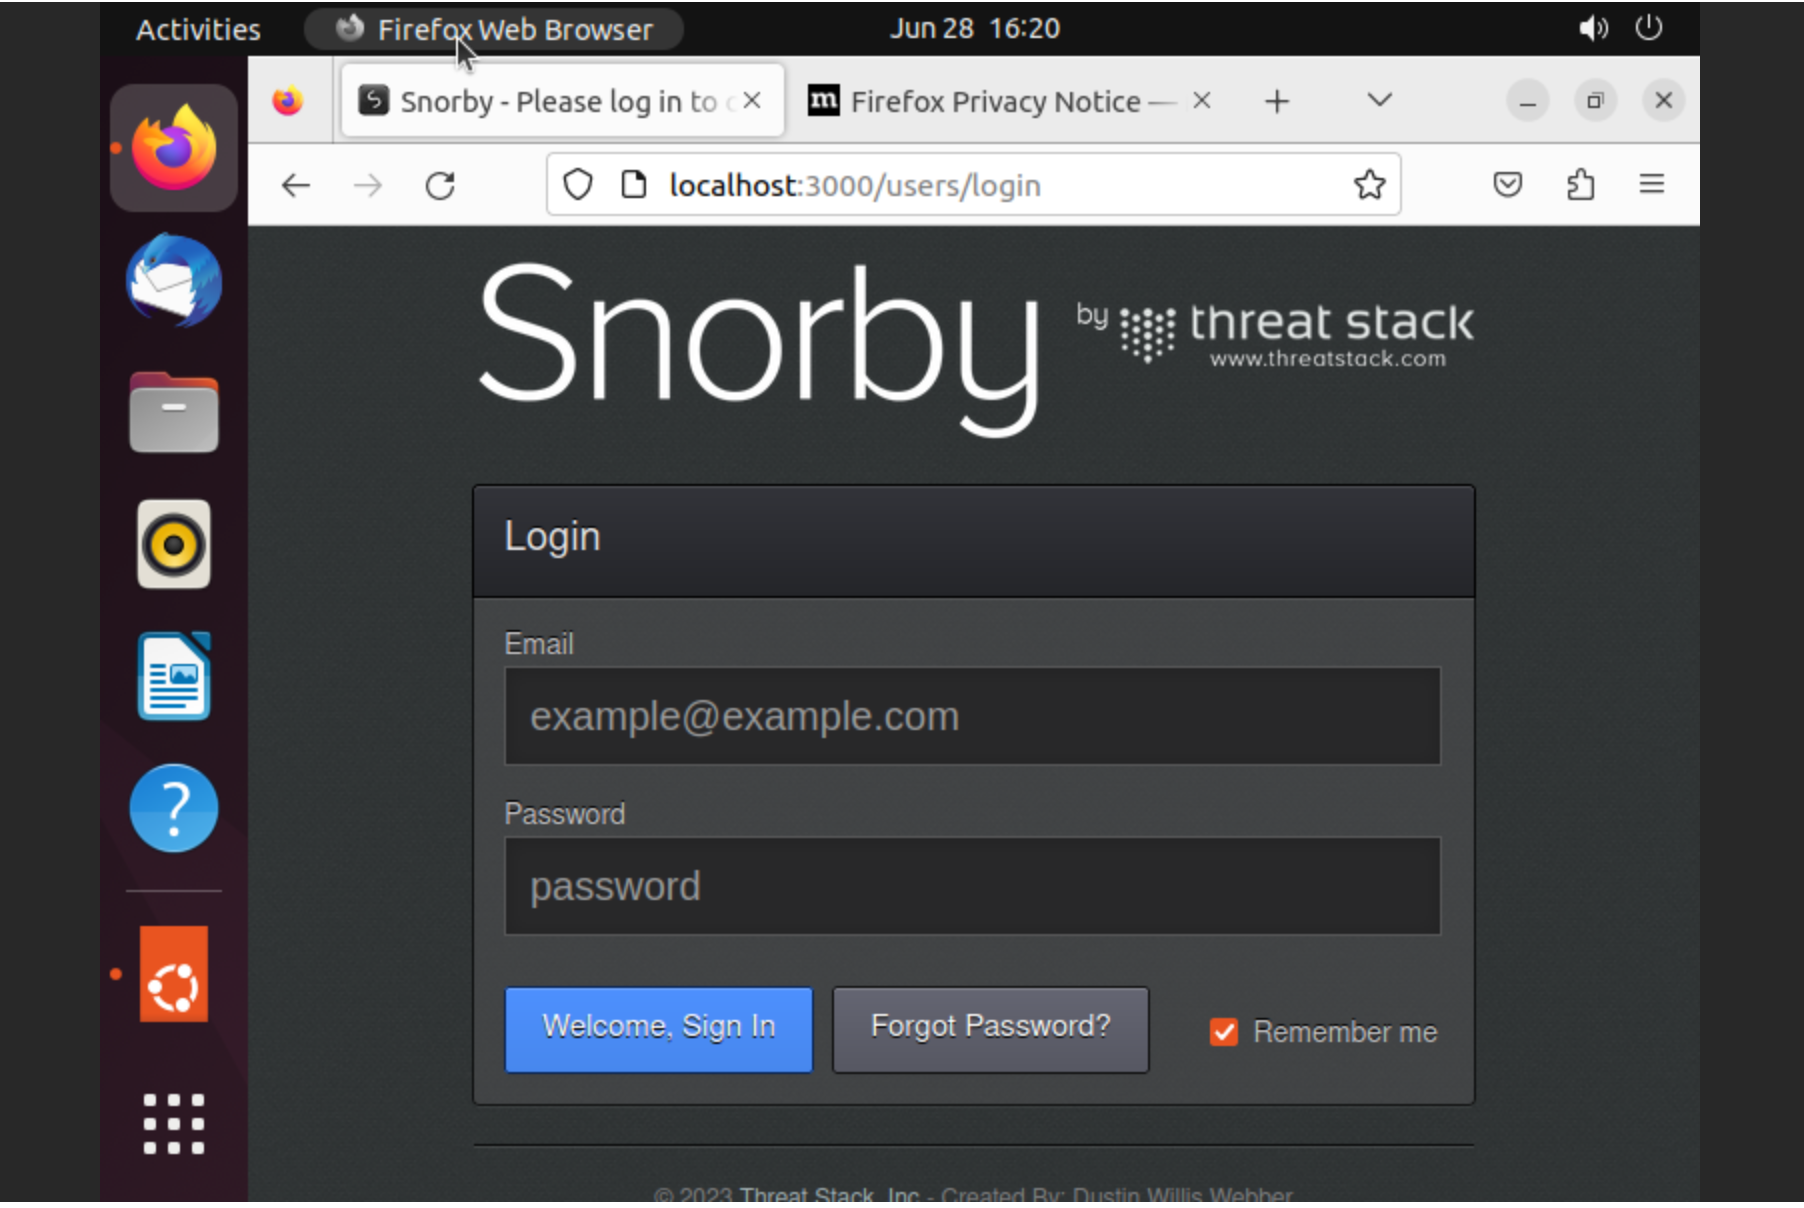
And system successfully was installed!
Conclusion
We introduced the installation of an IPS/IDS system for rapid deployment. We opted for a popular open-source solution that provides stability and security auditing—the combination of Snort and Snorby. Snort, functioning as the main module with IDS/IPS capabilities, examines network traffic against predefined rules to detect potential security threats and can actively block or alert on suspicious activity. Snorby complements Snort by offering a web interface for convenient management.
The installation process involved updating the package index and upgrading the operating system. Docker, a compiled application facilitating rapid deployment and easy integration of modules, was installed. The status of the Docker service was checked to ensure a successful installation. Subsequently, login credentials were obtained from the Docker repository, and Docker containers for Snort, Snorby, and the necessary database (Mariadb) were pulled.
To set up the database, a container named snorby-db was run with appropriate environment variables for user login and password. Similarly, containers for Snort (snort3) and Snorby were launched, with Snorby configured to connect to the MariaDB instance. Accessing the Snort container's bash shell allowed for further configuration of the IDS/IPS system using either a customized traffic profile or predefined security examples.


