Intro
Samba is an open-source implementation of the SMB protocol used for file and printer sharing in Windows networks. It lets you publish folders on a CentOS server and grant controlled access to Windows, Linux, and macOS clients using authentication and permissions. In this guide, you’ll install Samba, create a secure share, configure smb.conf, add users, and make the setup actually work on CentOS by handling firewall rules and SELinux contexts.
Install Samba
Initial, deploy programs by inserting:
sudo yum install samba samba-client samba-common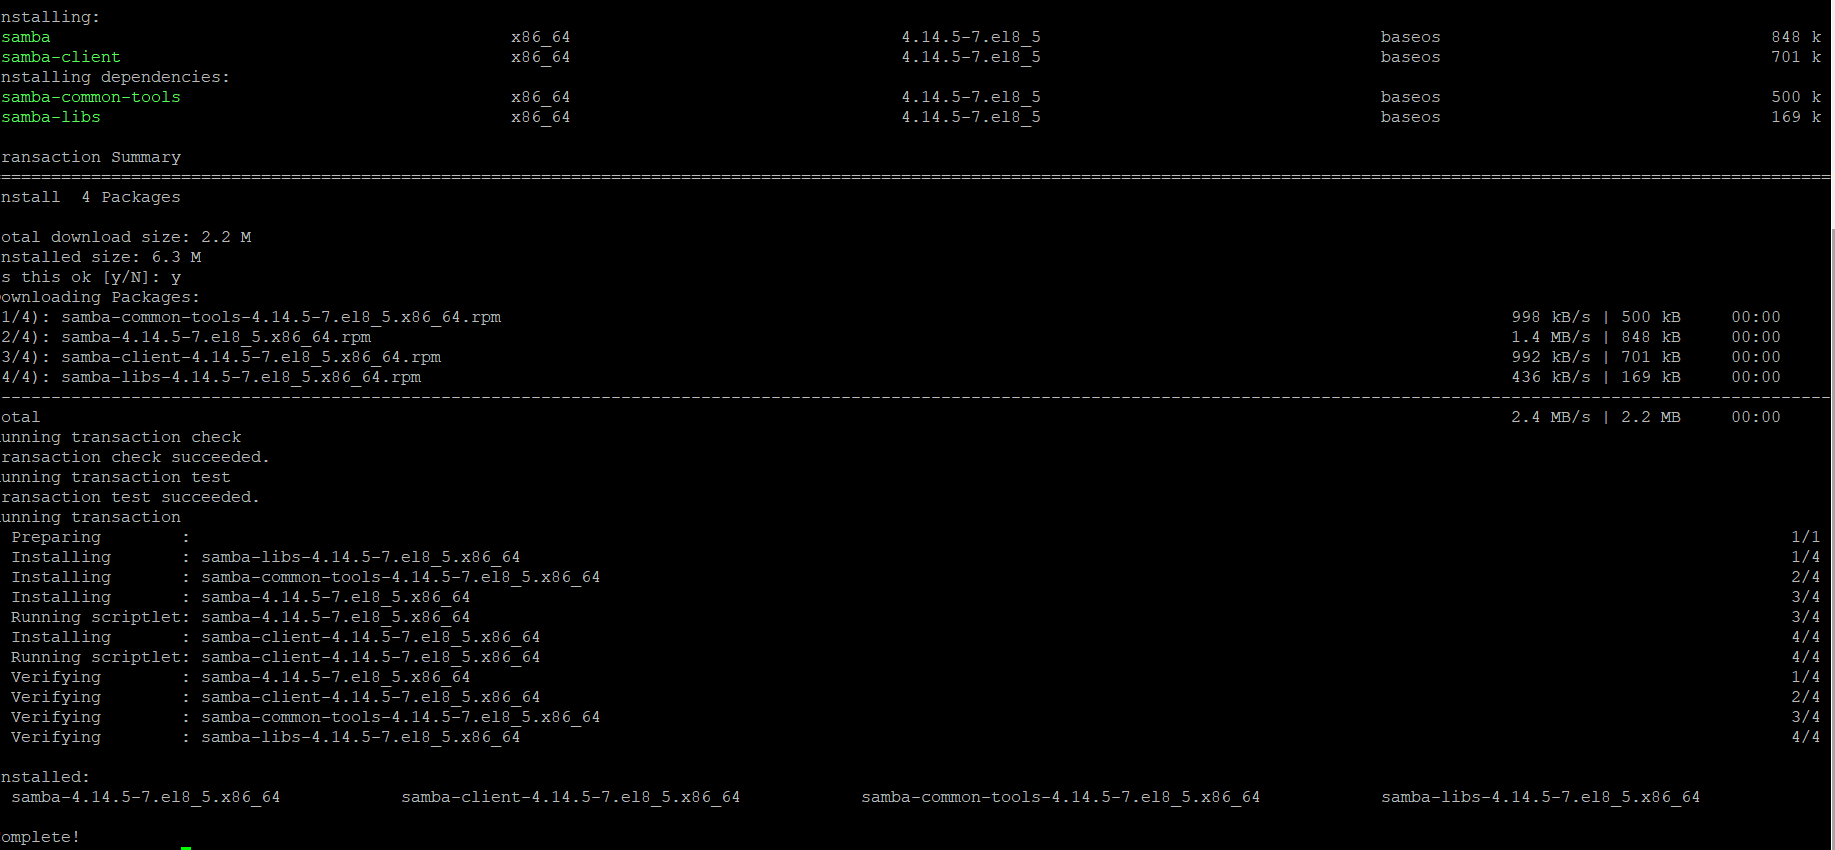
Making shared catalogs
Making catalogs for file sharing is the next process.
Do it:
sudo mkdir /home/username/share1Operating system support creation multiple directories for different users or groups.

Configuration
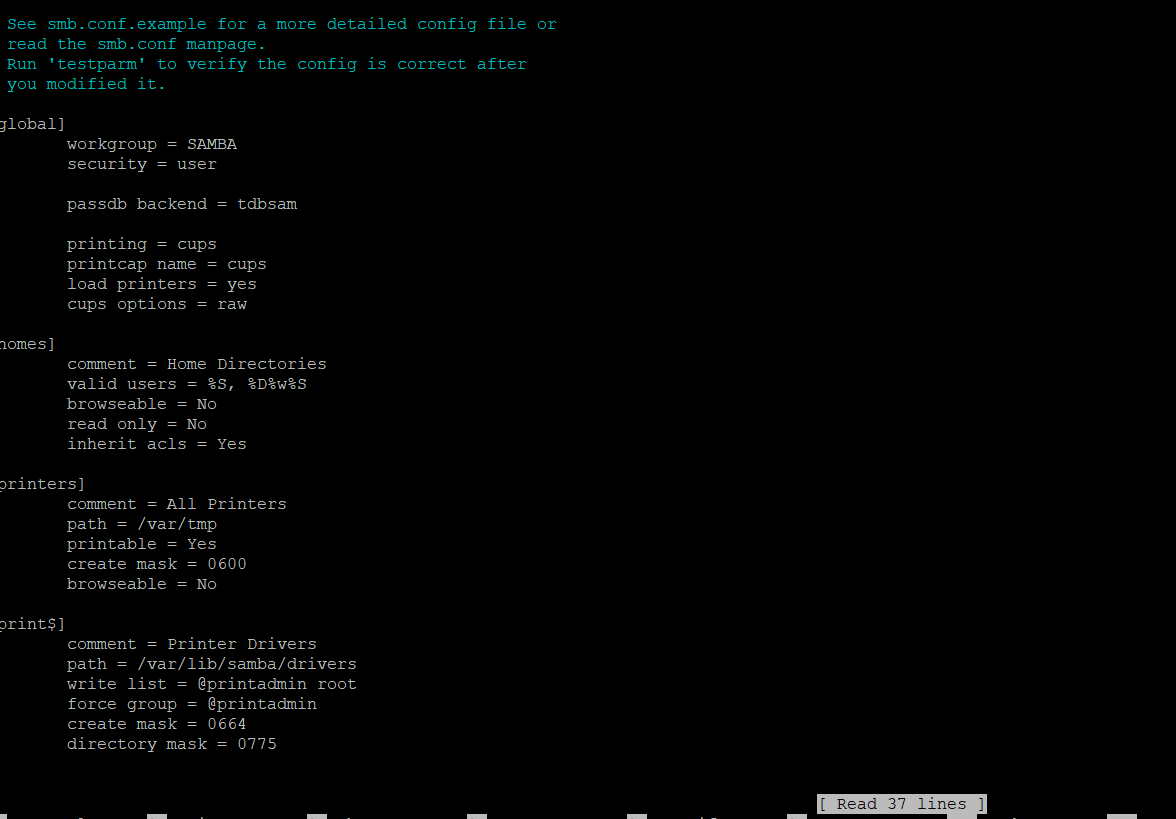
Afterward, it is necessary to modify config file /etc/samba/smb.conf. Perfom:
sudo nano /etc/samba/smb.confThat file contains many lines of code.
For application to start correctly, let s edit some of them.
Access settings
Access settings must be configured by adding the lines:
[share1]

path = /home/username/share1

valid users = username

read only = no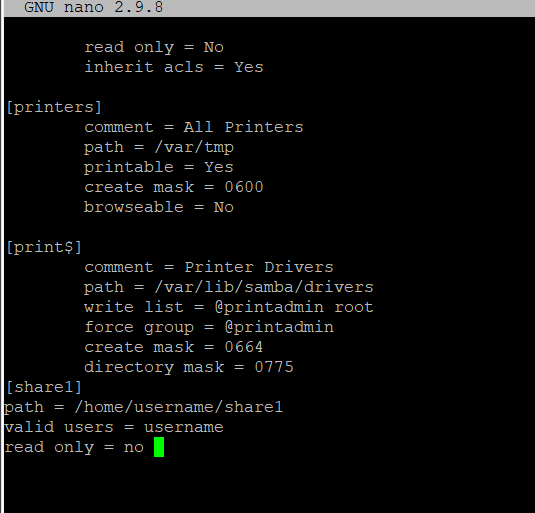
Creating Users
To create Samba users, perform:
Create user in OS:
adduser usernameThen set password in smb:
sudo smbpasswd -a username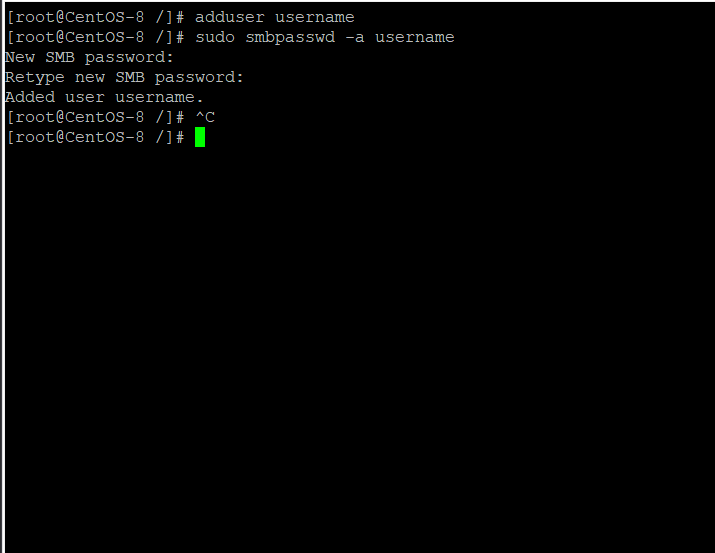
Restart Samba
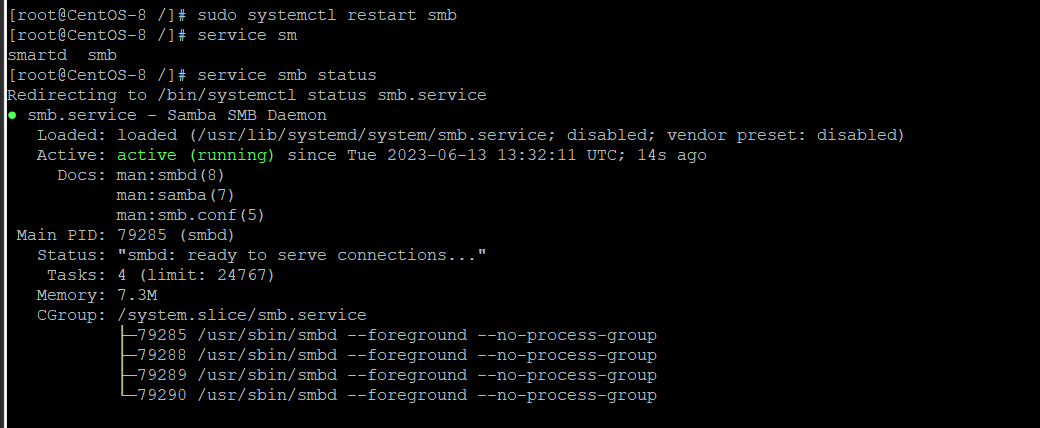
Finally, we restart the Samba service to apply the settings by typing:
sudo systemctl restart smbYou can now try to connect to shared folders from another computer on the network using the username and password you created earlier.
Conclusion
Samba is a practical way to enable file (and optionally printer) sharing in mixed Windows/Linux networks using SMB with authentication and permissions. In this guide, you installed Samba on CentOS, created a share, configured smb.conf, added a Samba user, and restarted services to apply changes.
To keep sharing reliable and secure, don’t skip the “CentOS specifics”: allow the Samba service in firewalld, set proper SELinux contexts for shared folders, and harden the server by requiring modern SMB protocols (SMB2+).
You may be also interested in
FAQ: Setting Up Samba on CentOS
- Q1: What is Samba used for?
Samba is open-source software that enables file and printer sharing across Windows, Linux, and other operating systems. It allows devices on the same network to access shared resources securely. - Q2: Can I use Samba only with Linux systems?
No, Samba is cross-platform. It works with Linux, Windows, and macOS, making it ideal for mixed-OS environments. - Q3: How do I check if Samba is running on CentOS?
You can use the command:systemctl status smbIf Samba is active, you will see its status as “running.”
- Q4: Do I need to create a separate Samba user?
Yes. Besides creating a system user, you must add the user to Samba with smbpasswd -a username to enable access. - Q5: Is Samba secure for file sharing?
Yes, Samba supports user authentication, encrypted connections, and configurable permissions, which make it secure when properly configured.
Cheatsheet table
| Task | Command | Notes |
|---|---|---|
| Install Samba |
sudo yum install -y samba samba-client samba-common samba-common-tools |
Installs server + client utilities |
| Create share folder |
sudo mkdir -p /home/username/share1 |
Use a real username/path |
| Set ownership |
sudo chown -R username:username /home/username/share1 |
Ensure the user can read/write |
| Install SELinux tools |
sudo yum install -y policycoreutils-python-utils |
Needed for semanage |
| SELinux: allow share path |
sudo semanage fcontext -a -t samba_share_t "/home/username/share1(/.*)?" |
Makes it persist across reboots |
| Apply SELinux context |
sudo restorecon -Rv /home/username/share1 |
Fixes “works in config but denied” issues |
| Edit Samba config |
sudo nano /etc/samba/smb.conf |
Add share section + (optional) hardening |
| Validate config |
testparm |
Catches syntax errors before restart |
| Create OS user |
sudo adduser username |
Samba users map to Linux users |
| Add Samba user + password |
sudo smbpasswd -a username |
Creates SMB password for login |
| Enable & start services |
sudo systemctl enable --now smb sudo systemctl enable --now nmb |
nmb is useful for NetBIOS name resolution |
| Restart Samba |
sudo systemctl restart smb |
Run after config changes |
| Open firewall for Samba |
sudo firewall-cmd --permanent --add-service=samba sudo firewall-cmd --reload |
Opens 137–139 + 445 as a service |
| Check service status |
systemctl status smb |
Should show active/running |
| Test shares locally |
smbclient -L localhost -U username |
Lists shares as the user |
| Connect from Windows |
\\SERVER_IP\share1 |
Use Samba username + password |


