How to Install GNOME GUI on CentOS 7 Using Terminal Commands
GNOME is part of the GNU project and is a desktop graphical interface (GUI). It uses the KISS (Keep it simple, stupid) principle and is the standard GUI for many distributions such as Debian, Fedora, Red Hat Enterprise Linux, Kali Linux, etc.
In this article, we will explain how to install the GNOME GUI on the base version of the CentOS 7 operating system. Since this system works in command line mode (CLI), as an example we will use a set of commands for the terminal.
Installation
We assume that you have already installed CentOS (if not already, you can rent VPS with this operating system), and you have root or superuser rights. In this case, we will write commands as the root user. If you are not a root user, just put sudo before all commands.
Upgrade your system
First, we update the system. This is not always required, but doing so is good practice:
yum updateWe are waiting for the installation of updates to complete and move on to the next step.
Install GNOME packages
Now we install the GNOME packages. To install them, we will use a command that installs all packages related to the GNOME GUI:
sudo yum -y groups install "GNOME Desktop"Configure the X Window System
The program that runs the graphical environment on most Linux systems is called the X Window System. So, firstly, you must tell the X Window System that GNOME is the default GUI. To enter this command:
echo "exec gnome-session" >> ~/.xinitrcNow we have finished installing GNOME and configuring the X Window System. Let's verify this by entering the command:
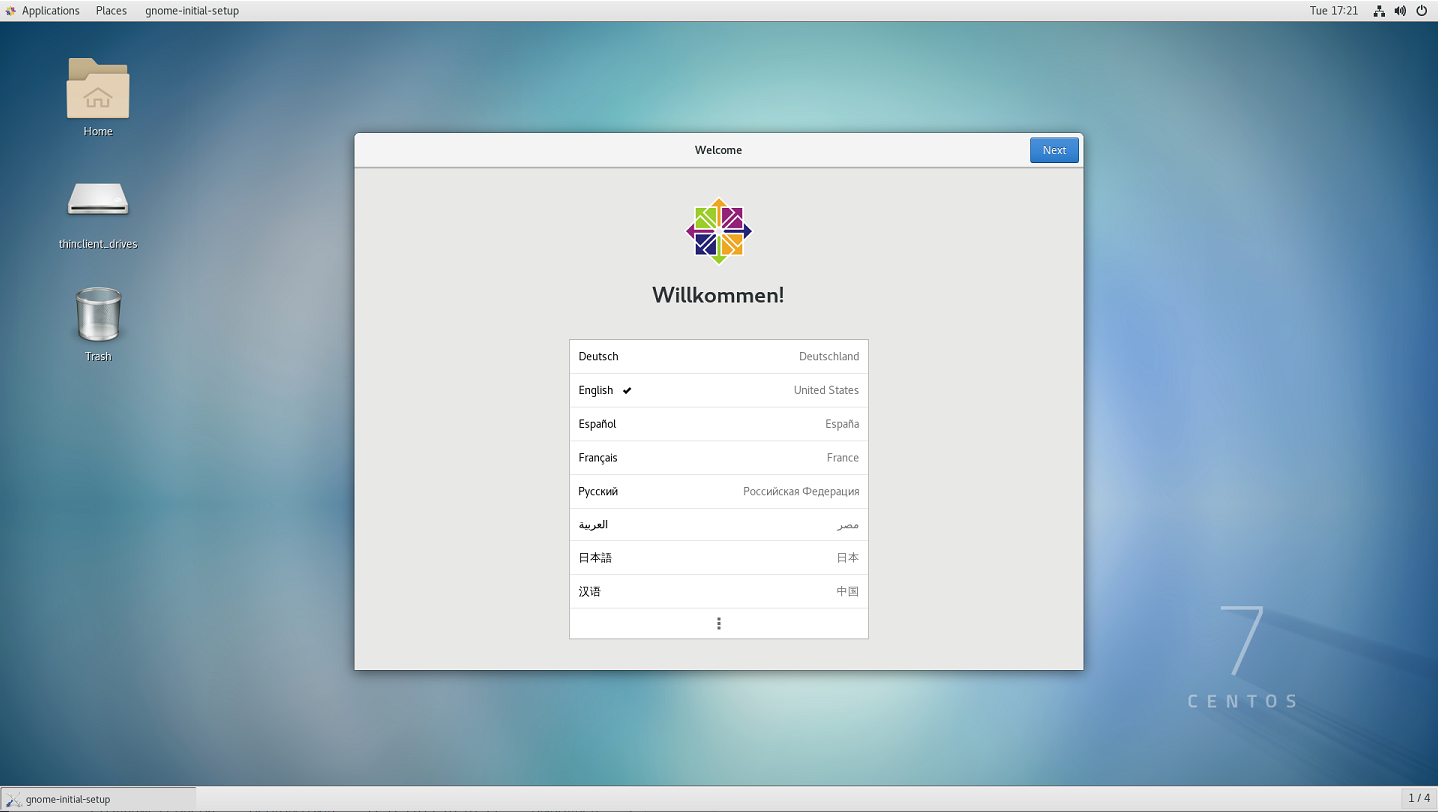
startxAfter running this command, you will see the GNOME GUI, similar to the image below, which means that it works:

 700
300
 700
300
 700
300


