What is 3proxy and why it could be needed
Usually there are two reasons to use proxy:
- Needs to hide real IP and improove anonimity;
- To "bypass" restrictions and get access to the resource if it has geo-lock.
One of the simplest way to goal this aims is 3proxy service
Requirements
Before starting the setup you should ensure that you have:
- Server which will work as "exit-node". No much powerful needs, 1 CPU core, 5-10Gb of drive space and 1Gb RAM is enough. High speed connection and unmetered data-trafic are wishful;
- Non-deprecated OS (Ubuntu 20.04 e.g.);
- Privileged access to this server.
Install and setup
Setup is very simple. Just open SSH-session on the server and run one-line command:
wget https://github.com/z3APA3A/3proxy/releases/download/0.9.3/3proxy-0.9.3.x86_64.deb; dpkg -i 3proxy-0.9.3.x86_64.deb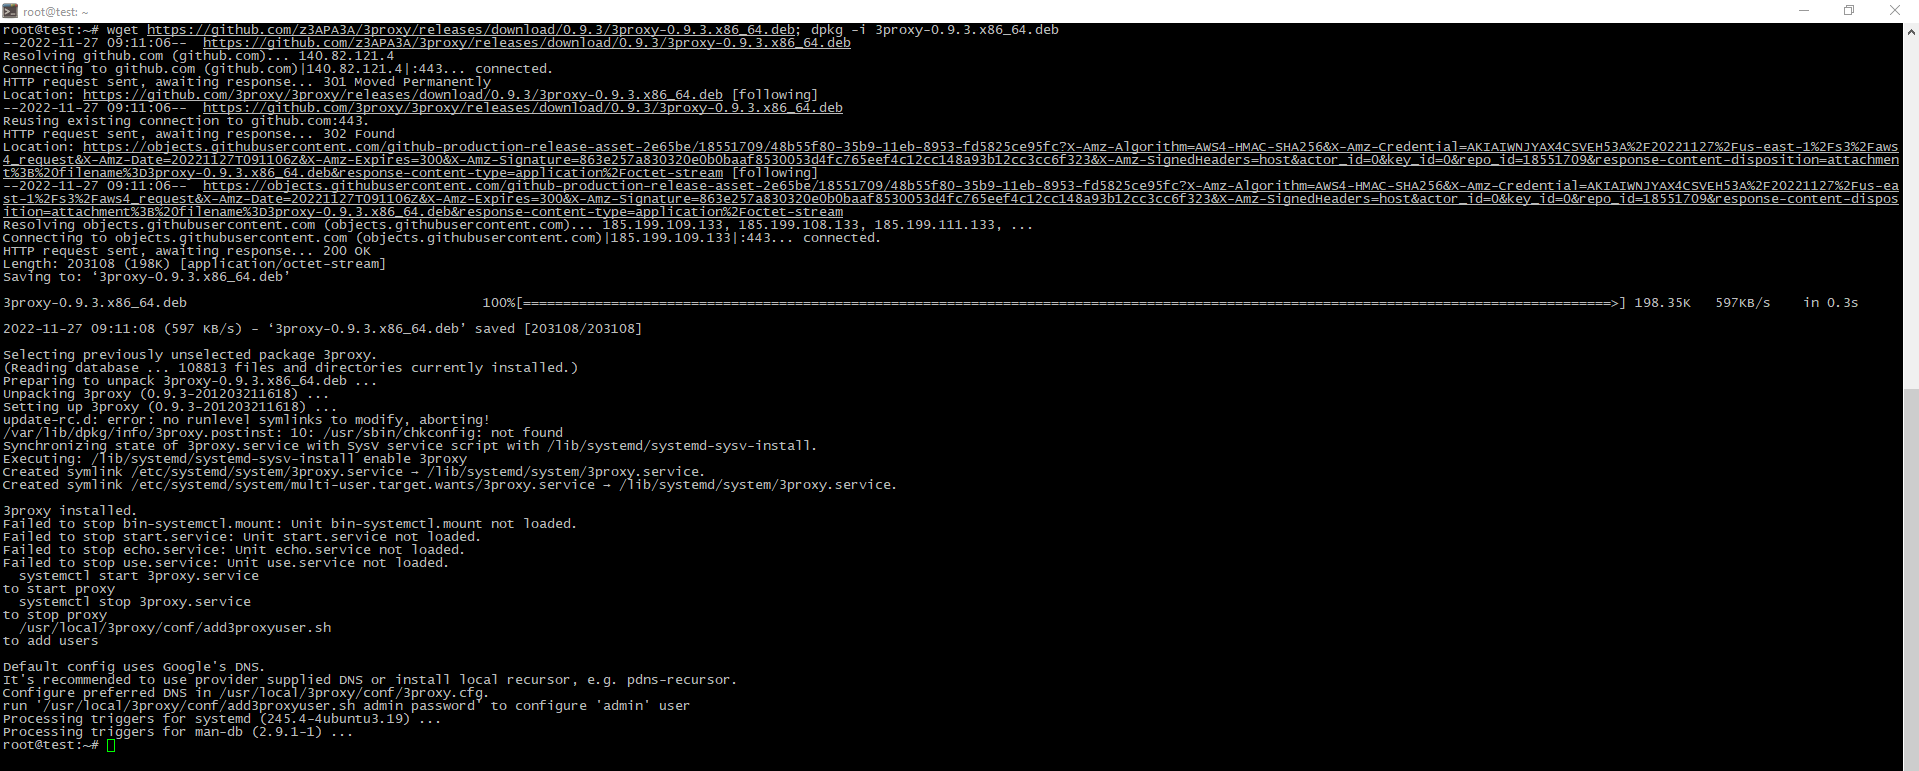
To configure service you should edit app settings file. Let's go to setup SOCKS5-proxy, command below will add some necessary directives:
cat <<EOF > /etc/3proxy/3proxy.cfg

nscache 65536

nserver <preferred_DNS-server>

config /conf/3proxy.cfg

monitor /conf/3proxy.cfg

log /logs/3proxy-%y%m%d.log D

rotate 60

counter /count/3proxy.3cf

users $/conf/passwd  # proxy accounts stores in this file

include /conf/counters

include /conf/bandlimiters

auth strong

deny * * 127.0.0.1

allow * * * 80 HTTP

allow * * * 443 HTTPS

socks -n -p<listening_port> -a

flush

allow

maxconn <max_simultaneous_connections>

EOF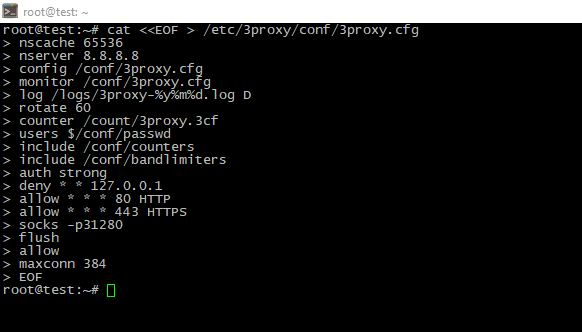
Allow service port in the firewall:
ufw allow <listening_port>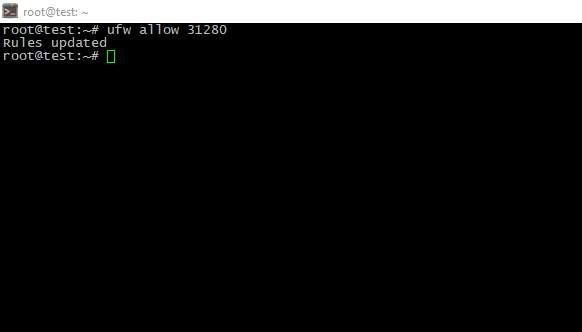
Start the service and check it's status:
systemctl enable 3proxy && service 3proxy start && netstat -tlpn | grep prox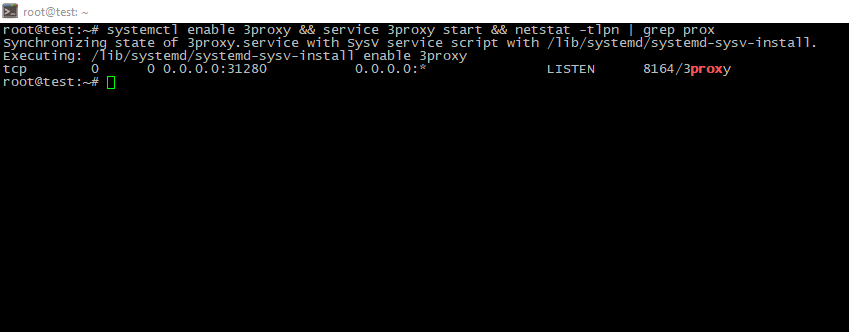
Then time to add proxy users. Run package mantainer's script to do this:
/etc/3proxy/conf/add3proxyuser.sh <proxylogin> <proxypassword> <daily_trafic_limit_in_MBs> <network_speed_limit_in_bits_per_second>Last two parameters is optional, no restrictions if undefined.
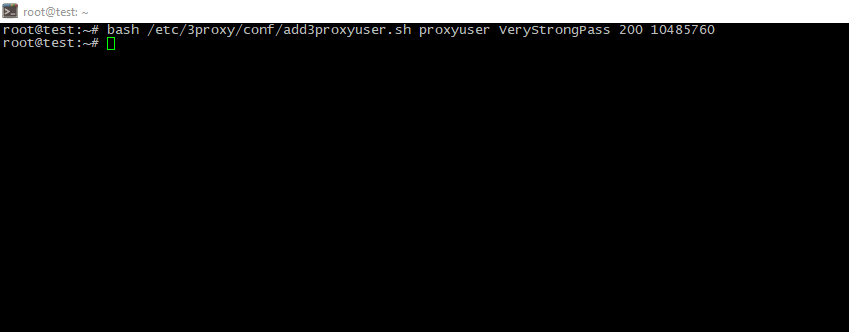
Restart the service
systemctl restart 3proxyResult checking
The simplest way to ensure proxy is real working is CLI-request. Just run on your computer:
curl -I -x socks5://<proxyuser>:<proxypassword>@<server_IP>:<proxy_port> https://serverspace.io | grep HTTP
Gained "code 200" means proxy is working well. So, you may use it in your browser or other software client.
Conclusion
In this article I explained why you may be needed to have your own proxy and how to setup it in a few minutes on Ubuntu 20.04 LTS


