
Introduction
GNOME is a free and open-source desktop environment for Linux, designed to provide a clean, user-friendly graphical interface. On Oracle Linux 8.6, installing GNOME can be useful when you need a full GUI for administration, troubleshooting, or running desktop-only tools on a server. In this guide, you’ll install GNOME (“Server with GUI”), configure TigerVNC for remote access, and secure the connection using an SSH tunnel instead of exposing VNC to the internet.
You can create a server in Serverspace with pre-installed operation system Linux Oracle.

Getting started
I'm pre-logged on the server, I enter privileged mode, so that I don't have to run commands through "sudo" every time.
suBefore installing a graphical shell on your server, update your programs by typing the command.
yum updateAfter refresh programs, install GUI on machine.
yum groupinstall "Server with GUI"The installation could take up to 15 minutes.
After installing GUI, change default settings as a graphical shell.
systemctl set-default graphicalTo accept changes reload your machine.
rebootConfigure the configuration file
After restarting machine we have to edit the parameter in the config file using a text editor of your choice.
nano/etc/gdm/custom.conf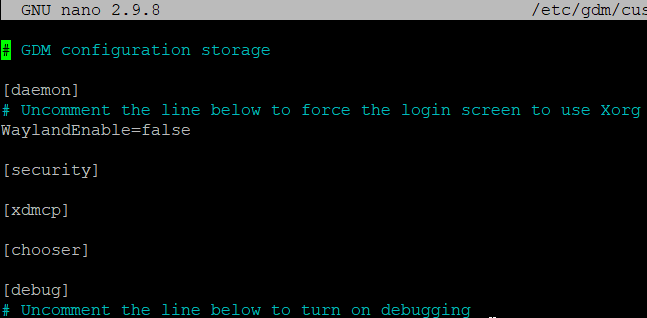
Installing GUI server
Install the required packages.
yum install -y tigervnc-server tigervnc-server-moduleAfter setup the VNC server, we should create password for remote connection.
vncpasswdAt this command, you can create pass only for viewing remote screen, create if u need.
This way the user has no rights to access the server but has rights to view the operation screen.
Configuring GUI
To connect remotely via VNC you must first specify which users are allowed to connect by entering the username in the configuration file.
Modify the config file with a text editor.
nano /etc/tigervnc/vncserver.usersI give access for my profile, you could change for your username.
Note: Don't forget to save the configuration file before quitting!
You have an option to change your resolution of remote connection.
Modify the argument file.
nano /etc/tigervnc/vncserver-config-defaults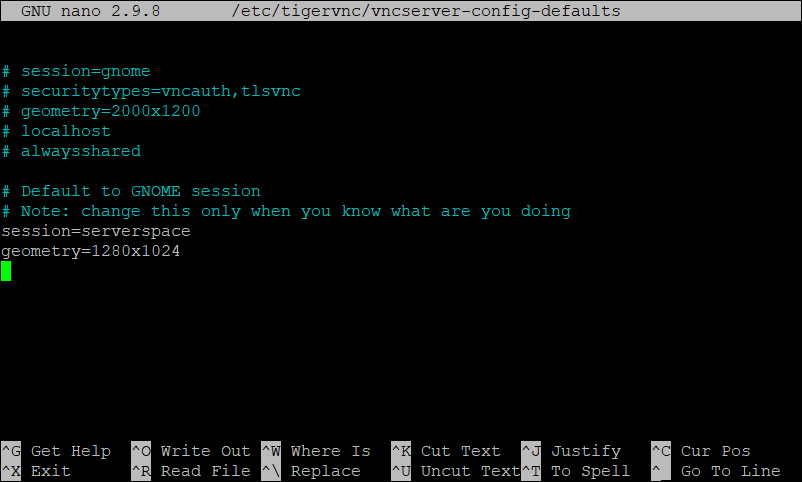
The parameter "geometry" is responsible for the screen resolution of the remote desktop.
Also in this configuration file you can change the name of the session, I changed it to "serverspace" for the test.
Reboot the system configuration files.
systemctl daemon-reloadLaunch and test
Start your GUI server with using port as we choose.
systemctl enable --now vncserver@:your port number.serviceTo check the status of our GUI server we need to run the command
systemctl status vncserver@:your port number.service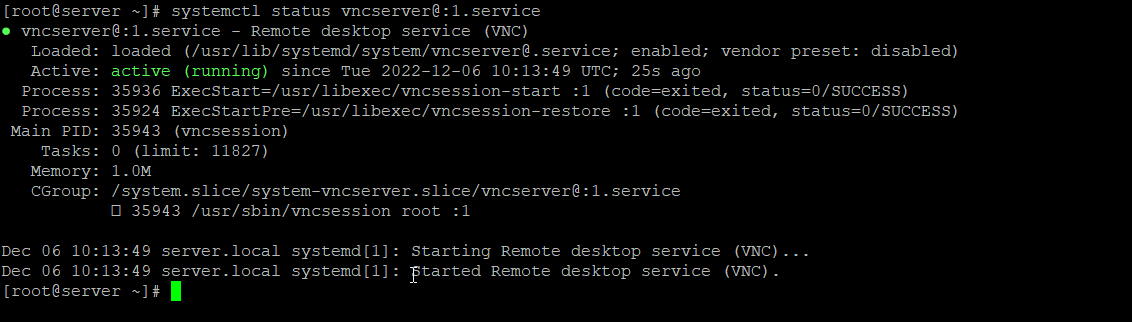
As we can notice Xvnc is listening 5901-port which sows that it is up and running.

I will demonstrate the connection using the program "VNC Viewer".

Specify the IP address of your server + the port you specified when you started the VNC server.
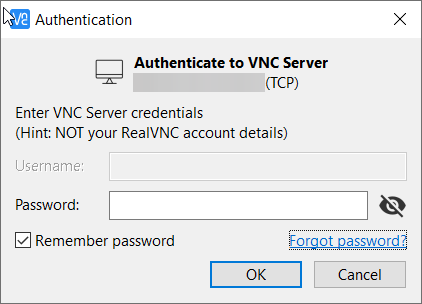
Use new created password for remote access, if you enter a "view only" that you cant change server settings.
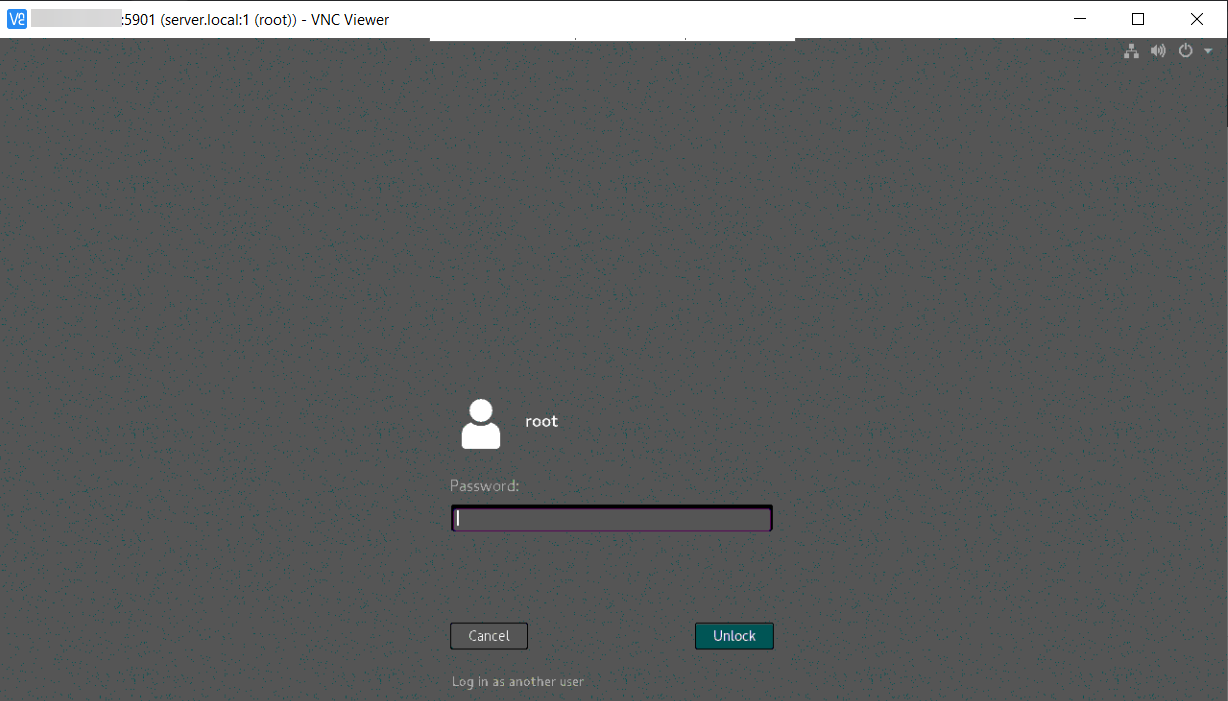
After you connect to vnc, you have to enter the password of the user you are connecting with, in my publication the password is the root user.
The optional security features
VNC sends the traffic unencrypted and this only makes you less secure because if the traffic is not secure the intruder can use this against you by intercepting the connection and get hold of certain data.
To avoid this, you can protect yourself by creating a unique connection and giving instead of our ip address, the name of the local machine, so the attacker will not know the ip address of the server we connect to.
The whole connection process will be done under Windows 10.
Since I use ssh authentication via keys I previously created them on my computer using the command.
ssh-keygen -t ed25519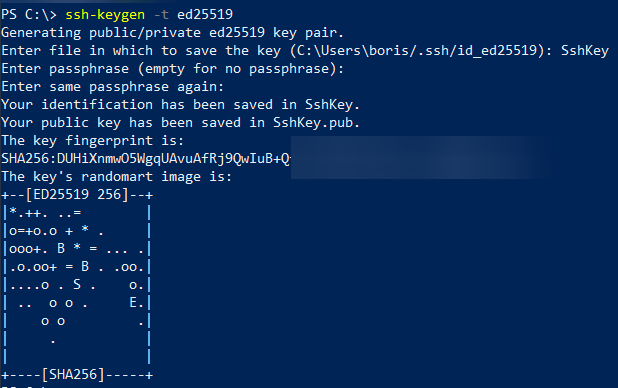
Created openssh key "SshKey" which will be located in the directory "C:\" to connect to the server remotely.
Specify the created public key in the configuration file of the allowed clients to connect.
nano ~/.ssh/authorized_keysCreate a unique connection using "powershell".
ssh -L 5901:localhost:5901 -i .\SshKey root@ip_of_your_server
After unique connection, open the VNC client and specify localhost:port instead of the ip of the server.
localhost:5901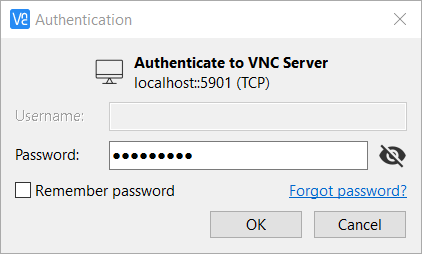
After that login the same way you did before, using the created VNC password.
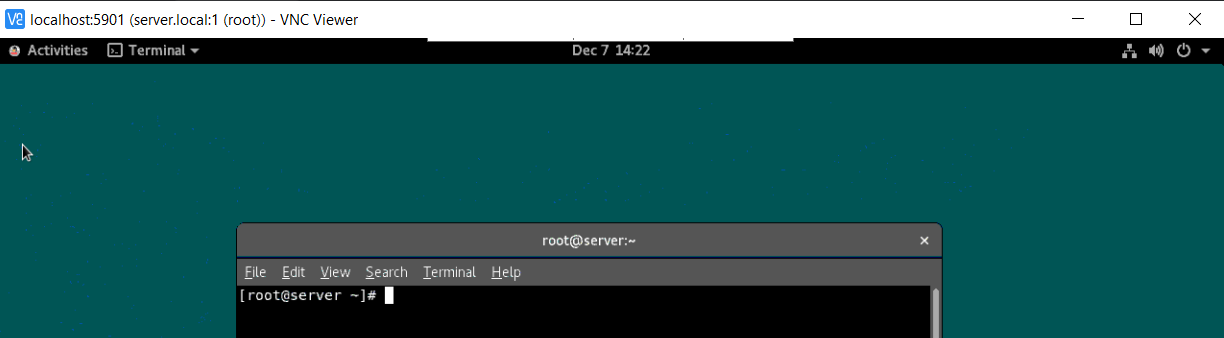
The connection is now successful!
Output
In this guide, you installed GNOME (“Server with GUI”) on Oracle Linux 8.6, switched the system to boot into graphical mode, and set up TigerVNC for remote desktop access. You also validated the service state and learned the safest default approach: don’t expose VNC to the internet — tunnel it through SSH port forwarding from your local machine.
If you need a Windows-native experience, consider xrdp as an alternative, but for quick GUI access and troubleshooting workflows, GNOME + TigerVNC + SSH tunnel is a practical, repeatable setup.
FAQ
- Q: Why install the GNOME graphical interface on a server?
A: A graphical interface makes it easier to work with the server, especially for users who are not familiar with the command line. GNOME provides a convenient visual environment, and with VNC you can remotely access the server with a full desktop experience. - Q: Can I use a remote access protocol other than VNC?
A: Yes, an alternative to VNC is xrdp, which allows you to connect to a Linux server using the standard Windows Remote Desktop (RDP) client. It can be more convenient in some scenarios. - Q: How secure is it to use VNC for remote access?
A: By default, VNC transmits data unencrypted, which can be risky. It is recommended to tunnel VNC connections through SSH to encrypt the traffic and improve security. - Q: Do I need to create a separate password for VNC?
A: Yes, the vncpasswd command lets you set a password for accessing the remote desktop. You can also set a view-only password to limit user permissions. - Q: How do I change the resolution of the remote desktop?
A: You can change the geometry parameter in the /etc/tigervnc/vncserver-config-defaults configuration file to set the desired screen resolution for VNC connections. - Q: Do I need to change default settings after installing the graphical interface?
A: Yes, to make the server boot into graphical mode by default, run the command systemctl set-default graphical and then reboot the system.


