Introduction
We can't imagine modern world without online marketplace, store, search engine, messengers and all precious component of WEB, which allowed us to communicate more faster. But new features bring us also new vulnerabilities and details which we need to proceed and rapidly react. For that options we need single panel for control server it's htaccess!
Configuring web servers via configuration files is a common and comfortable practice for several reasons:
- Flexibility: Configuration files allow web server administrators to finetune the server settings to match the specific requirements of their website or application. Various parameters can be adjusted, such as server behavior, security settings, virtual hosts, and module configurations.
- Ease of Use: Configuration files are typically written in a humanreadable format, making it easy for administrators to understand and modify the settings. This simplicity allows for quick adjustments and updates without the need for a complex user interface.
- Version Control: Configuration files can be versioncontrolled using tools like Git, making it easier to track changes, collaborate with a team, and roll back to previous configurations if needed.
- Portability: Configuration files can be moved between different server environments, making it easier to deploy a website or application to new servers with the same settings.
- Automation: Configuration files can be modified or generated programmatically, enabling automation of server setup and maintenance. This is particularly useful when dealing with multiple servers or when deploying sites in a cloud environment.
- Security: Keeping the configuration settings separate from the application code enhances security. If the application code is compromised, sensitive server settings remain protected in the configuration files.
- Efficiency: Web servers can quickly read and parse configuration files during startup, making the process of applying changes efficient and fast.
- Granularity: Configuration files allow administrators to control various aspects of the server separately. For example, they can configure specific settings for different virtual hosts, directories, or URL paths.
- Standardization: Many web servers use common configuration file formats, such as Apache's .htaccess or Nginx's nginx.conf, allowing administrators to apply their knowledge and experience across different server setups.
Overall, configuration files provide a straightforward and effective way to manage web servers, granting administrators control and customization options for optimizing server performance and security to meet their specific needs.

Requirements
- Root rights;
- Ubuntu 20.04 or higher version;
- Several knowledge about work OS ;
- Apache webserver.
Installation:
First of all step in this guide begin at the update and upgrade whole system, for that type in the CLI command below:
apt update && apt upgrade -y
If you already have Apache webserver then you can skip that step of installation and go ahead, but if you don't prepare a server — enter that command below and make sure that you have needed package:
apt list | grep apache2 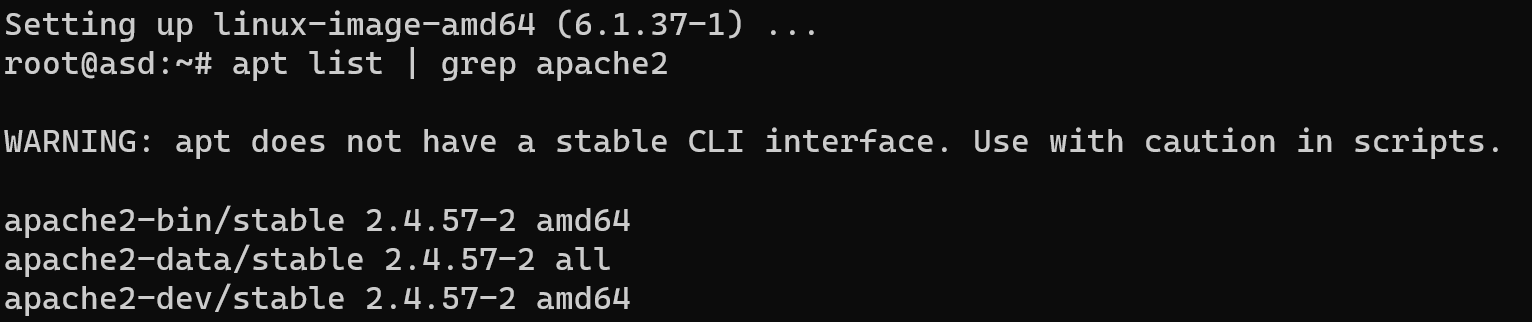
After that if we find our package like at the picture above, then install web-server, it run automatically and start their service:
apt install apache2
After installing Apache2, it will be automatically launched, and its configuration files will be located in different places depending on your OS. In that web server we use httpd.conf (or apache2.conf on some systems) configuration file for setup global parameters. Reminder! Htaccess we use for override some rules of proceed client query and optimize our server reply.
Ensuring that your web server permits the usage of .htaccess files is crucial. To achieve this, verify that the AllowOverride directive is enabled in the primary Apache2 configuration file (httpd.conf or apache2.conf). Change value AllowOverride to All:
nano ./etc/apache2/apache2.conf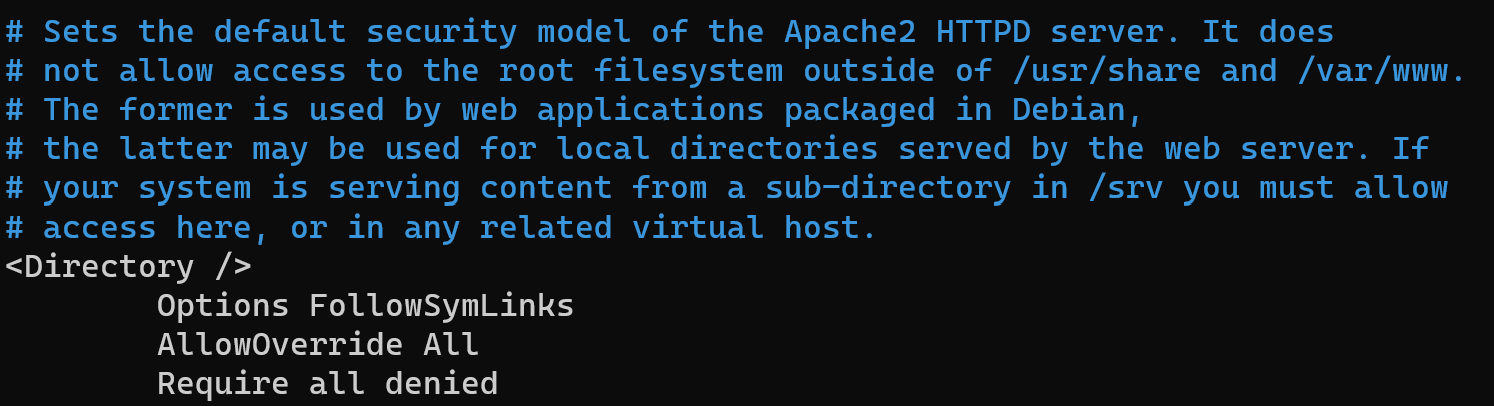
If you can't find needed directory then use command below:
cd / && find ./ -name apache2.conf && find ./ -name httpd.conf
By enabling AllowOverride, you grant the server the ability to interpret directives specified in .htaccess files located in your website's directories. This allows for more flexible and customized configurations at the directory level, enhancing the overall functionality and security of your web server.
On the default settings configuration hierarchy:
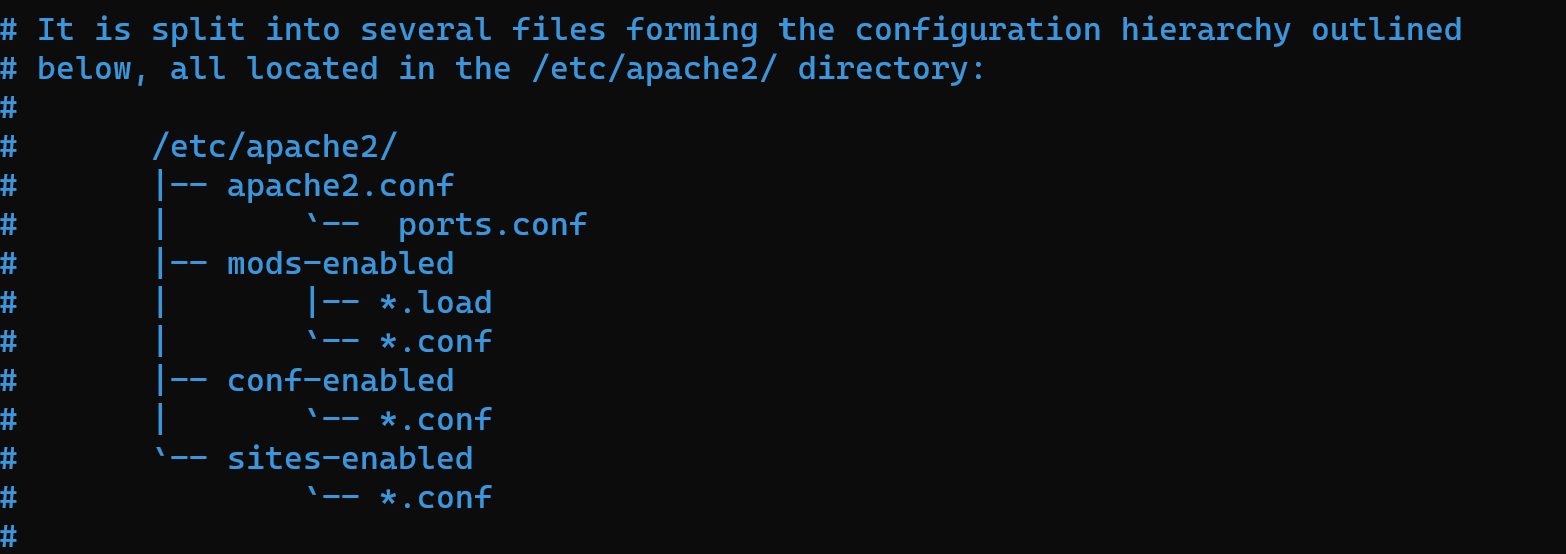
The arrangement of Apache files can vary based on the operating system and the method of installation. However, below is the general organization commonly used in most installations:
- apache2.conf: This file serves as the central Apache configuration file, holding global settings and defining server parameters.
- ports.conf: An essential configuration file responsible for specifying the ports on which the server listens.
- sites-available/: This directory contains configuration files for each virtual host. Here, you can set up different host configurations. The enabled host configurations are then symbolically linked from the "sites-enabled/" directory.
- mods-available/: Inside this directory, you'll discover configuration files for various Apache modules, allowing you to manage and enable/disable specific functionalities.
- mods-enabled/: It comprises symbolic links that connect to the activated modules from the "mods-available/" directory, enabling the modules for Apache's use.
- conf-available/: This directory houses additional configuration files, providing you with the flexibility to extend and customize Apache's settings.
- conf-enabled/: In this directory, you'll find symbolic links to the activated additional configurations from the "conf-available/" directory. It enables you to incorporate extra configurations without modifying the main configuration files.
Now we can configure htaccess file, which is override extension for our currently configuration. All changes and values of that file will affect on the config in result. Let's demonstrate how that work on the ordinary configuration.
At first, you need to enable override function and indicate DocumentRoot in virtualhost configuration for that enter in CLI:
mkdir /etc/site-for-test nano /etc/apache2/sites-available/000-default.conf 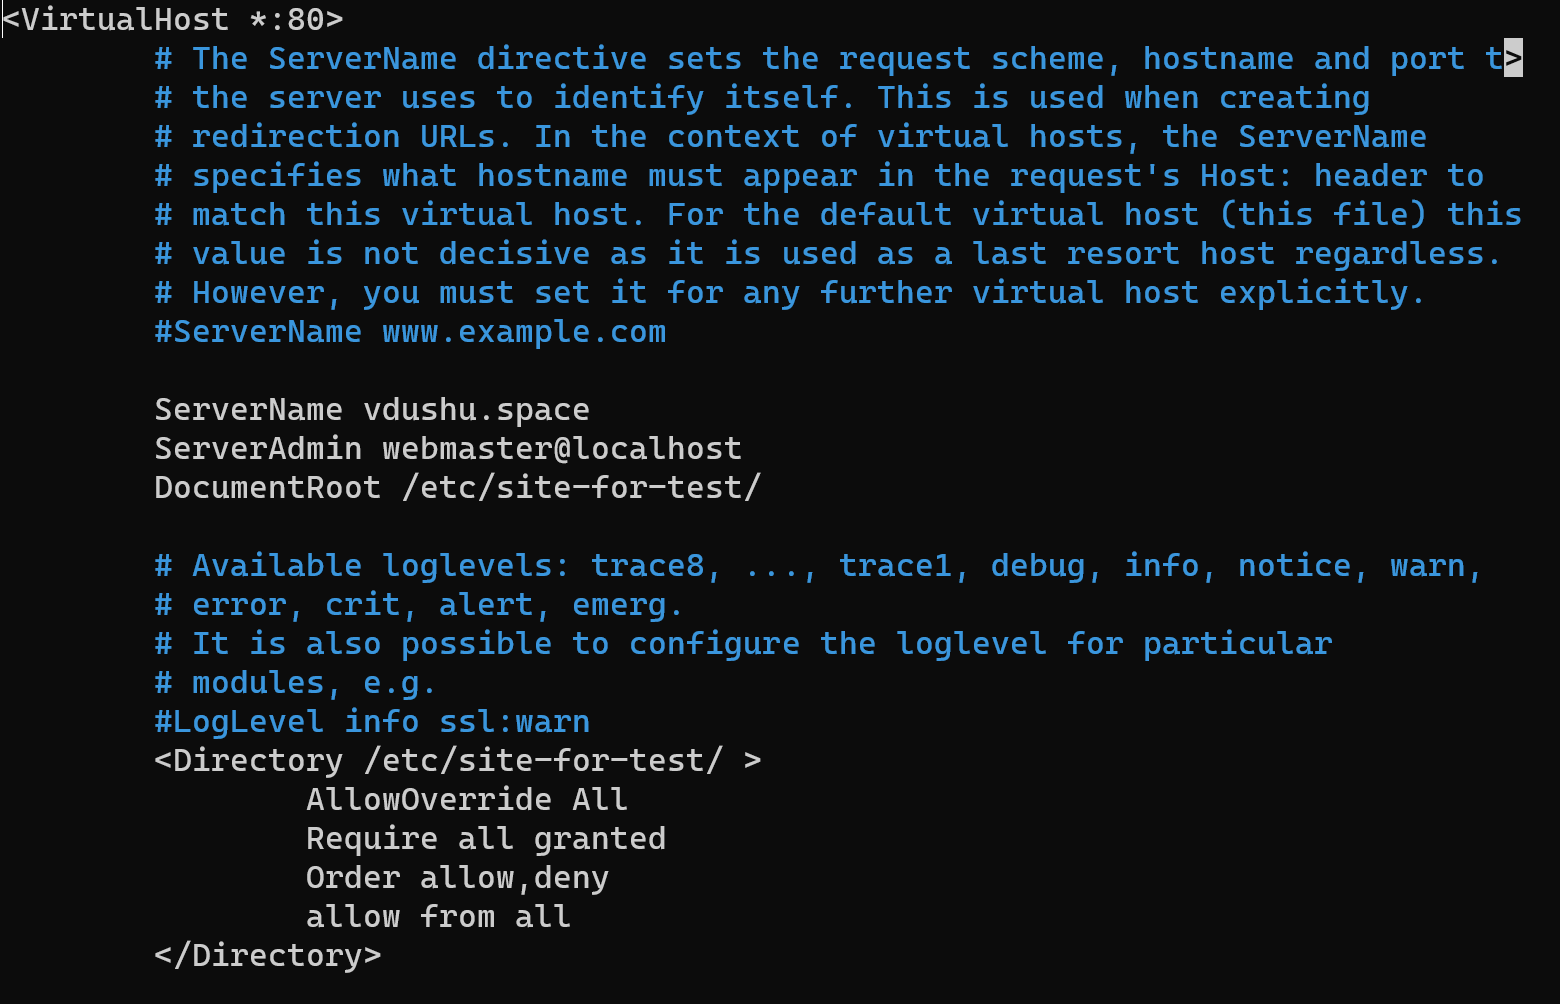
Change parameter ServerName for your self domain and AllowOverride to value All. Reminder! You need have on the DNS panel control accordance record, that indicate Public IP of your server! Change DocumentRoot for your work directory with pages and files of needed site. In that case we create site-for-test directory. Next, create your first simple page or if you use your own web-site then skip this step:
nano /etc/site-for-test/index.html 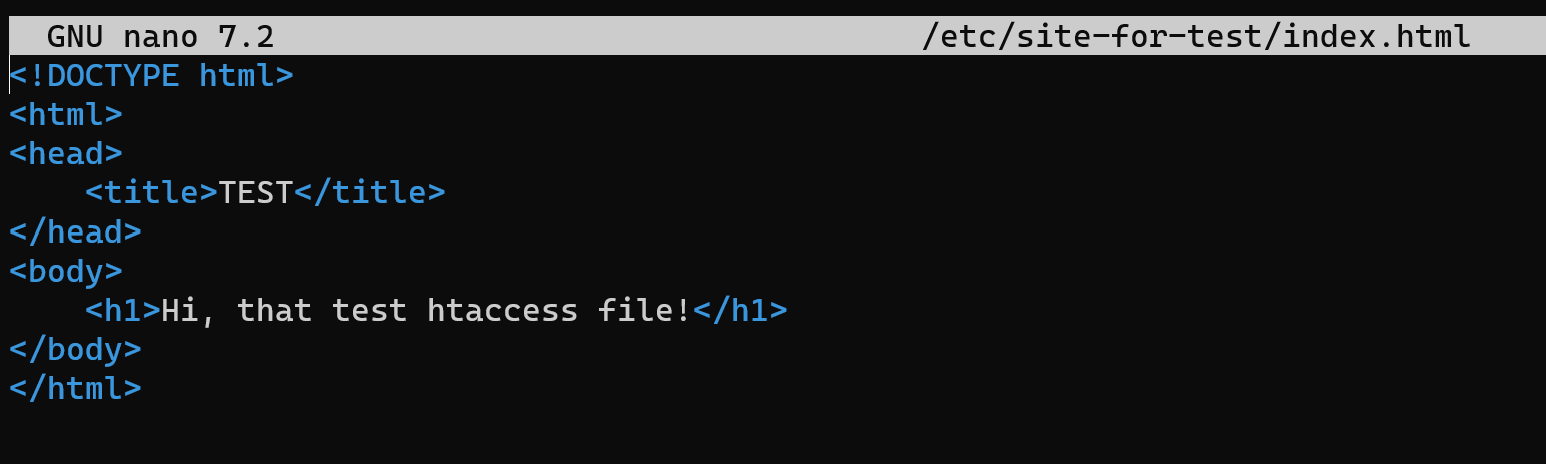
<! DOCTYPE html>

<html>

<head>

<title>TEST</title>

</head>

<body>

<h1>Hi, that test htaccess file!</h1>

</body>

</html>
The content of your page may be with another config and structure, but sense has been saved. Let's create in the same folder .htaccess file which build logic chain between html and user action. Create file:
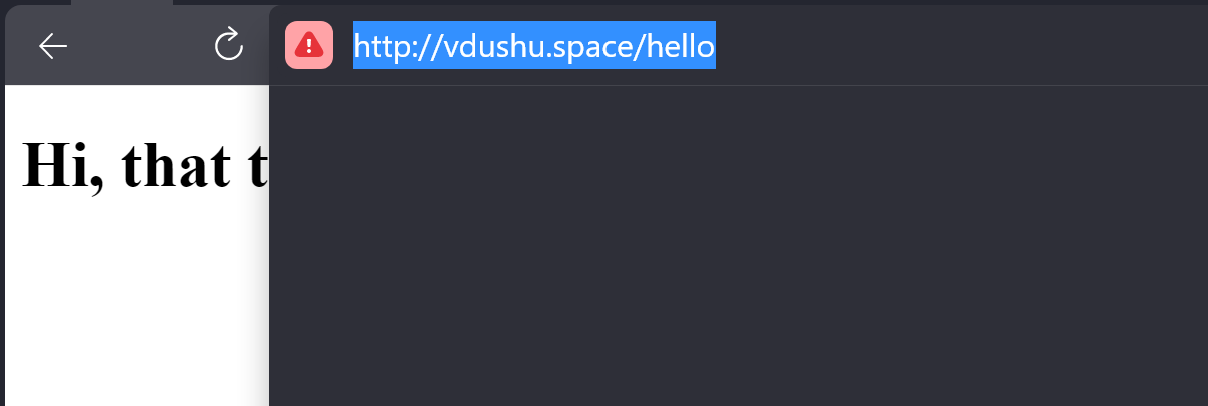
nano /etc/site-for-test/.htaccess RewriteEngine On
RewriteRule "hello$ index.html [L]
That configuration by the syntax RewriteEngine On enable module rewrite on the server and on the next raw rebuild rule which literally assigned with html page and attribute [L] means last rule fo execute and follow instructions will ignored. For properly work we need to enable rewrite module which include to apache2 package and restart service:
sudo a2enmod rewrite && systemctl restart apache2
Let's check result of our actions:

Check URL our site:
Access control
Consider popular example of .htaccess usage. The .htaccess file serves as a powerful configuration tool that can control access to the files, folders and whole directories of the your web-sites!
Order: This command determines the sequence in which directives are executed. It establishes the precedence of subsequent directives, regardless of their arrangement within the file.
Deny: By using this directive, you can disallow access to a particular directory from specified addresses or IP addresses.
Allow: Conversely, this directive permits access to the directory solely from the specified addresses or IP addresses.
By employing these commands, you can easily tailor access to specific resources on your web server. For instance, you can utilize .htaccess to restrict access to sensitive information within a designated folder or grant access exclusively to specific IP addresses, thereby enhancing security and exercising control over your website's resources. Open the .htaccess file which we create before and enter that config additional to the previous syntax.
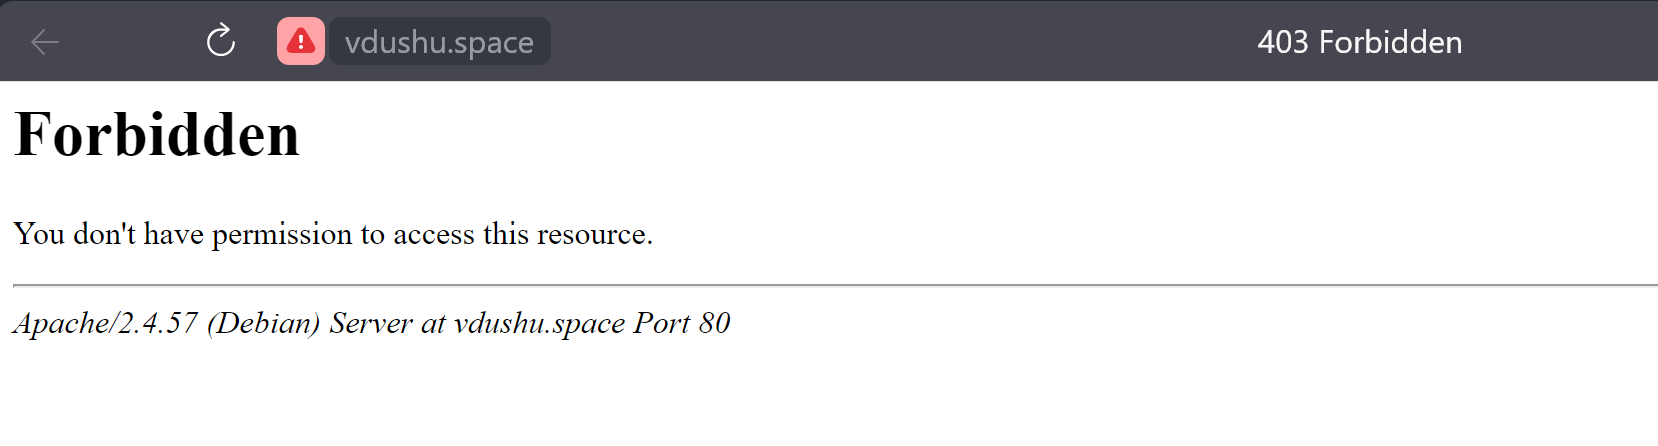
Order allow,deny

Allow 95.141.86.46
That config determine process access to the folder on the server, therefore allow access exclusively for our IP. You need to change that value to your network address! In the result we can see Forbidden flag to login into the site from another IP address:
Indexes restrict
To enhance security, you can prevent directory listing in Apache web server. By default, if no index.html or specified file is found in a directory, Apache displays a list of all files present in that directory. To disable this feature and restrict directory listing, apply the following configuration:
Options -IndexesNot found — 404
To redirect visitors to a 404 page (the "Not Found" page) when the requested page is missing, you can implement the following code:
nano /etc/site-for-test/error404.htmlEnter the following content into the file:
<!DOCTYPE html>

<html>

<head>

<title>Page Not Found - 404 Error</title>

</head>

<h1>

<body>404 Page not found!</body>

</h1>

</html>
Then add to a config .htaccess and finished set up:
ErrorDocument 404 /error404.html
Redirection
Create html page as we consider in previous step and make target file to redirect:
nano /etc/site-for-test/targeturl.htmlTo achieve the redirection from "/hello" to "/target" with a 301 (permanent) redirect, you can use the following RewriteRule in your .htaccess file:
RewriteRule ^hello$ /target [R=301,L]

RewriteRule ^hello$ index.html

RewriteRule ^target$ targeturl.html
RewriteEngine On: This enables the RewriteEngine, allowing the use of rewrite rules in the .htaccess file.
RewriteRule ^hello$ /target [R=301,L]: This rule matches requests to "/hello" (the "^" denotes the start and "$" denotes the end of the URL) and redirects them to "/target" using a 301 (permanent) redirect. The "R=301" flag indicates a permanent redirect, and the "L" flag indicates that this is the last rule to be executed.
With this configuration, any request to "/hello" will be redirected to "/target" with a 301 status code, meaning it will be a permanent redirect. Other rules present in the .htaccess file after this one will not be executed due to the "L" flag.

Conclusion
The .htaccess file is a powerful tool for controlling access to resources on a web server. It offers web administrators the ability to define the execution order of directives, block access from specific IP addresses or addresses using the "Deny" directive, and grant access only to specified locations with the "Allow" directive. This provides administrators with the flexibility to customize access control, ensuring security and precise control over server resources.
Moreover, the .htaccess file serves other important purposes as well. It can manage indexes, preventing directory listings and thus enhancing security by not exposing sensitive files. Additionally, it can handle 404 (Not Found) errors, allowing administrators to redirect visitors to a custom error page when a requested page is missing or unavailable.
Furthermore, the "RewriteRule" directive within the .htaccess file enables powerful redirection capabilities. Web administrators can use this directive to perform URL redirections, directing visitors from one URL to another. This can be useful for creating user-friendly URLs, implementing permanent or temporary redirects, or managing website structure changes.
In summary, the .htaccess file is a versatile and indispensable tool for web server configuration. It provides control over access, security, error handling, and URL redirection, making it an essential component for optimizing and customizing a web server to meet specific website or application requirements.


