Creating a server with pre-installed software in the Serverspace control panel is an easy way to save time on setup and get a ready-to-use environment right away. You can select the necessary applications at the deployment stage, whether it’s a web server, content management system, or development tools. Below is a step-by-step guide to help you quickly configure the server according to your needs.
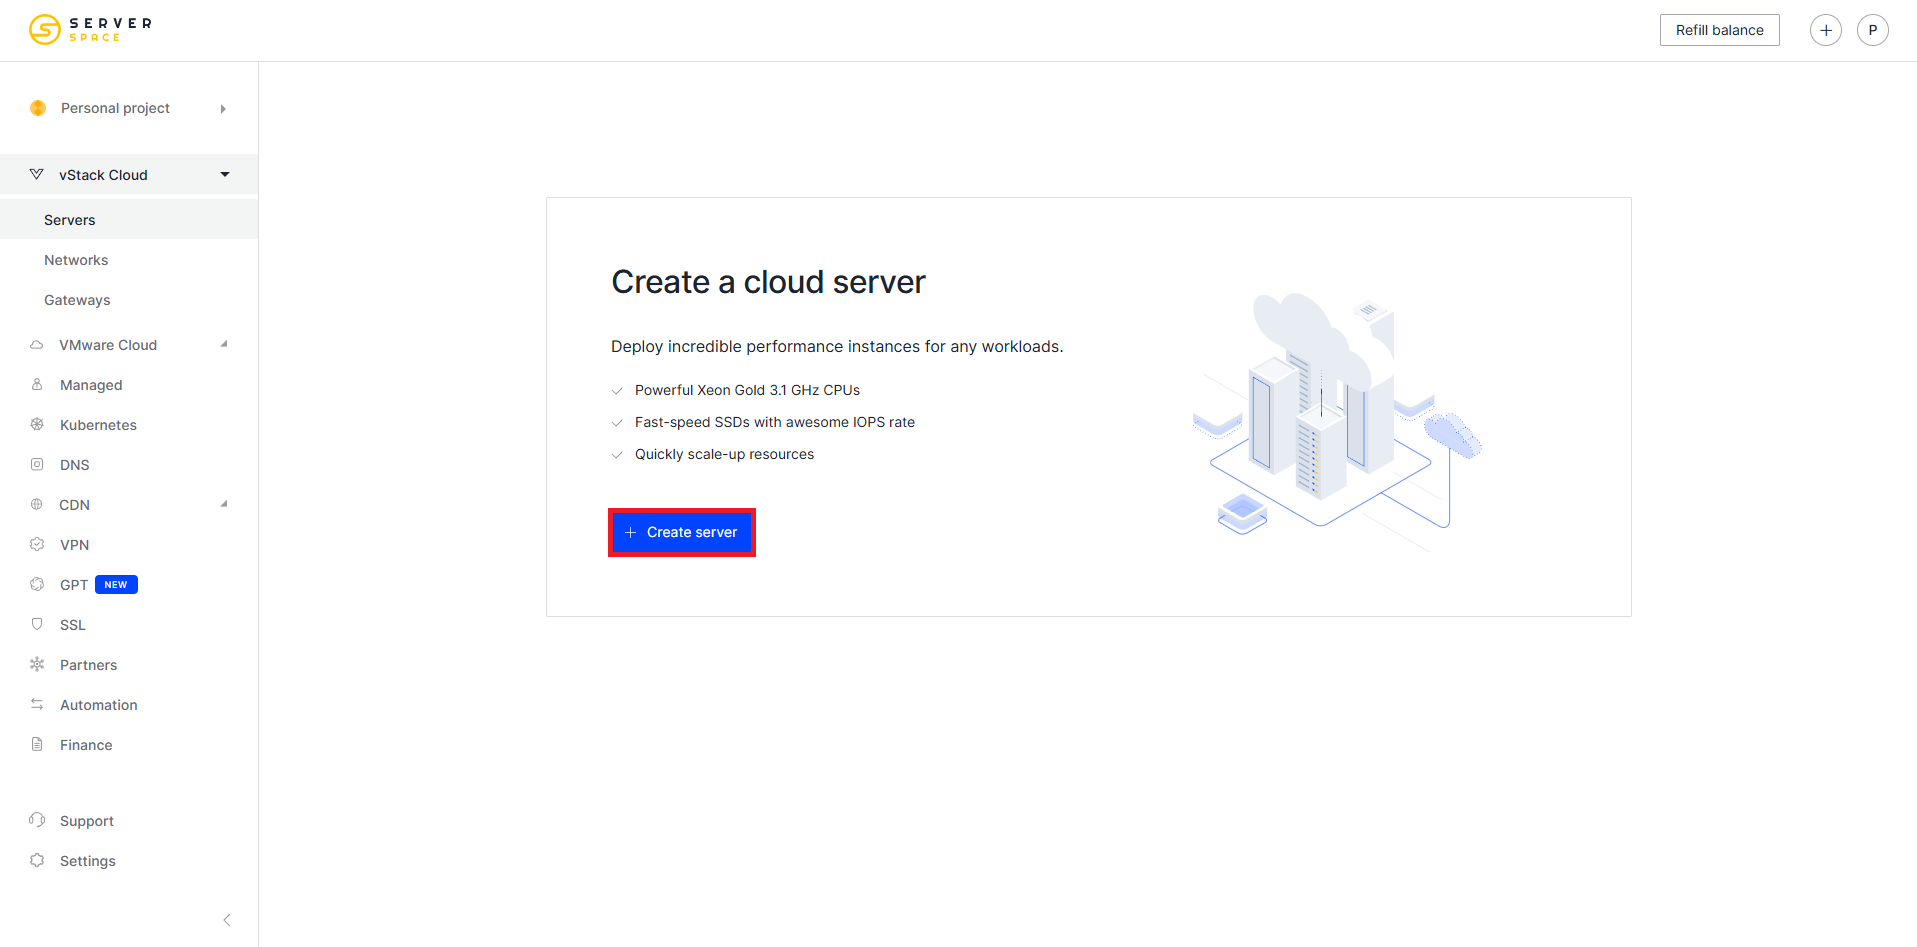
Choose the virtualization type — vStack or VMware — and click “Create Server”:
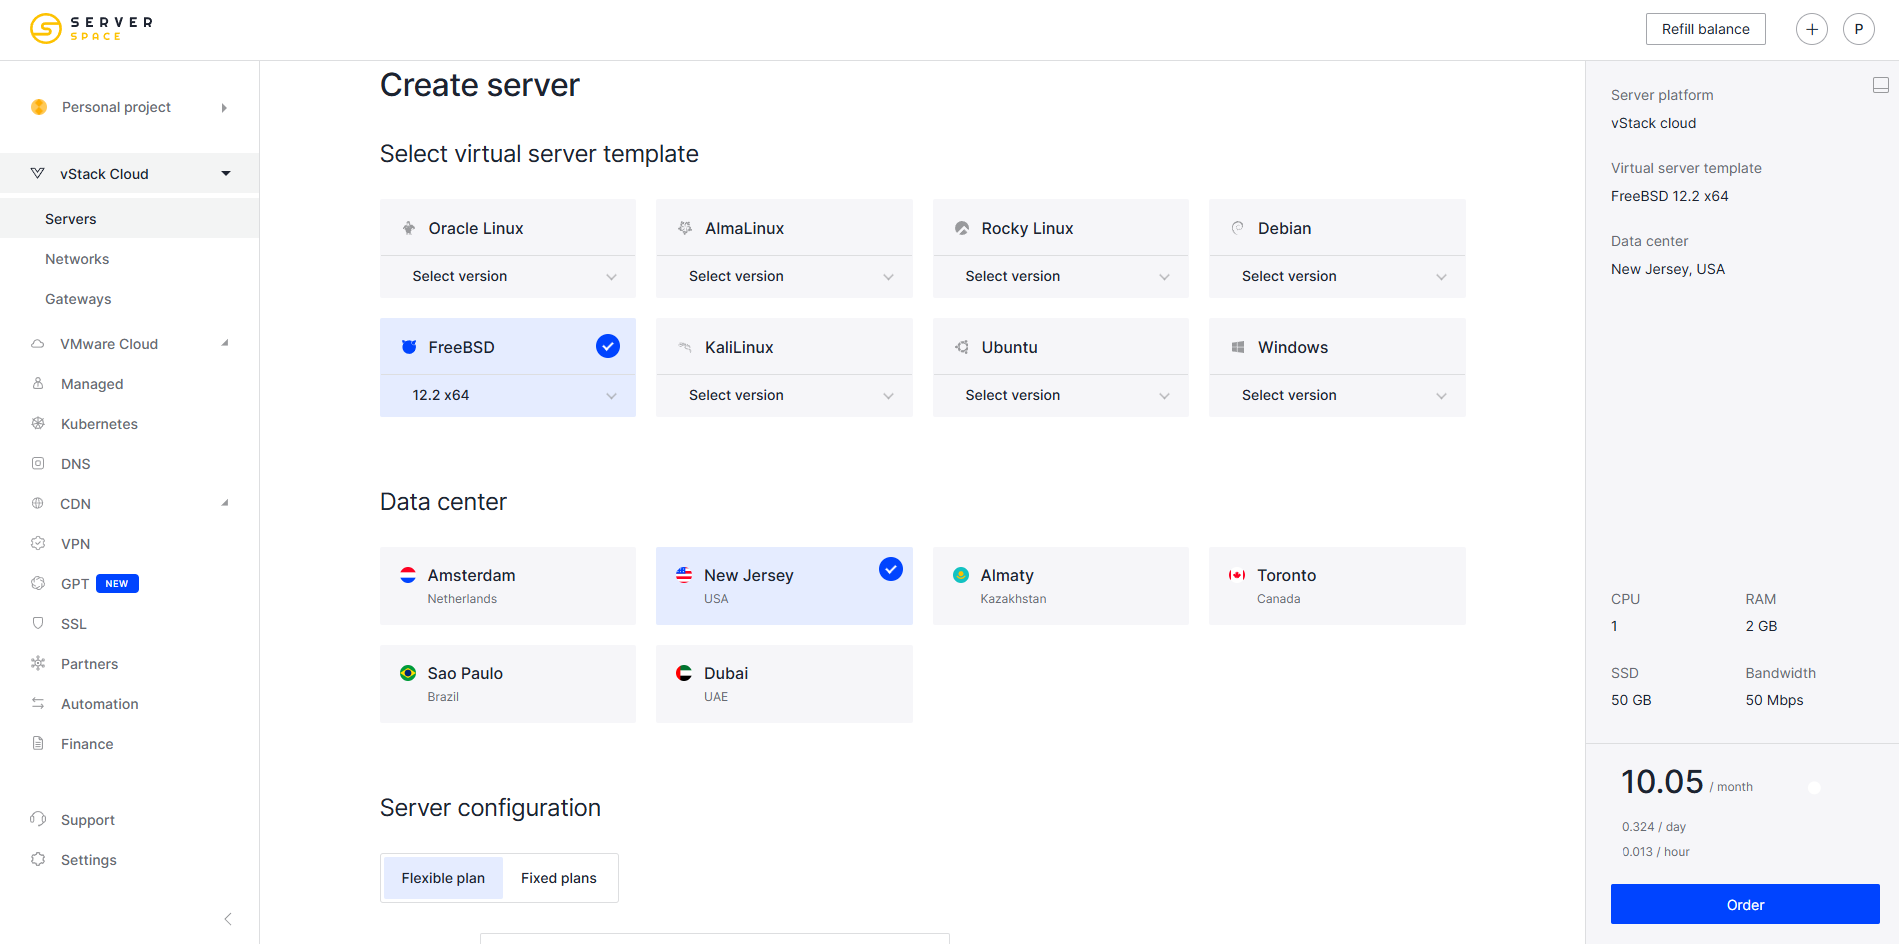
Then specify the server parameters according to your requirements:
Scroll down the page and open the “Applications” section to install the desired software during server creation:
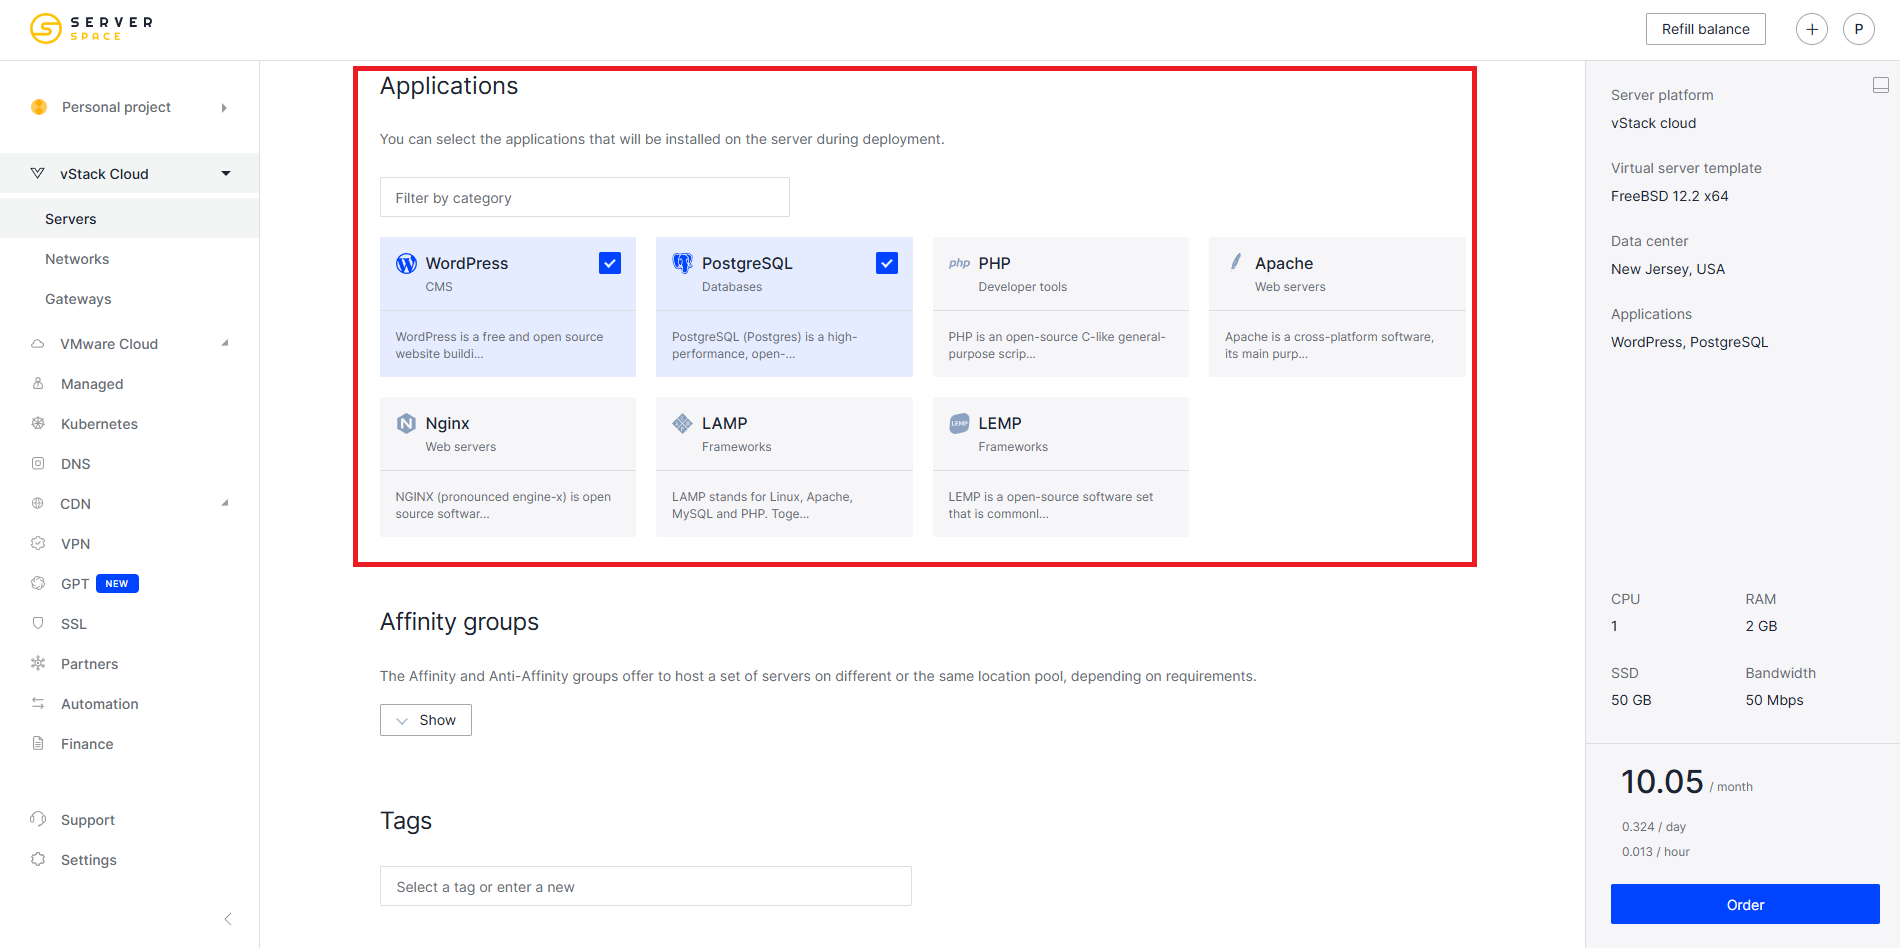
Currently, the following applications are available:
- WordPress
- PostgreSQL
- PHP
- Apache
- Nginx
- LAMP
- LEMP
Creating a server with pre-installed software in the Serverspace control panel is a convenient solution for a quick start without extra manual configuration. You can choose the appropriate virtualization type, set the server parameters, and install the necessary applications in just a few steps. This approach saves time and simplifies launching both test and production projects.


