
What is the aim of "dedicated" LAN creating
If your project involves using more than one server, own local area network may be optimal topology solution. There are two main reasons for this:
- Security reasons. If your server is "isolated" from the "public" Internet, you thereby significantly increase its security, because a potential attacker will need to somehow penetrate "behind the perimeter" before "direct" access to the server will be possible;
- Cost optimization. Now there are no free IPv4 subnets left worldwide, and there is little hope for IPv6. Therefore, the cost of IP addresses is increasing all the time, and if you use fewer public IP addresses, you can save your money.

How to create a vStack LAN using a Serverspace client area
In this article, we will create a routed network that automatically forwards requests to the correct server using the Network Address Translation (NAT). The procedure is as follows:
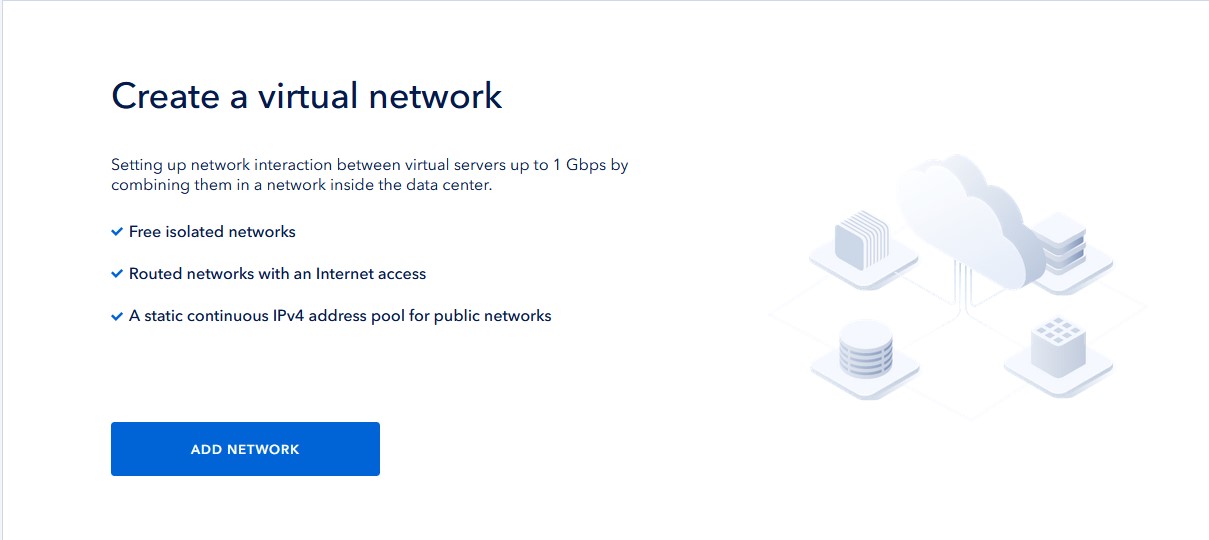
The first step is to create the your own local network. Log in to the client area, click the vStack Cloud > Networks > Add Network button;
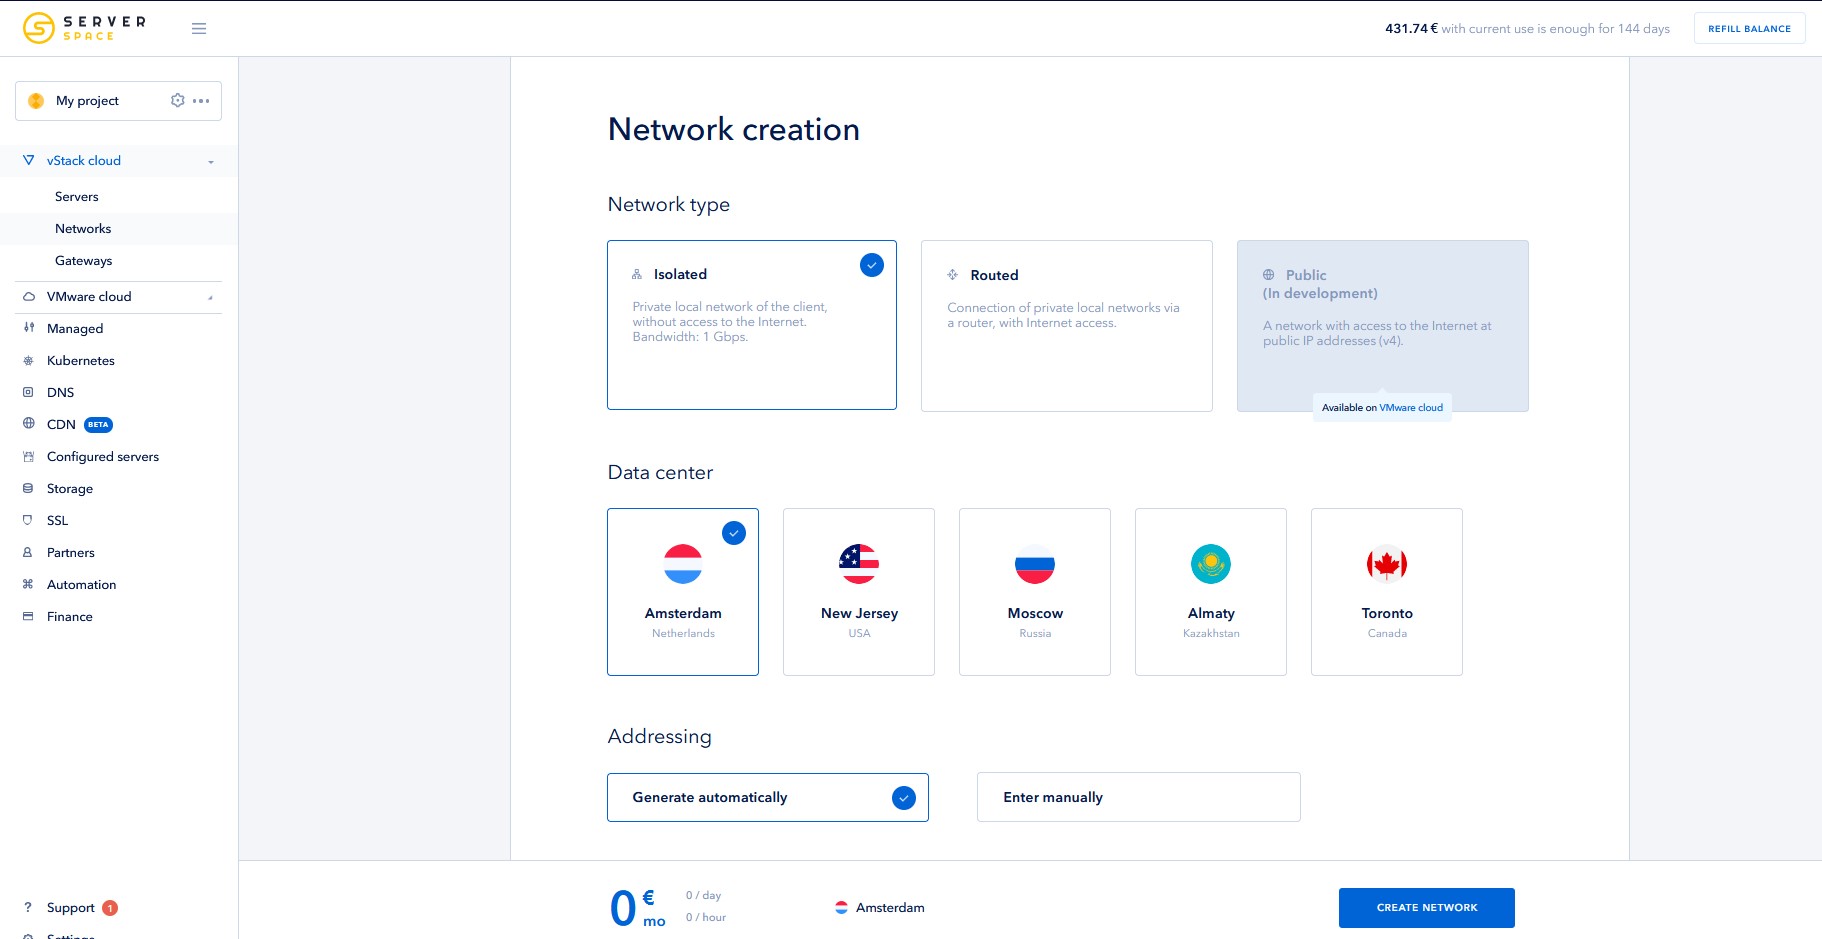
Set the network type as Isolated, fill the network name, and choose the region. Please note that the network should be in the same data center where the other project nodes are installed. Internal addressing could be automatically choosen or you can specify your own range;
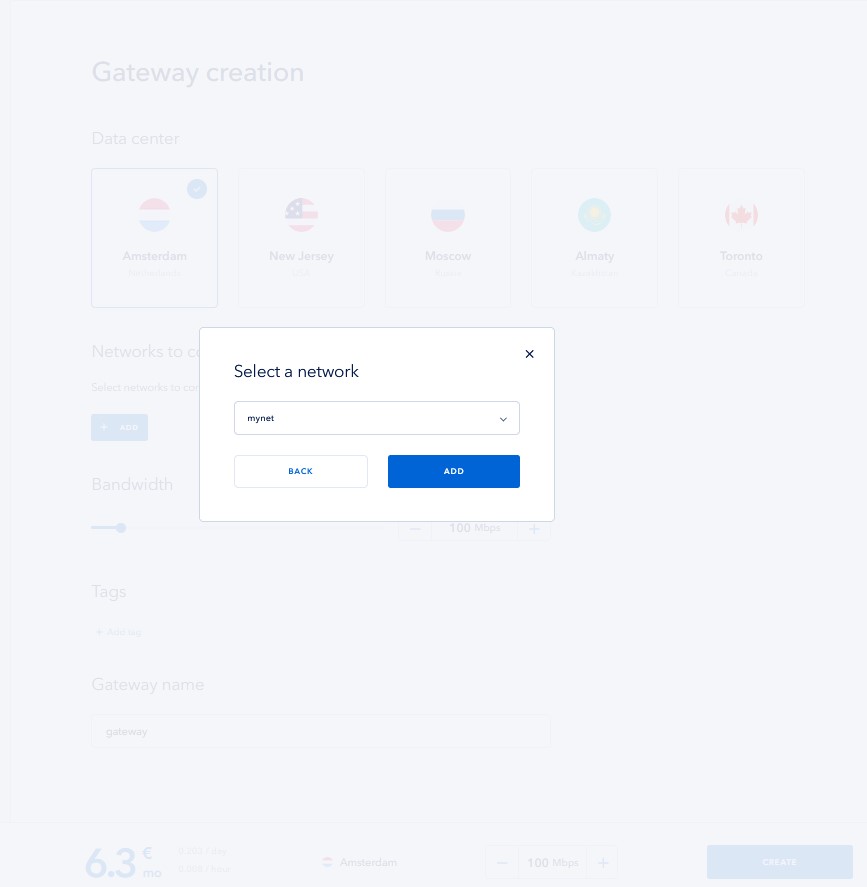
Go to vStack Cloud > Networks again, click Add Network, select the Routed type, and create a gateway node. Choose your LAN's bandwidth, its region and the name of the gateway, then “include” the gateway to the previously created “internal” network;

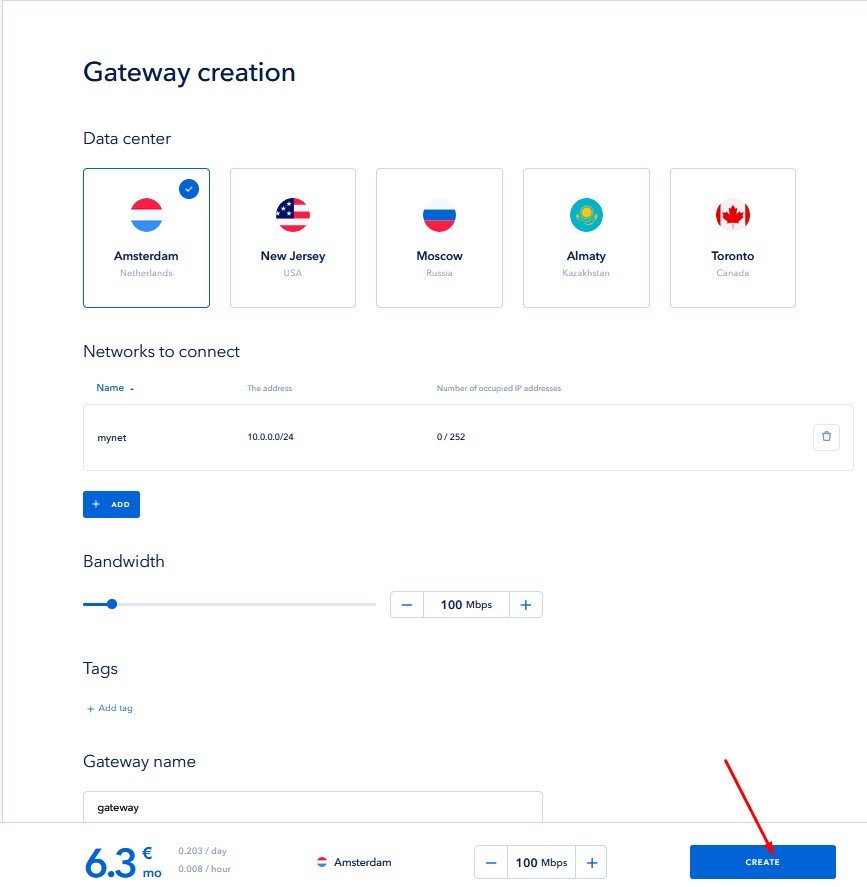
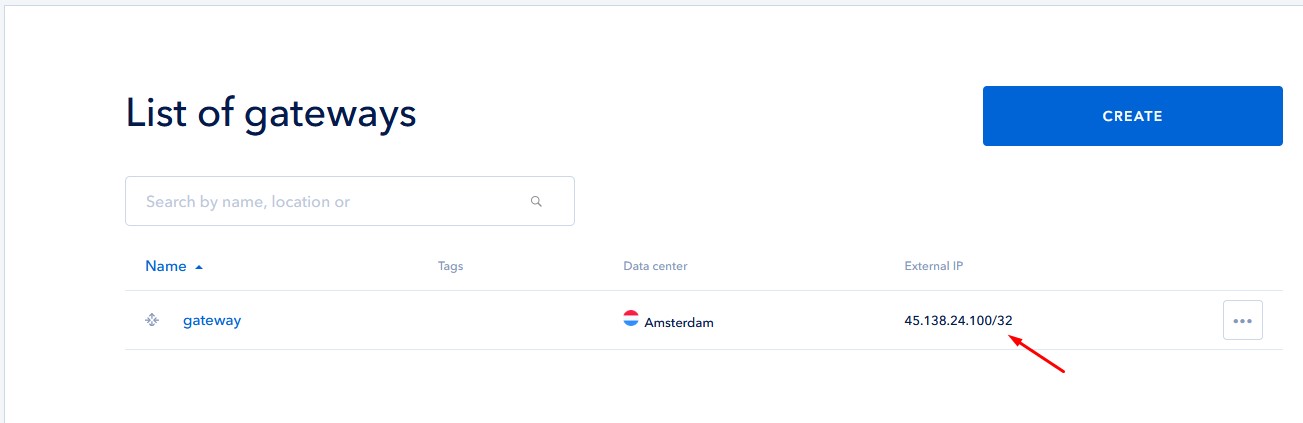
Remember the issued "external" IP-address, it will be needed to connect to your network from the outside;
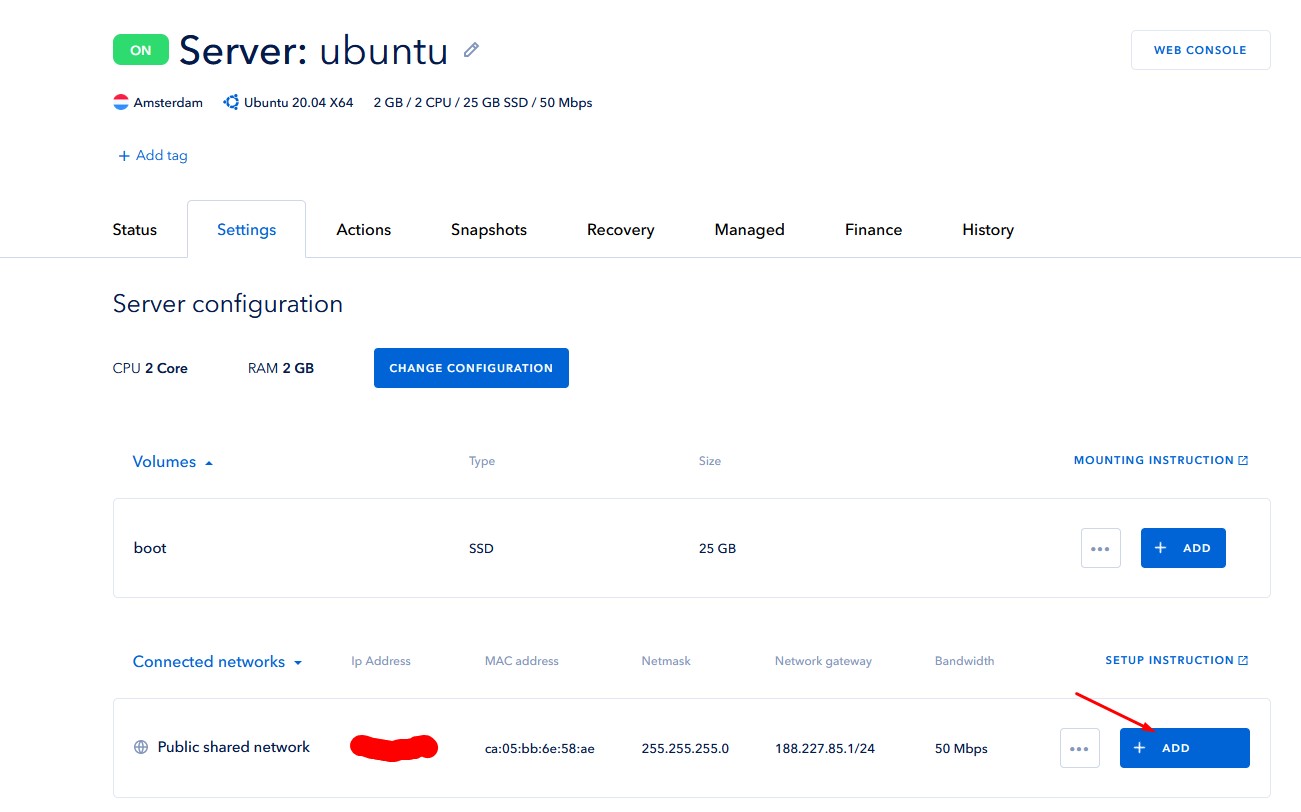
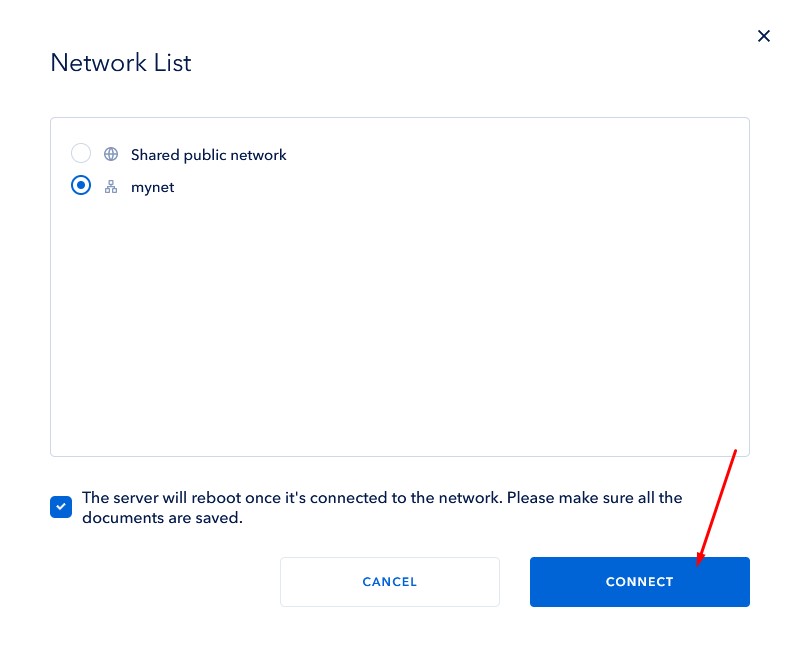
Next step will be the server (or servers) connection to the created local network. Go to the your server properties and add the LAN interface to it;
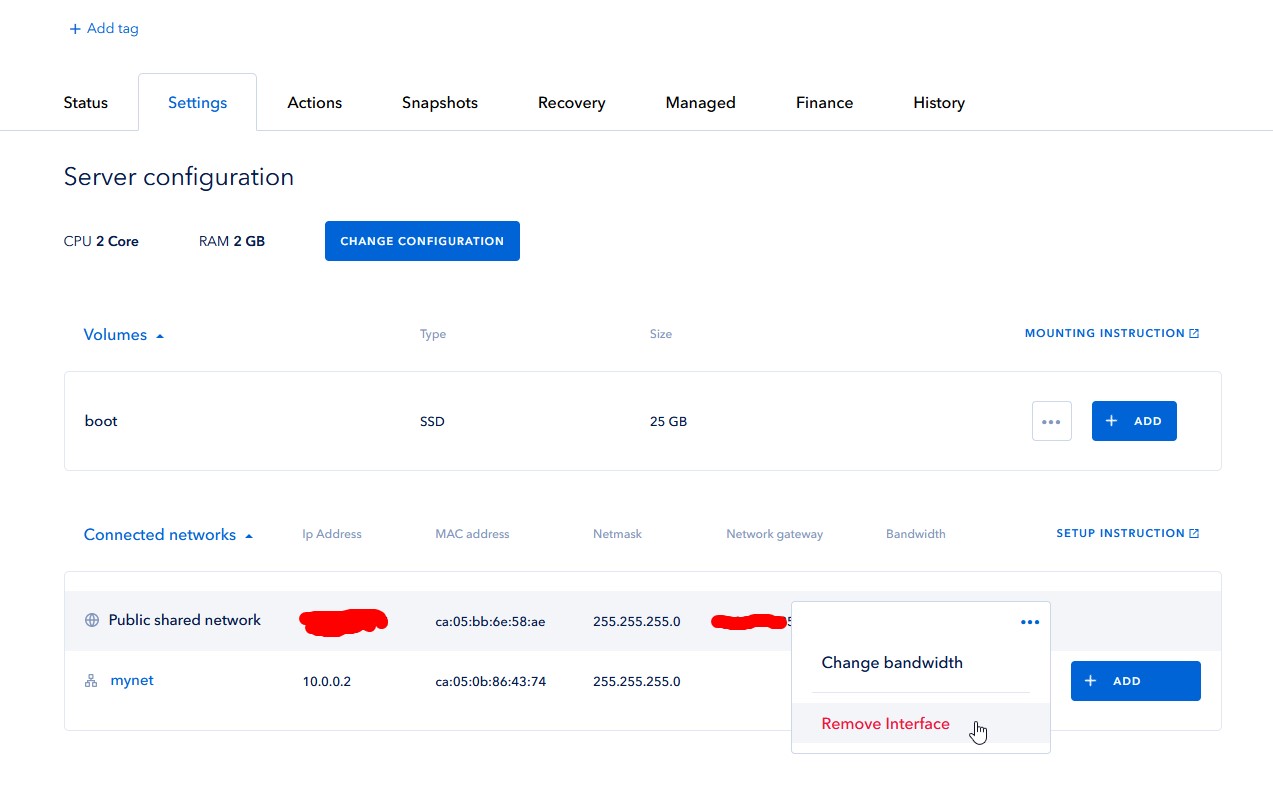
For security improovement, you can remove the "public" interface from the server or at least block access to it via the server's firewall. Also remember the “internal” IP assigned to the server, you will need it in the next step;
Come back to the gateway settings and add traffic redirection rules to provide access from the outside to the server inside the perimeter;
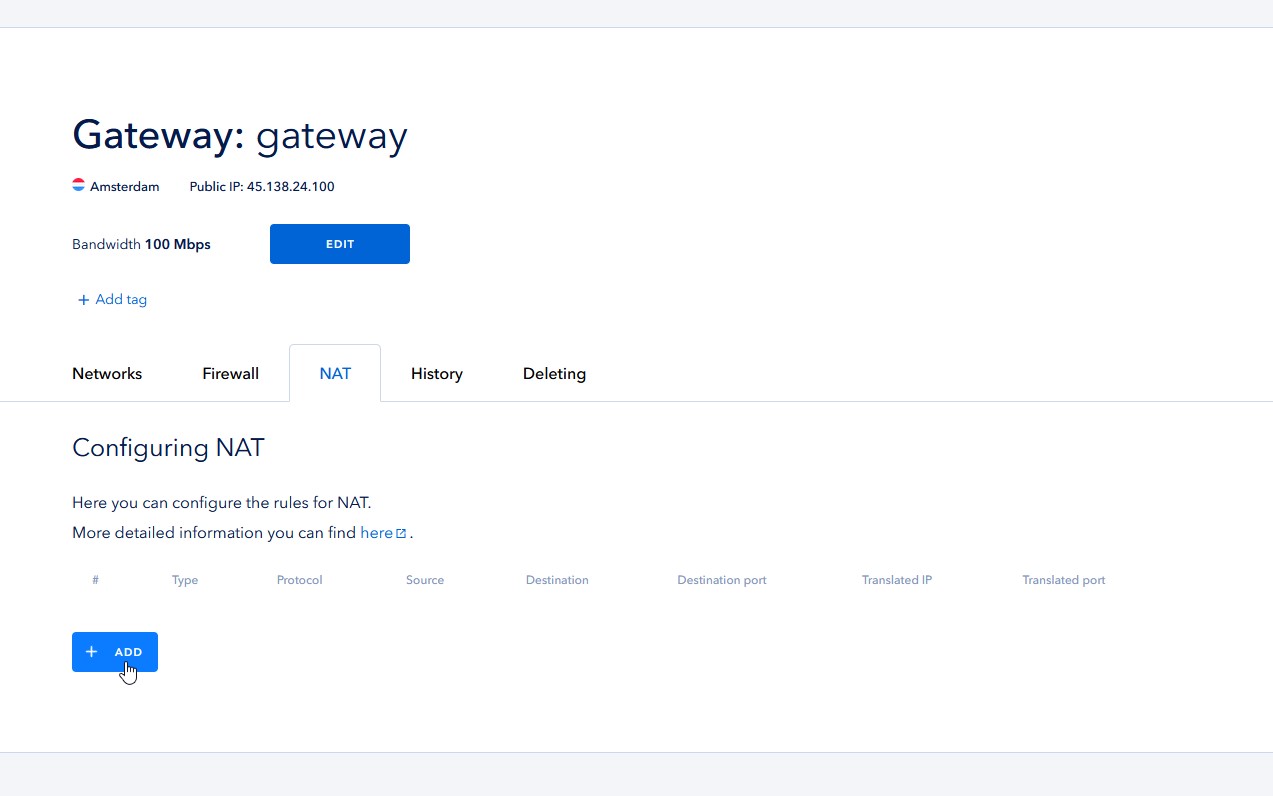
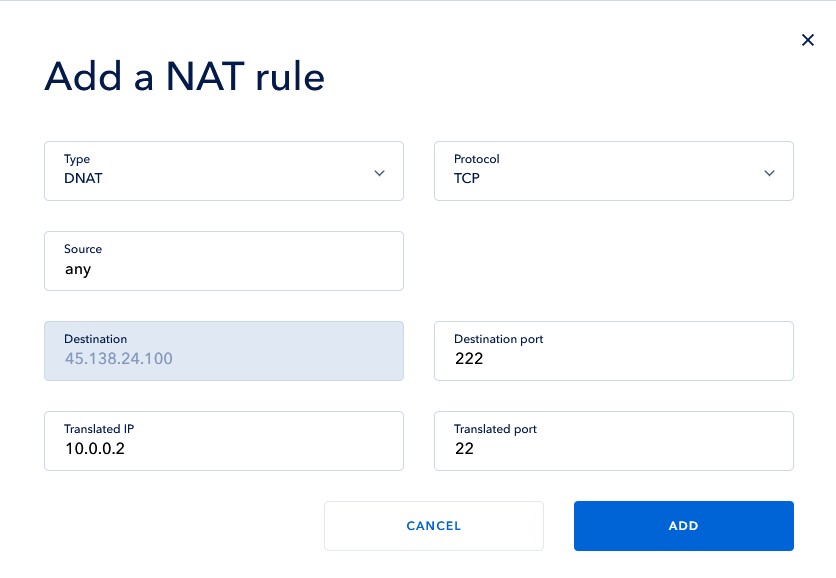
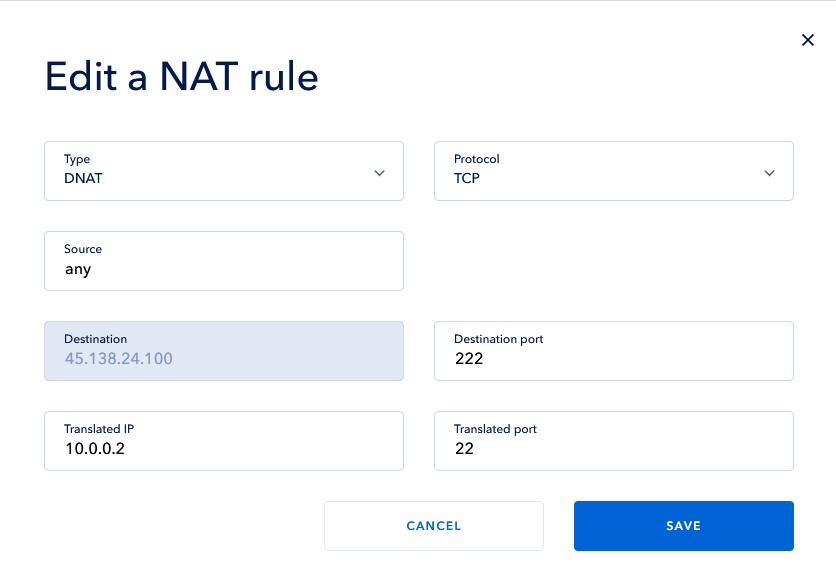
If you do as in the example, you will be able to connect to the IP address issued by your network and port 222, traffic will be redirected to the “internal” server IP and port 22.

Conclusion
In this article I described how could you organize a Serverspace vStack local network with one “external” IP address, and set the port forwarding rules to access the server within this network.


