This step-by-step guide will walk you through the process of creating disk partitions and adding new volumes on virtual servers running the Windows operating system. After adding a volume through your control panel or hypervisor, you must initialize and format it within Windows to make the storage available for use. Follow these instructions to ensure your new disk space is properly configured and ready for data storage.
After adding a volume in the control panel, you need to make it available to the operating system.
Connect to the server with superuser privileges. Go to the Server Manager. From the top menu, select "Tools" → "Computer Management".

Note: For Windows Server 2008 you need to open the Server Manager and select "Storage" → "Disk Management" from the vertical menu on the left.

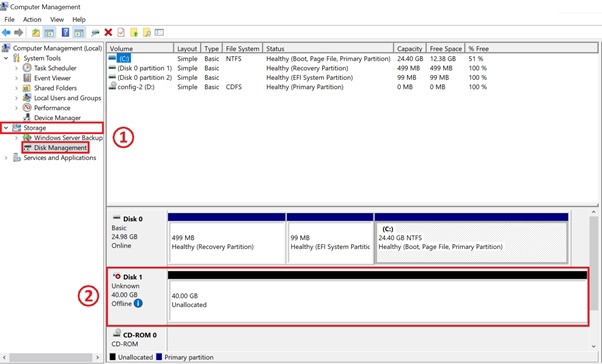
In the left menu in the "Storage" directory, select "Disk Management" (1). In the bottom right pane you will see the added volume (Disk1) with an unallocated area (2) (In the example below unallocated area is 40 Gb).
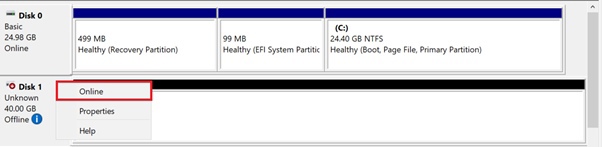
Next, you need to make the added volume visible to the operating system. If the volume is in "Offline" state, right-click it beforehand and choose "Online" in the context menu.
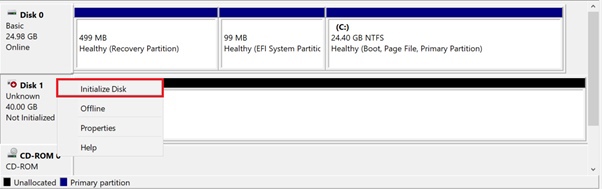
In the Volume Management module, right-click the volume you want to initialize, and then select Initialize Disk.
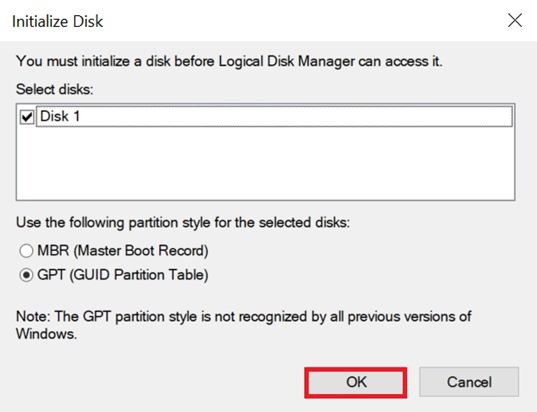
Click OK in the dialog box that appears to accept the default partition style or change the partition style (GPT or MBR).
Note: MBR (Master Boot Record) and GPT (GUID Partition Table) are two different ways to store information about hard disc partitions. This information includes both information about how the drives work and which partition will be bootable for the system.
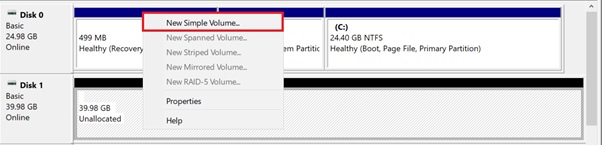
To create a simple volume, right-click on the unpartitioned area and select "New Simple Volume" in the appeared menu.
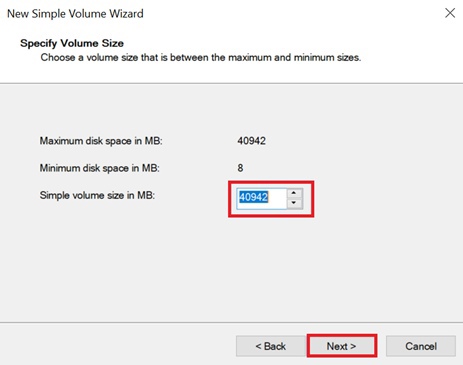
In the appeared Setup Wizard window, click "Next" and specify the volume size (you can accept the default and use the maximum value), then click "Next" again.
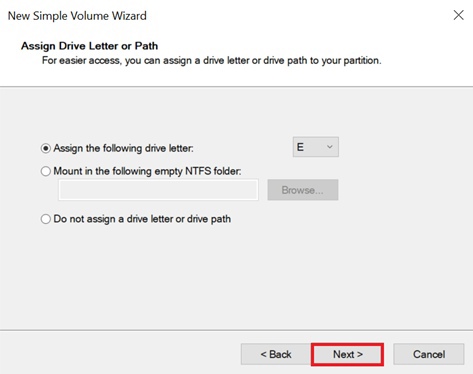
Assign a letter to the volume or accept the default, then click Next again.
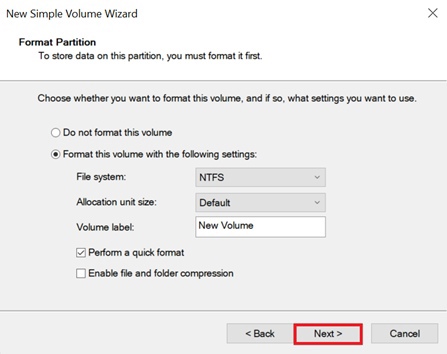
Specify the file system you wish to use (usually NTFS) and then click on "Next" and "Finish".
The added volume will show up in the device list, with a marked area in the bottom pane.
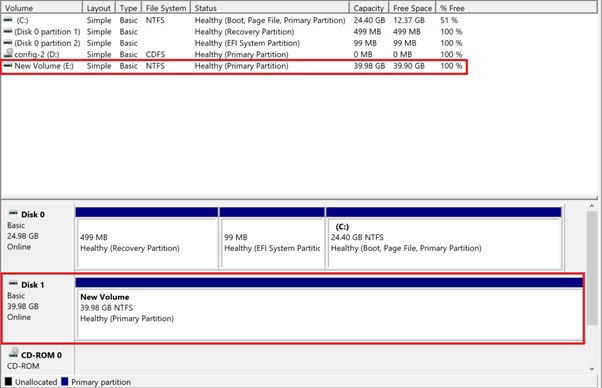
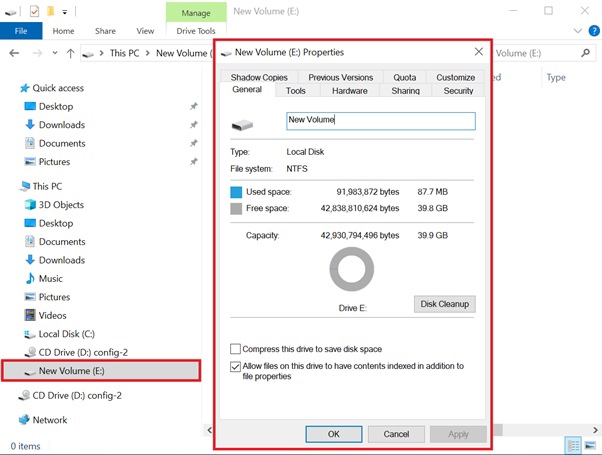
In the Windows explorer you can also see the added drive, which size is 40 GB.