Setting Up and Using Cron to Automate Tasks in Ubuntu
Cron is a standard tool in the Ubuntu operating system that allows you to run tasks for a certain time at a given frequency. It is a tool that helps automate various tasks such as data backup, software updates, reporting, etc.
In this review, we'll look at setting up and using Cron.
Verifying Cron Installation
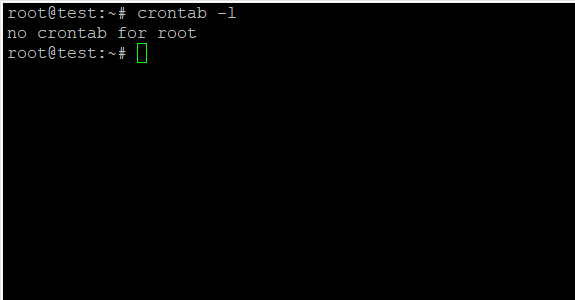
Before using Cron, you need to make sure that it is installed on the system. To do this, run in the terminal:
crontab -l
If you see a "no crontab for user" message, it means you don't have any Cron jobs yet. If you see active tasks, then Cron is already installed and ready to use.
Creating a Cron Task
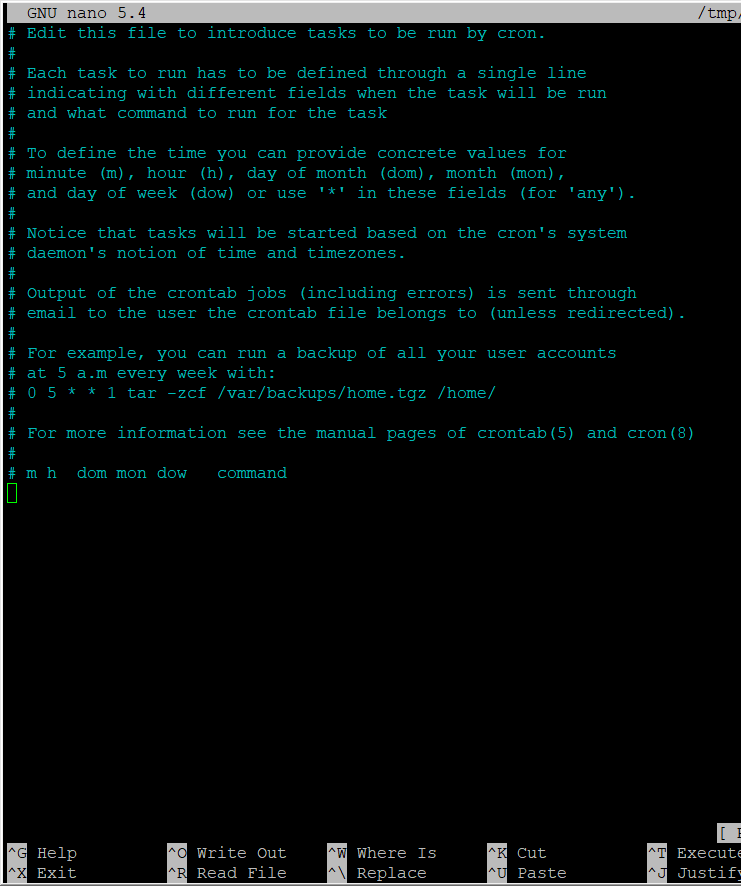
To create a new Cron task, you need to edit the crontab file. To do this, run the command, then select a convenient text editor:
crontab -e
Crontab file structure
The crontab file consists of lines, each of which represents a separate task. Each line has the following structure:
* * * * * command
The first column represents the minute, the second the hour, the third the day of the month, the fourth the month, and the fifth the day of the week. Specifying the * symbol means that the task must be executed at any time in this unit of time.
For example, if you specify * in each column, then the task will be executed every minute.
Example Cron Jobs
Let's look at a few examples of Cron tasks.
Run script every 2 minutes:
*/2 * * * * /folder/to/testscript.sh
Run command at specific minutes every hour:
10 40 45 * * * * command
Running the command every day at night at 3 o'clock:
0 3 * * * command
Run the script every Monday at 9 am:
0 9 * * 1 /folder/to/testscript.sh
For more complex schedules, additional commands can be used, such as range commands (for example, 1-10) or step commands (for example, */10).
Understanding Cron Output
After setting up Cron tasks, it's important to make sure they run correctly.
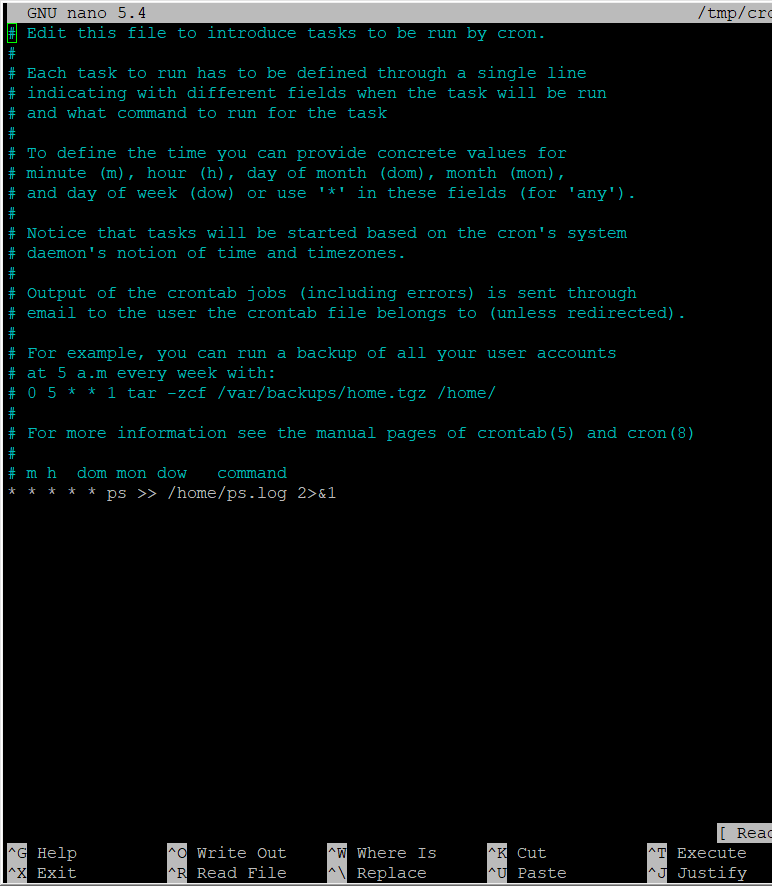
To check the output of completed tasks, you can add a line of the form:
* * * * * command >> /path/to/file.log 2>&1
For example:
* * * * * ps >> /home/ps.log 2>&1
This way, the output of the task will be redirected to a .log file, which you can check to analyze the completed tasks.
Task management
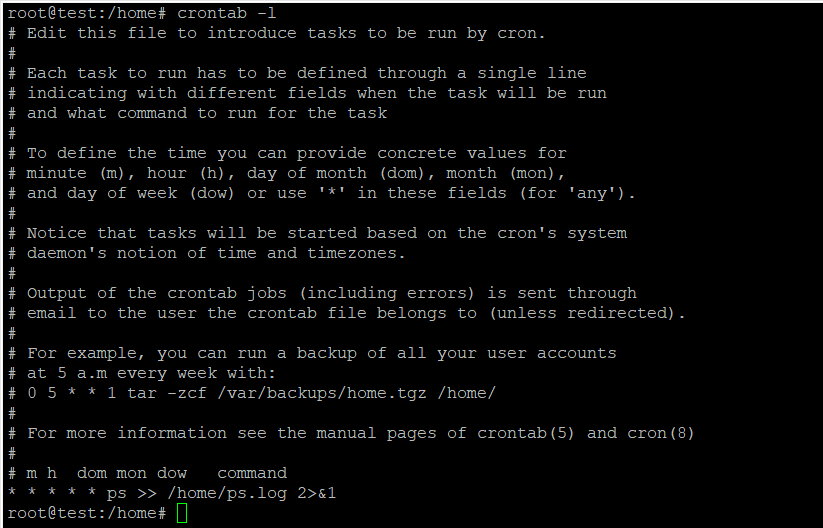
To view cron jobs, you can run:
crontab -l
And to delete all jobs:
crontab -rDebugging Cron Jobs
If cron jobs don't work as expected, it's important to check that the command and file paths are correct.
The user on behalf of which the task is being executed must have the rights to execute the command and access the necessary files.
Also, some Cron tasks may require an environment that is different from the normal terminal environment. In this case, specify the full path to the executables and use commands such as source to load the task's environment.
Conclusion
Setting up and using Cron in Ubuntu allows you to automate many tasks and make your work more efficient. Properly configuring cron jobs and debugging them can take some time, but they are worth the effort as they can greatly simplify your OS administration chores.


