How to Set Up a Secure TightVNC Connection Over SSH Tunnel on Ubuntu 22.04
We recently covered the process of installing and configuring a TightVNC server on Ubuntu 20.04. In addition to this, the process of setting up a secure SSH tunnel for a TightVNC connection will now be described. This is because VNC itself is not secure. Using an SSH tunnel corrects the situation.

Preparation
SSH tunneling is a method that routes network traffic from your application to a remote server. In traditional communication, an application sends data through its own socket, adhering to its own protocol. However, with tunneling, a local service accepts the network packets and redirects them through a secure connection. Upon reaching the remote server, the packets are decapsulated, allowing the application to receive the data as intended.
Install all dependencies for correct implementation:
apt update && apt install xfce4 xfce4-goodies tightvncserver ufw -y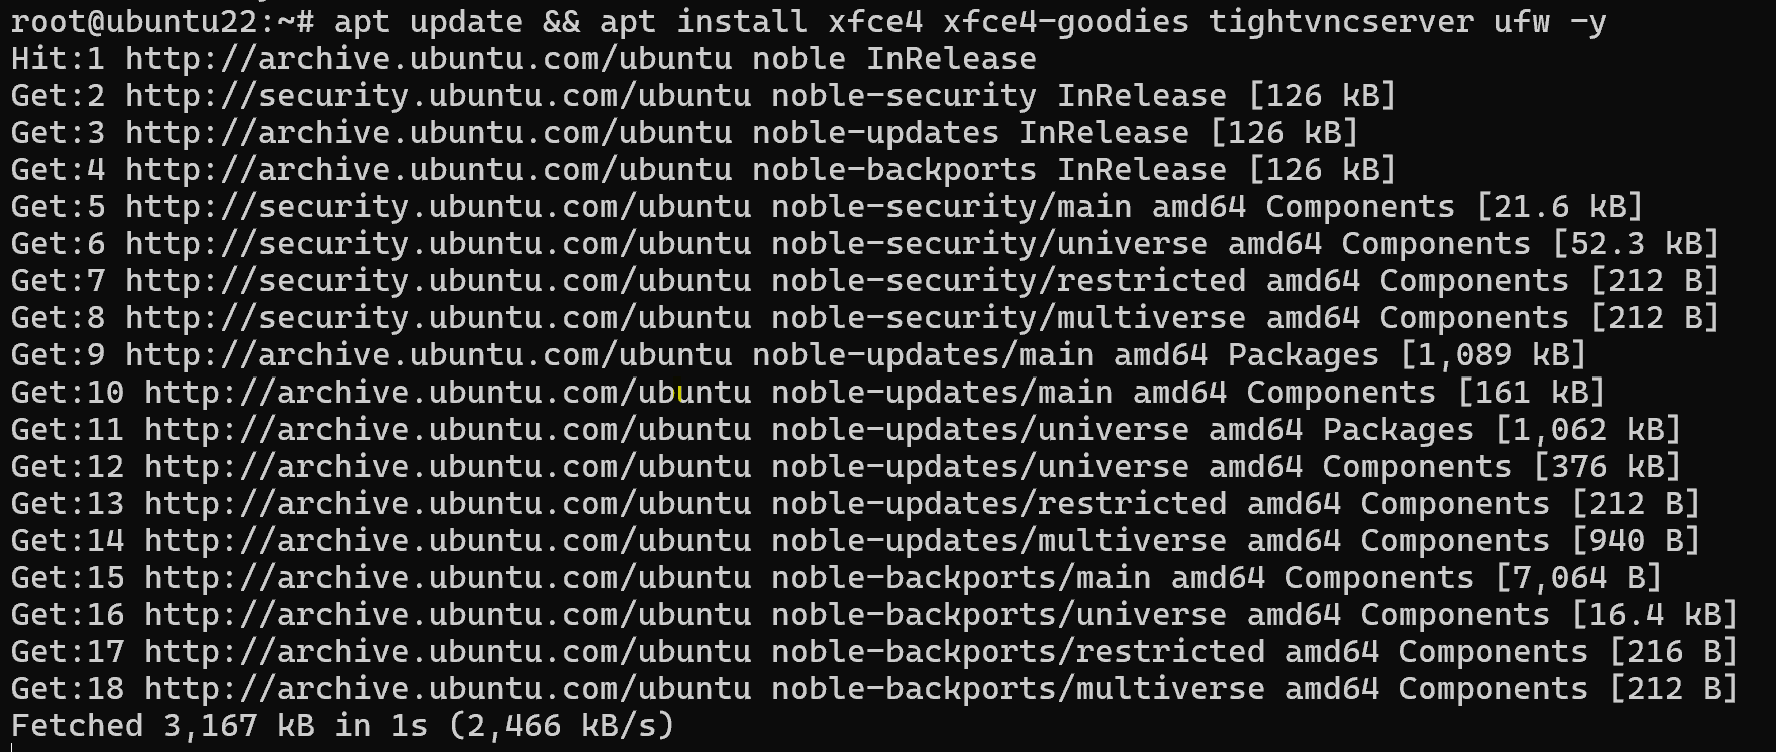
Set password for correct work:
vncserver 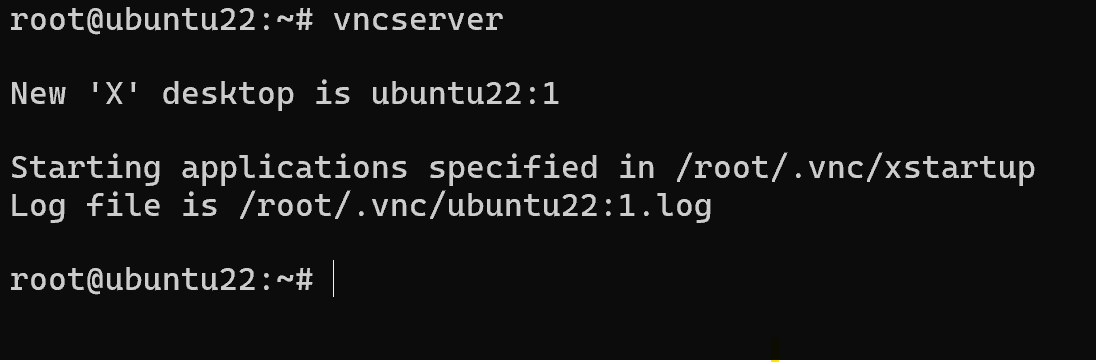
We need to close port of VNC service on public interface:
ufw deny 5901/tcpYou also need to close all running TightVNC sessions.
vncserver -kill :1And start a session listening only for internal connections. After opening the SSH tunnel, this will be our connection.
vncserver -localhostIf you have configured the TightVNC service, open its configuration.
nano /etc/systemd/system/vncserver.serviceFind the ExecStart parameter and make it look like this:
ExecStart=/usr/bin/vncserver -localhostReload systemd:
systemctl daemon-reloadAnd start (or restart) the service:
systemctl enable --now vncserverCreating a SSH Tunnel
The following command must be run on the client computer from which you are connecting to the VNC server. It connects port 61000 on the local machine to port 5901 on the server via an SSH tunnel.
ssh -L 61000:localhost:5901 -N -l username VNC_server_IPThe following options are used to create a tunnel:
- -L - forwarding information from local port 61000 to remote port 5901 via SSH tunnel;
- -N - specifies to only forward ports, not execute the command;
- -l - specifies the username to create the tunnel.
Replace username and VNC_server_IP with your own parameters. If you connect using an SSH key, do not forget to add the -i parameter, as with a usual SSH connection.
Using Putty to create a SSH tunnel
Use normal connection parameters in Putty. Besides these, you need to add some settings. Namely, go to Connection - SSH - Tunnels, enter 61000 in the Source port and localhost:5901 in the Destination.
Click Add and Apply.
Connecting to a remote desktop
Frequently Asked Questions (FAQ)
- Why should I use an SSH tunnel with TightVNC?
VNC connections are not encrypted by default, making them vulnerable to interception. SSH tunneling secures the connection by encrypting the traffic between the client and the server. - How does SSH tunneling work for VNC?
SSH tunneling forwards local port traffic (e.g., 61000) to the remote VNC server's port (e.g., 5901) over a secure SSH connection. This allows you to access your remote desktop safely through localhost. - Which port should I connect to when using a VNC client with an SSH tunnel?
After establishing the SSH tunnel, use localhost:61000 in your VNC client to connect securely to the remote desktop. - Do I need to change the VNC server configuration for SSH tunneling?
Yes. You must configure TightVNC to listen only to localhost (vncserver -localhost) and optionally adjust the vncserver.service file so it doesn't accept external connections directly. - Can I create an SSH tunnel using PuTTY?
Yes. In PuTTY, navigate to Connection > SSH > Tunnels, enter 61000 as the source port and localhost:5901 as the destination. Then click Add and connect as usual. - Should I close public VNC ports in the firewall?
Absolutely. Once you’ve set up tunneling, block public access to port 5901 using UFW (ufw deny 5901/tcp) to prevent unauthorized direct access to your VNC server.


