In Linux we can find various types of network kits that allow us to execute different manipulations with the network and help to emulate behavior of network devices. That means we can use our machine as a router, network node, etc.
Even the entire network can be built on Linux devices! And in that case, when we have at least one Linux machine, we have to configure their network interfaces. Consider the example at the Linux distribution CentOS 7. We will start with basic requirements.
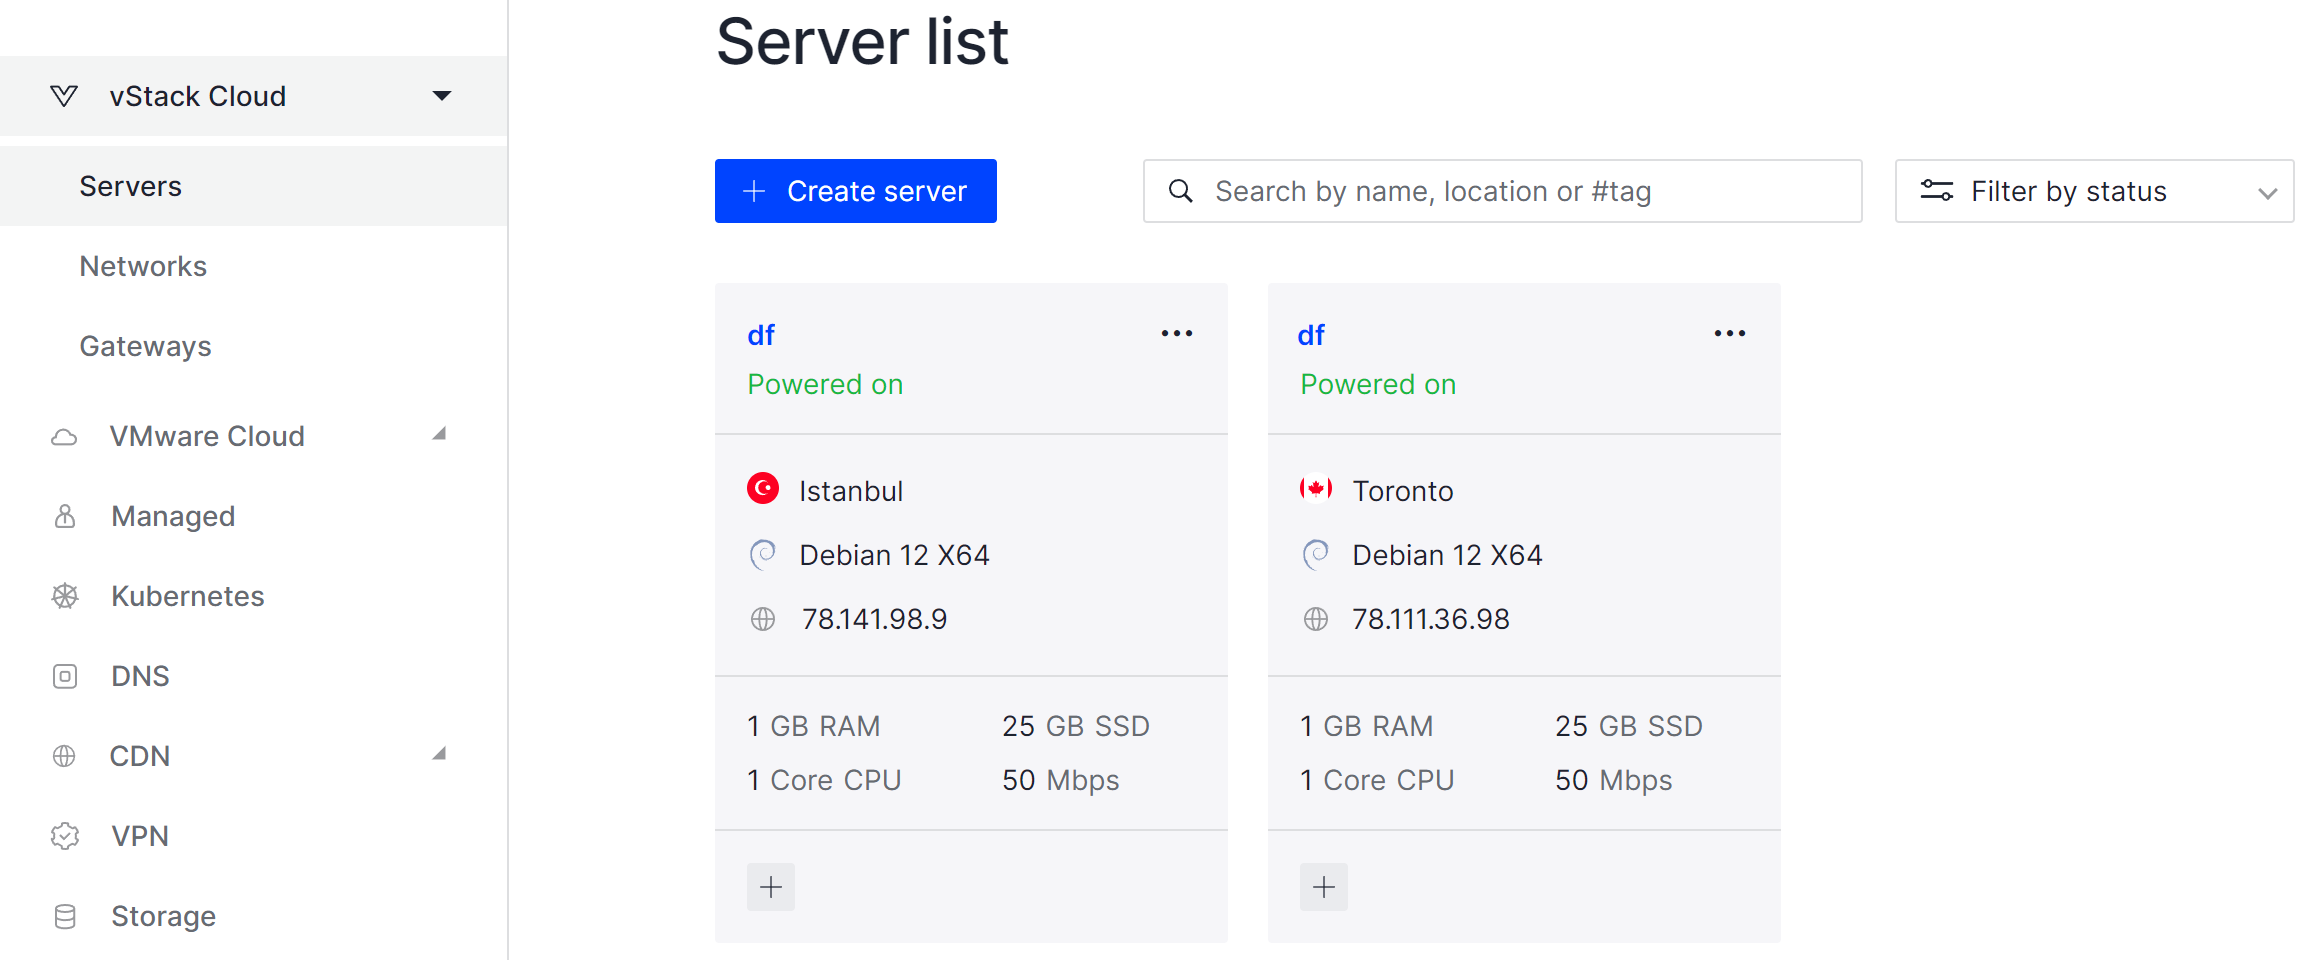
Before we start our configuration we need to create a machine, that we can do on the Serverspace cloud platform, that helps to easily deploy the system, also you can skip that step if you have a VM. To create a node we need to search at the left menu cloud platform, that you can choose based on your requirements. We select Vstack platform and click on the button Create Server.

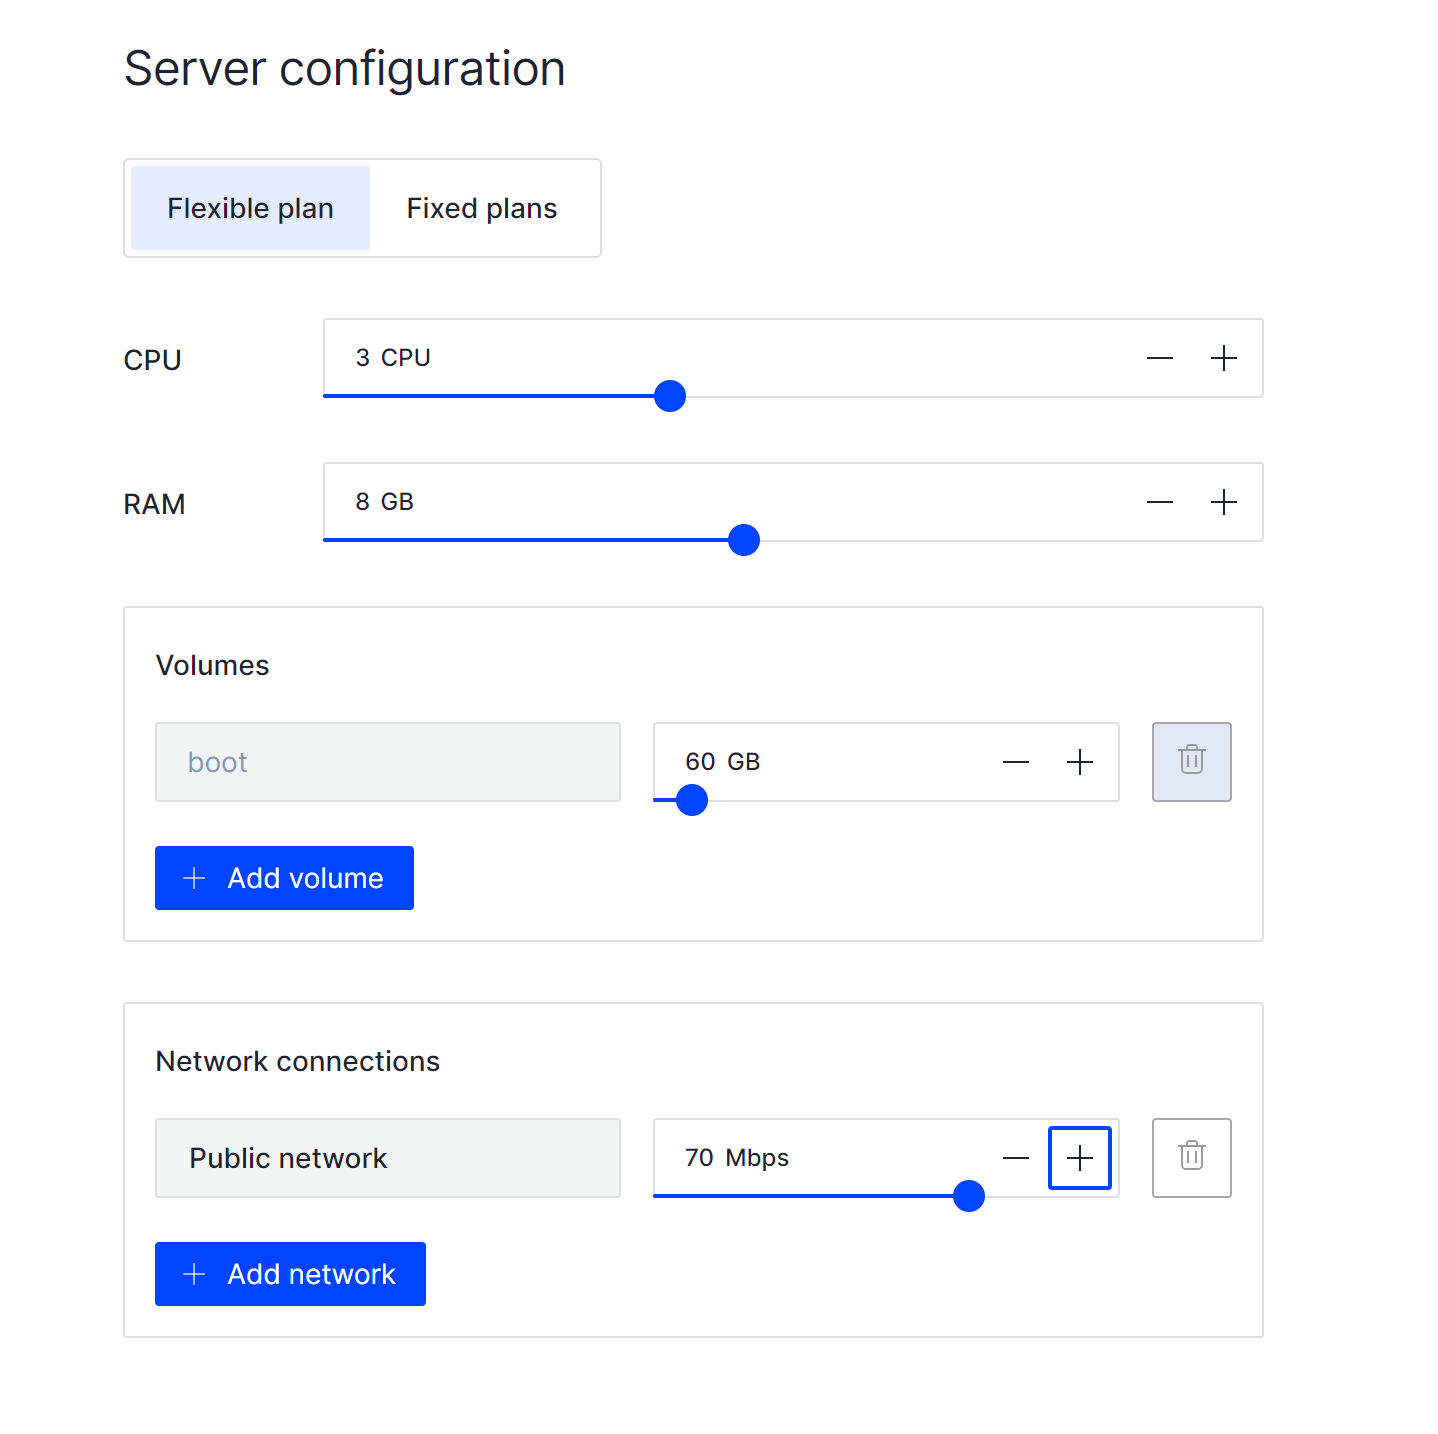
Next we choose configuration for the server and dedicate the needed value of RAM, CPU and persistence memory. Also choose the country of Data Center, also due to your requirements.

Don’t forget to use the network interface for your machine, that main component of our instruction process, then we need to create our server, by clicking on the button.
How to add network interface in CentOS 7?
Every configuration process starts at the adding interface in the machine, obviously if the network daemon works by the default settings. Make sure that component work properly:
systemctl status network Also due to difference in the distribution of Linux you can use follow command:
service network status If you create a machine on the Serverspace platform, your configuration will work by default. But you can also check using similar command
systemctl status cloud-init-local.service Update main components of the OS and installing needed software:
yum update && yum upgrade && yum install net-tools nano -y After we make sure that our service work correctly and packets already installed, we can connect physically our interface or if you use cloud platform, make that from panel through settings of current machine:

Click on the connect button and wait finish of automatically machine restart, after that we can see our interface connected to the device, if you use VM just connect and restart network service:
systemctl restart network Or also you can use follow command:
service network restart We can check status of connected device by type command below:
ip a 
At the picture we can see numerated interfaces and their names, lo that localhost interface and our new connected eth0 with 1 ip, in your case the interface can be named by any else label, for example enp0s5.
If you have issues in connection process: device don’t display or they have UNKNOWN status, then you need to restart network service or rescan hardware for searching your block device:
udevadm trigger That command starts the reprobe process and updates configuration changes in the adapter.
How to add a second network adapter in CentOS 7?
By the same way as we described before you can add second, third and more interfaces, by connecting physically or through a control panel from a cloud provider. Then you need to configure interfaces by the ip command or using file configuration.
How to configure interfaces in CentOS 7?
After the preparation stage we can start configuring our interfaces. In our case we will use file configuration, that more suitable way for controlling the proper work of our interfaces. You need to check name of your interfaces, by the command:
ip a And create dedicated configuration file with label of your interface:
nano /etc/sysconfig/network-scripts/ifcfg-eth0 In our case that eth0 is replaced by your label, you need to have an ifcfg-name_of_interface. You will see a text file with configuration parameters or empty fields. You need to enter that into file:
BOOTPROTO=static

DEFROUTE=yes

DEVICE eth0

GATEWAY=14.141.98.1

HWADDR=ca:15:ec:aa:d4:a0

IPADDR=14.141.98.107

MTU=1500

NETMASK-255.255.255.0

ONBOOT=yes

STARTMODE=auto

TYPE=Ethernet

USERCTL=no
Let’s consider main points of file:
- BOOTPROTO using a dedicated type of configuration. You need to indicate dhcp value for automatically setup from DHCP-server and static value for manual configuration;
- DEFROUTE which determine status of default gateway;
- DEVICE represent label of network interface;
- GATEWAY represent address of path by default;
- HWADDR represent MAC-address from network device;
- IPADDR represents IP-address for interface, also we can add virtual ip, by indicating first address like IPADDR1 and second IPADDR2.
- Type in IP-address of your network schema ;
- MTU represent indicator, which determine length of packet for one transition;
- NETMASK represent mask of network in IP-address or networking subnet;
- ONBOOT represents a parameter for controlling the booting interface. You can set yes for automatically boot and no for manual control by command.

You need to fill configuration with your data and optionally due to ONBOOT parameter start your adapter in networking:
ifdown eth0 && ifup eth0Then we need to check our ip address in Linux distribution, by command:
ip a 
In the same way we can configure a second interface with a new example of ip address, subnet of ip address, etc.
How to add multiple gateway in CentOS 7?
If you notice we configure only one gateway per machine due to default settings and requirements of our system. That can be suitable for an endpoint device or node. But usually, we can see configuration with multiple gateways for routers and proxy servers. Settings help to build high-availability and fault-tolerance connections with ISP.
For that we will use HRSP protocol, which help to build communication through two different interfaces. Syntax will look like this: default via first_gw dev your_interface metric numeric_value. You need to replace bold value and type command below:
 default via 94.141.96.1 dev eth1 metric 1

default via 94.141.98.1 dev eth0 metric 2
And delete previous default GW:
ip route del default via 192.168.1.1 dev eth0That command adds default gw for your routing table, metric value means if you indicate less number, than more priority interface that will be. Therefore, now our machine uses only 94.141.96.1 gw and second periodically sends a request with a question to the system: “Is it up?”. If interface didn’t respond then second adapter activate. Our currently connection we can check by command:
ip route show 
Then we can check network traffic on each interfaces and make a conclusion about connection, you can install sniffing utility:
yum install tcpdump -y 
Then through it we check traffic of eth1, that now active:
tcpdump -i eth1
As we can see they go the Internet, and second eth0, that is passive:
tcpdump -i eth0
Communication at the Network layer of model OSI with another interface through our fault-tolerance protocol! That setup will work until the system reboot. Let’s make an edition in the configuration file:
nano /etc/sysconfig/network-scripts/route-eth1And enter value below, but before replace for your data:
gateway 94.141.96.1

default via 94.141.96.1 dev eth1 metric 1

default via 94.141.98.1 dev eth0 metric 2
Save file by button combination Ctrl + O and then reload network services. Take in mind! If you use Serverspace machine, you need to disable autoconfig for network, so value was replaced:
service network restartConfiguring multiple network interfaces on CentOS 7 is a crucial skill for anyone managing Linux-based systems, especially when deploying complex network architectures. In this guide, we started by highlighting the significance of Linux in emulating various network behaviors, allowing machines to function as routers, network nodes, and more. We emphasized the importance of configuring network interfaces for optimal system performance.


