Sometimes, you need to use a Windows server as a web server. The first solution that comes to mind is installing WAMP or setting up Apache, MySQL, and PHP separately. However, there are cases when you might prefer to use IIS instead of Apache. The reasons vary—from a system administrator’s preference to avoid learning new software, to strict policies imposed by the information security team. In this guide, we’ll walk through how to set up a full web stack with IIS, MySQL, and PHP working together seamlessly.
In the Serverspace you can create a server with already installed apps "MySQL and Apache".

IIS is a set of Internet services from Microsoft, in other words, a web platform. The peculiarity of IIS is that it supports a large number of modules and applications, including work with MySQL and PHP.
Installing IIS.
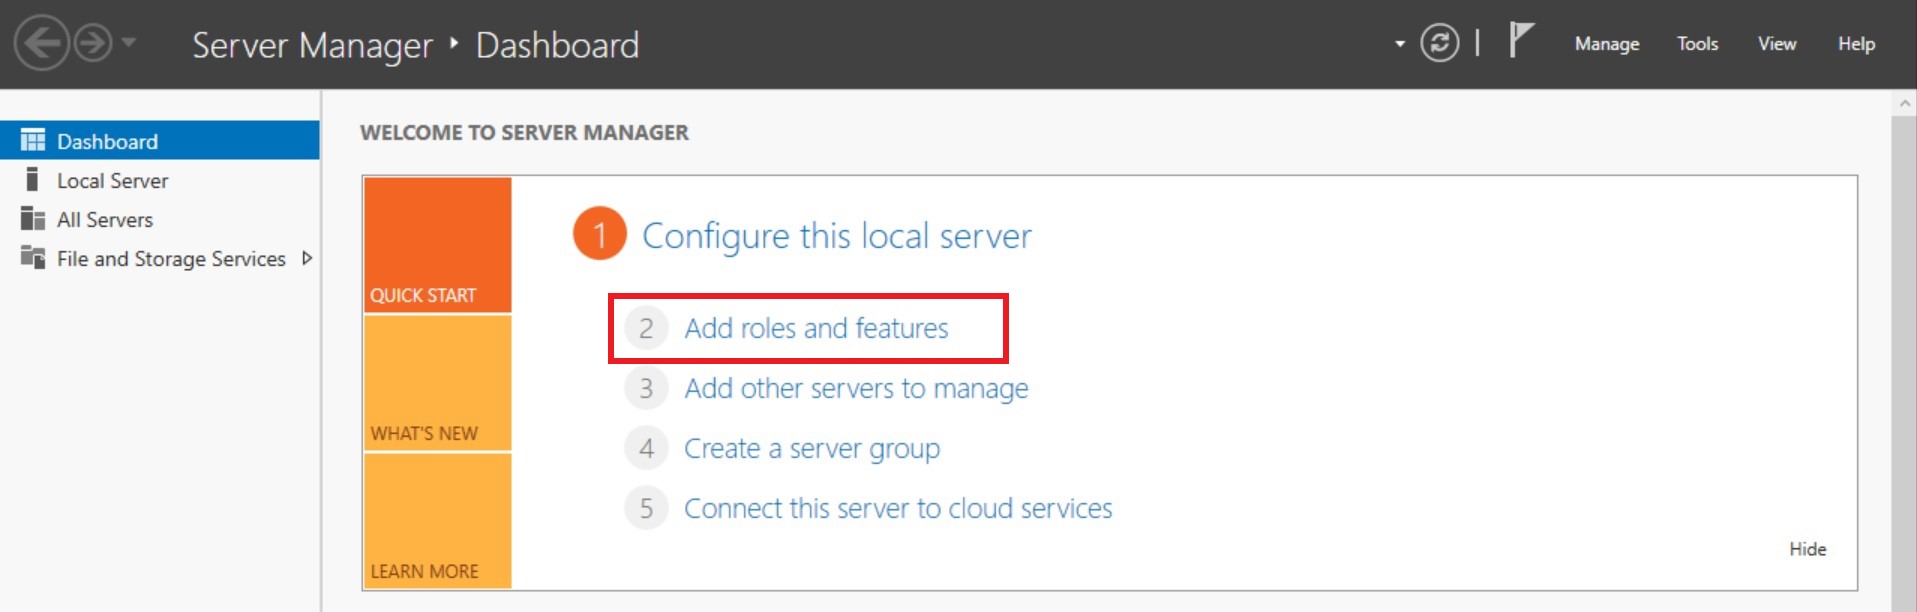
Open the Server Manager.
In the window that will open, you should select "Add roles and features".
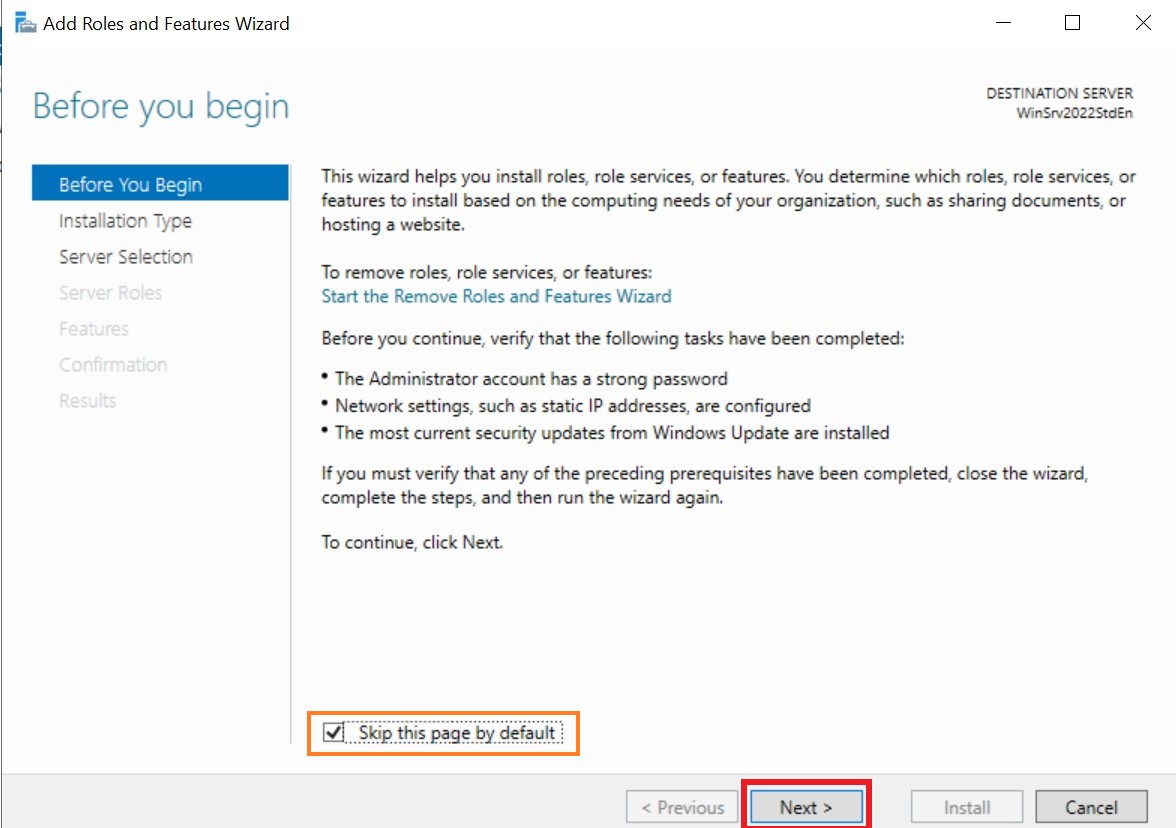
In the window Install Roles and Features Wizard, optionally, check the “Skip this page by default” box. This page will appear every time you are going to try adding a role or features. After that press the “Next” button.
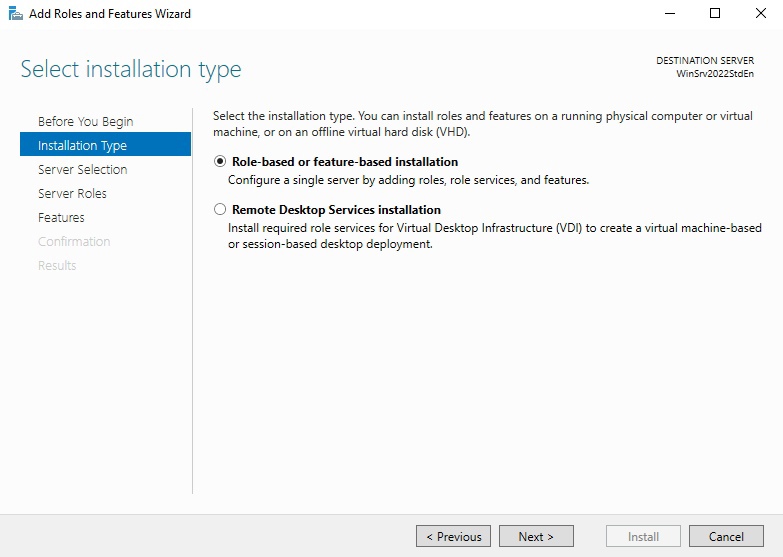
As a next step we should check that the option "Install roles and features" is selected in the Installation type menu . After that, click on the “Next” button.
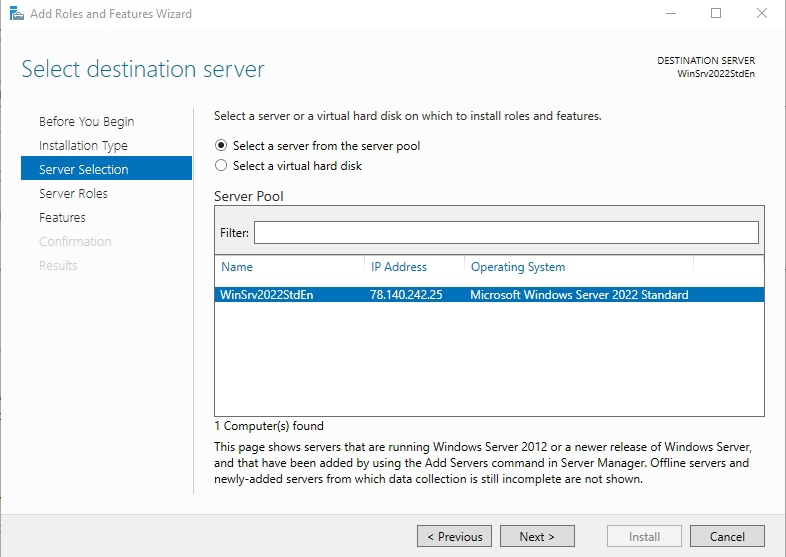
At the stage of selecting servers, simply click “Next”, because in our case there is one server
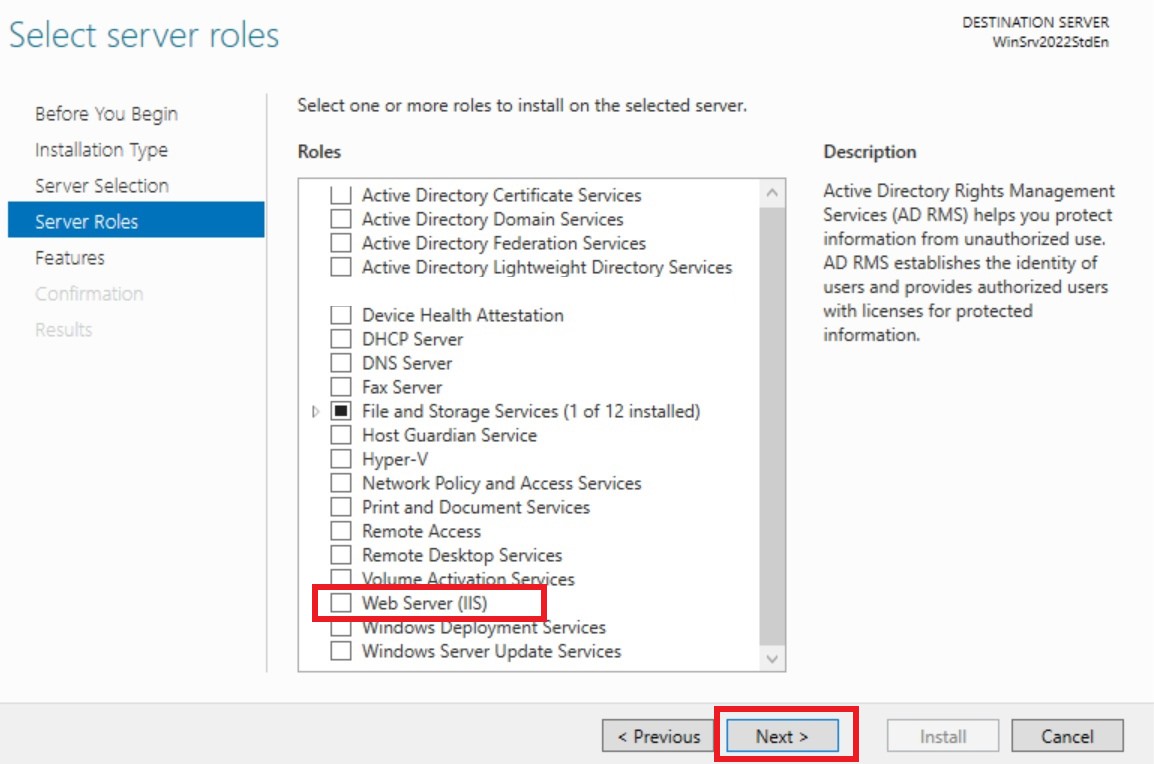
At the step of selecting server roles, check the box “Web server (IIS)”, click on the “Next” button.
In the window that is going to appear, click the "Add Components" button. Window will close.
In the remaining window of the wizard, click on the “Next” button.
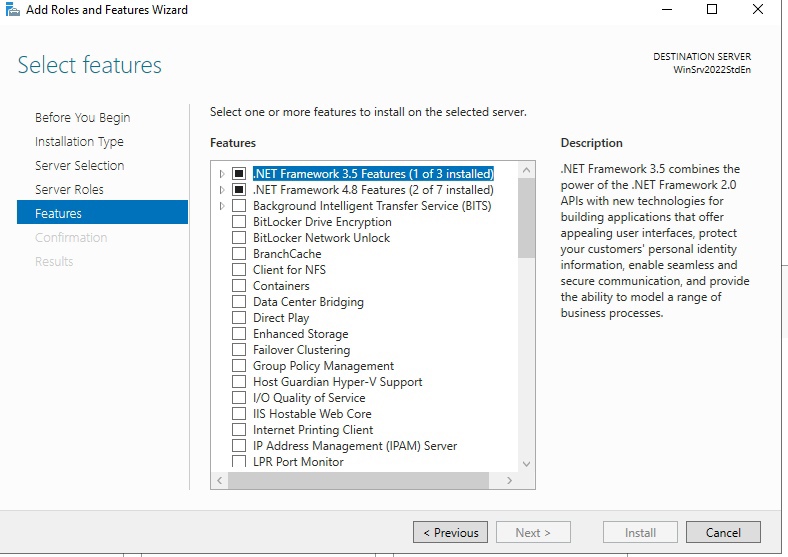
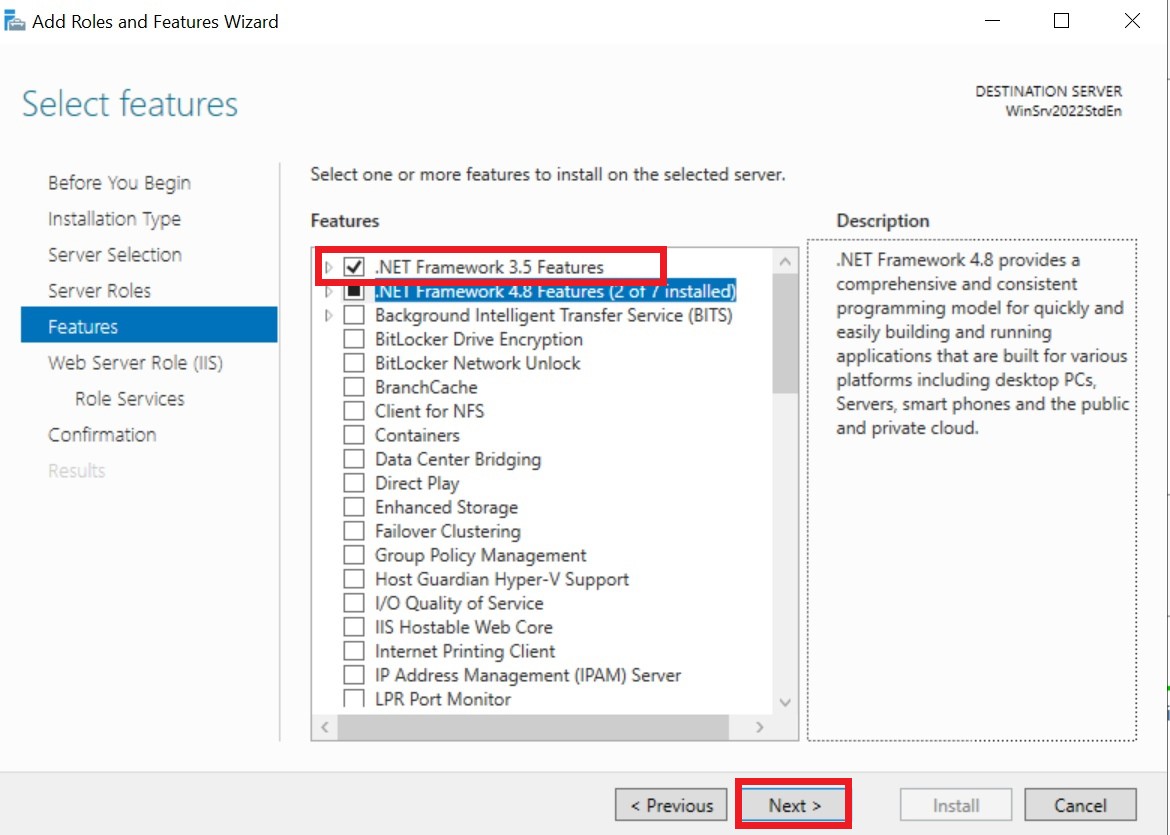
At the stage of selecting components, we recommend you to put a tick in the box “Features of the .NET Framework 3.5”. Click "Next".
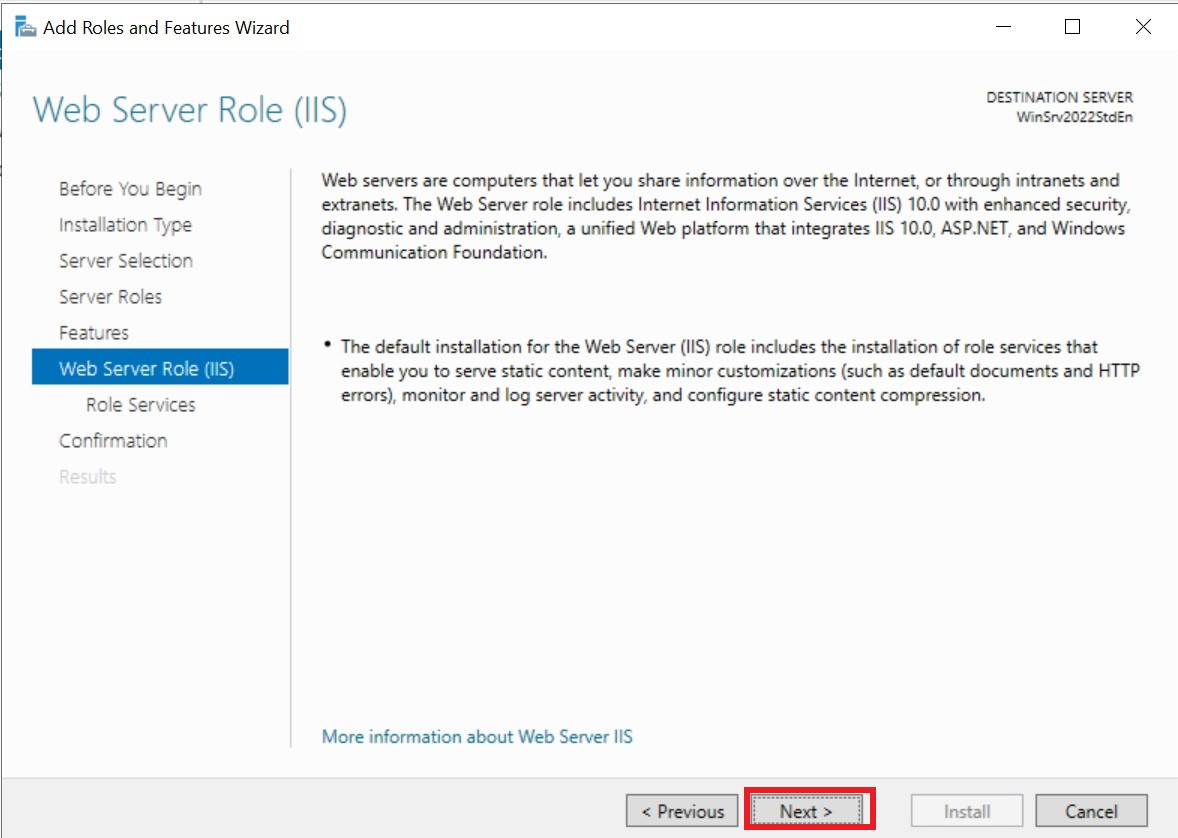
At the step “Web Server Role (IIS)” - click “Next”.
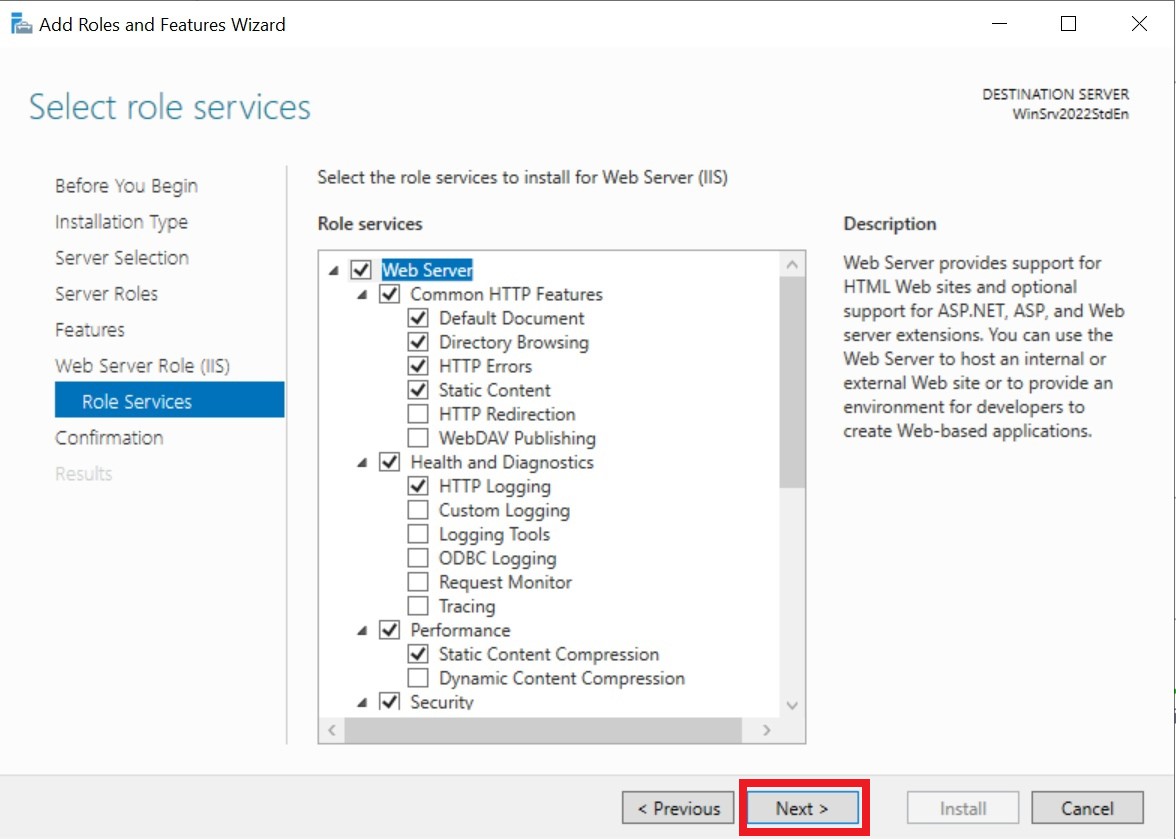
Optionally, you can check additional services of the Web Server role, such as an FTP server. We press the “Next” button.
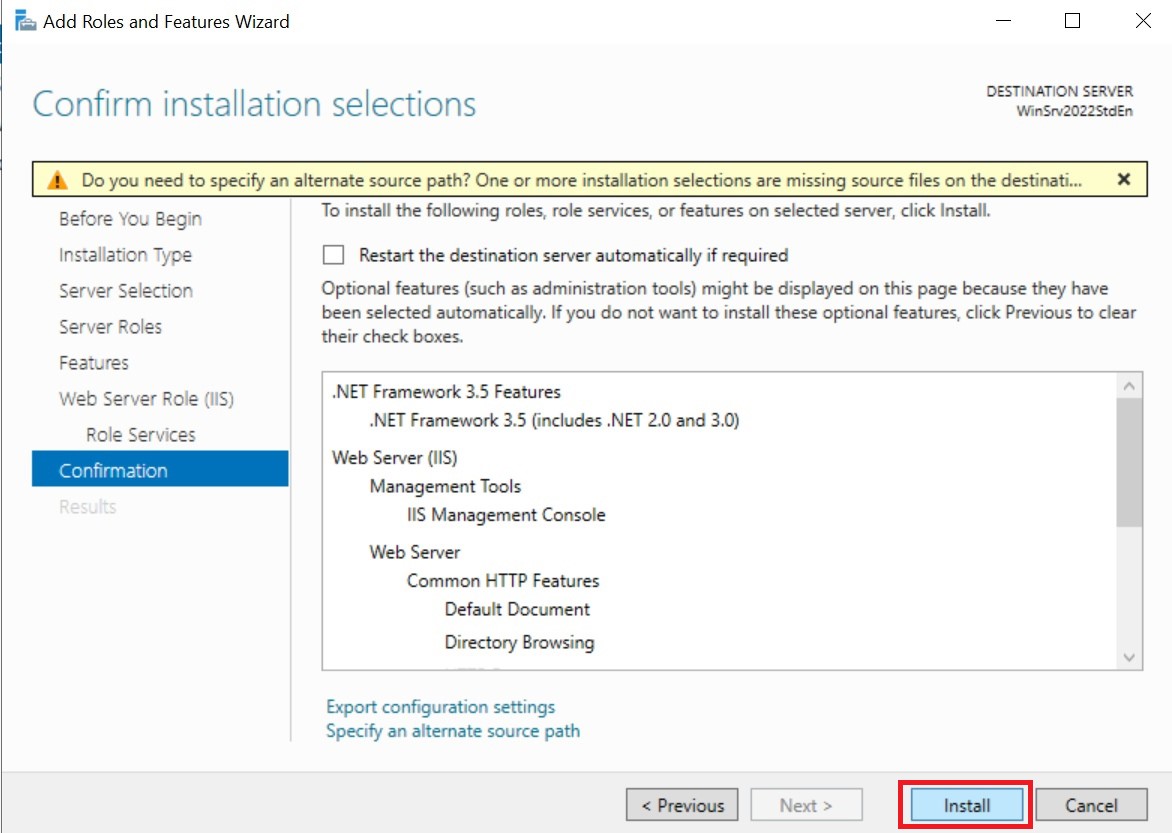
Confirm the installation by clicking on the “Install” button.
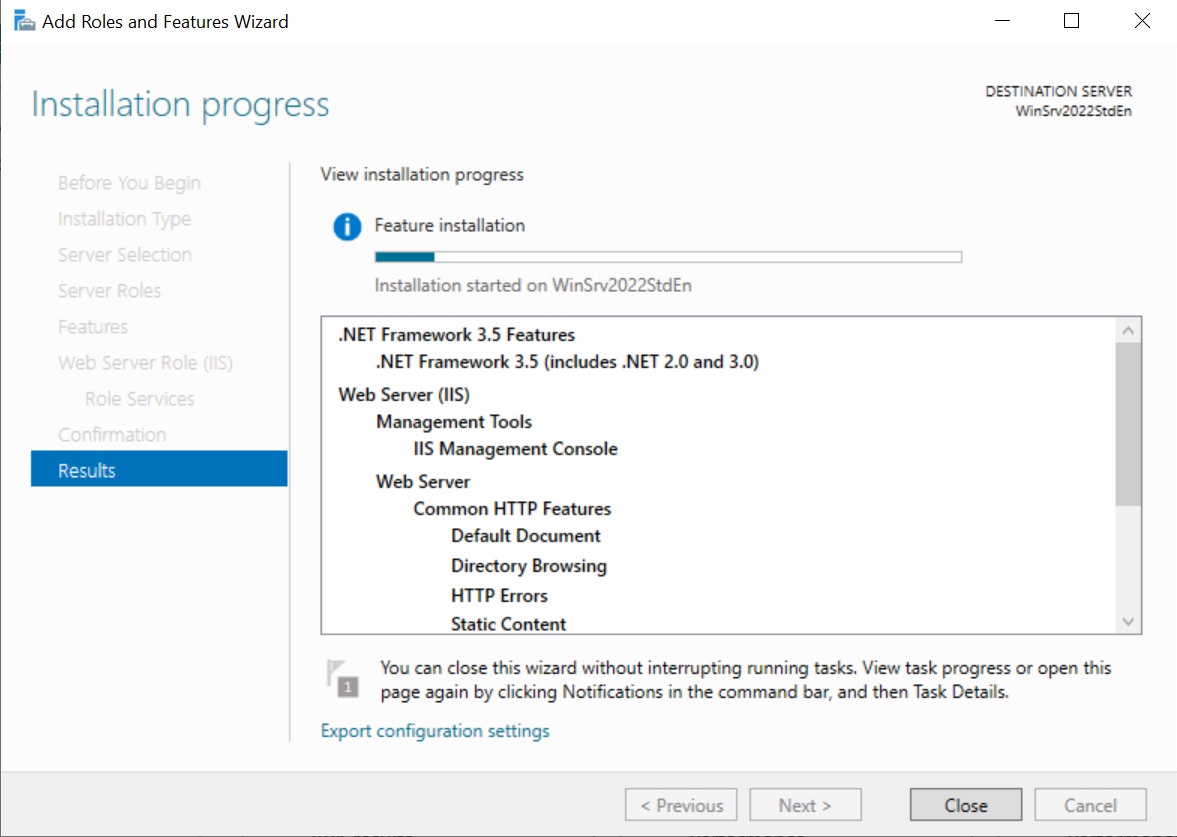
We need to wait for the end of the installation process.
The IIS icon will appear in the Server Manager window. We need click on it.
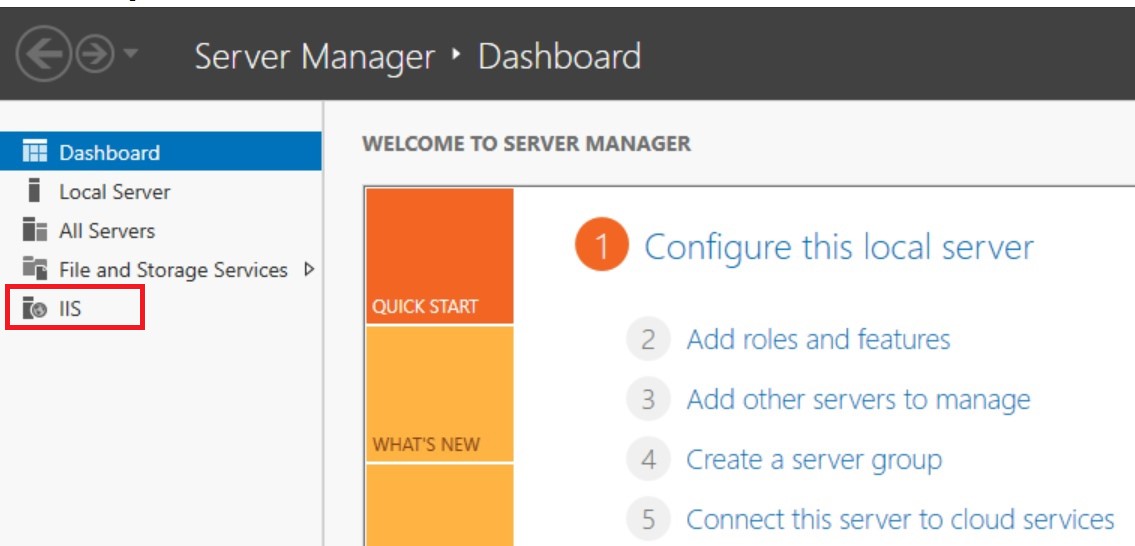
In the updated window, right-click on the server name. Select "IIS Manager" from the context menu.
In the manager window that appears, in the left side, select the current server. In the right part of the window - "Get new web platform components".
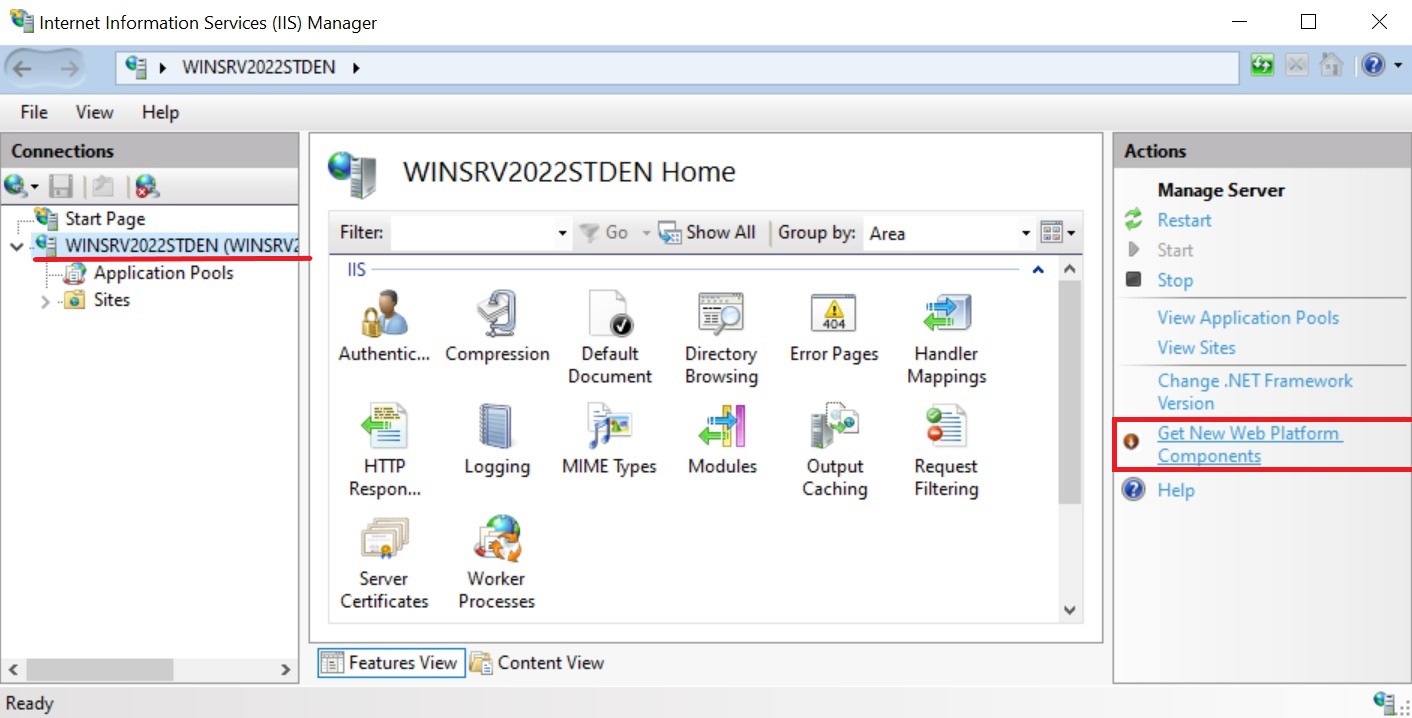
A default browser window will open, prompting you to download and install the Web Platform Installer.
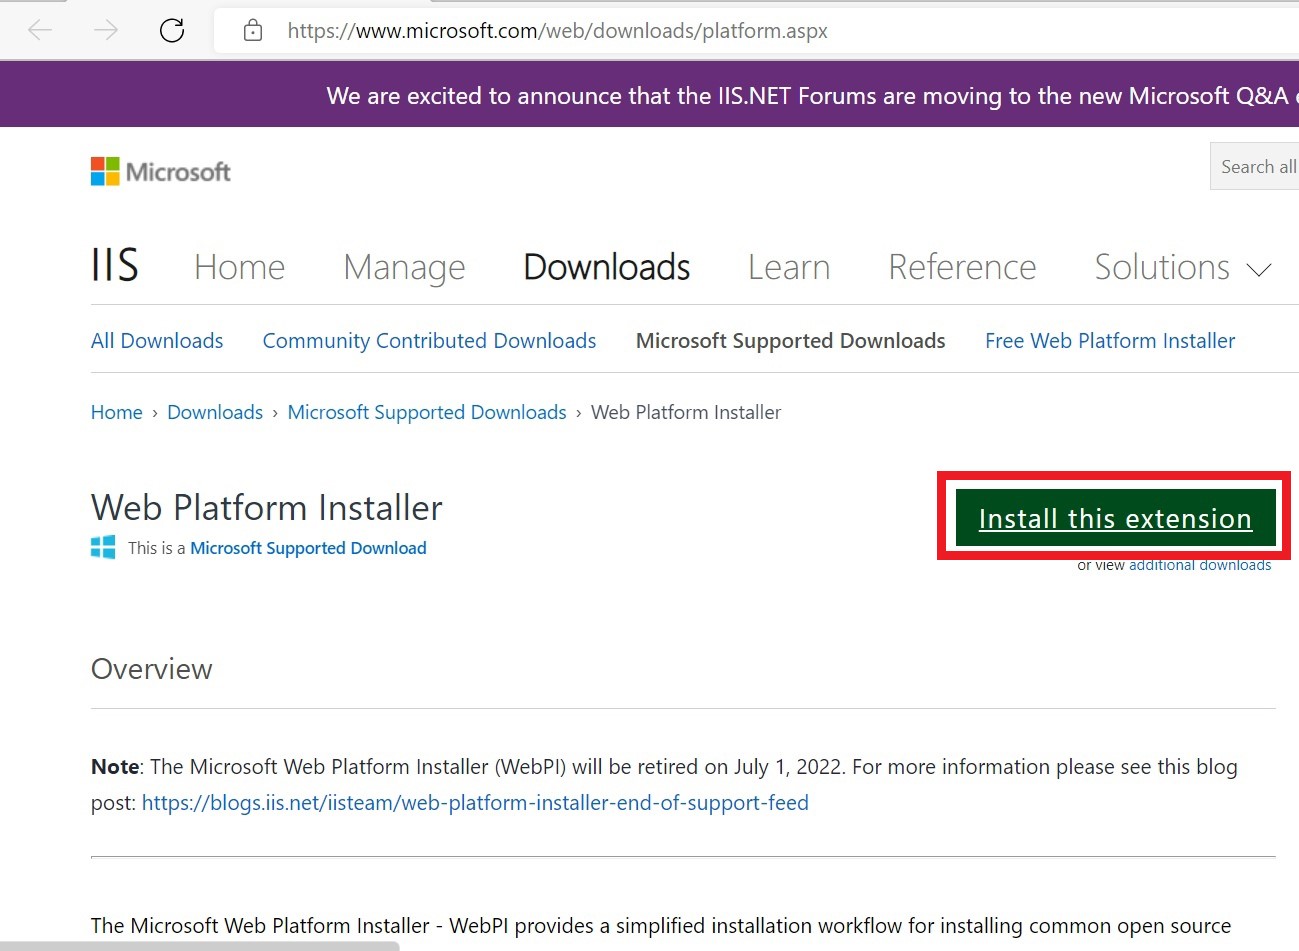
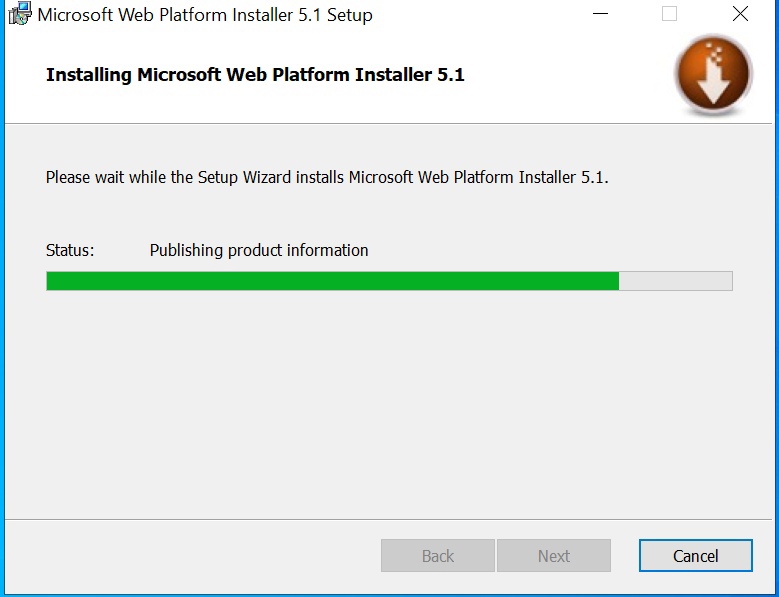
Download the installation package, run and install it.
After installation, click “Get new web platform components” again.
The Web Platform Installer wizard will start.
Installing MySQL and PHP.
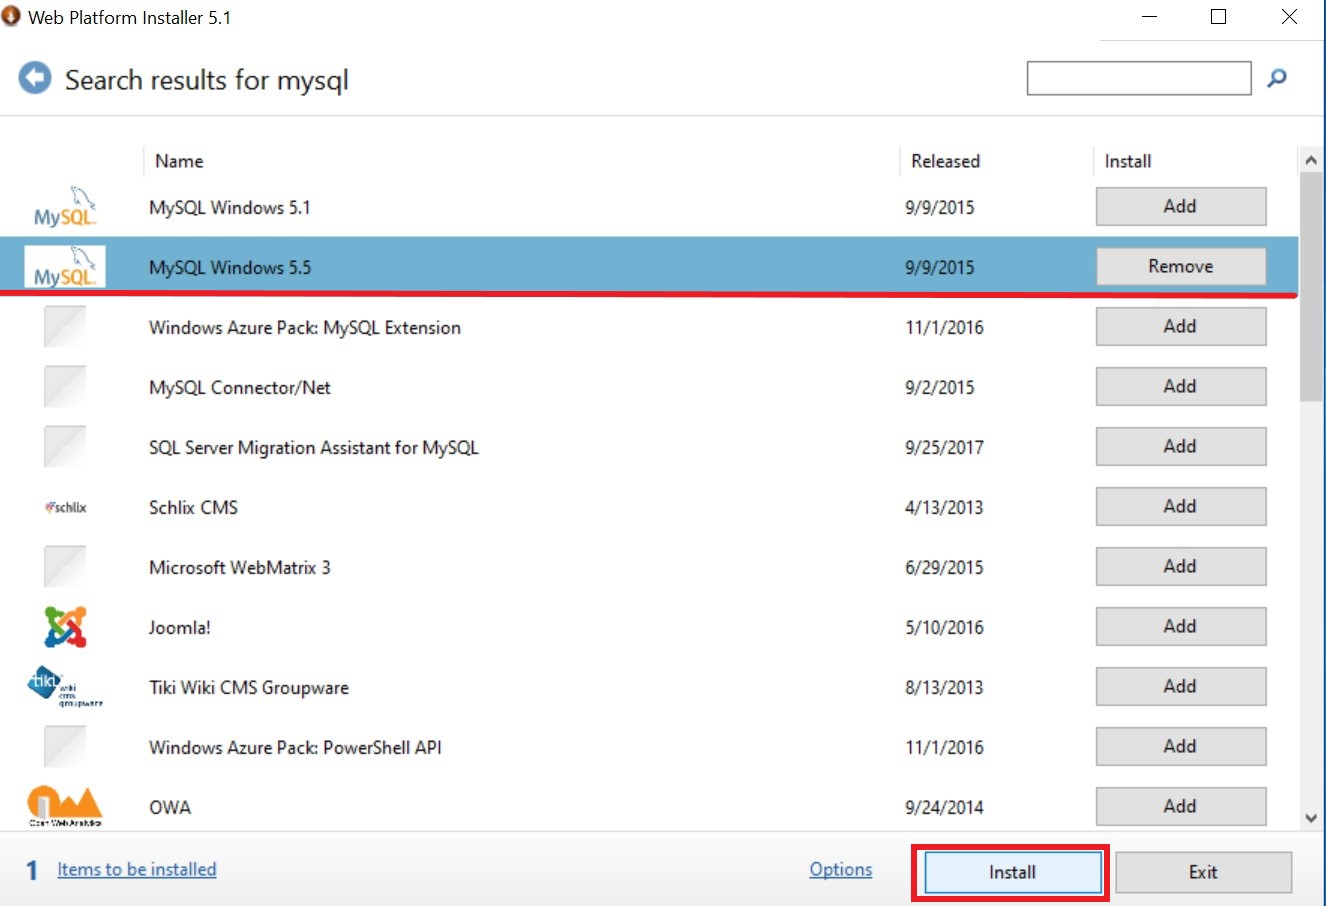
There is a search field in the program window. Let's use it. In the search results, select the PHP package. Click on the “Add” button.
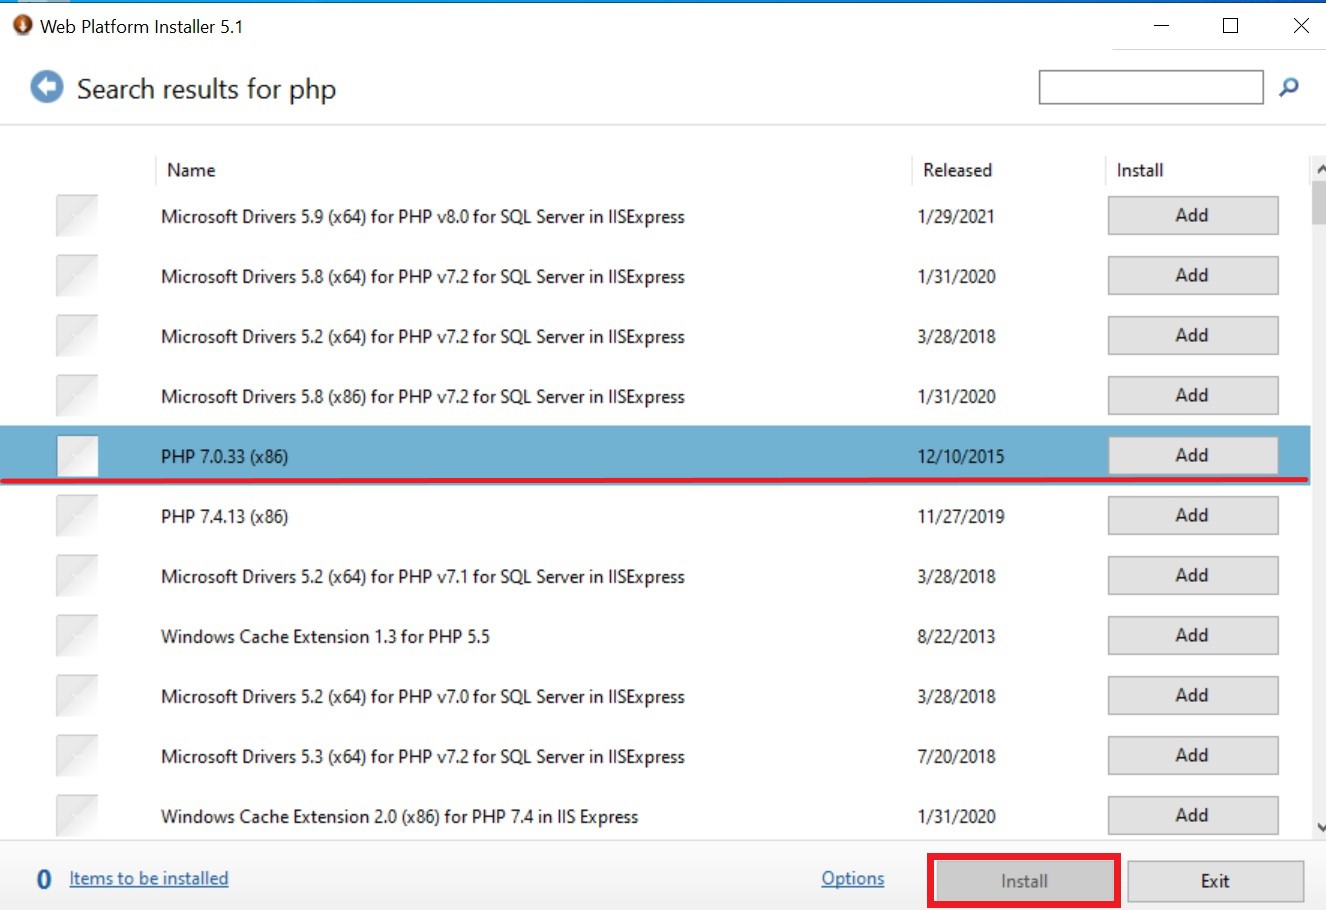
Similarly, find the MySQL package, click "Add". When all packages are added, click the “Install” button.
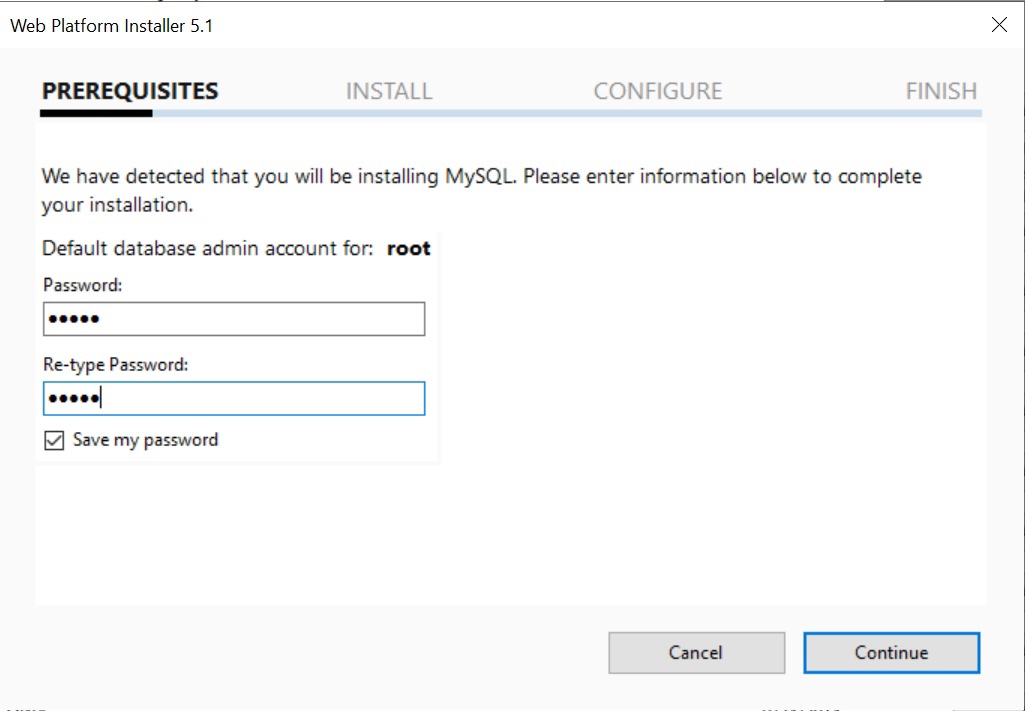
As on Linux systems, the installer will ask for a password for the MySQL root user. Do not forget the entered password. Click "Continue".
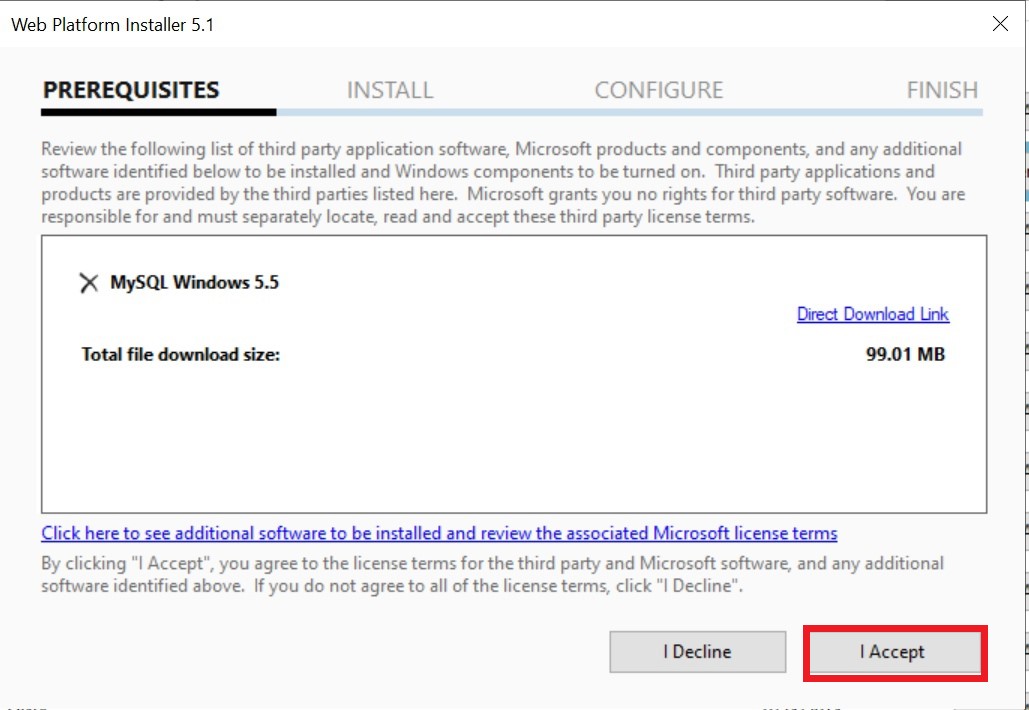
The central part of the window lists the programs that will be installed. To view the text of the license agreement for the installed software, click on the hyperlink. If you agree, click the "Accept" button.
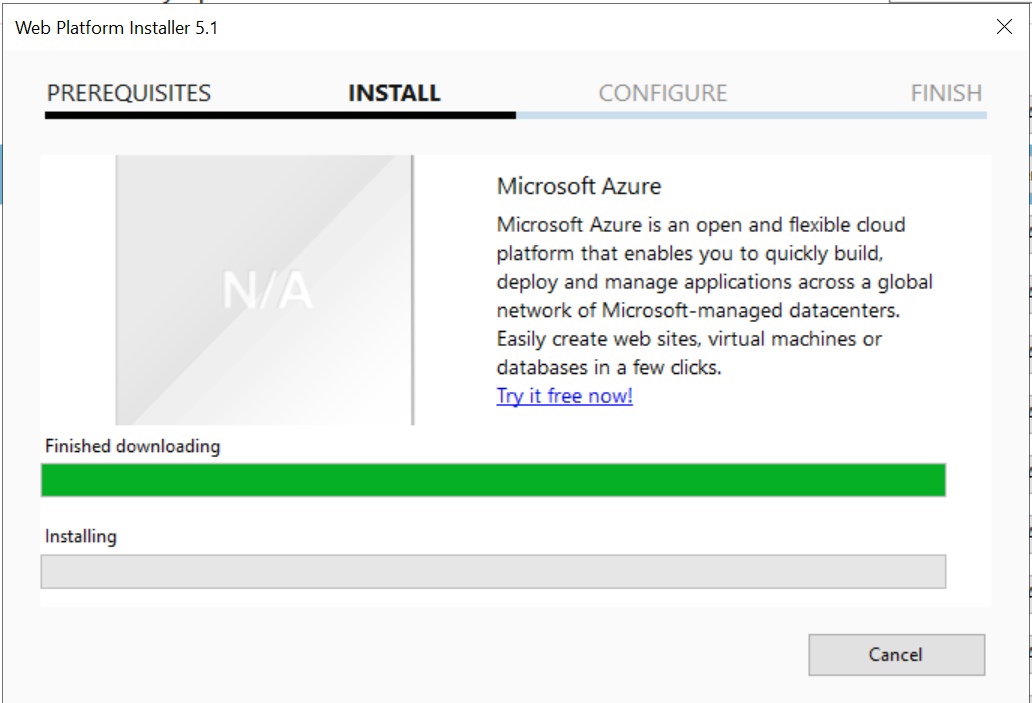
We need to wait for the installation to finish.
Installation result. Click "Finish".
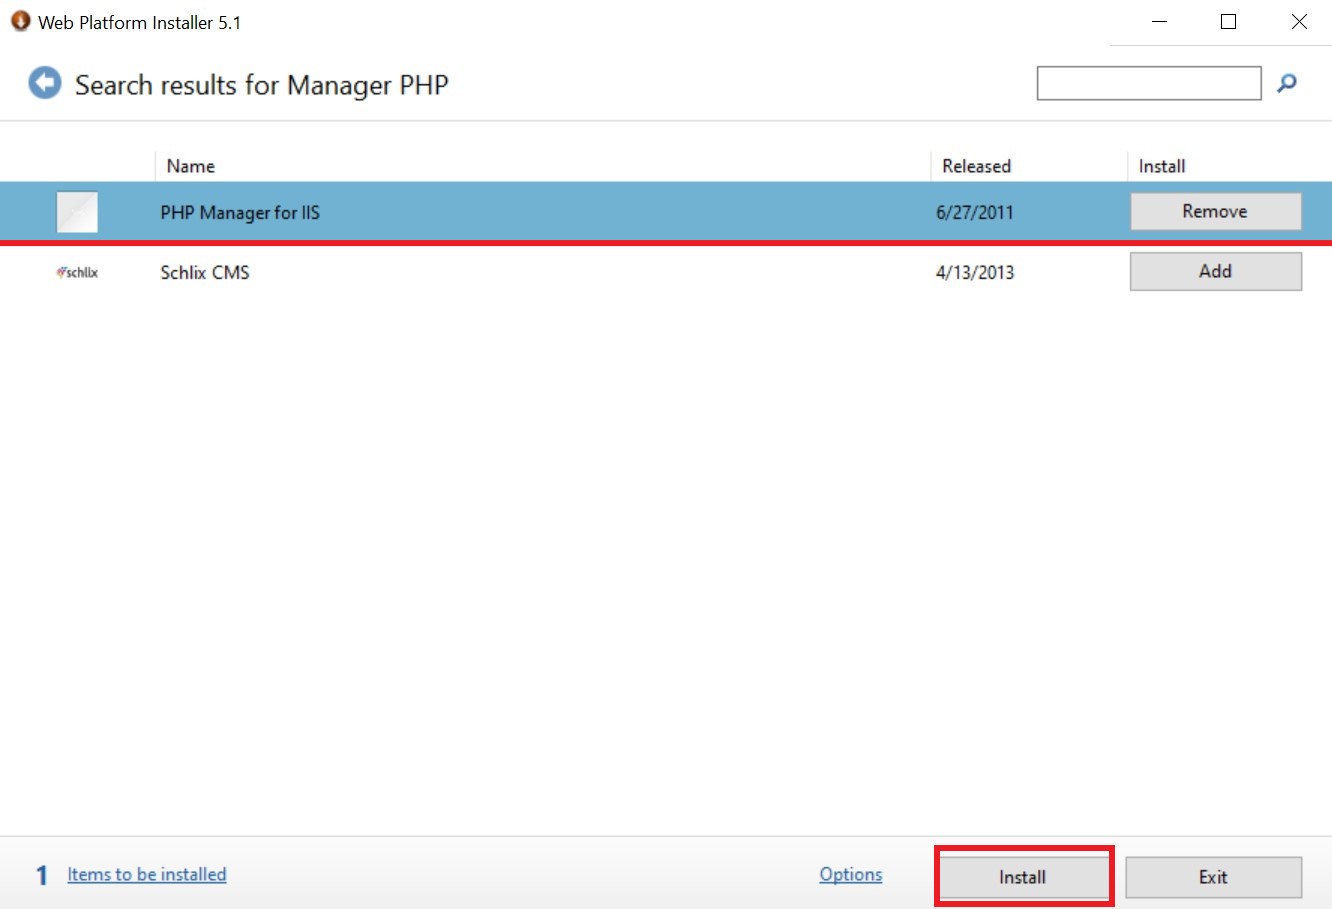
As you can see, the “PHP Manager for IIS” package has not been installed. Install it in the same way. We find through the search field, click on the “Add” button, then on the “Install” button.
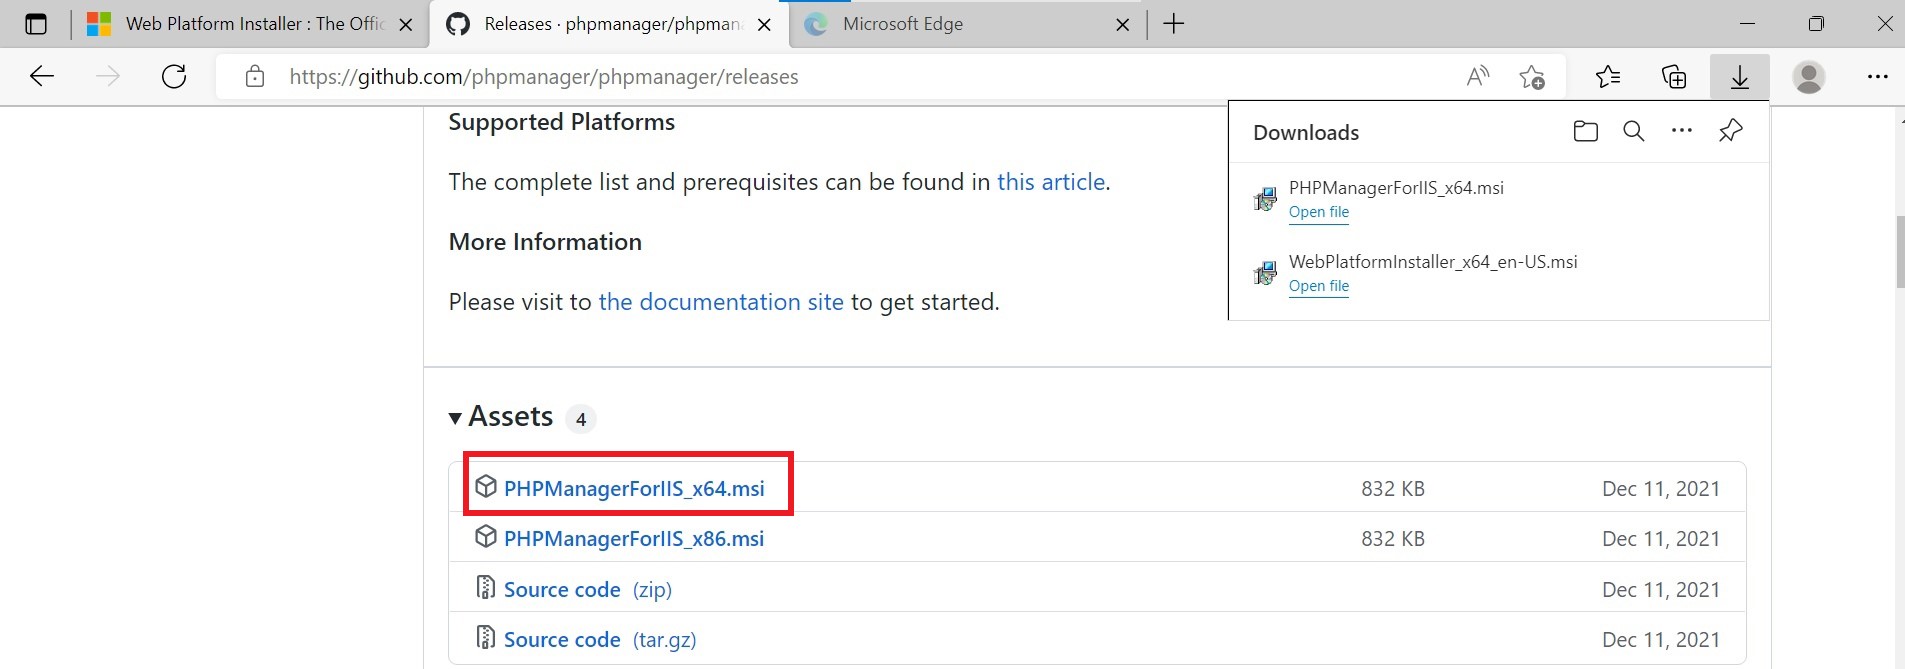
Remember that the program was not installed due to an incorrect digital signature. It happens. Download the program from github. Don't forget about the bitness of the OS.
The result will be an MSI file. Install it as a normal program. You may need to close IIS Manager during installation
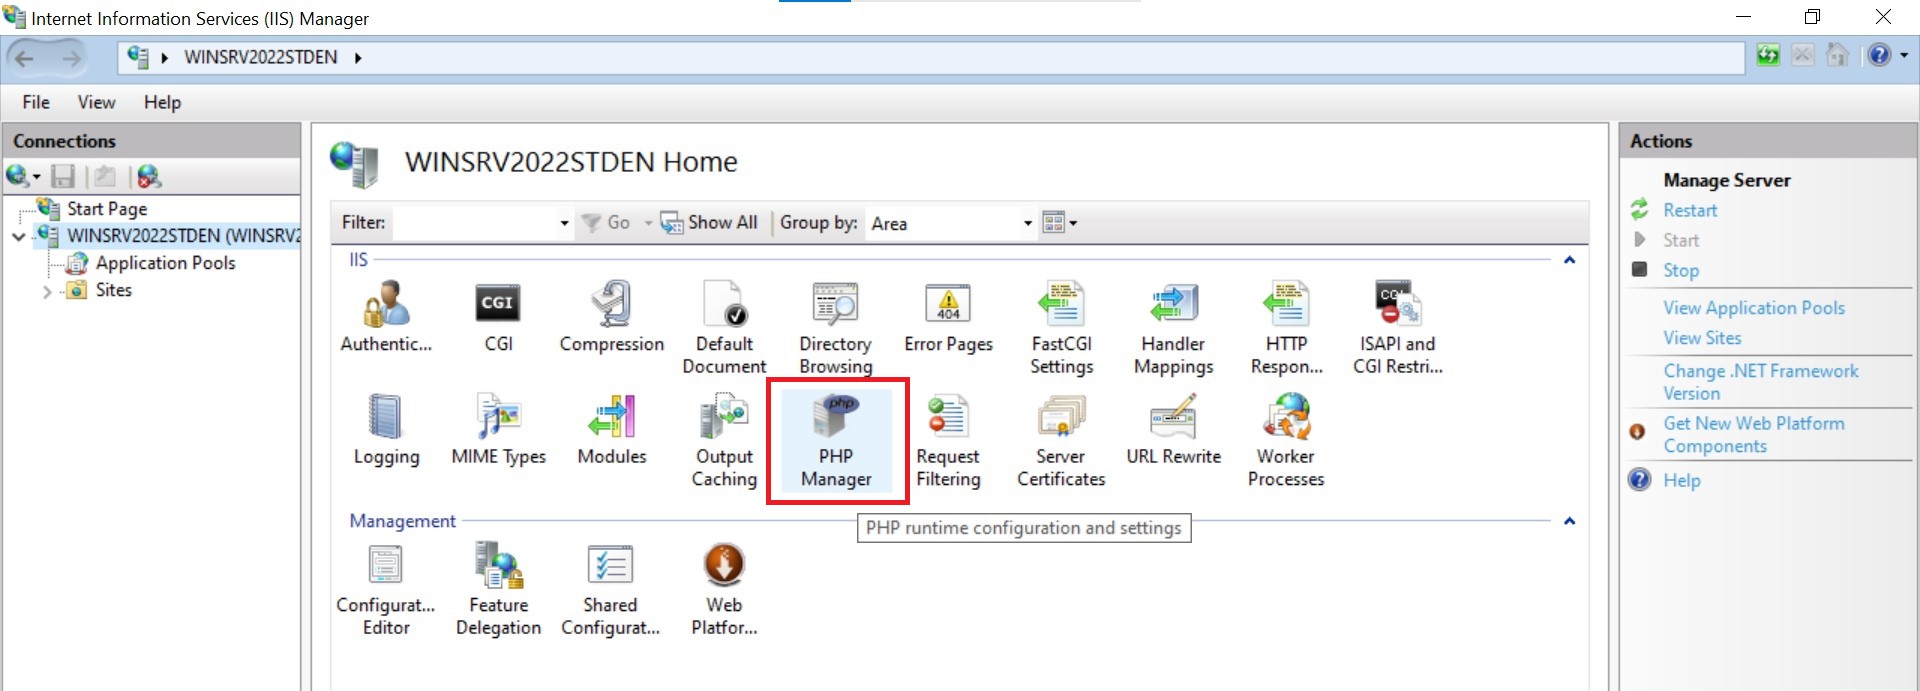
Once the installation is complete, the "PHP Administrator" icon will appear in the IIS Manager window. Open it with a double click.
In the window that opens, check phpinfo(). click on the appropriate hyperlink.
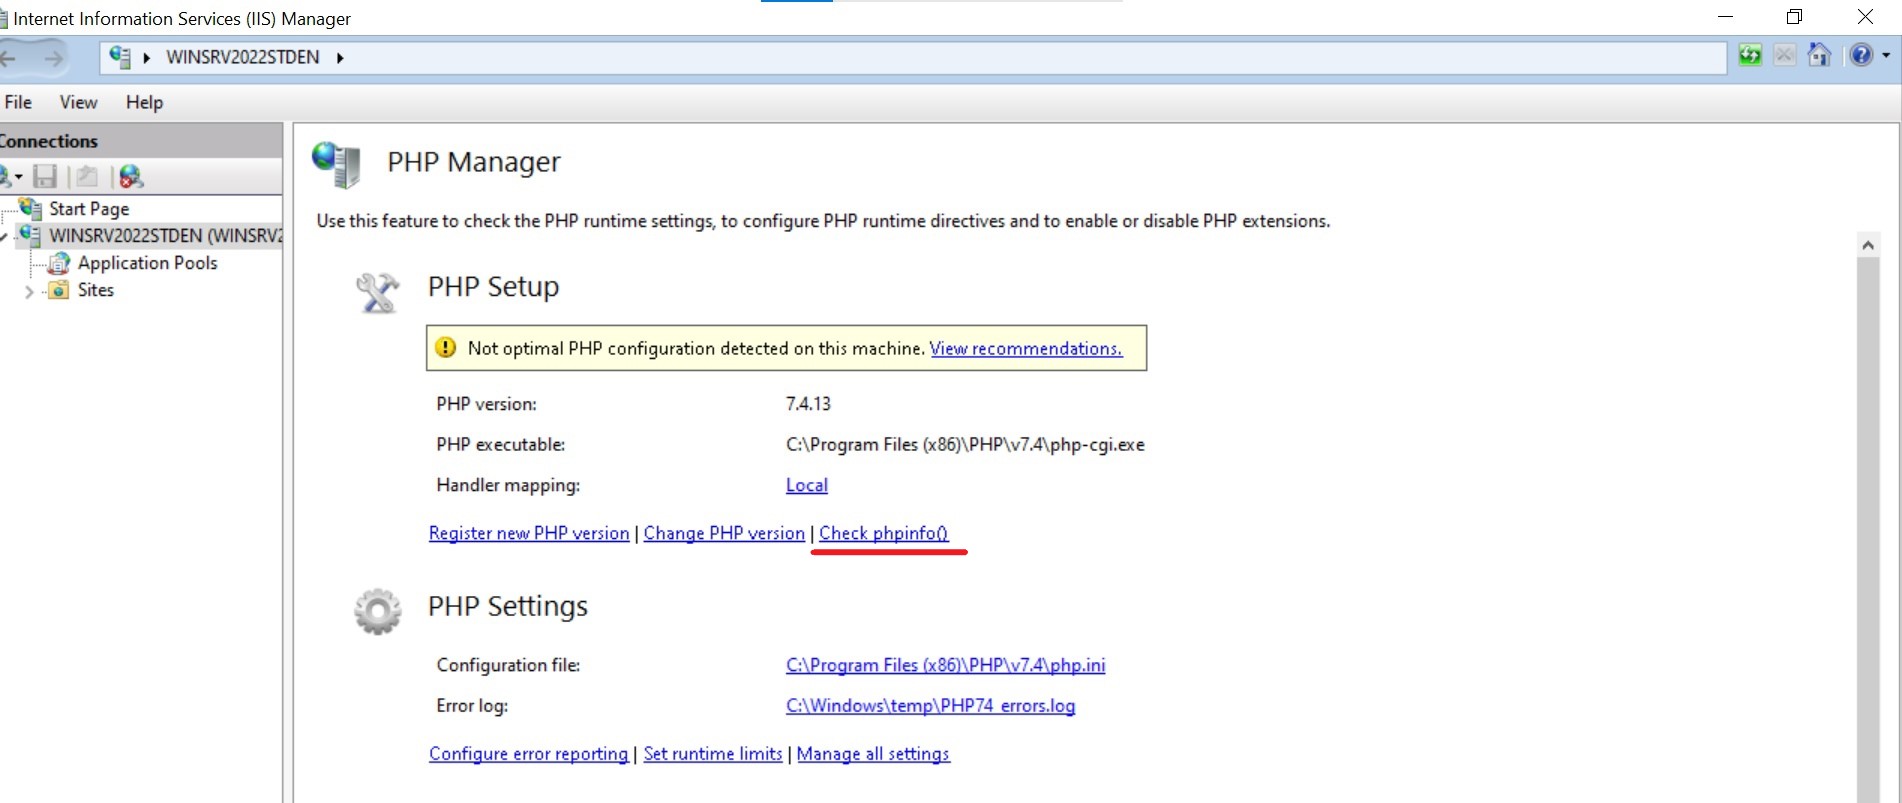
In the opened window for selecting a site and URL, select the default site. Click "OK".

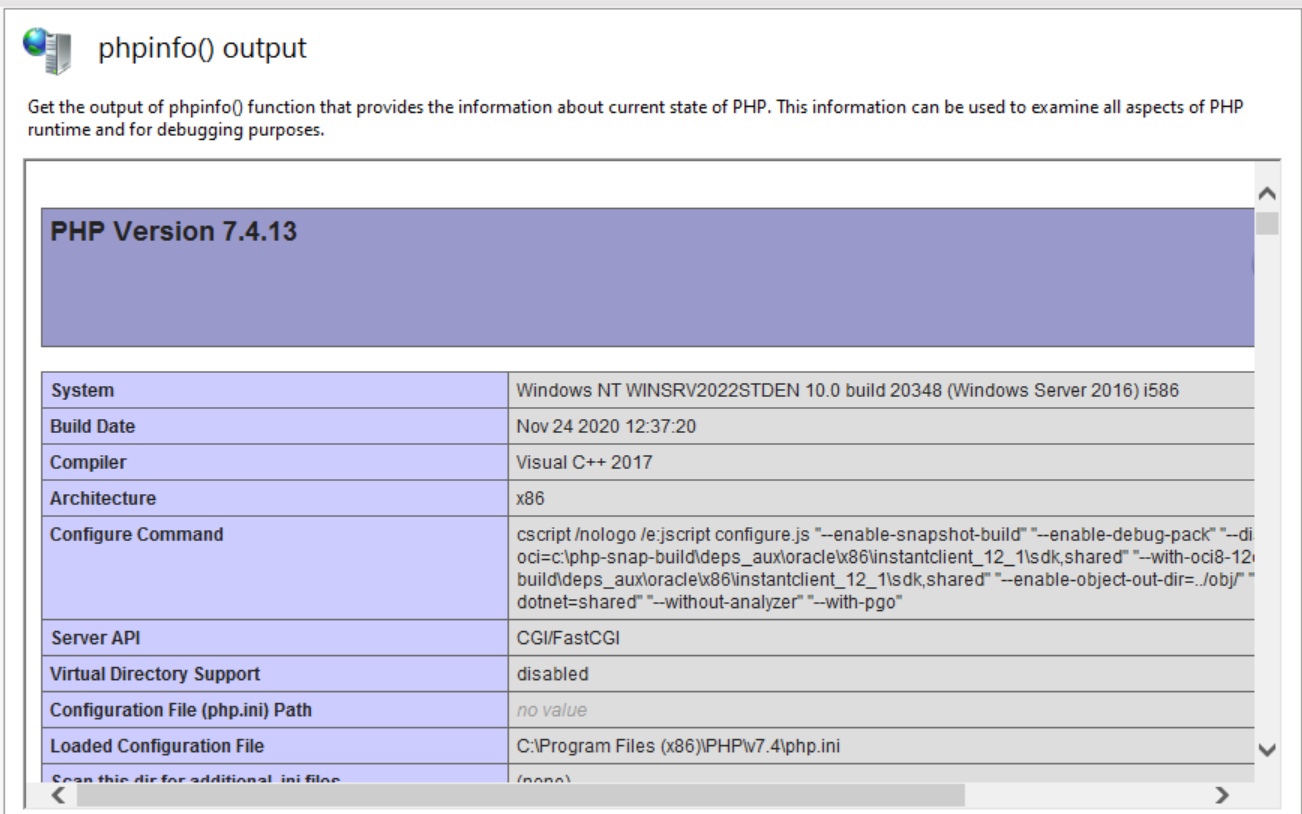
The result of executing the phpinfo() function will be displayed in the IIS manager.
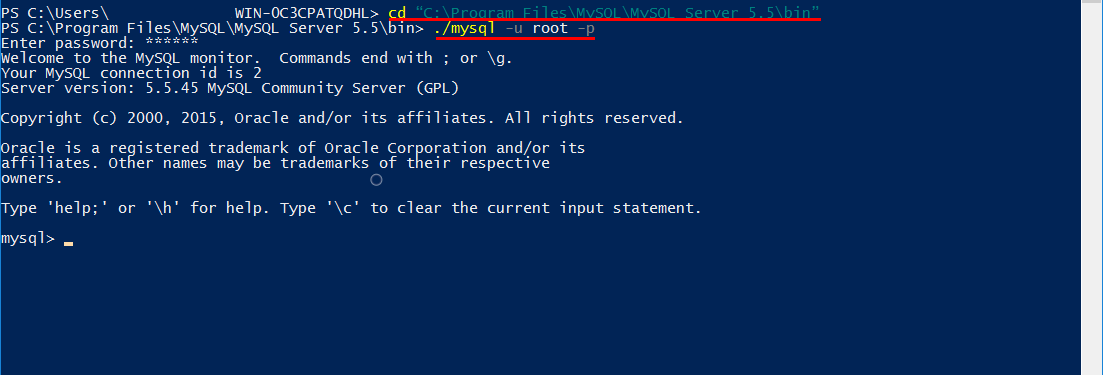
Let's check the MySQL installation result.
We need to open a PowerShell window and go to the DBMS location directory using the command:
cd “C:Program FilesMySQLMySQL Server 5.5bin”Try to connect to the DBMS:
./mysql -u root -p