Git version control system is useful not only for programmers but also for system administrators. Consider the process of installing software, as well as setting up a connection to the GitHub repository, on a server running Windows.

A bit of theory.
Git is one of the most popular modern version control systems. It is mainly used by software developers to track changes in software products during their development. Initially, Git was created to help develop the Linux kernel, but because of its advantages, the project went to the masses.
Getting to the installation.
We open the official website of the project, click on the 64-bit version for Windows.

The download will start automatically, wait for it to finish. Run the resulting file.
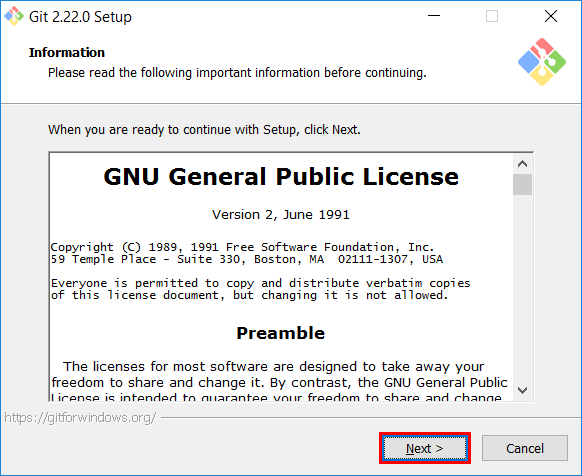
The installer welcomes us with a license agreement. Click on the “Next” button.
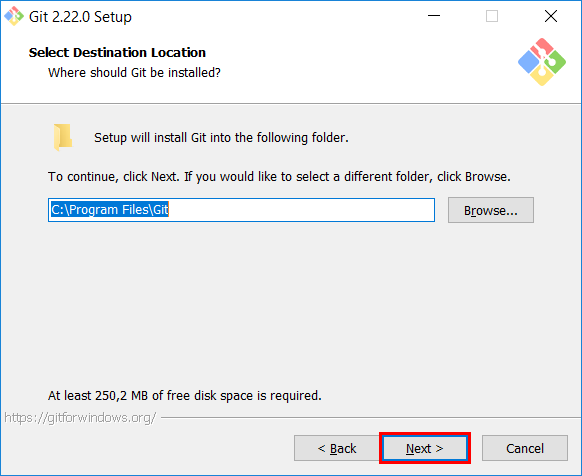
In the next step, specify the installation path. We are satisfied with the specified default. Click “Next."
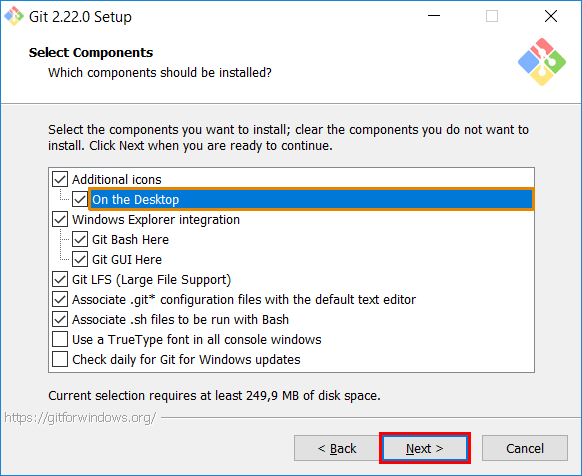
At the stage of selecting components, tick off the creation of the Git shortcut on the desktop and proceed to the next stage.
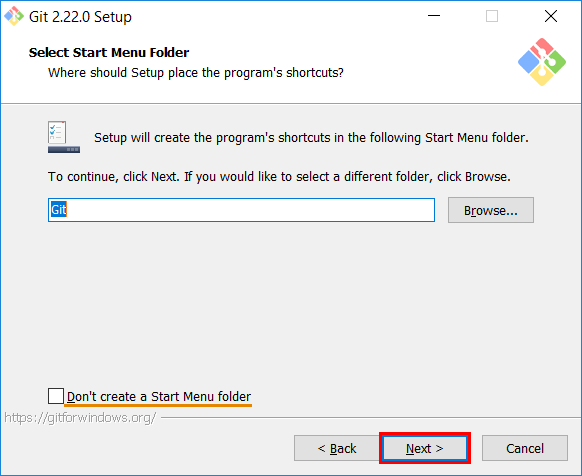
Now the installation program offers to create a shortcut in the Start menu. If you do not see the need for this, install the corresponding checkbox. Click on the “Next” button.
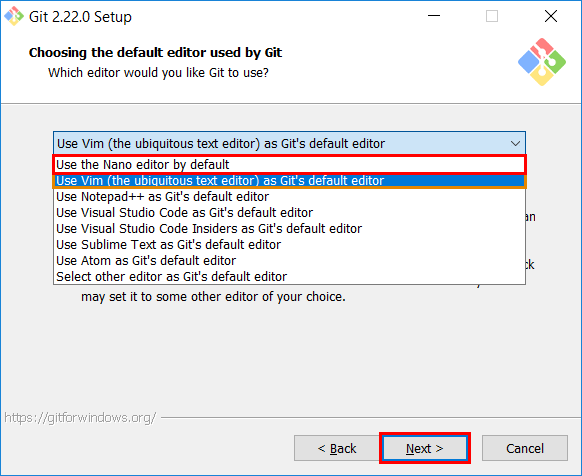
In the next step, the installer will prompt you to select the default editor for git. For beginners, it is better to use nano, for those who like more complicated things - Vim. Although Notepad ++ and others are allowed. Go to the next step.
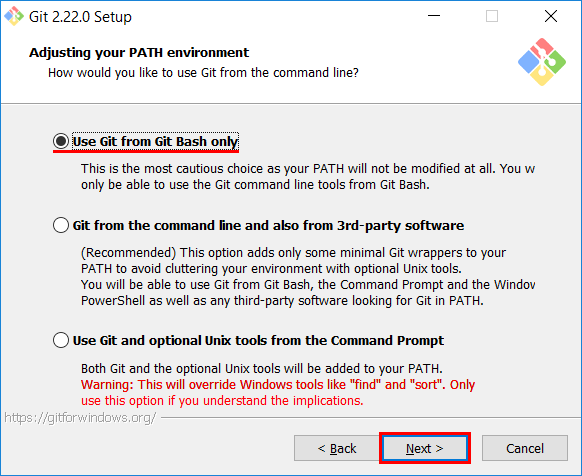
Now the installer asks how you are going to use the command line:
- Use Git from Git Bash only - use only from the Bash command line.
- Use Git from the Windows Command Prompt - use the Bash command line, as well as the minimum set of Git commands from the Windows command line.
- Use Git and optional Unix tools from the Windows Command Prompt - Use Git and Unix utilities from the Windows command line. Selecting this option will overwrite some Windows utilities, for example, find and sort.
We leave the first option and move on.
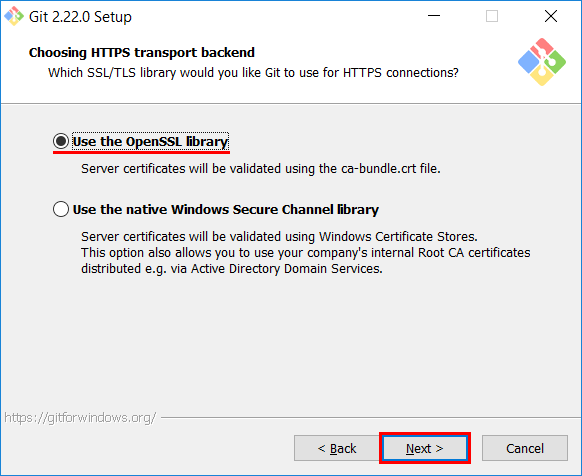
Now the installer asks which library should be used for HTTPS connections. Leave openssl and go to the next step.
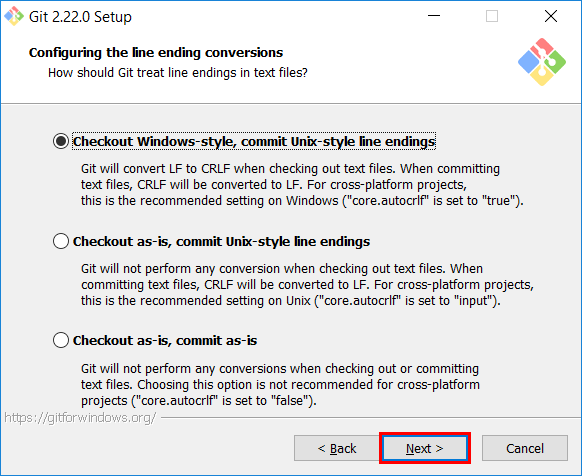
The next step can be called the most significant. The question for the installer is what format to use for completing the line. One of the distinguishing features of Windows from Unix-like systems is the newline character in files, namely, LF and CRLF are control characters for line breaks in Unix and Windows, respectively.
We recommend that you select the option suggested by the system - debug the file in Windows format, and download the file in Unix format. Click on the button “Next”.
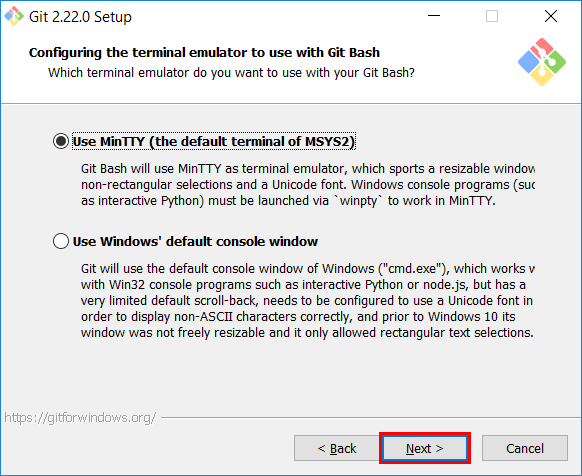
At this stage, the program will ask which terminal to use next:
- MinTTY - Unix terminal;
- Windows is the standard terminal (command line) of Windows.
In our case, leave “as is” and move on.
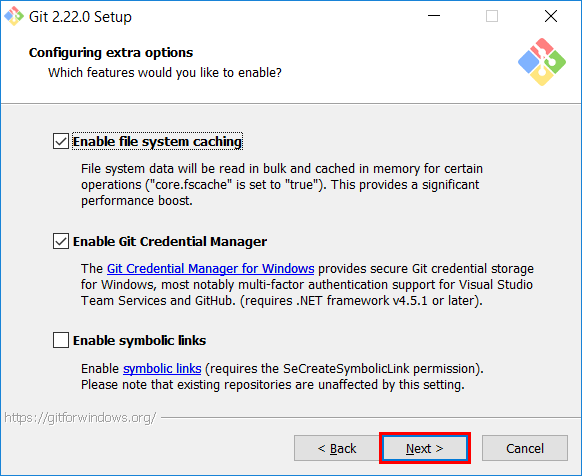
In the next step, the installer will ask you to note the necessary functions:
- File system caching.
- Git Credential Manager - enable credential manager.
- Symbolic links - allow the use of symbolic links.
Choose what is needed and move on to the next step.
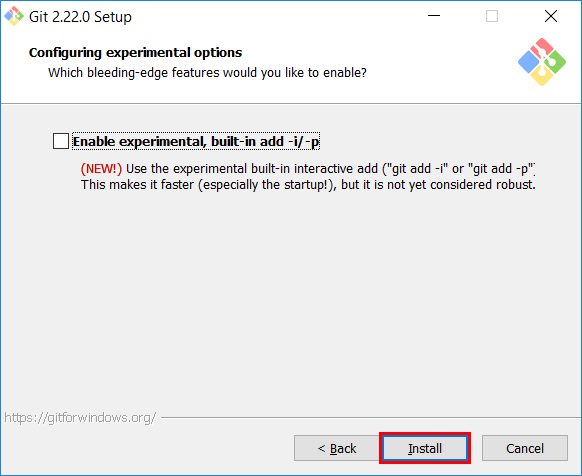
At this step, the installer suggests using the experimental option. To use it or not is up to you. Click on the “Install” button.
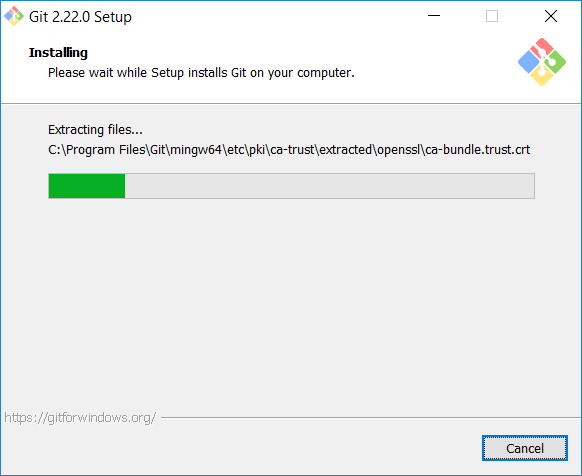
The program starts copying files. We are waiting for the end of the process.
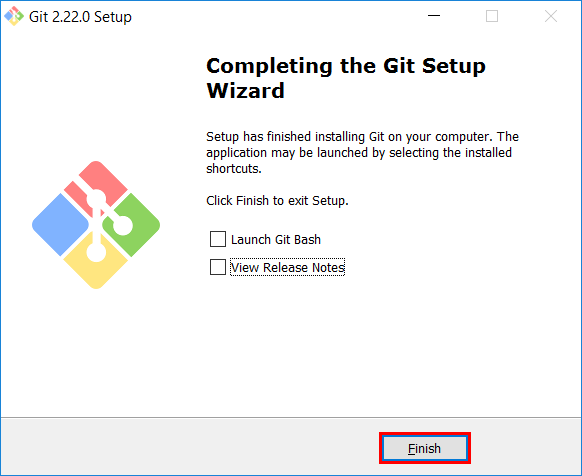
At the end of the installation process, click “Finish”.
We are connected to the repository.
It is assumed that you already have your own account on github/gitlab. If not, then, in the case of github, we go through a simple registration process on the website.
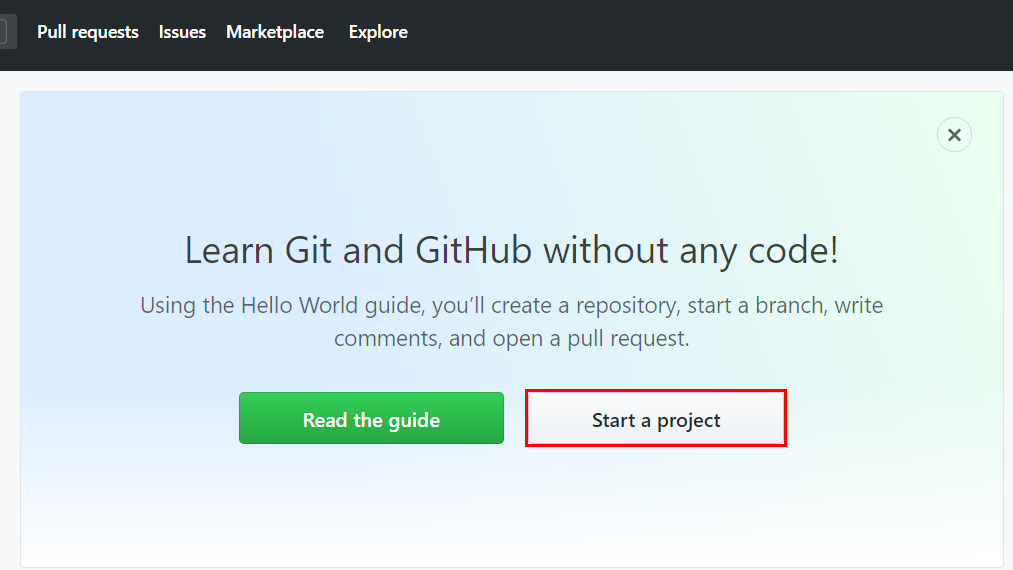
Then log in to it and create a repository. To do this, click on the “Start a project” button.
Specify the name of the repository and click on the “Create repository” button.
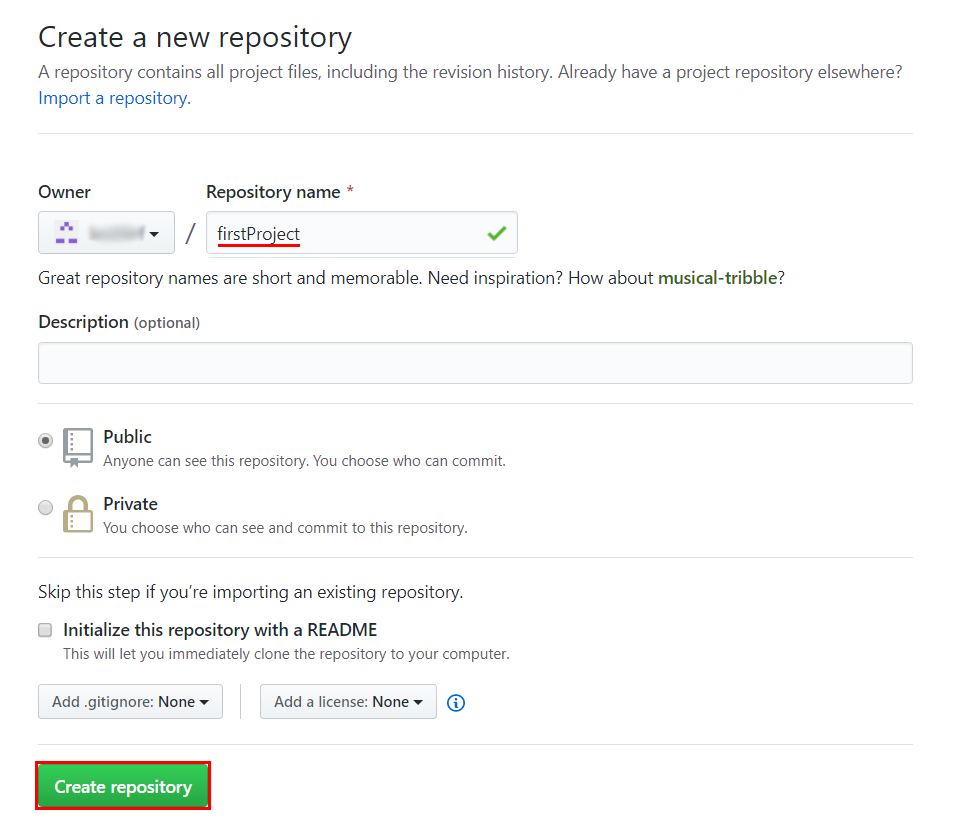
Repository created.
Add files.
Suppose we have a file that needs to be added to the git or gitlab repository. Open the folder where the file is located, right-click on the free space and select “Git Bash Here” from the context menu that opens.
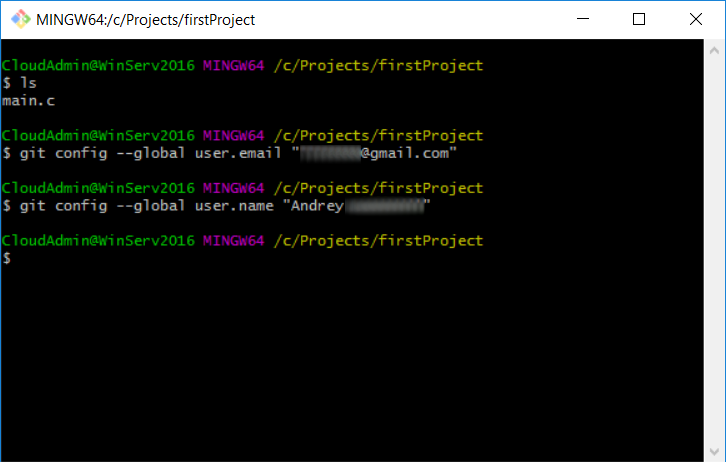
The command line will open. We sequentially execute the following commands:
git config --global user.email "yourmail@example.com"git config --global user.name "Your name"So we entered our mail and name.
In order to start tracking changes in the current folder, execute the following commands:
git initgit add .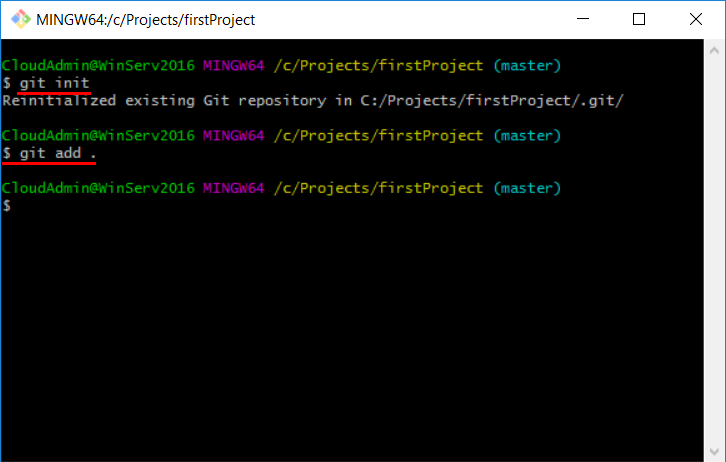
We execute our first commit and add the changes to the server:
git commit -m "Init"Important. To make changes to the server, you should use for github:
git remote add origin https://github.com/user/repository_name.gitgit push -u origin masterFor gitlab:
git remote add gitlab https://server/namespace/project.gitgit push -u gitlab master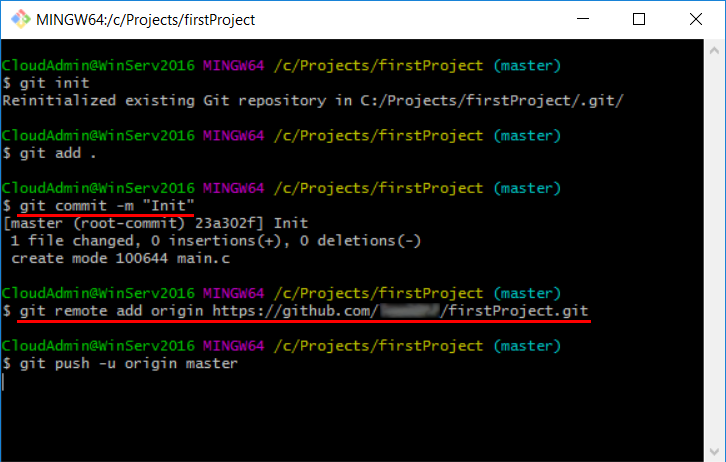
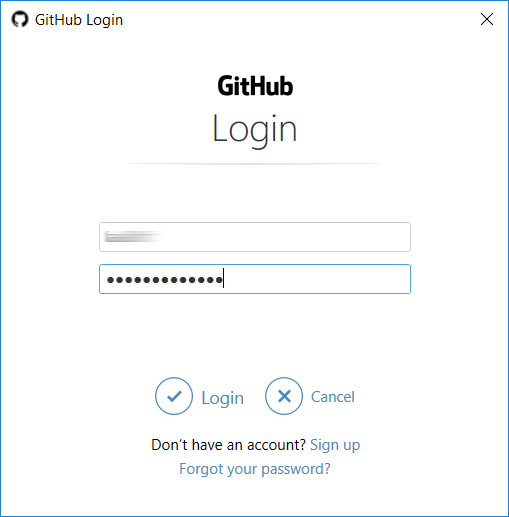
After running the command, an authorization window will open. Enter the data that was used during registration.
Configuring authentication using SSH keys.
First, create a key:
ssh-keygen -t rsa -b 4096 -C "yourmail@gmail.com"During key generation, the program will ask you to enter a passphrase, which is necessary to protect the key itself. You can answer the question by double pressing Enter.
The private key will be located on the path C: Users <User> .sshid_rsa. The public key is C: Users <User> .sshid_rsa.pub
Run the SSH agent:
eval $(ssh-agent -s)Add the keys to the ssh agent:
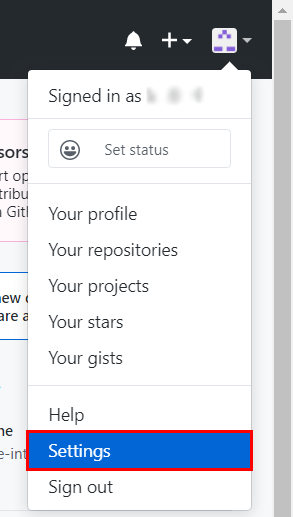
ssh-add ~/.ssh/id_rsaAdd the created key to the Git server. On the github site, in the upper-right corner, click on the account icon and select "Setting".
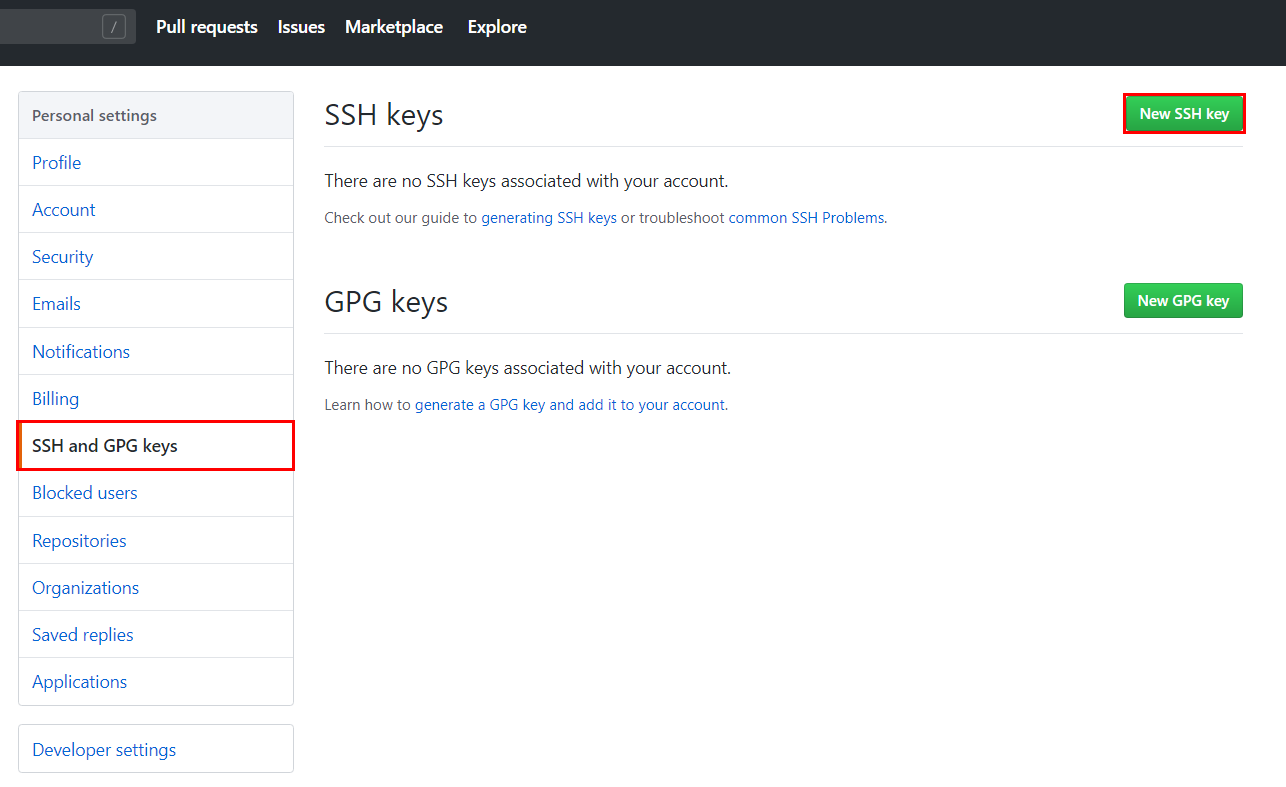
On the updated page, in the left menu, select “SSH and PGP keys”, and in the main part of the window, opposite the SSH keys, click on the “New SSH key” button.
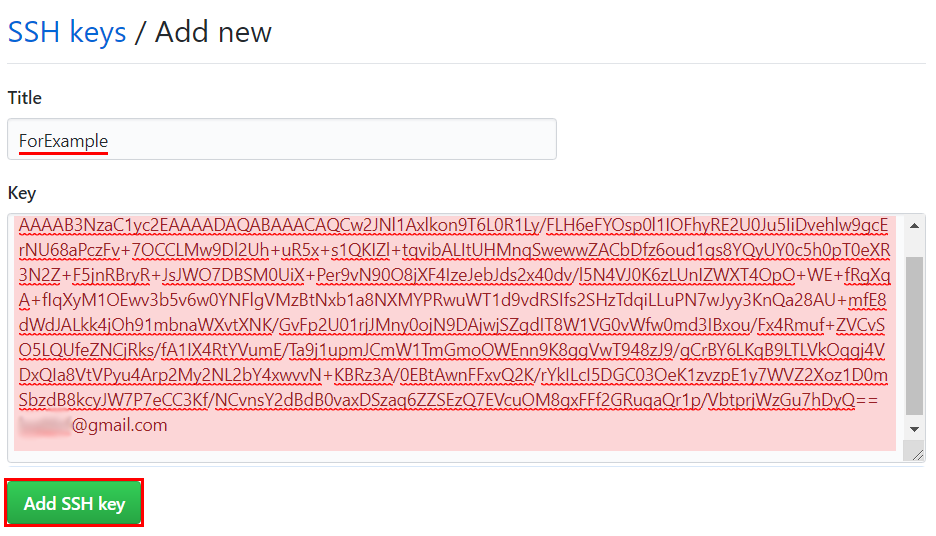
Fill in the Title field. In the Key field, paste the contents of the file
C: Users <User> .sshid_rsa.pub
Click on the “Add SSH key” button.
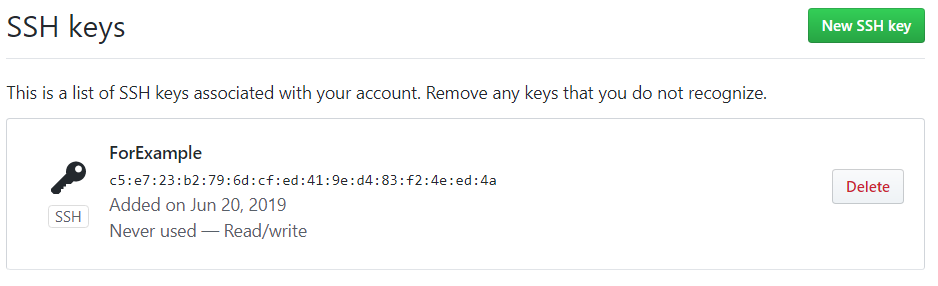
If everything is done correctly, something like this will appear:
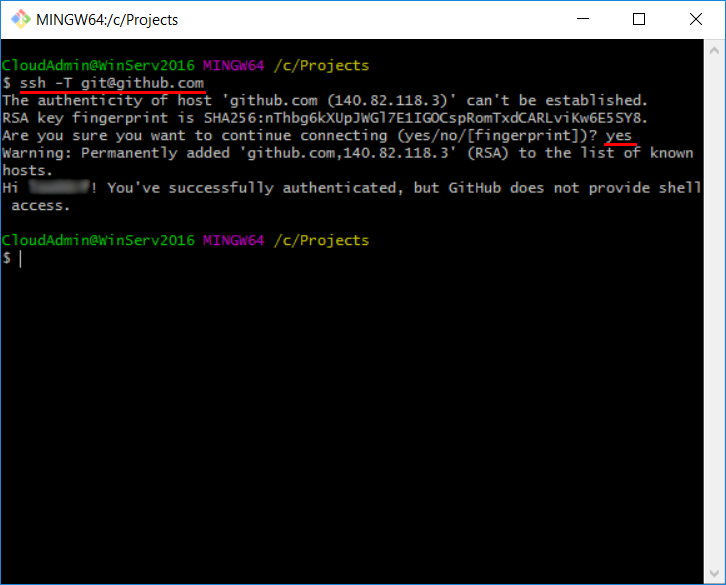
To check the settings, execute the command:
ssh -T git@<domain or ip address of git server>For example:
ssh -T git@github.comDuring the execution of the command, the program will ask: “Are you sure to continue the connection”. This is a standard security issue. The answer is yes.
If everything is done correctly, the program will output a welcome speech.