How to Install and Configure an RDP Server on CentOS 7
In this comprehensive guide, you’ll learn how to install and configure xRDP on a remote CentOS 7 server, allowing you to access it via Remote Desktop Protocol (RDP) from Windows or other RDP clients. We will walk you through each step — from installing xRDP and setting up firewall rules, to configuring secure remote access. Additionally, this guide covers how to install and connect to various popular Linux desktop environments on CentOS 7, including GNOME, Xfce, Mate, and KDE Plasma, ensuring a smooth and customizable remote desktop experience tailored to your needs.
Whether you're a system administrator or just looking to manage a headless server more conveniently, this tutorial will help you get your CentOS 7 remote desktop environment up and running quickly and securely.

xRDP is a free, open-source Remote Desktop Protocol server that allows non-Windows operating systems to provide full-featured remote desktop capabilities.
xRDP is fully compatible with rdesktop, FreeRDP, and even with Microsoft Remote Desktop Client (mstsc.exe).
Requirements:
- Although this is not a requirement, we recommend acting as a non-root user when making any major changes to your system.
- A machine running CentOS 7 with at least 2 GB of RAM.
Update the packages installed on the system:
$ sudo yum -y updateThen install the necessary packages:
$ sudo yum install -y epel-release

$ sudo yum install -y xrdp

$ sudo systemctl enable xrdp

$ sudo systemctl start xrdp
If you are using FirewallD, open port 3389/TCP for RDP:
$ sudo firewall-cmd --add-port=3389/tcp --permanent

$ sudo firewall-cmd --reload
Set your preferred desktop environment
Now we can set the desktop environment that we will use. In this guide, we will try out Xfce, MATE, and GNOME.
Note: if you cannot connect via Remote Desktop Connection after installing the desktop environment, open port 3389/TCP using the firewall-cmd command mentioned above.
Install the XFCE Workspace
Xfce is one of the lightest desktop environments. It is fast, consumes little system resources, but remains visually attractive. Also, she has a very active community, so many customization options are available.
To install Xfce, run the following commands:
$ sudo yum install -y epel-release

$ sudo yum groupinstall -y "Xfce"

$ sudo reboot
Then create the file.Xclients in the user directory with which the connection will be made:
$ echo "xfce4-session" > ~/.Xclients
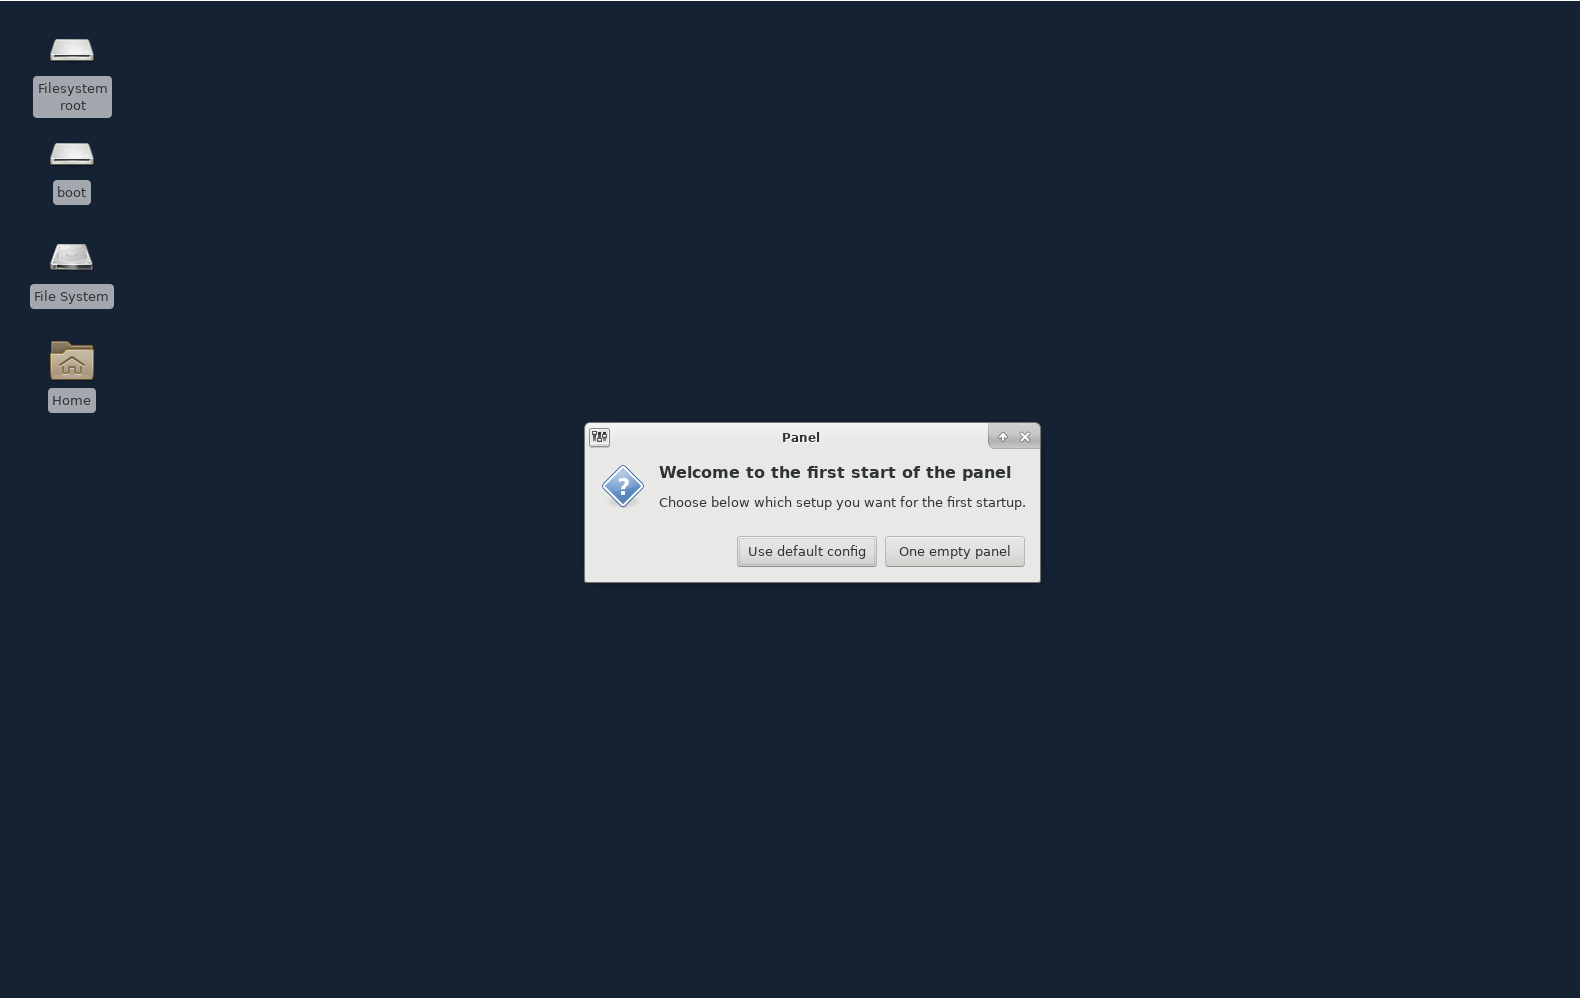
$ chmod a+x ~/.XclientsNow you can connect to the server using Remote Desktop Connection. This is what Xfce looks like:
Xfce Removal
To remove Xfce from your CentOS 7, run the following commands:
$ sudo yum groupremove -y "Xfce"

$ sudo yum remove -y libxfce4*
Install MATE Desktop Environment
To install MATE, run the following commands:
$ sudo yum install -y epel-release

$ sudo yum groupinstall -y "MATE Desktop"

$ sudo reboot
Then create the file.Xclients in the directory of the user you are connecting to:
$ echo "mate-session" > ~/.Xclients

$ chmod a+x ~/.Xclients
Now you can connect to the server using Remote Desktop Connection. This is what MATE looks like:

Removing the MATE
To remove MATE from CentOS 7, run the following commands:
$ sudo yum groupremove -y "MATE Desktop"

$ sudo yum autoremove -y
Install GNOME Desktop Environment
Now try installing GNOME 3. To do this, we need to install the GNOME Desktop package group, which will install all the packages necessary for installation with a graphical interface:
$ sudo yum groupinstall "GNOME DESKTOP" -yThis could take some time. On the minimum configuration of the CentOS 7 distribution, about 1000 packages will be installed.
Launch the graphical interface
Although we installed the GNOME Desktop package group, the GUI will not load by default upon reboot. We can verify this by running:
$ systemctl get-defaultConclusions:
multi-user.targetIf the default value is multi-user.target, this means that the GUI will not load. Change the default value to graphical.target. To do this, run the following commands:
$ sudo systemctl set-default graphical.targetConclusions:
Removed symlink /etc/systemd/system/default.target.Created symlink from /etc/systemd/system/default.target to usr / lib / systemd / system / graphical.target.
After that, run the following command to immediately switch to the graphical interface:
$ sudo systemctl isolate graphical.targetNow you can connect via xRDP to your CentOS 7 using GNOME.
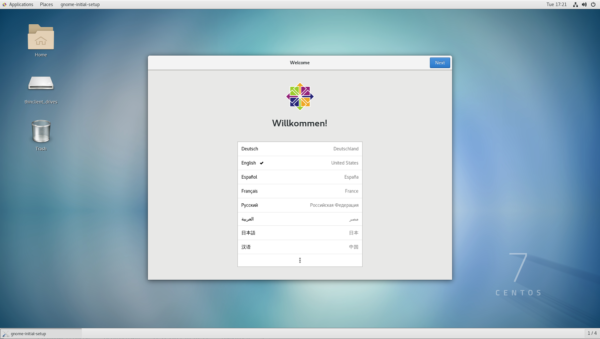
This is what GNOME 3 looks like when you first connect after installation. Just follow the initial setup steps to complete the setup:
Note: If you used Xfce or MATE Desktop to connect to CentOS 7 before installing the GNOME Desktop graphical shell, run the following command:
$ sudo rm -f ~/.XclientsRemoving of GNOME
To remove GNOME from your CentOS 7, run the following commands:
$ sudo yum groupremove -y "GNOME Desktop"

$ sudo yum autoremove -y
Connect to a computer using Remote Desktop Connection
After installing xRDP and the desktop environment, you can connect from the local computer to the remote.
Connection from Windows
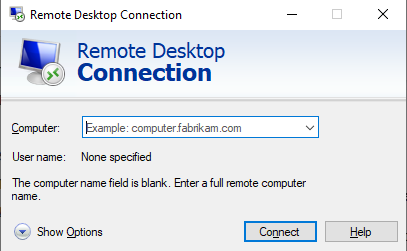
To connect to the server from Microsoft Windows, simply find and launch the Remote Desktop Connection application (mstsc.exe) and enter your hostname or IP:
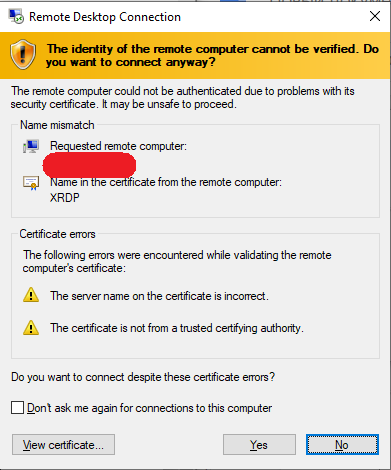
If this is your first time connecting, you will receive several security warnings. Assuming this is your server and it is secure, just accept these warnings:
Frequently Asked Questions (FAQ)
- Q: What is xRDP and why should I use it on CentOS 7?
A: xRDP is a free and open-source Remote Desktop Protocol (RDP) server that allows you to access a Linux machine like CentOS 7 from another computer — typically from a Windows system using the built-in Remote Desktop Connection tool (mstsc.exe). It provides a convenient way to manage headless servers or work remotely with a full desktop environment. This is especially useful for system administrators, developers, or users transitioning from Windows to Linux. - Q: Which desktop environments are supported by xRDP on CentOS 7?
A: xRDP works well with several lightweight and full-featured desktop environments on CentOS 7. This guide covers installation and configuration for Xfce, MATE, and GNOME 3. Xfce and MATE are recommended for better performance on low-resource machines, while GNOME offers a more modern interface. - Q: I installed the desktop environment but still can’t connect. What should I check?
A: First, make sure port 3389/TCP is open in your firewall using firewall-cmd. Also, ensure the .Xclients file in your user directory is correctly configured for the selected desktop environment (e.g., xfce4-session, mate-session). Finally, confirm that the xRDP service is running (sudo systemctl status xrdp). - Q: Can I switch between desktop environments later?
A: Yes, but you should remove or update the .Xclients file in your home directory to reflect the new session type. Also, be sure to uninstall previous desktop groups to avoid conflicts or excessive resource usage. - Q: Is xRDP secure for remote access over the internet?
A: While xRDP supports encryption, for better security it's strongly recommended to use it over a VPN or SSH tunnel. Exposing port 3389 directly to the internet can be a security risk.


