
Active Directory Domain Services (AD DS) is a core Windows Server role used to manage users, computers, and resources within a domain environment. In this tutorial, you will install the AD DS role and promote a Windows Server 2019 system to a domain controller (DC).
The installation process consists of two main steps: installing the AD DS role and promoting the server to a domain controller with DNS integration.
This guide explains how to install Active Directory Domain Services (AD DS) on Windows Server 2019. You will learn how to add the AD DS role, configure DNS, and promote the server to a domain controller for a new Active Directory forest.

Installing the Active Directory Domain Services (AD DS) Role
Before installing Active Directory, make sure that:
- A static IP address is configured on the server;
- The server name follows your organization’s naming policy;
- The system is fully updated;
- You have administrator privileges.
But at first, you should set a static IP address on your server, and find the appropriate name for your Windows Server to match your company's naming policy. After completing this step, proceed to set up ADDS.
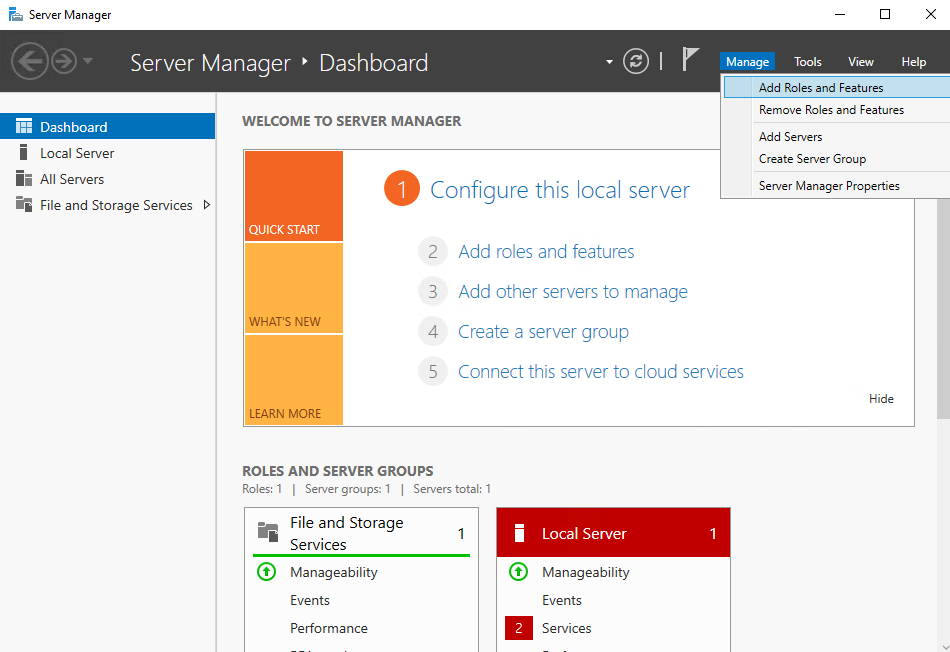
Run Server Manager, click Manage -> Add Roles and Features.
Right after that the wizard window appears. Under "Before You Begin" click "Next".
Now we need to select an installation type, it can be based on server roles or virtual infrastructure (based on Hyper-V), choose the first option and continue in a new window.

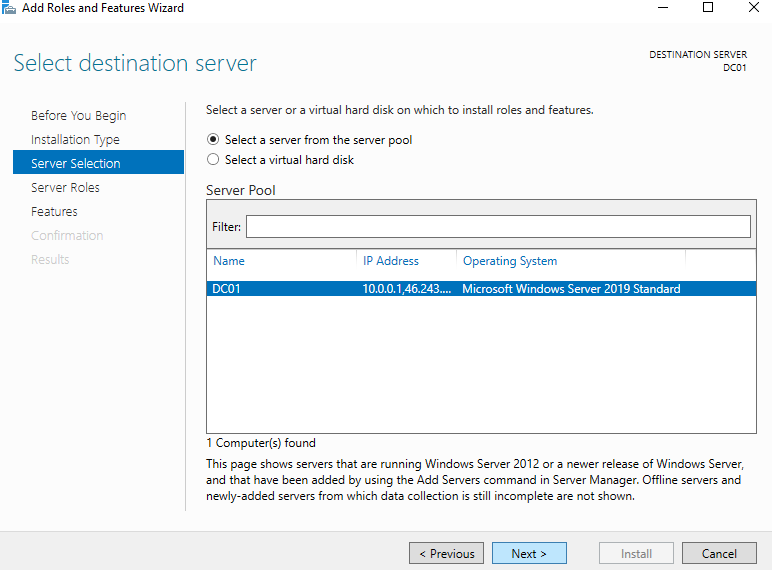
In the "Server selection", we need to choose our server, usually it is allocated by default and continue to the next section.
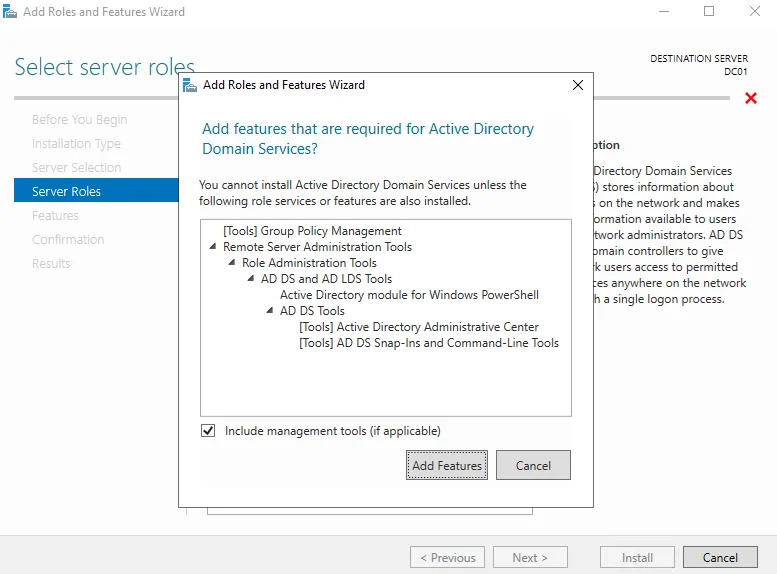
Here we came to Server Roles, select Active Directory Domain Services and accept addition of related features. Click the Add Features -> Next.
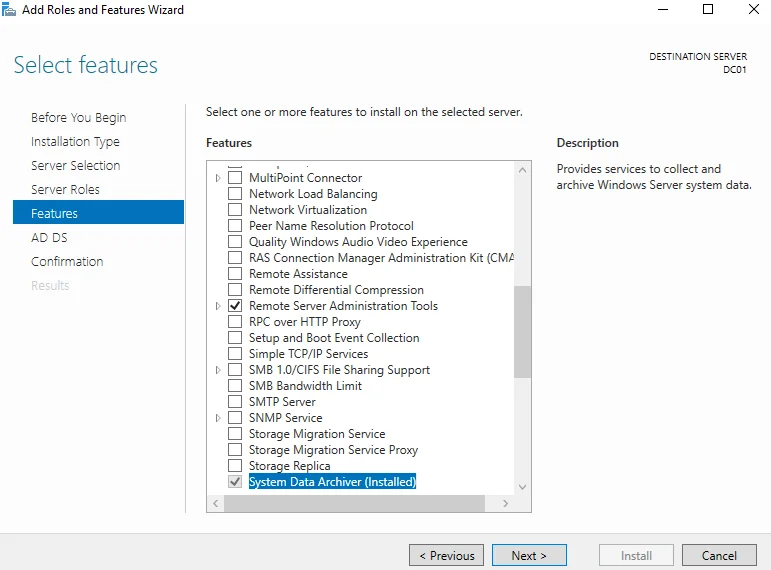
The next window is named "Features" but here we need nothing to add so just go to the next section.
The ADDS section displays summary info about your AD, here we just click Next.
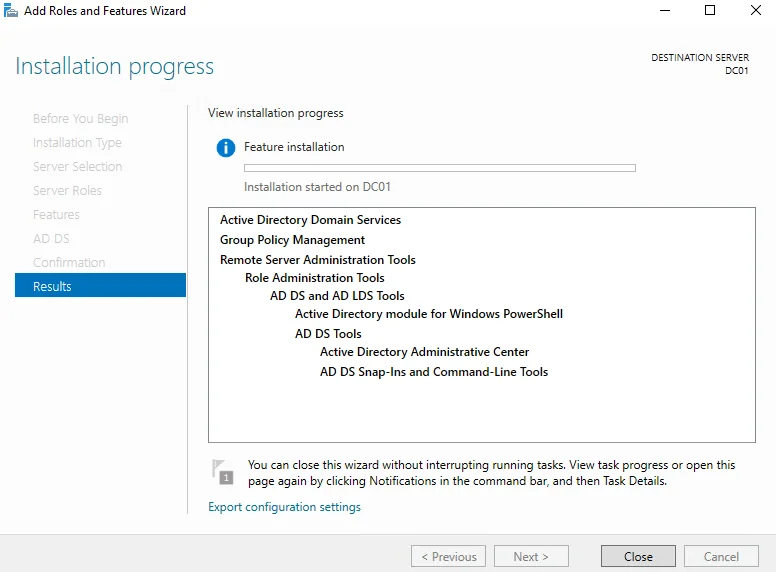
And at last, we proceed to installation, click Install and wait a little bit until installation completes.
Promoting Windows Server 2019 to a Domain Controller
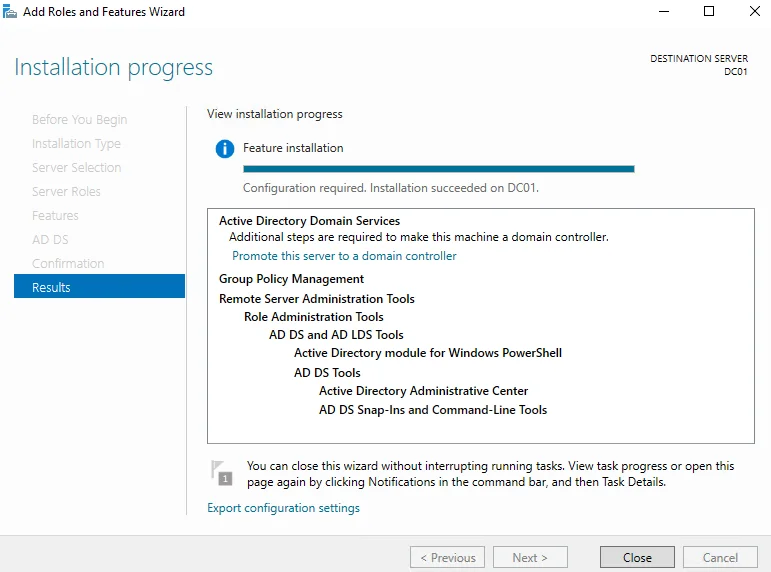
After finishing the installation, unless you close the window, there will be a link in finish summary to promote the server to a DC. This is highlighted as blue text.
However, it is possible to promote the server through notifications in server manager.
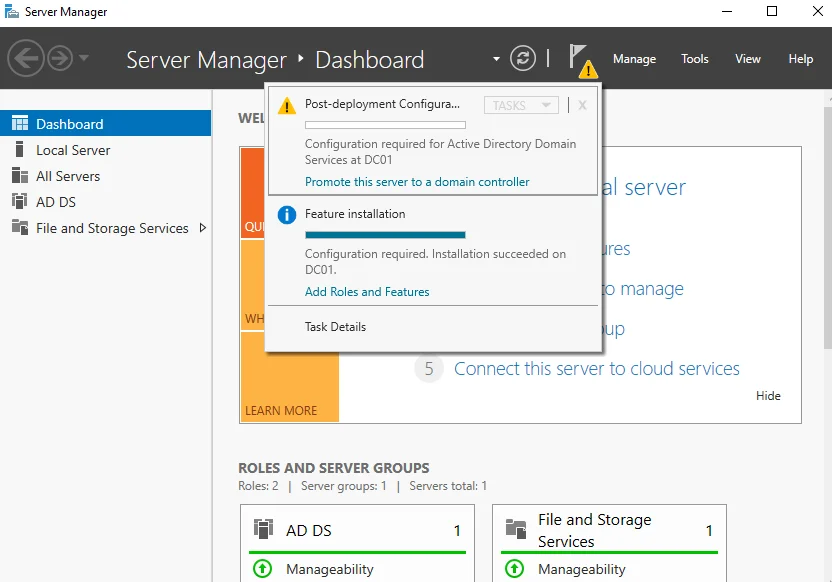
Click on "Promote server to domain controller". And you will be brought to AD deployment wizard that will help you to create a forest in AD.
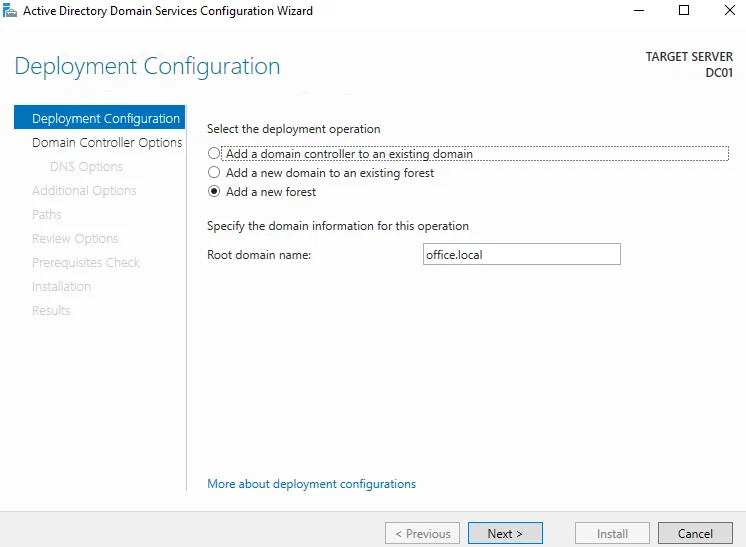
In "Deployment Configuration", you should choose the "Add a new forest", and then you need to think about your domain name (Note that The domain name must not match your public website domain. Using an internal domain such as company.local or corp.example is recommended to avoid DNS conflicts.) and type it in the proper field. In my case it is office.local, and click Next afterwards.
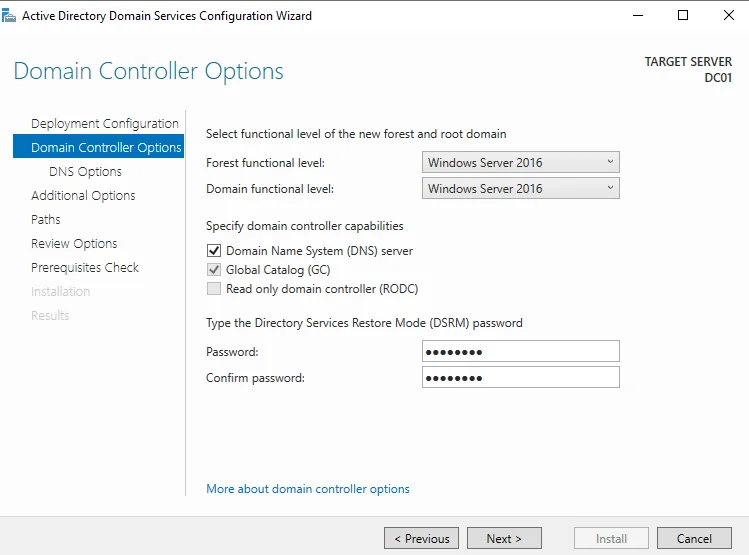
Now we have reached the"Domain Controller Options". Here you need to specify the domain functional level. Note that it can differ from you current OS version, On Windows Server 2019, the highest available domain and forest functional level is Windows Server 2016.
For the first AD server chose the latest version of the functional level. And if it is not the first one then you need to sync the level among other controllers.
In our example we will also choose DNS server option because we dont have standalone DNS, chose it whether you need it or not in your infrastructure.
You should also specify the password for restore mode (DSRM), save it in your corporate password manager and click "Next" to continue.
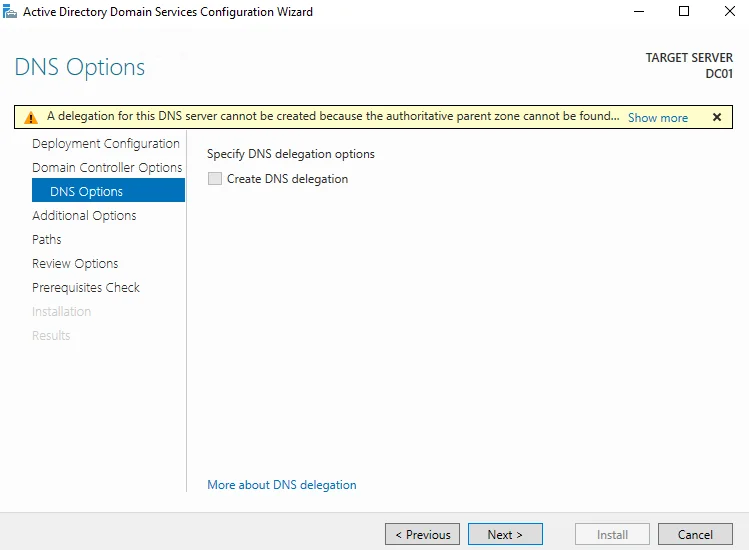
Probably you will notice a DNS warning message, but it should not bother you at this time. This DNS warning is expected when creating a new forest and can be safely ignored at this stage.
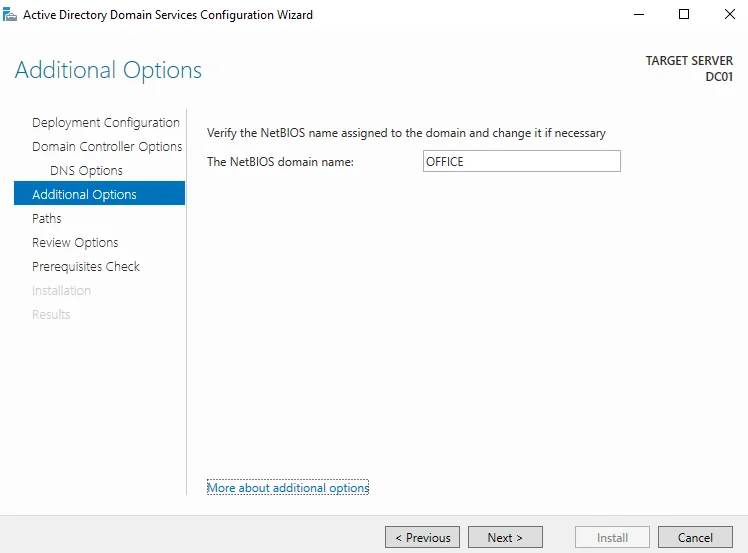
So, we arrived to the NetBIOS name, I recommend you to leave it as it is but you can change it as you like, don’t forget to specify it in capital letters. Move Next.
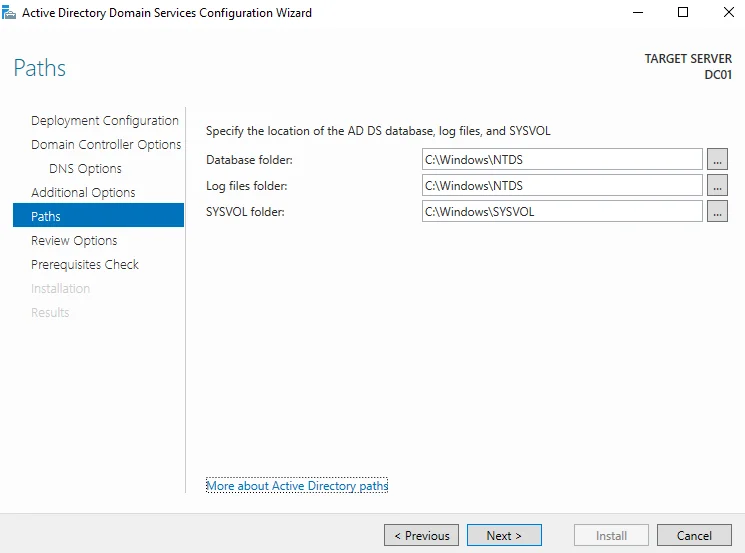
Under "Paths" choose where the location of NTDS, SYSVOL and LOG folders. You can choose a different drive depending on your preferences and settings but default is also acceptable.
Under "Review Options" you will see a summary of your selections. Check it carefully for mistakes, move next if it is ok.
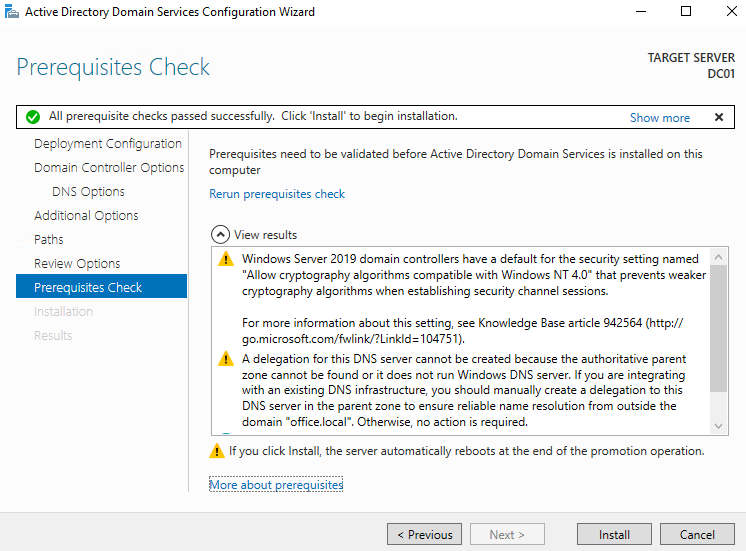
The "Prerequisites Check" section checks for your server prerequisites. Here, if it finds an error the installation process will be aborted and you will need to correct it. Otherwise, if only warning messages are displayed (which is usual), but the check was successful as shown, click Install to continue.
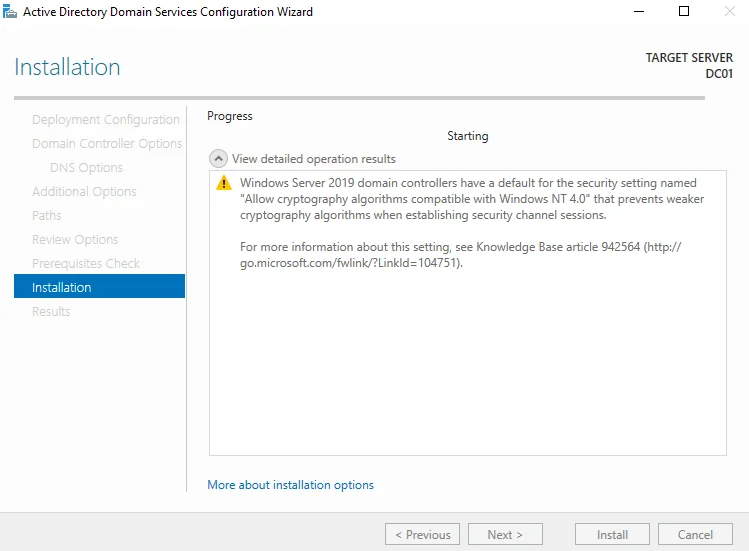
And here you need to wait a little bit for installation process to complete. Immediately after that, the server automatically restarts.
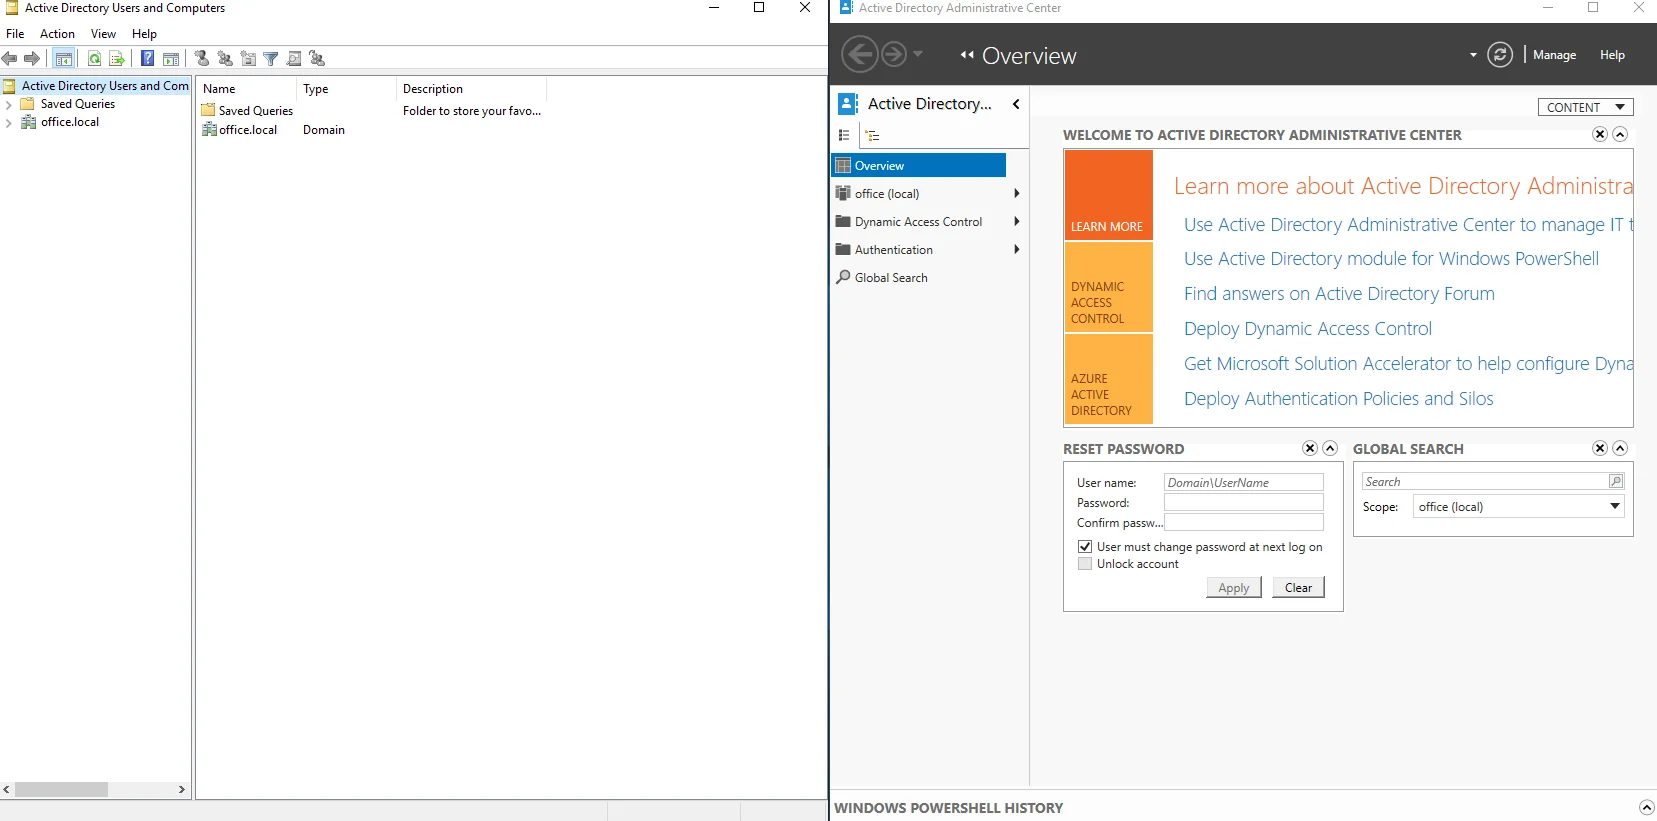
After server finishes its reboot process, your first domain controller will be ready to use and you can leverage all the features such as ADUC and ADAC.
After reboot, log in using the domain administrator account to begin managing Active Directory.
Conclusion
This guide demonstrated how to install Active Directory Domain Services on Windows Server 2019, configure DNS, and promote the server to a domain controller. Active Directory provides centralized authentication, authorization, and management for Windows-based environments.


