Recently, many information technologies have emerged to automate, structure and simplify human work. One such example is the EDR information security tool, which allows you to manage multiple endpoints and respond to information security incidents in a timely manner with full control over computing devices. However, the problem with this solution is that it is a centralized device management tool that can be manipulated from a single point. This is exactly the target of intruders, both external and internal.

Accordingly, for information, automated systems have increased requirements for the level of protection of the device. On which can be processed from confidential information to information constituting a state secret. For this kind of systems it is necessary software that will provide a sufficient level of security, an example is Alma Linux!
What is Alma Linux?
Meets the characteristics of a modern OS: multi-user, multi-tasking with modular architecture. Advantages:
- binary compatible with RHEL;
- it is possible to migrate from CentOS 8, support for which has been terminated;
- GNU license for users;
- decisions about changes are made by the community.
What is Alma Linux based on?
As mentioned above, Alma Linux is based on the Red Hat Enterprise Linux distribution. This distribution replaced CentOS 8, support for which has been terminated!
Installation and configuration
The installation image of the OS disc should be "burned" on the media or selected as a CD drive when booting into the virtual machine/environment. A window with a menu and a choice of boot type will open in front of us:
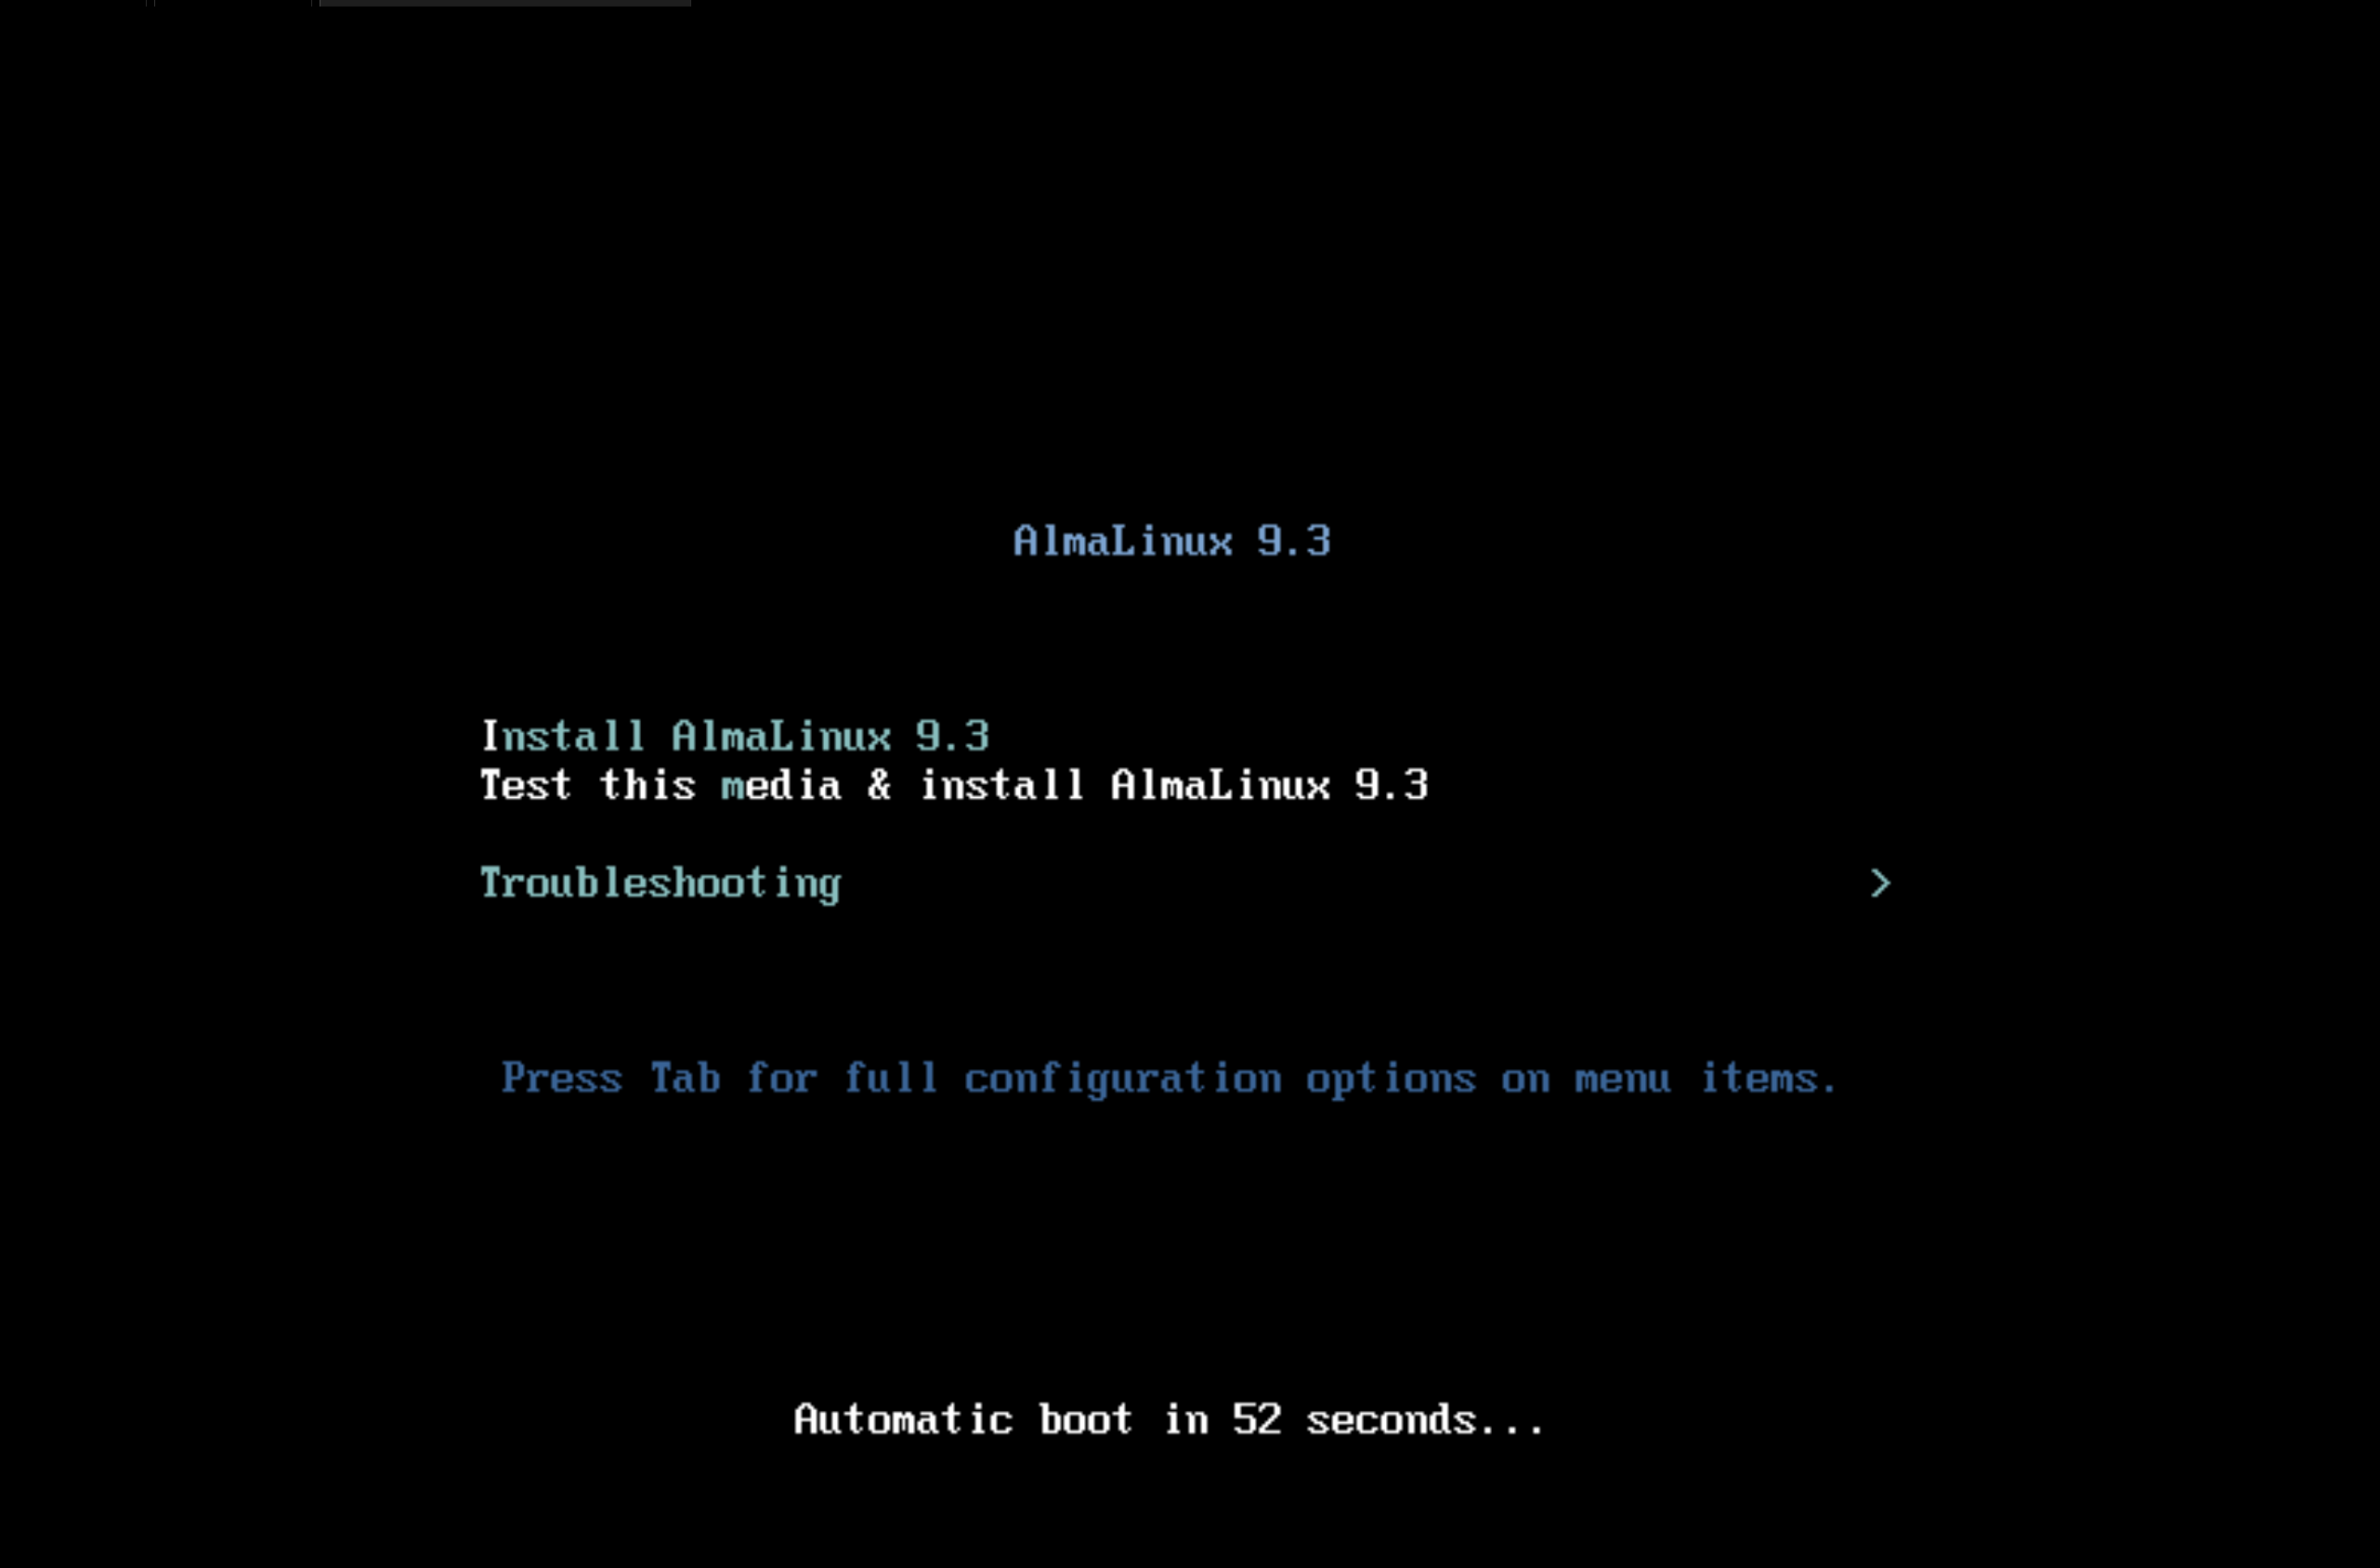
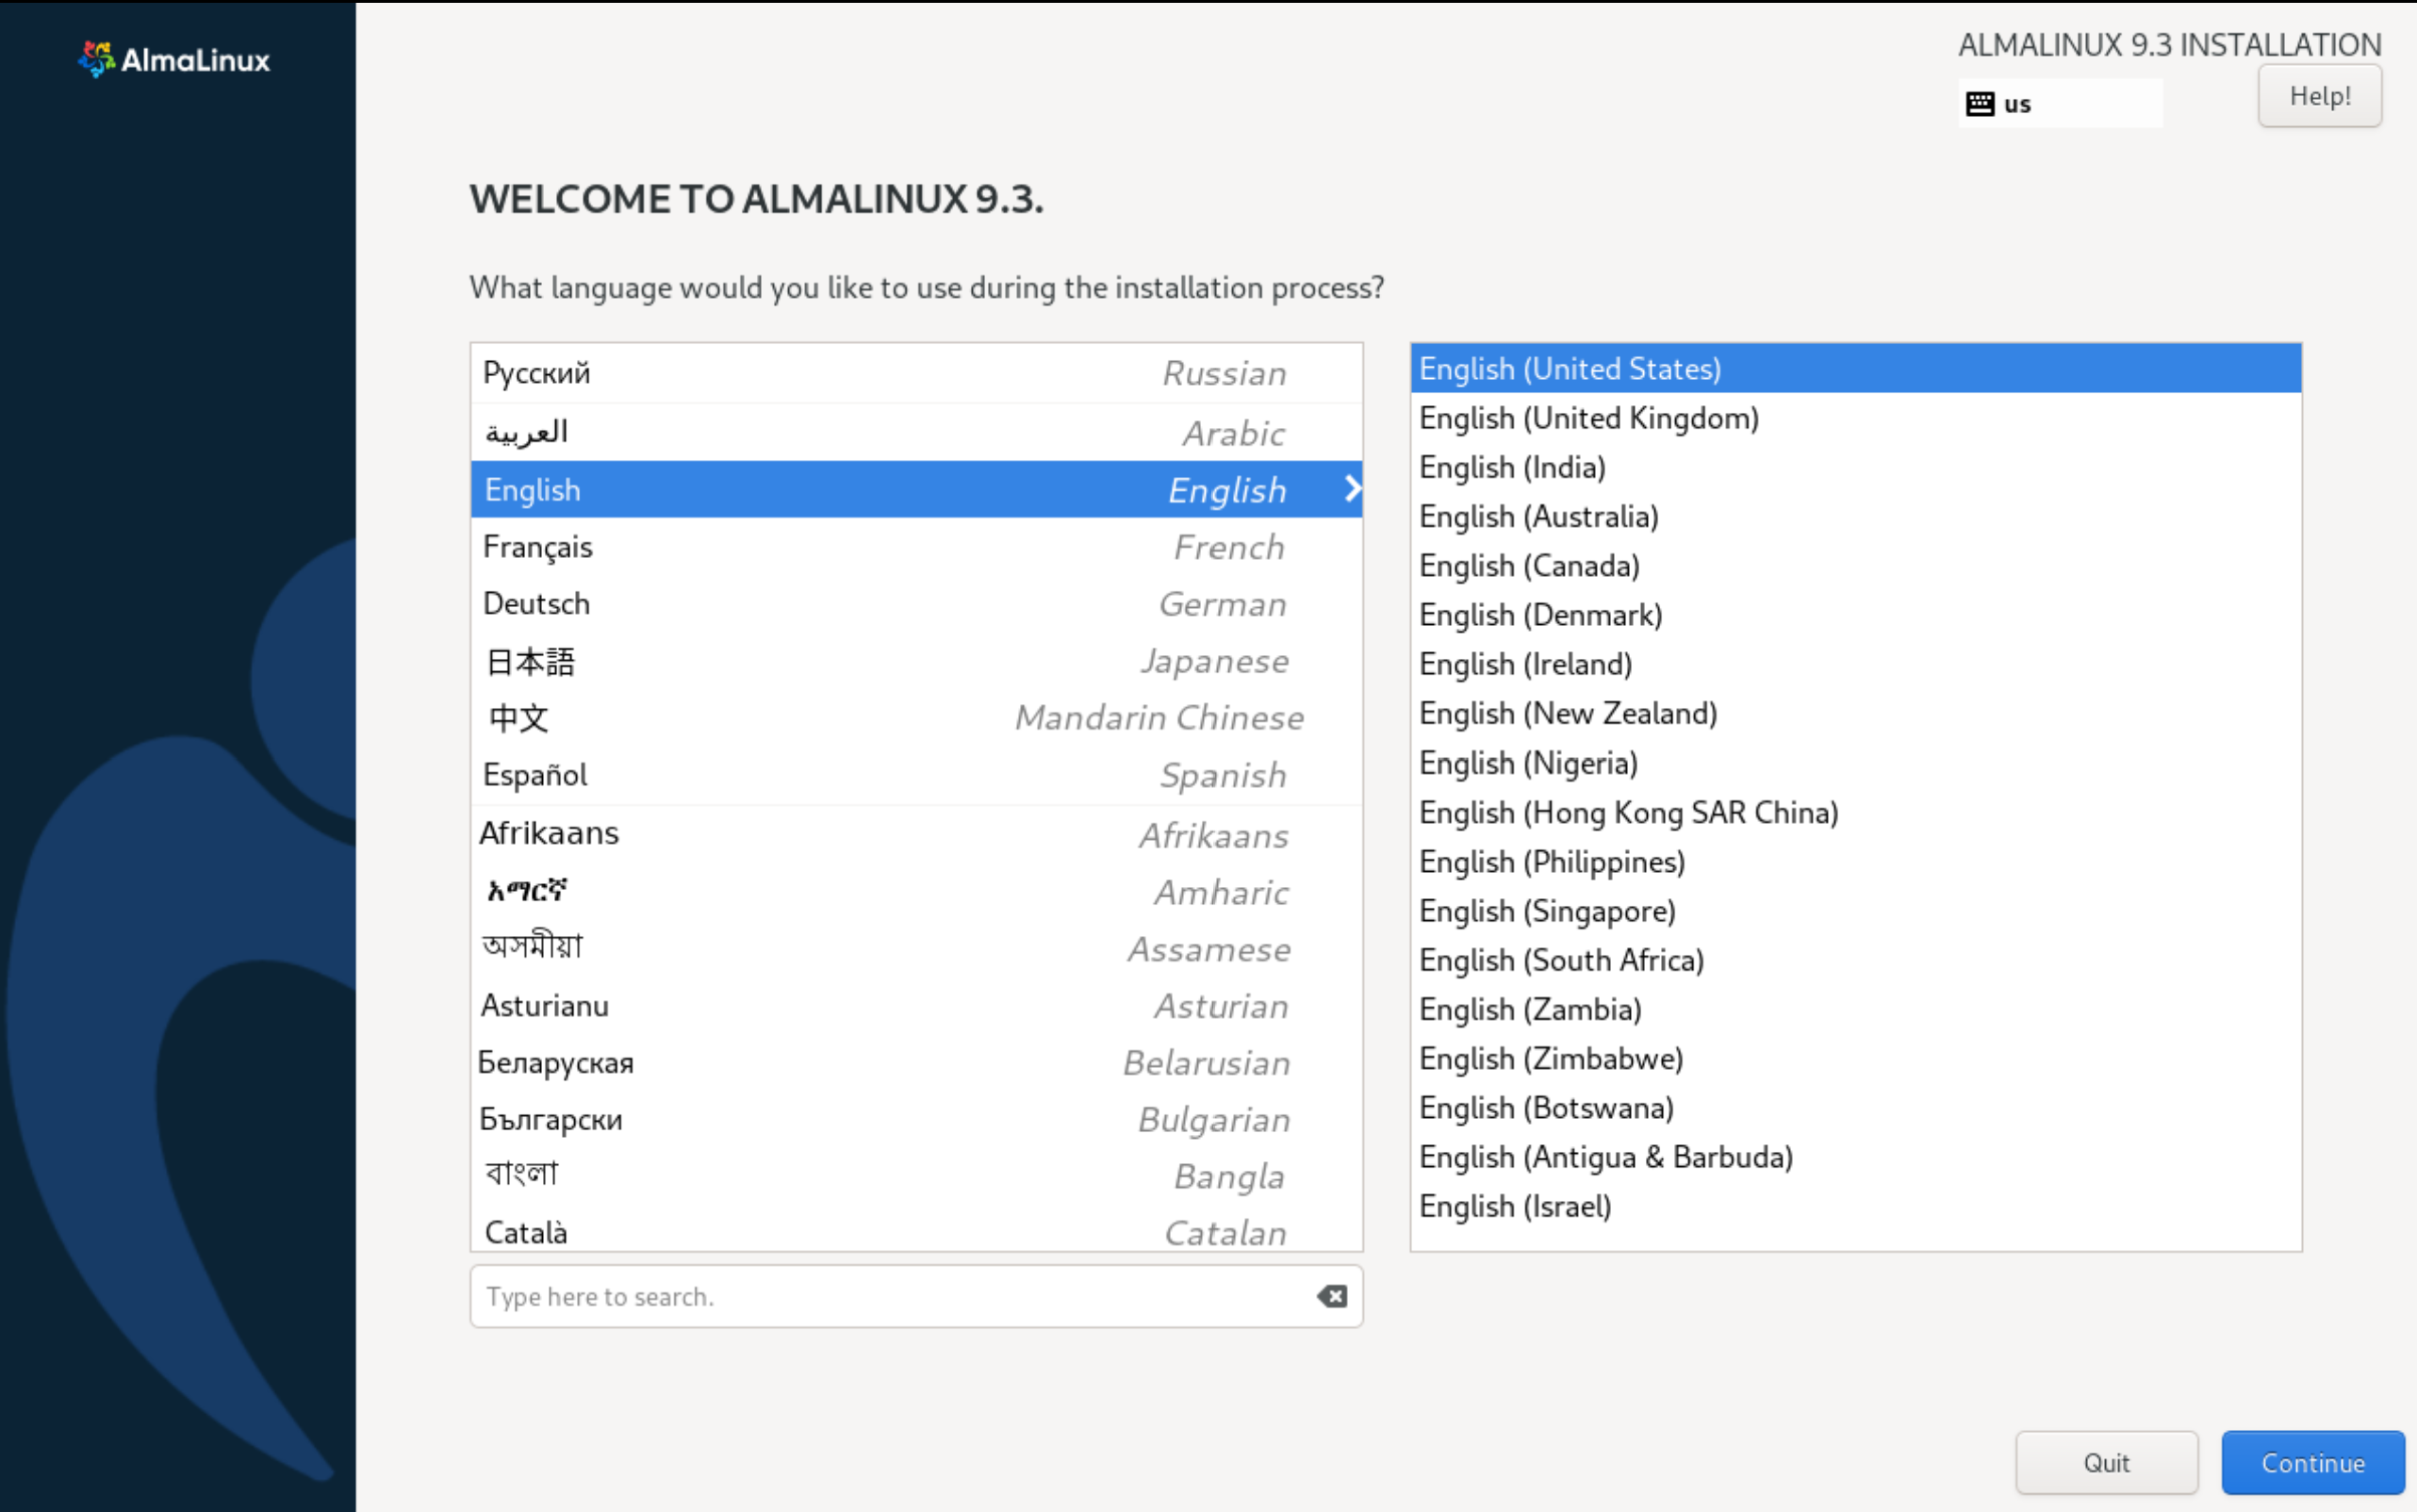
Choose the graphical deployment option to simplify the user knowledge requirements. The OS deployment will require:
- Processor: a 64-bit processor supporting x86 or x86-64 architecture.
- RAM: at least 4GB is recommended, but 2GB can be used.
- Hard drive: at least 20 GB of free space is required.
- Video card: support screen resolution of at least 1024x768 pixels.
- Network card: an Ethernet adapter is required to connect to the network.
Also you can run prepared server in isolated environment on Serverspace cloud platform. That provide seamless deployment, also you can skip this step if you have a cloud server. To create the node we need to find the cloud platform from the left menu which you can choose depending on your requirement. We choose vStack or VMware platform and click on Create Server button.
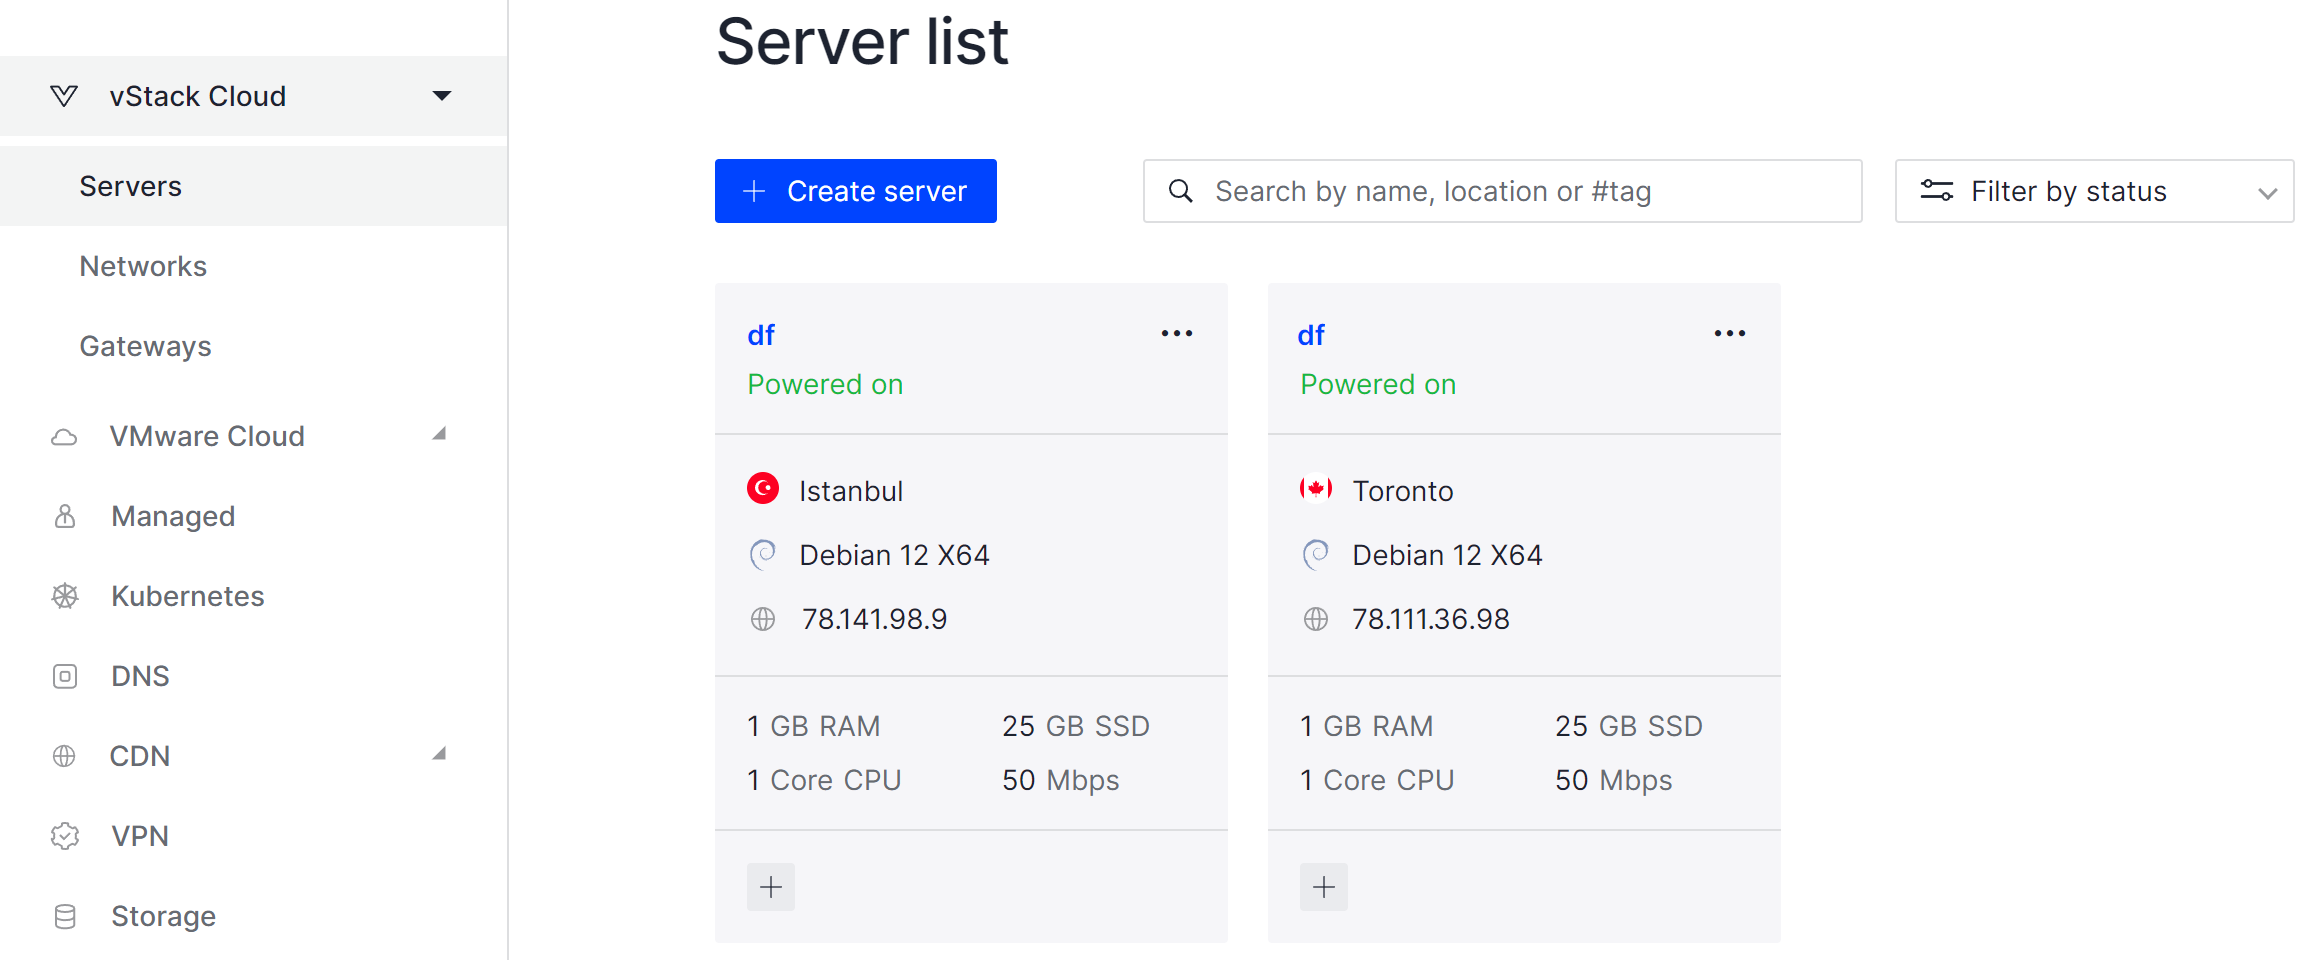
It will take some time to deploy server capacity. After that you can connect in any of the convenient ways. Let's return to our installation menu.
This will open the installation menu with the blocks needed to configure the OS before installing it on the disc. The default settings for many of the blocks are standard, so if you need to install the OS quickly, just fill in the user details.
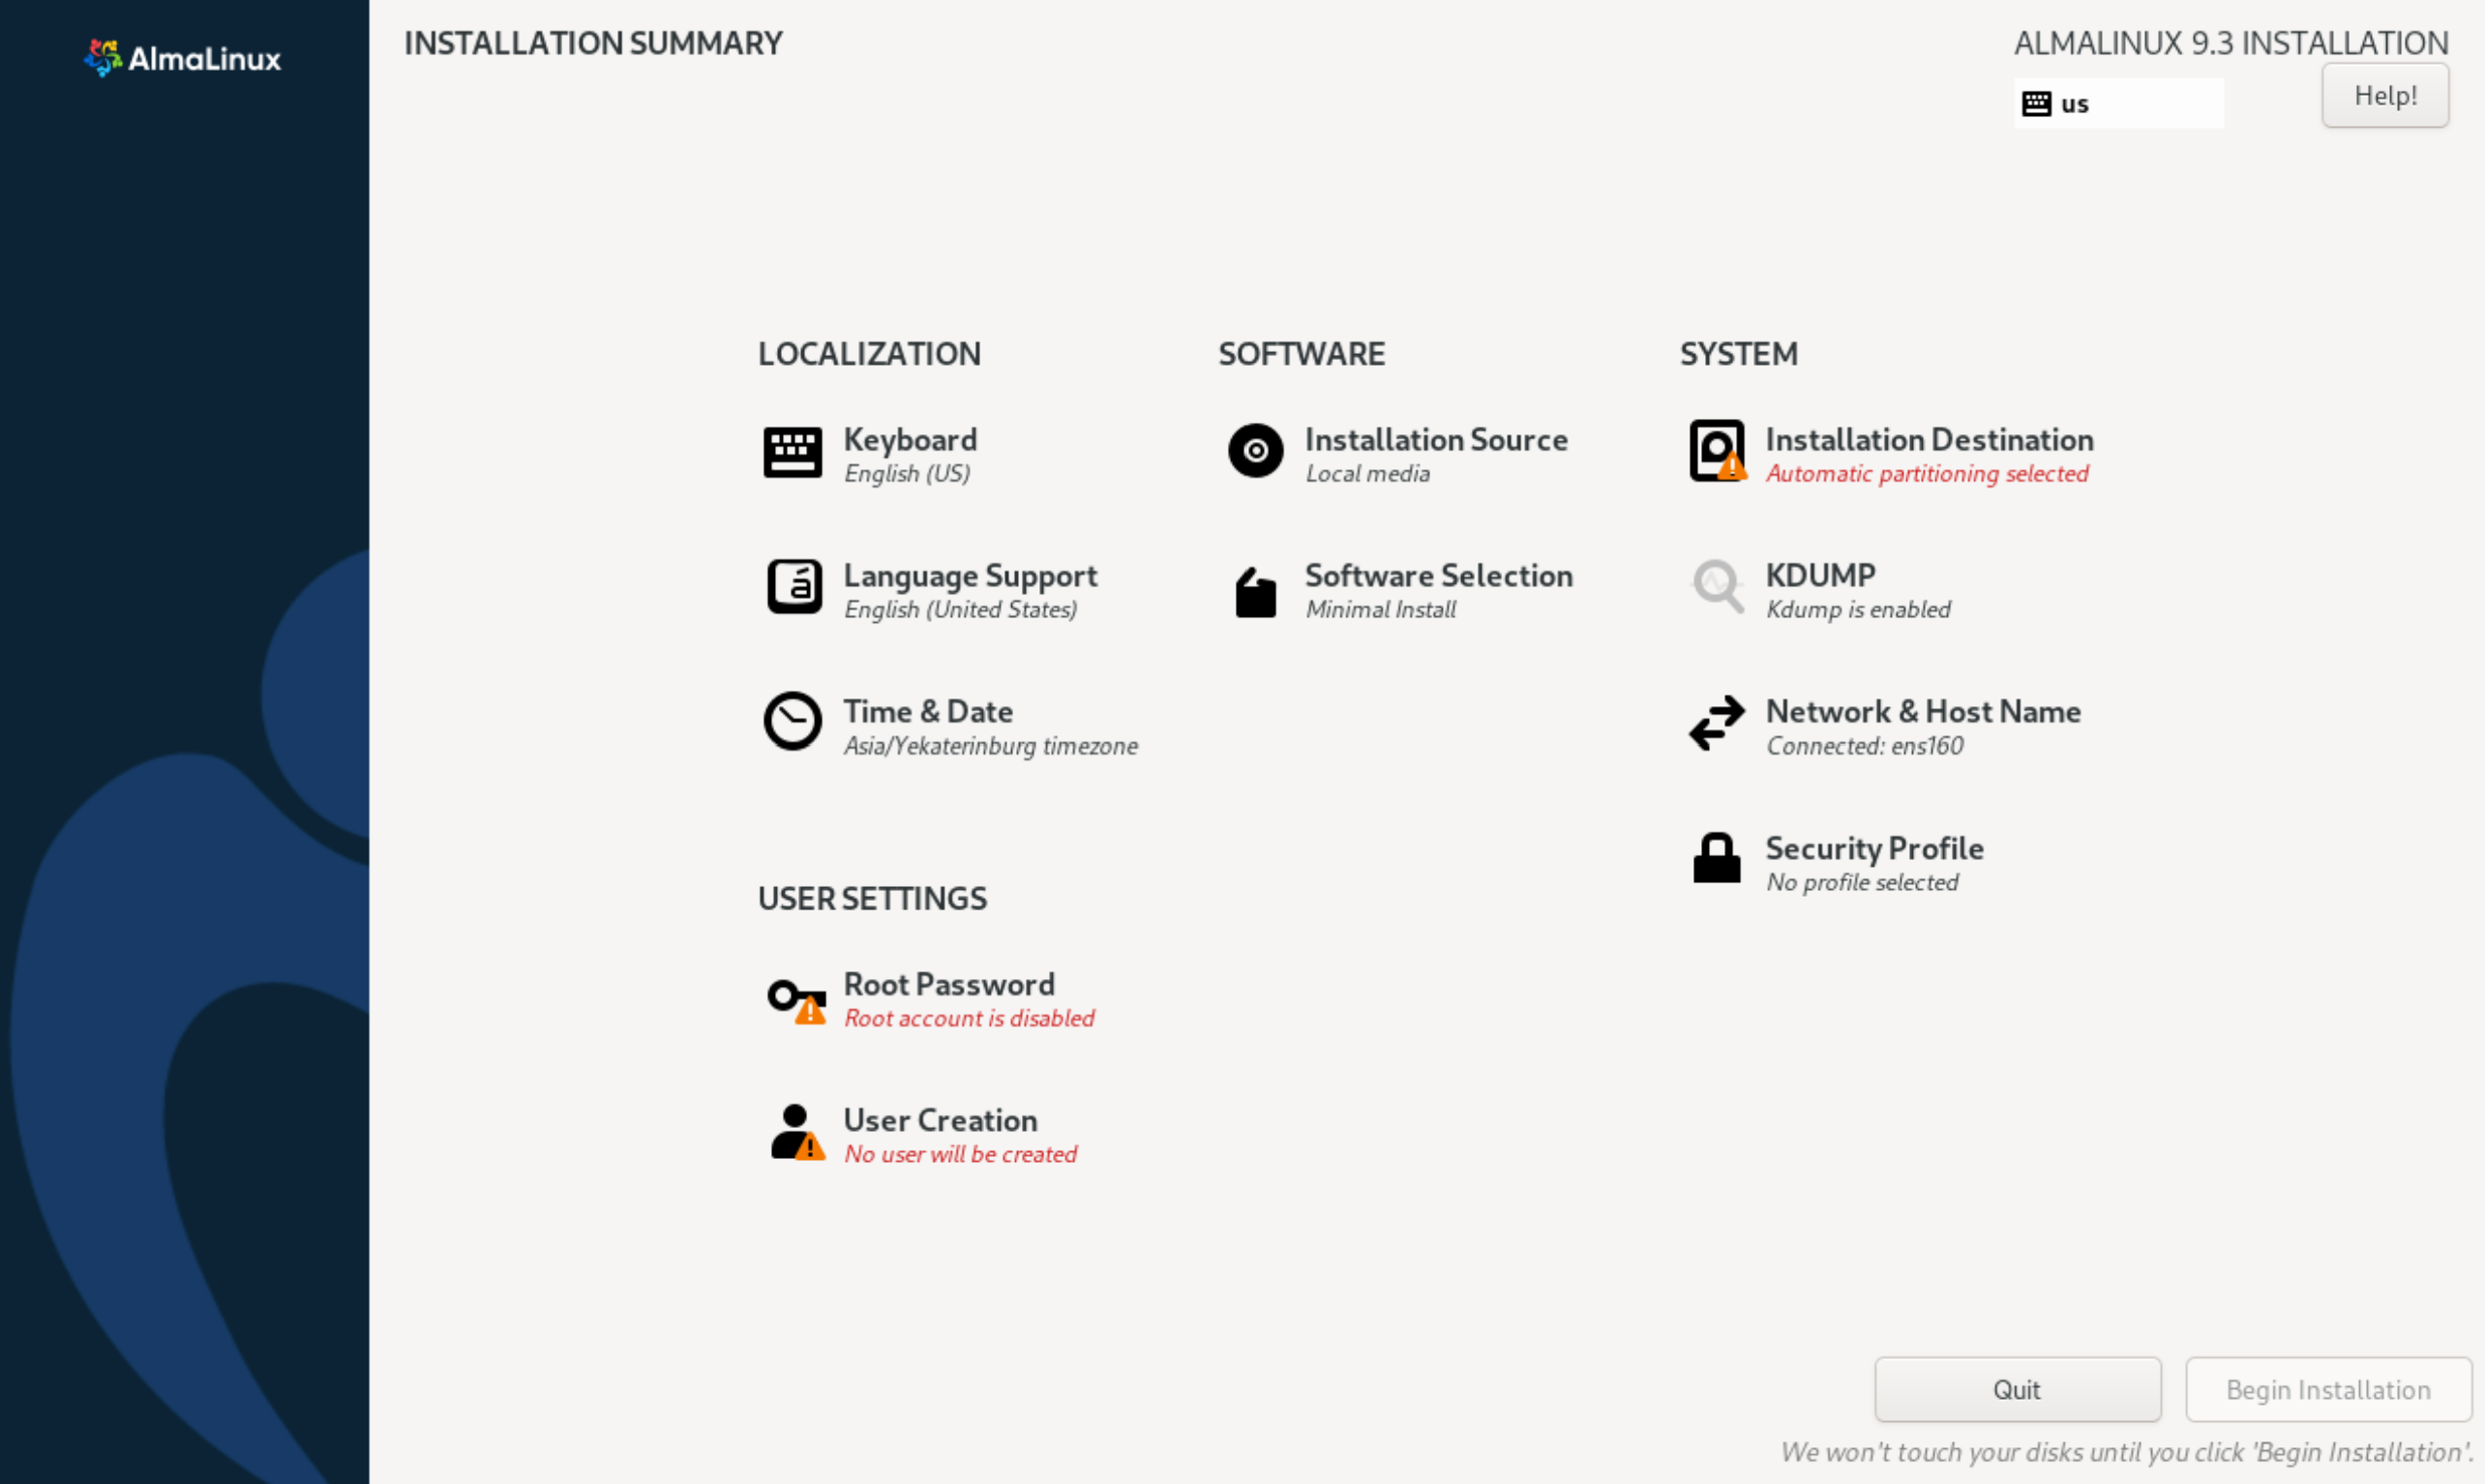
Go to the Time & Date tab and select the required time zone and time. On the top right is Network Time, if you enable it, synchronization will take place via NTP server. After making the settings, click Done on the top left.

Let's go to the User Settings tab and configure the root user. Depending on how strict your policies are, you can block the root user from logging in via SSH or disable the account for use altogether. In the second case, you need to create an administrator.
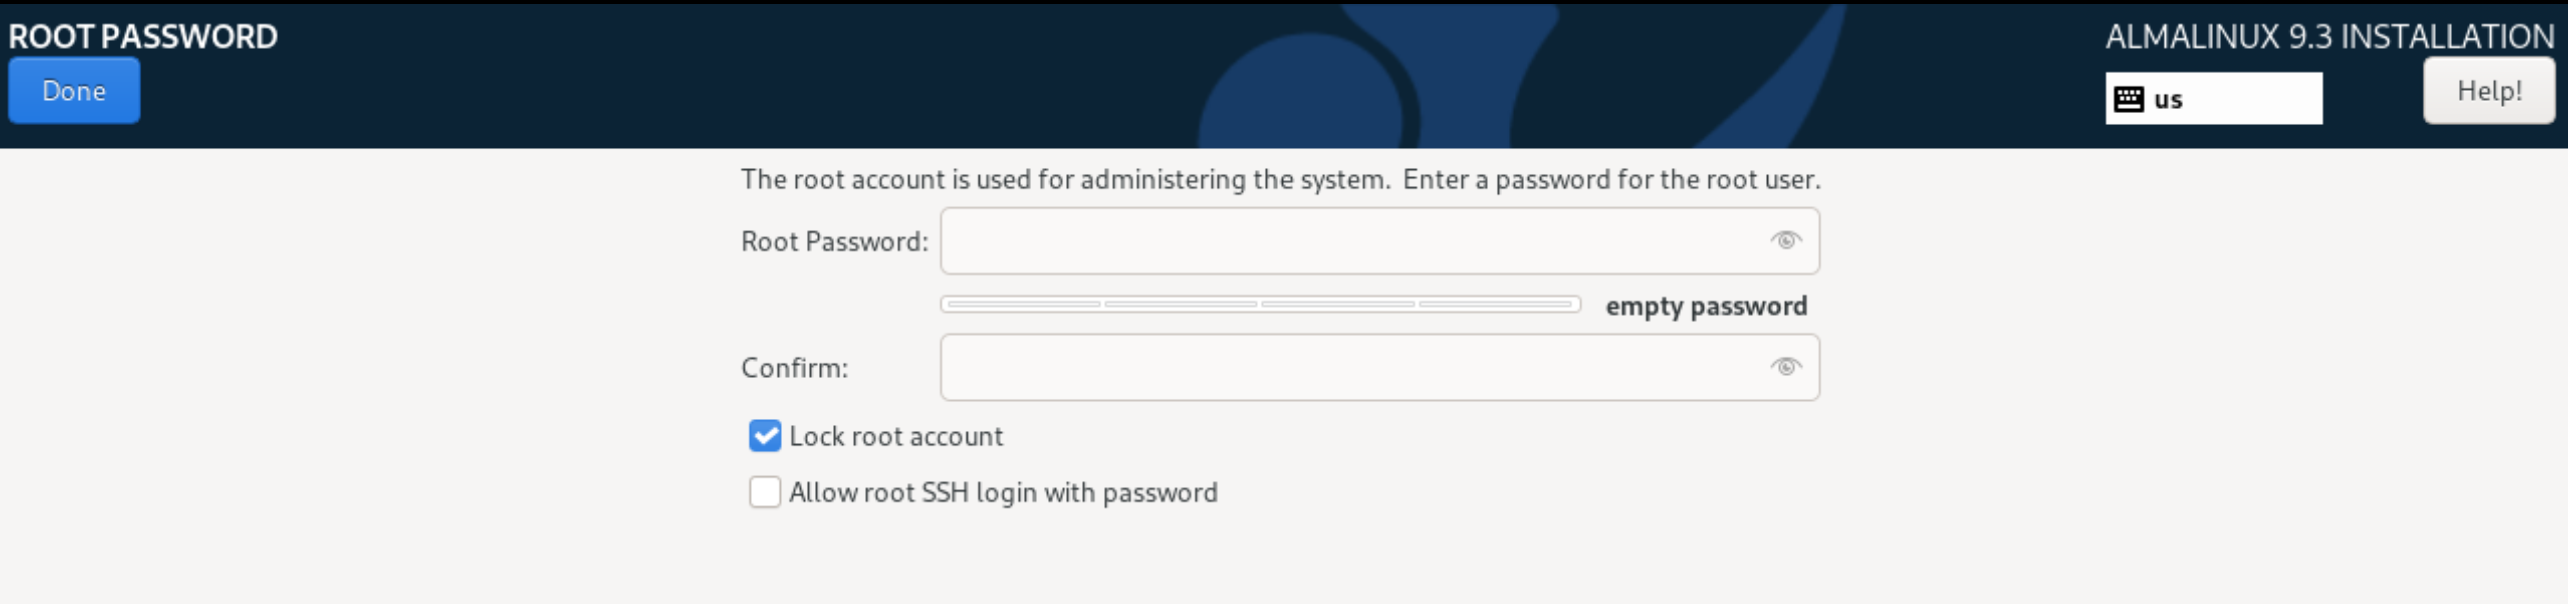
It is advisable to choose a strong password of 13+ characters to ensure that your account will remain strong until alternative authentication methods are set up. Or use an open source password manager that will generate one for you.
To configure the user, let's go to the adjacent User Creation section, which will allow us to set basic and advanced settings:
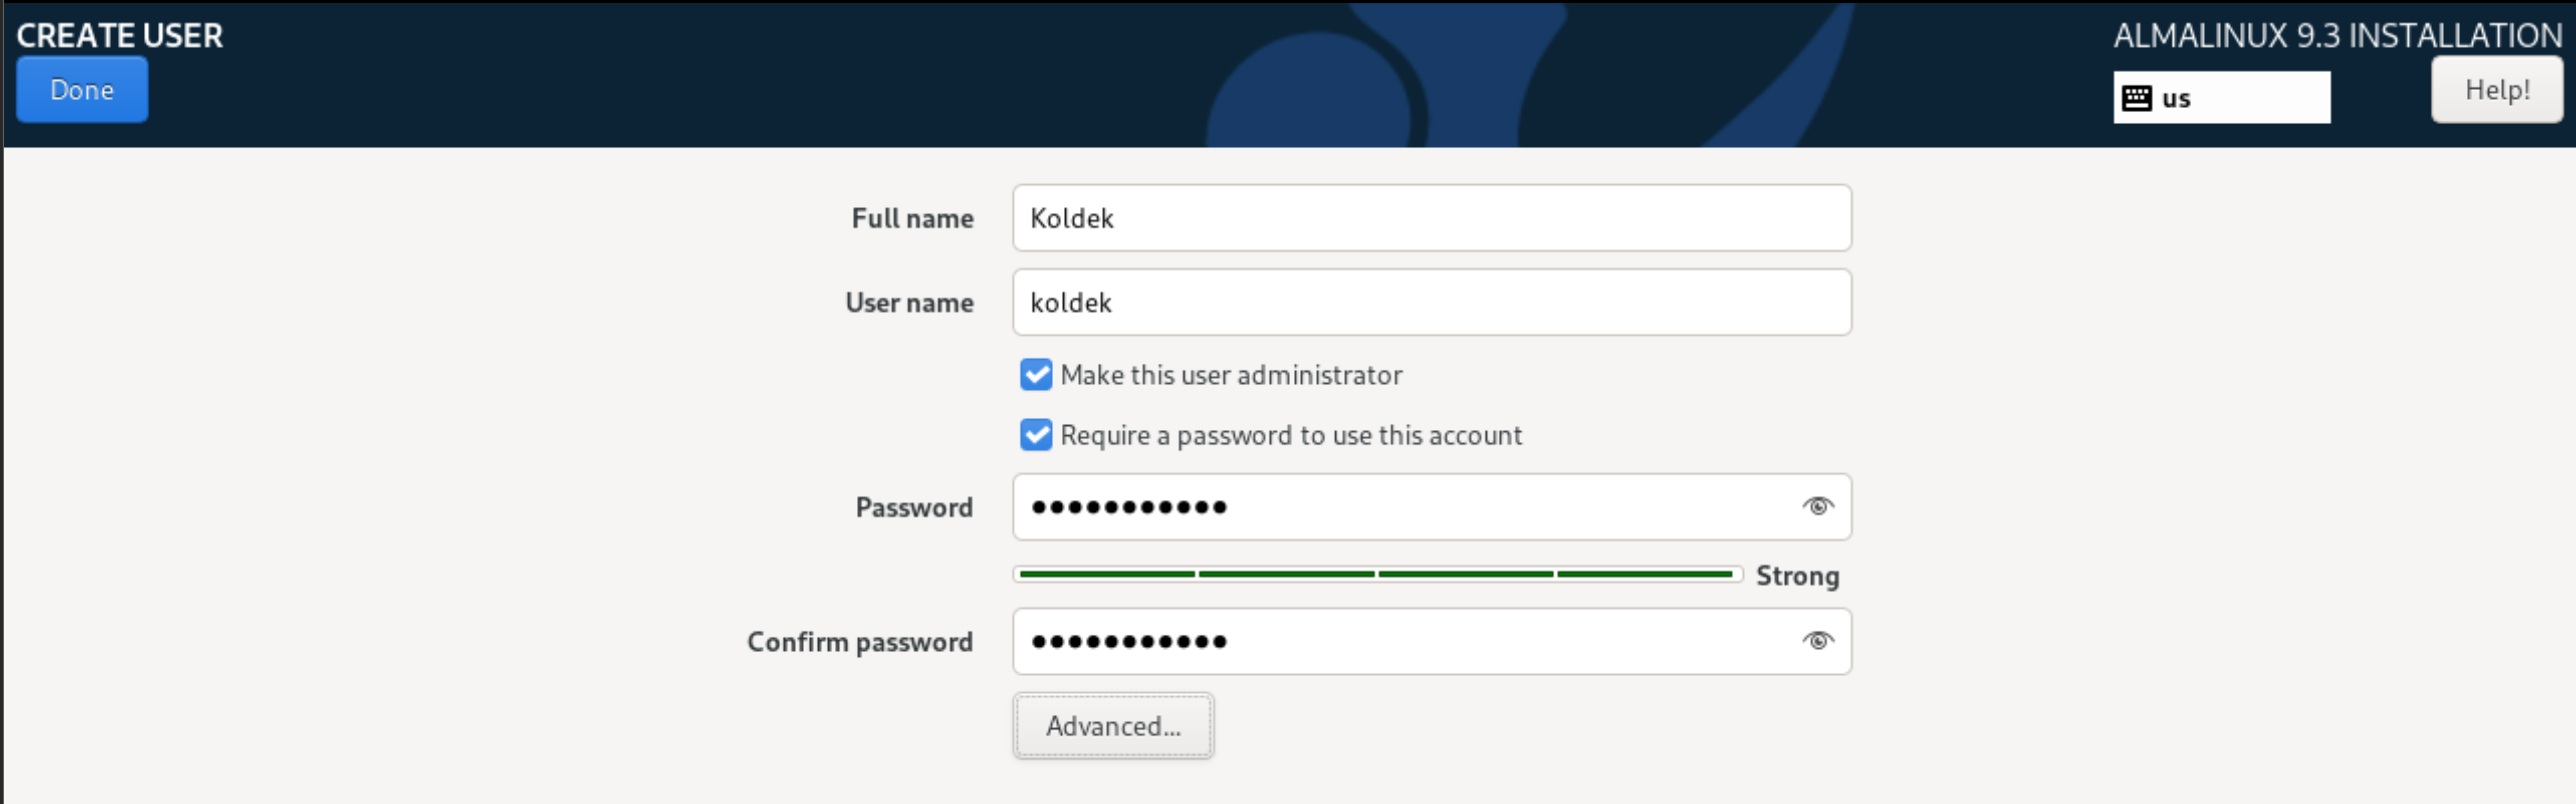
Specify the user name and login in the appropriate fields, set a complex password. If necessary, custom user UID, home directory, group and shell for interaction with the OS can be set up in the Advanced settings:
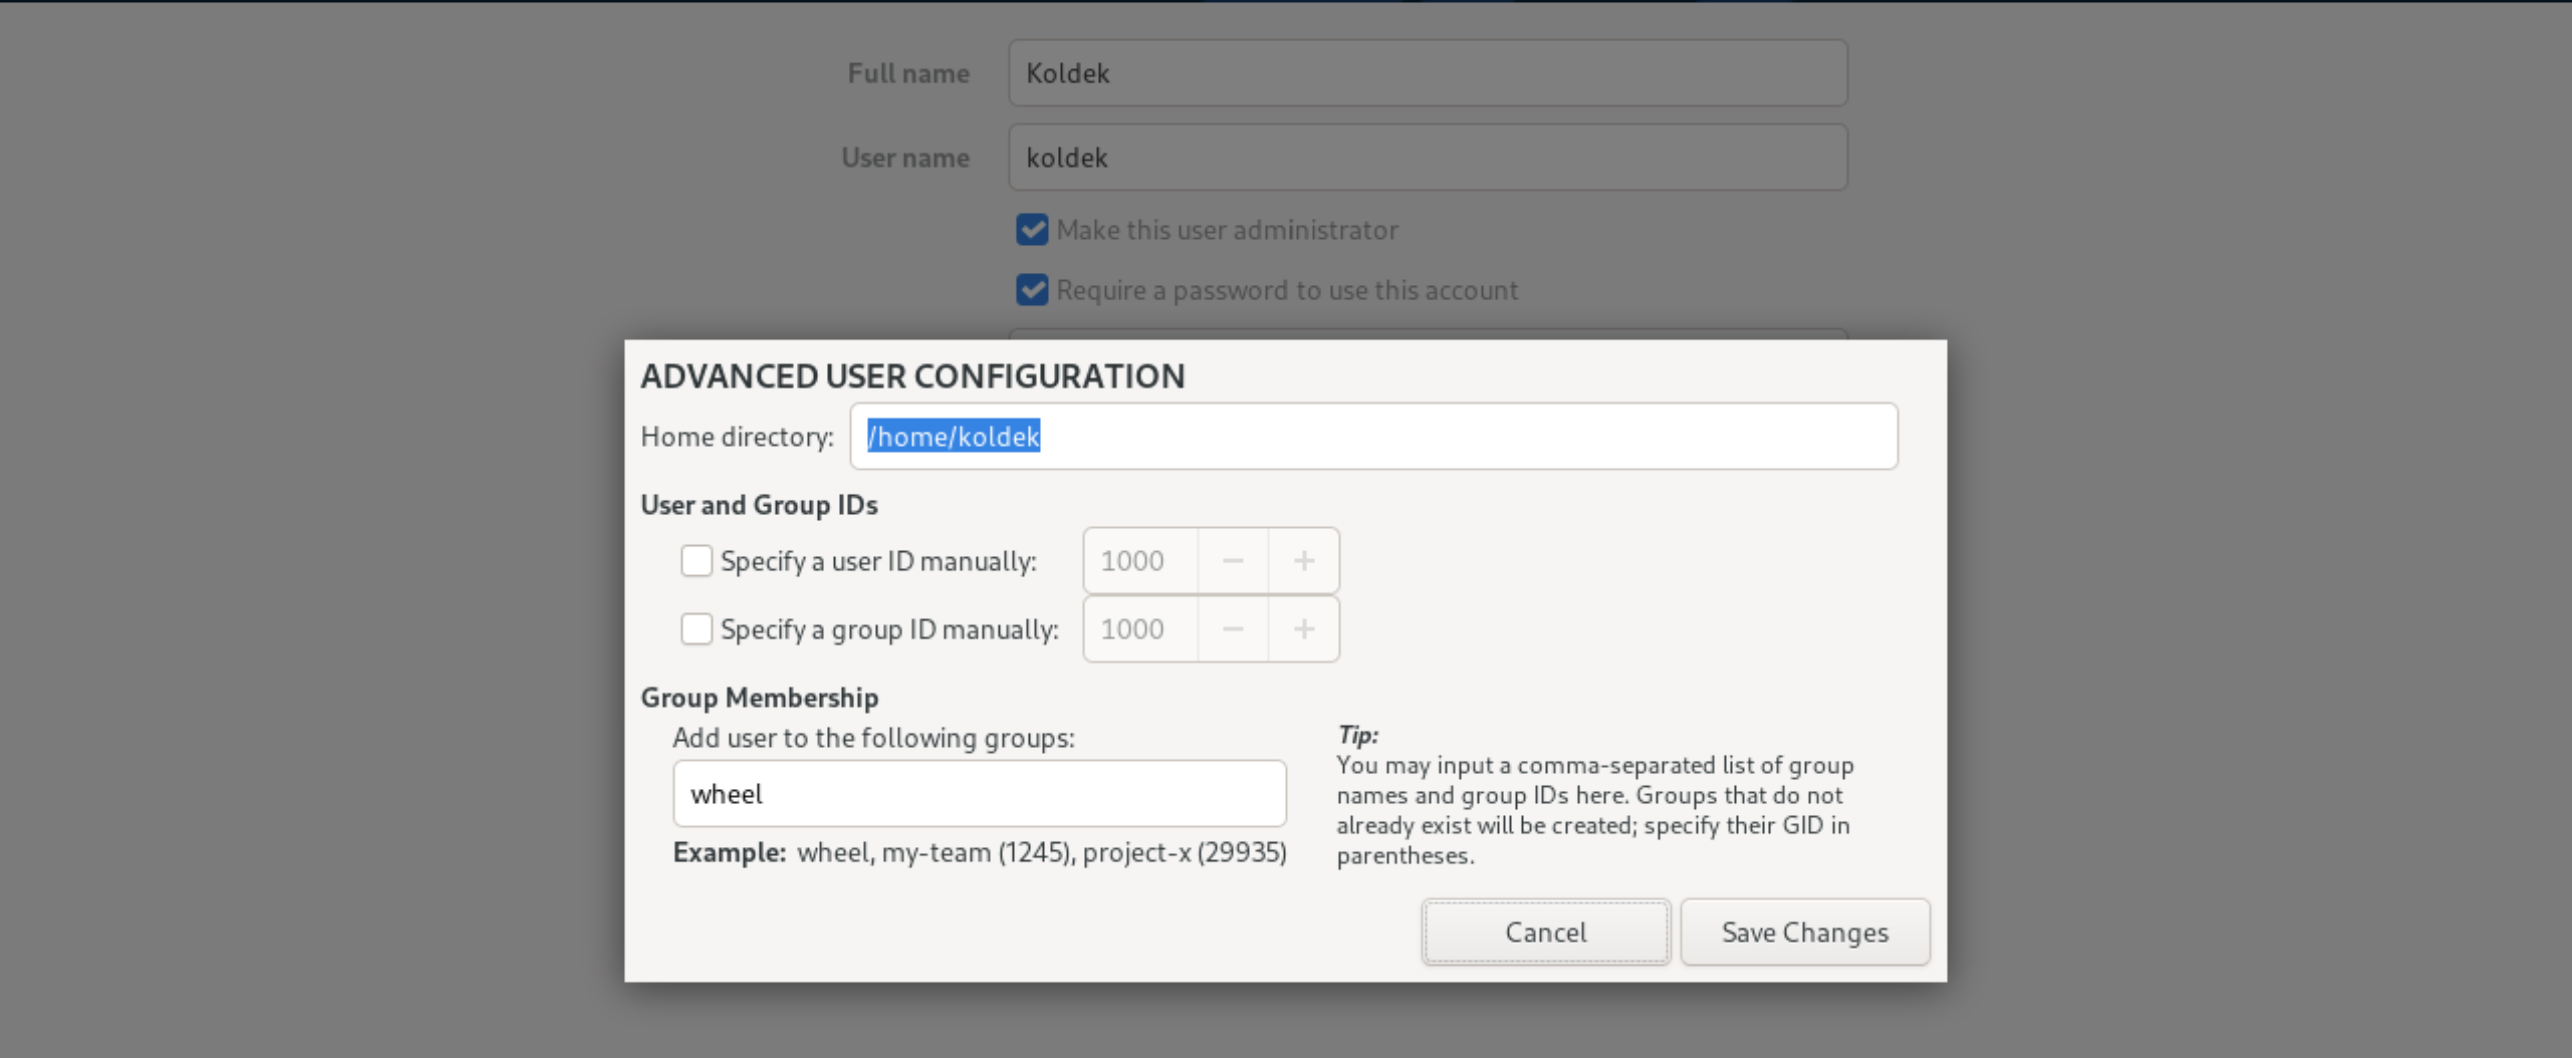
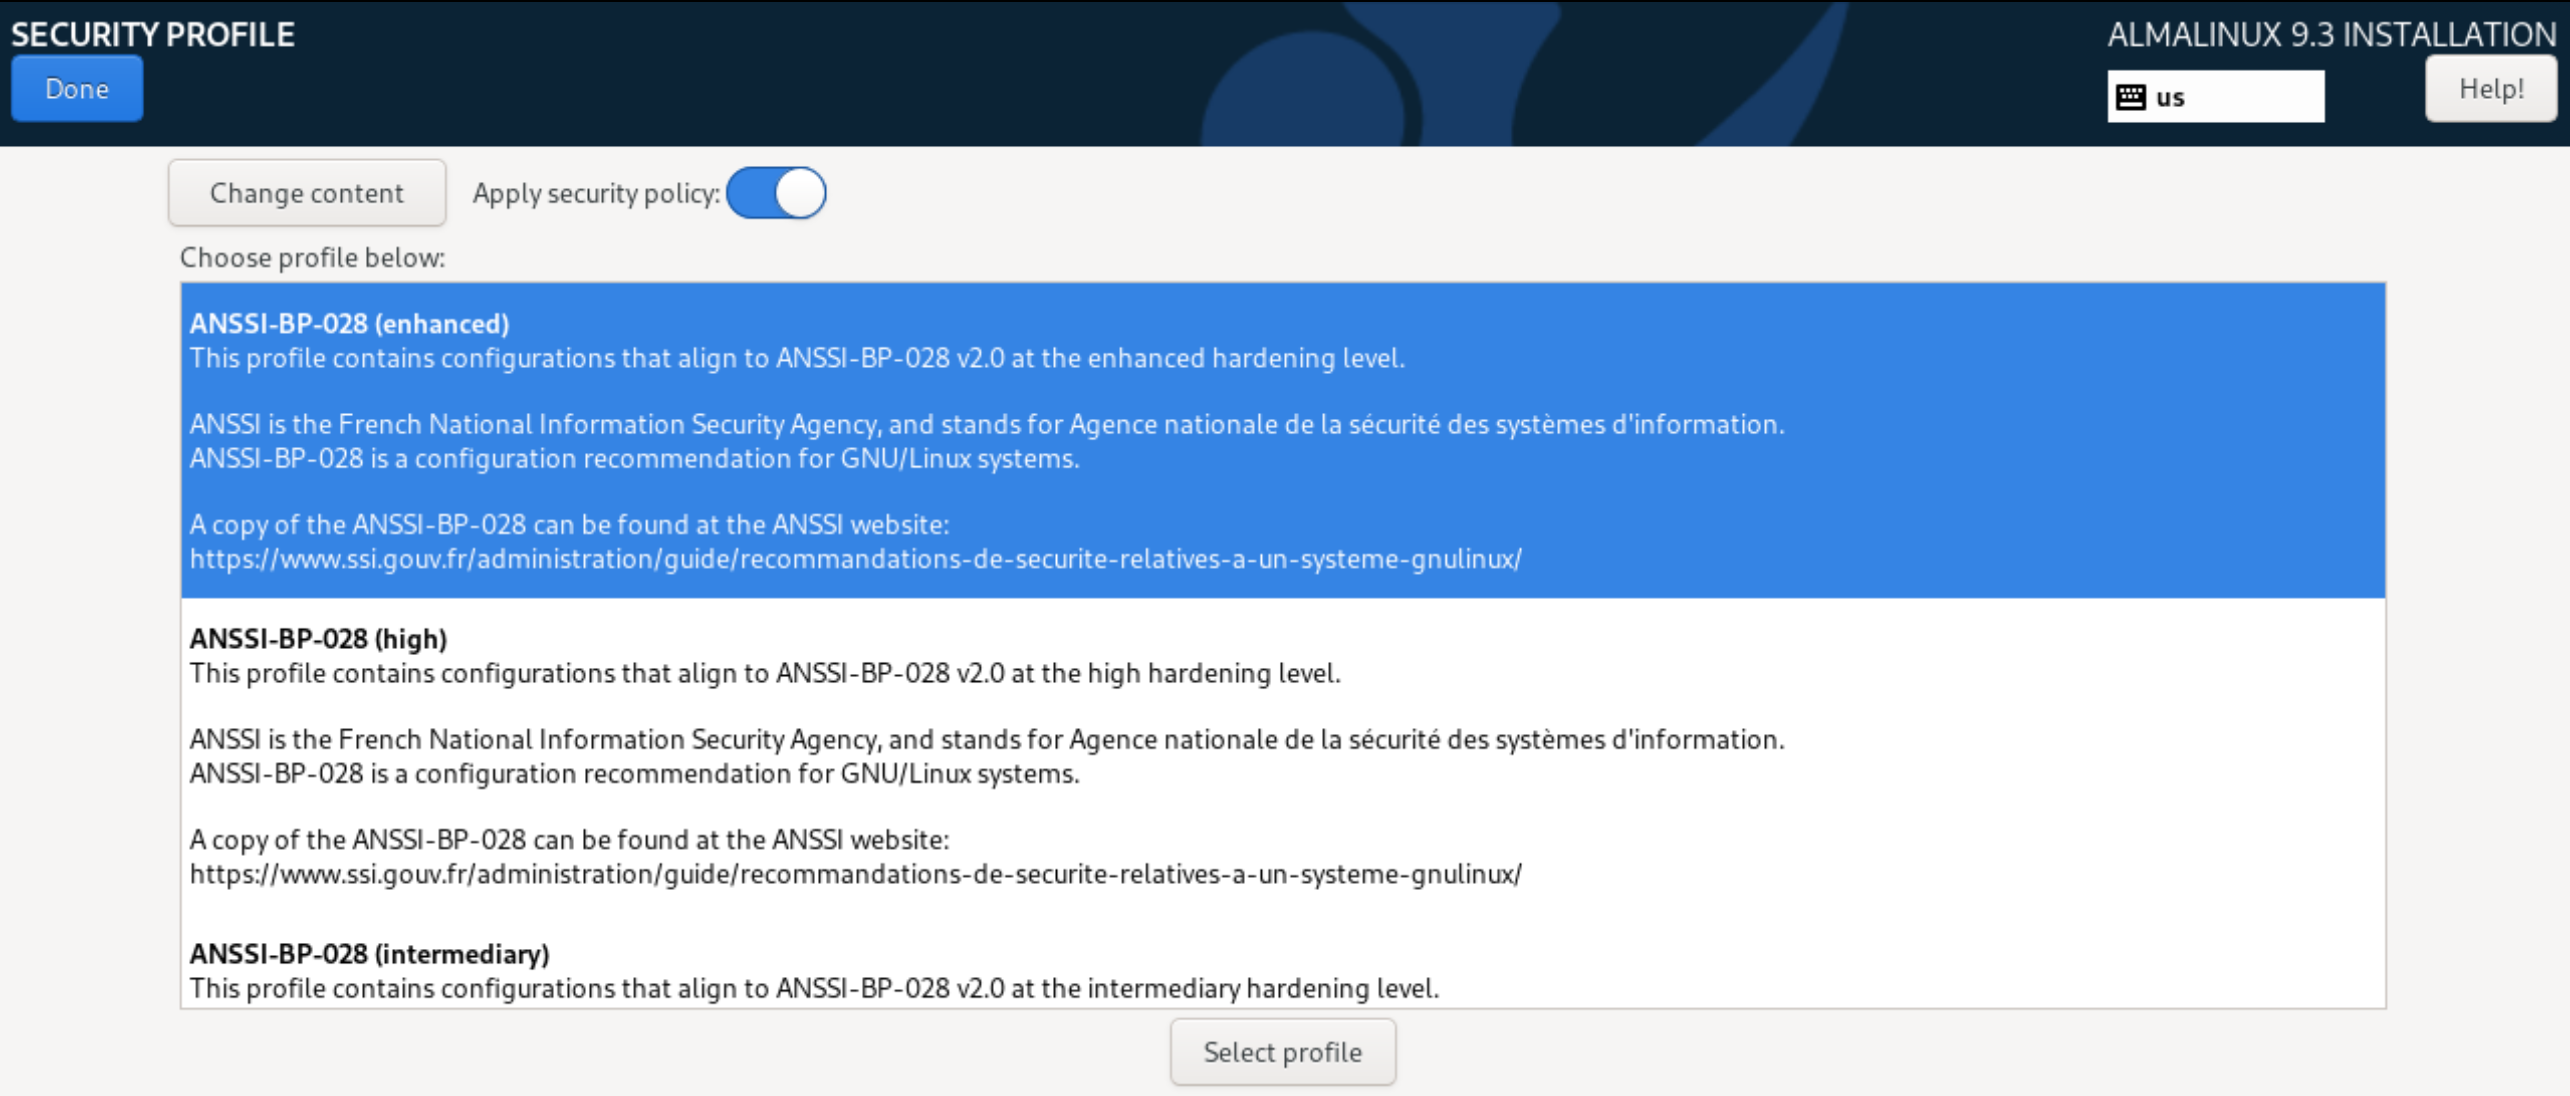
Afterwards, click Save Changes to save the settings. Let's go to the Security Profile section, which contains many profiles of security settings for the OS. The selection is optional, but allows you to increase the security of the computing device according to the description of each profile:
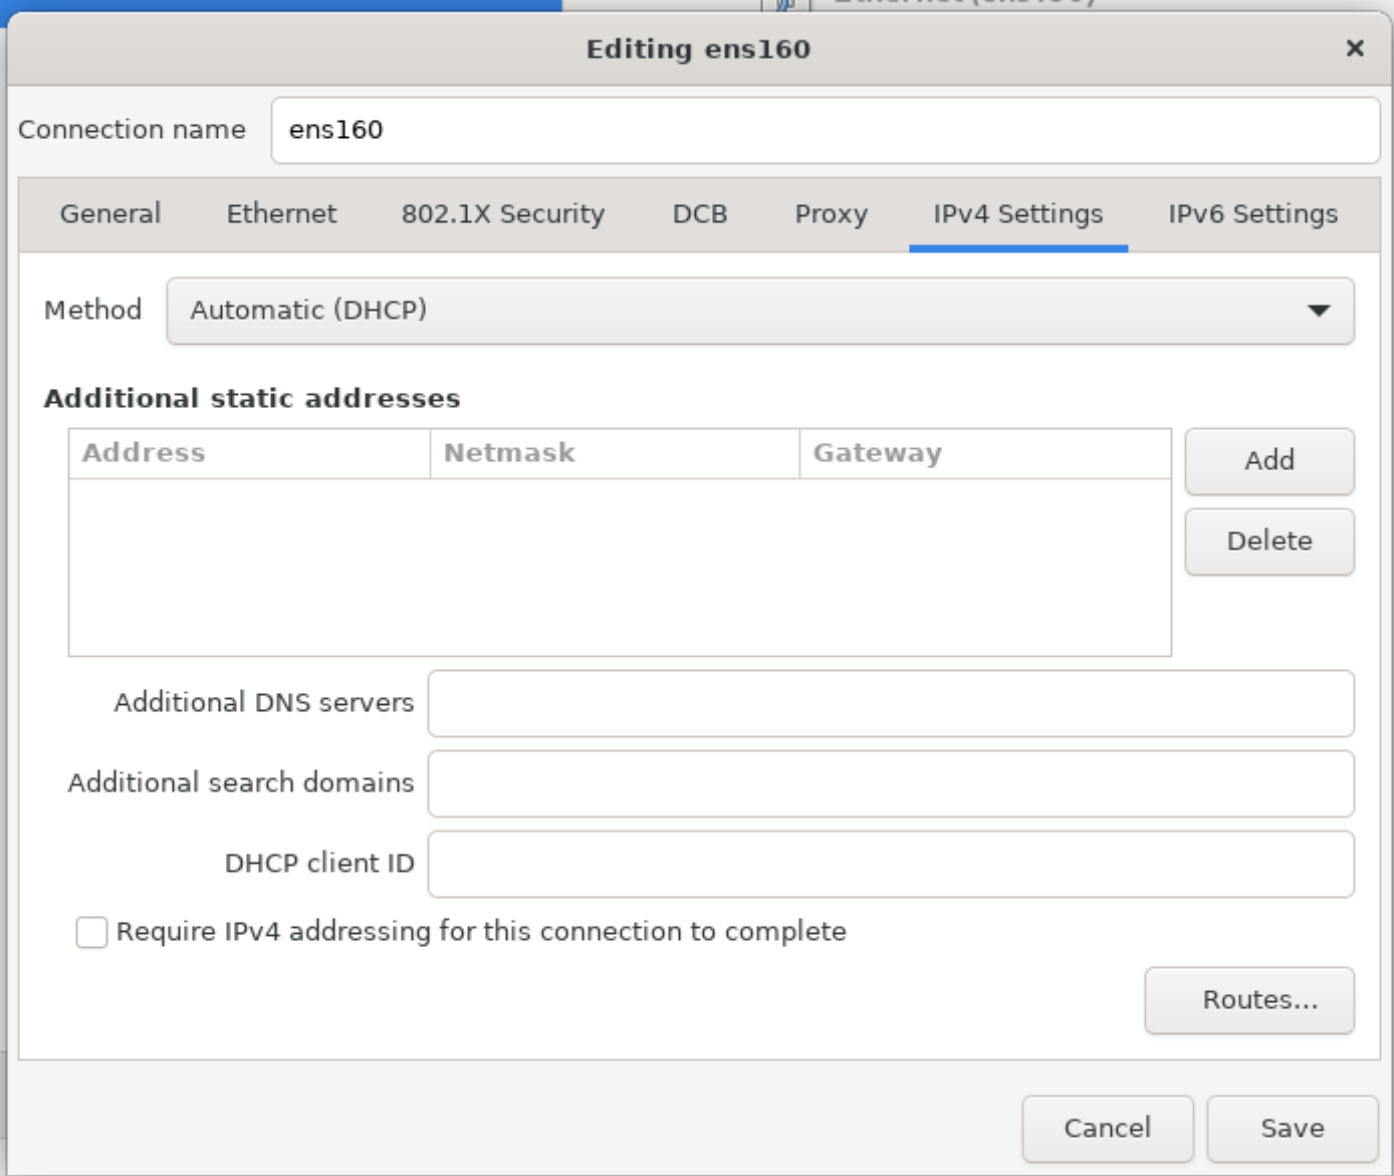
To communicate with other computing, networking devices, you must configure interfaces on the machine. By automatic configuration using a DHCP server or manually by static configuration:
The installer offers many methods and options for partitioning disc space, ranging from automatic popular options to custom ones with the possibility of modification. Let's use the classic variant and install LVM system on the disc, which will allow more flexible disc space management when the number of information storage devices increases:
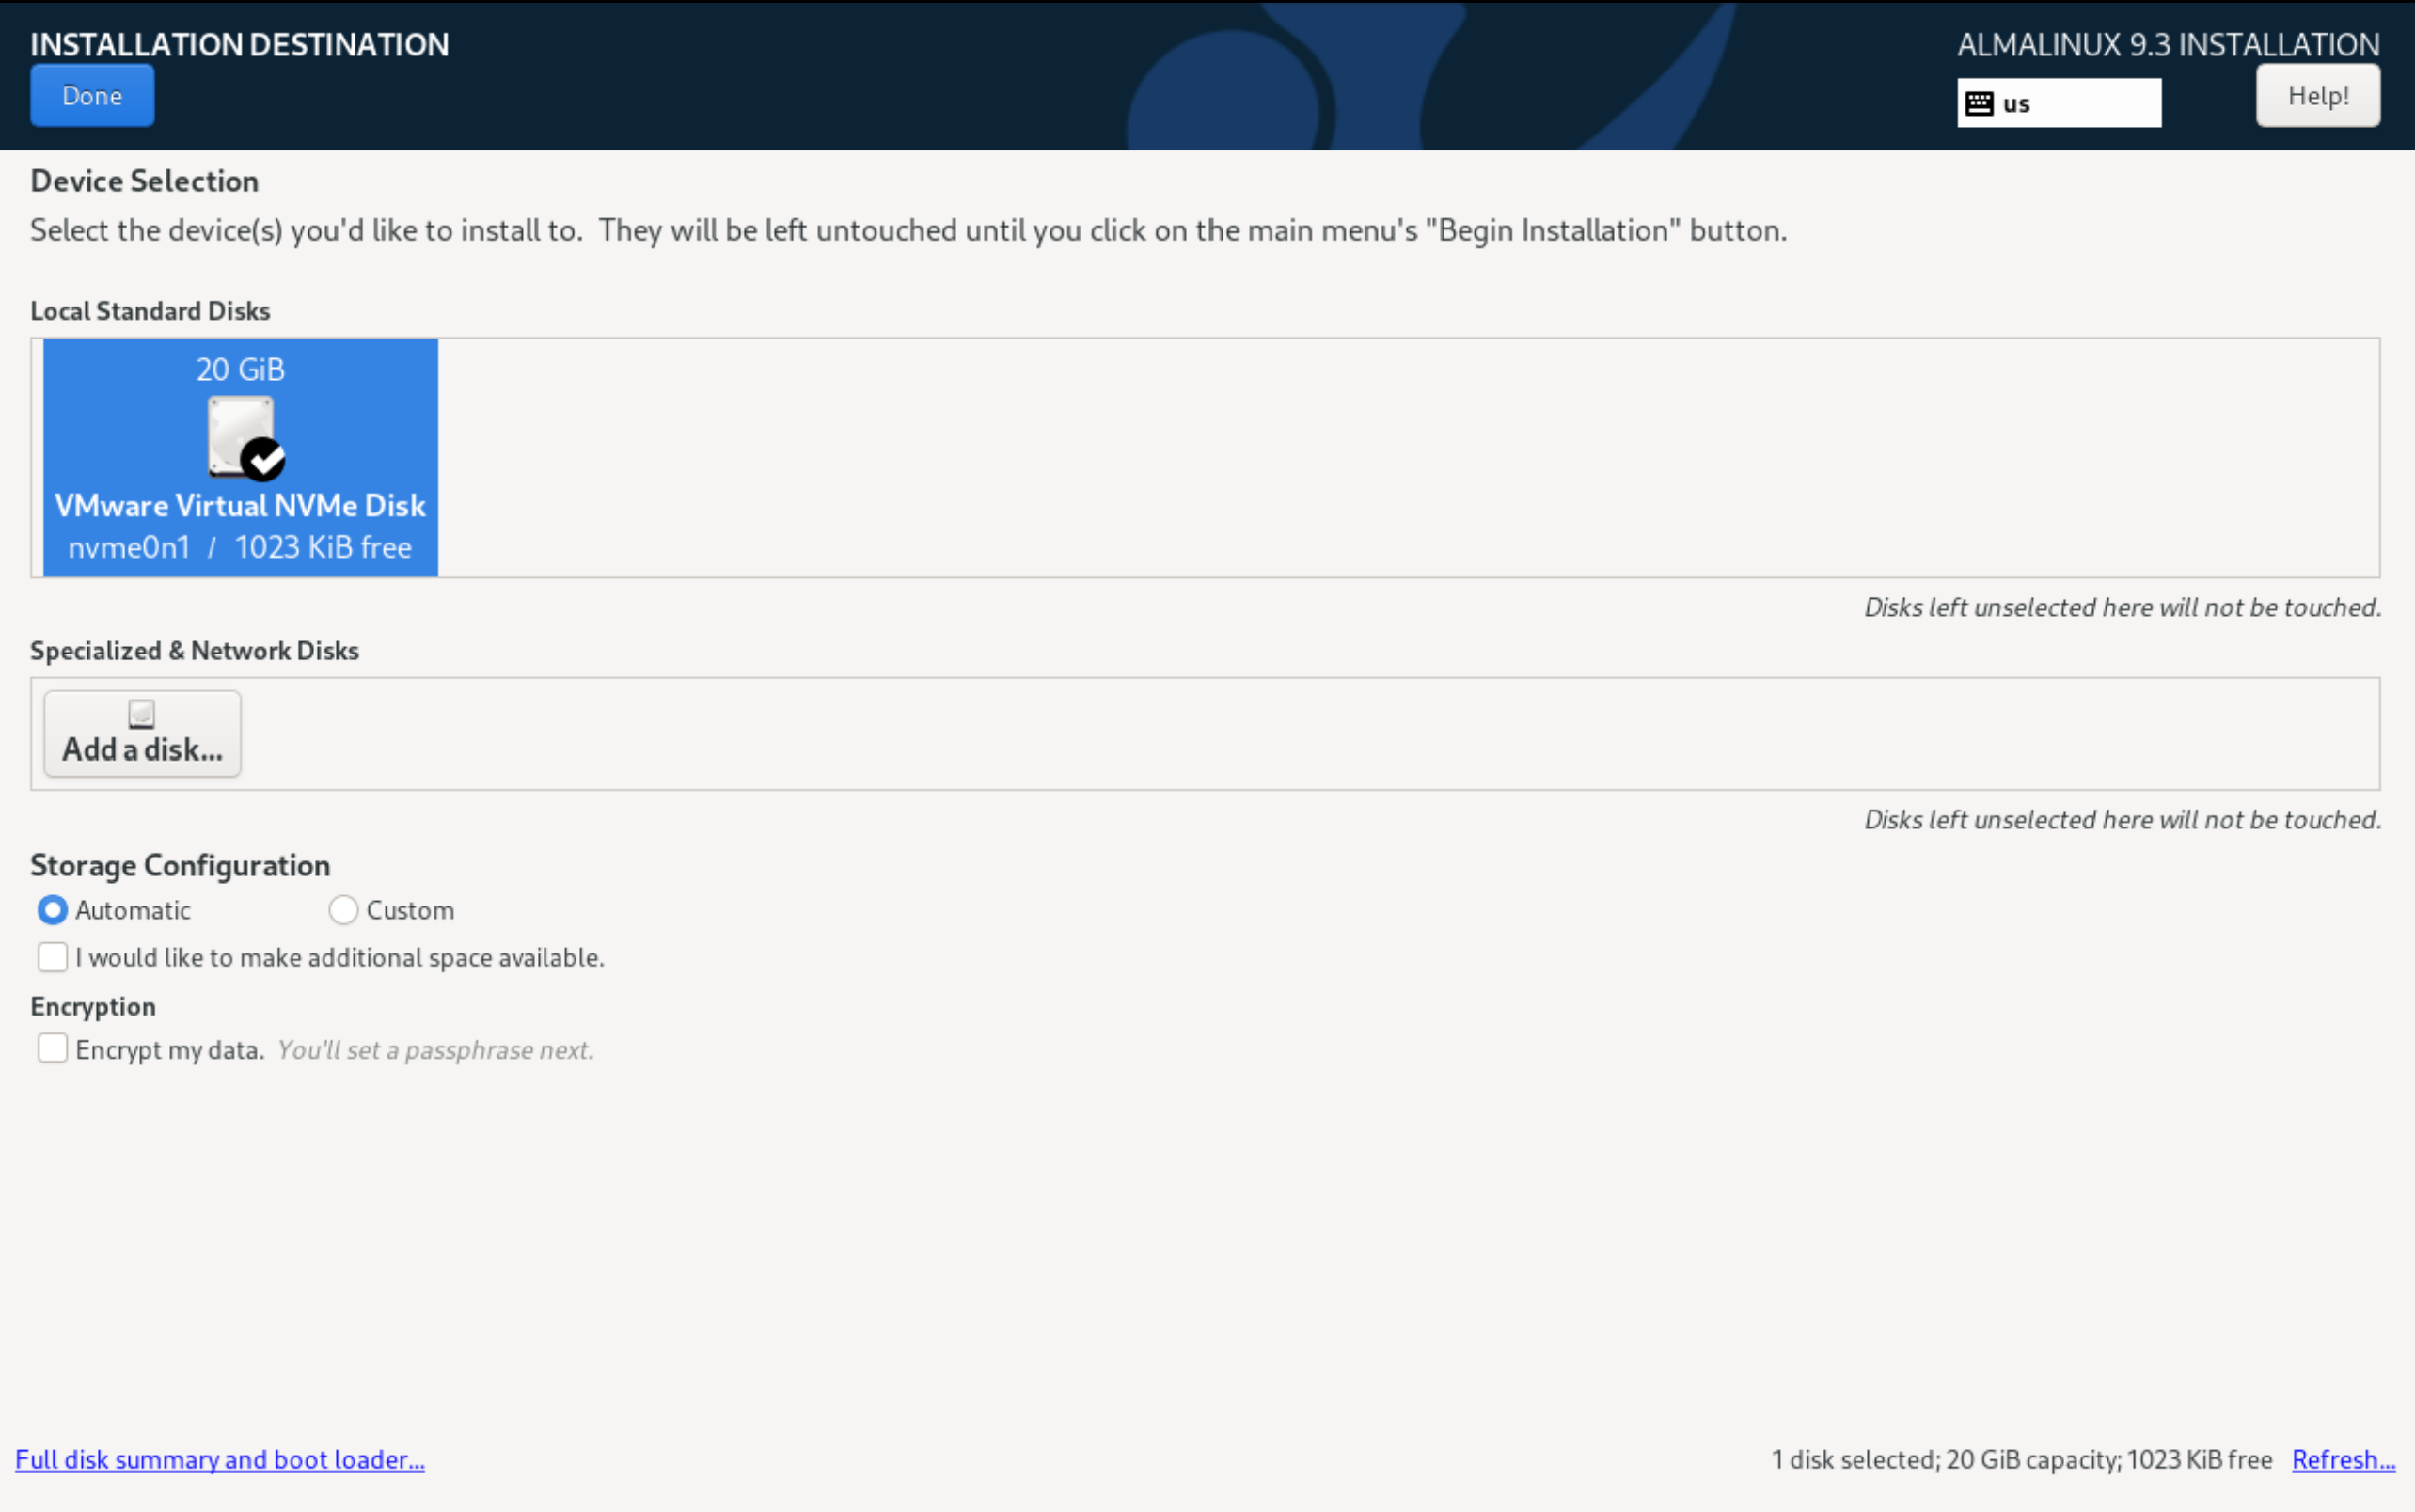
It is possible to store all user data on the same logical space together with the system or separately by creating the necessary partition. Of course, the advantages are that you can reinstall the system at any time without affecting user data. To select the installation source, let's go to the Installation Source section, which allows you to select a local or network image for initialization:
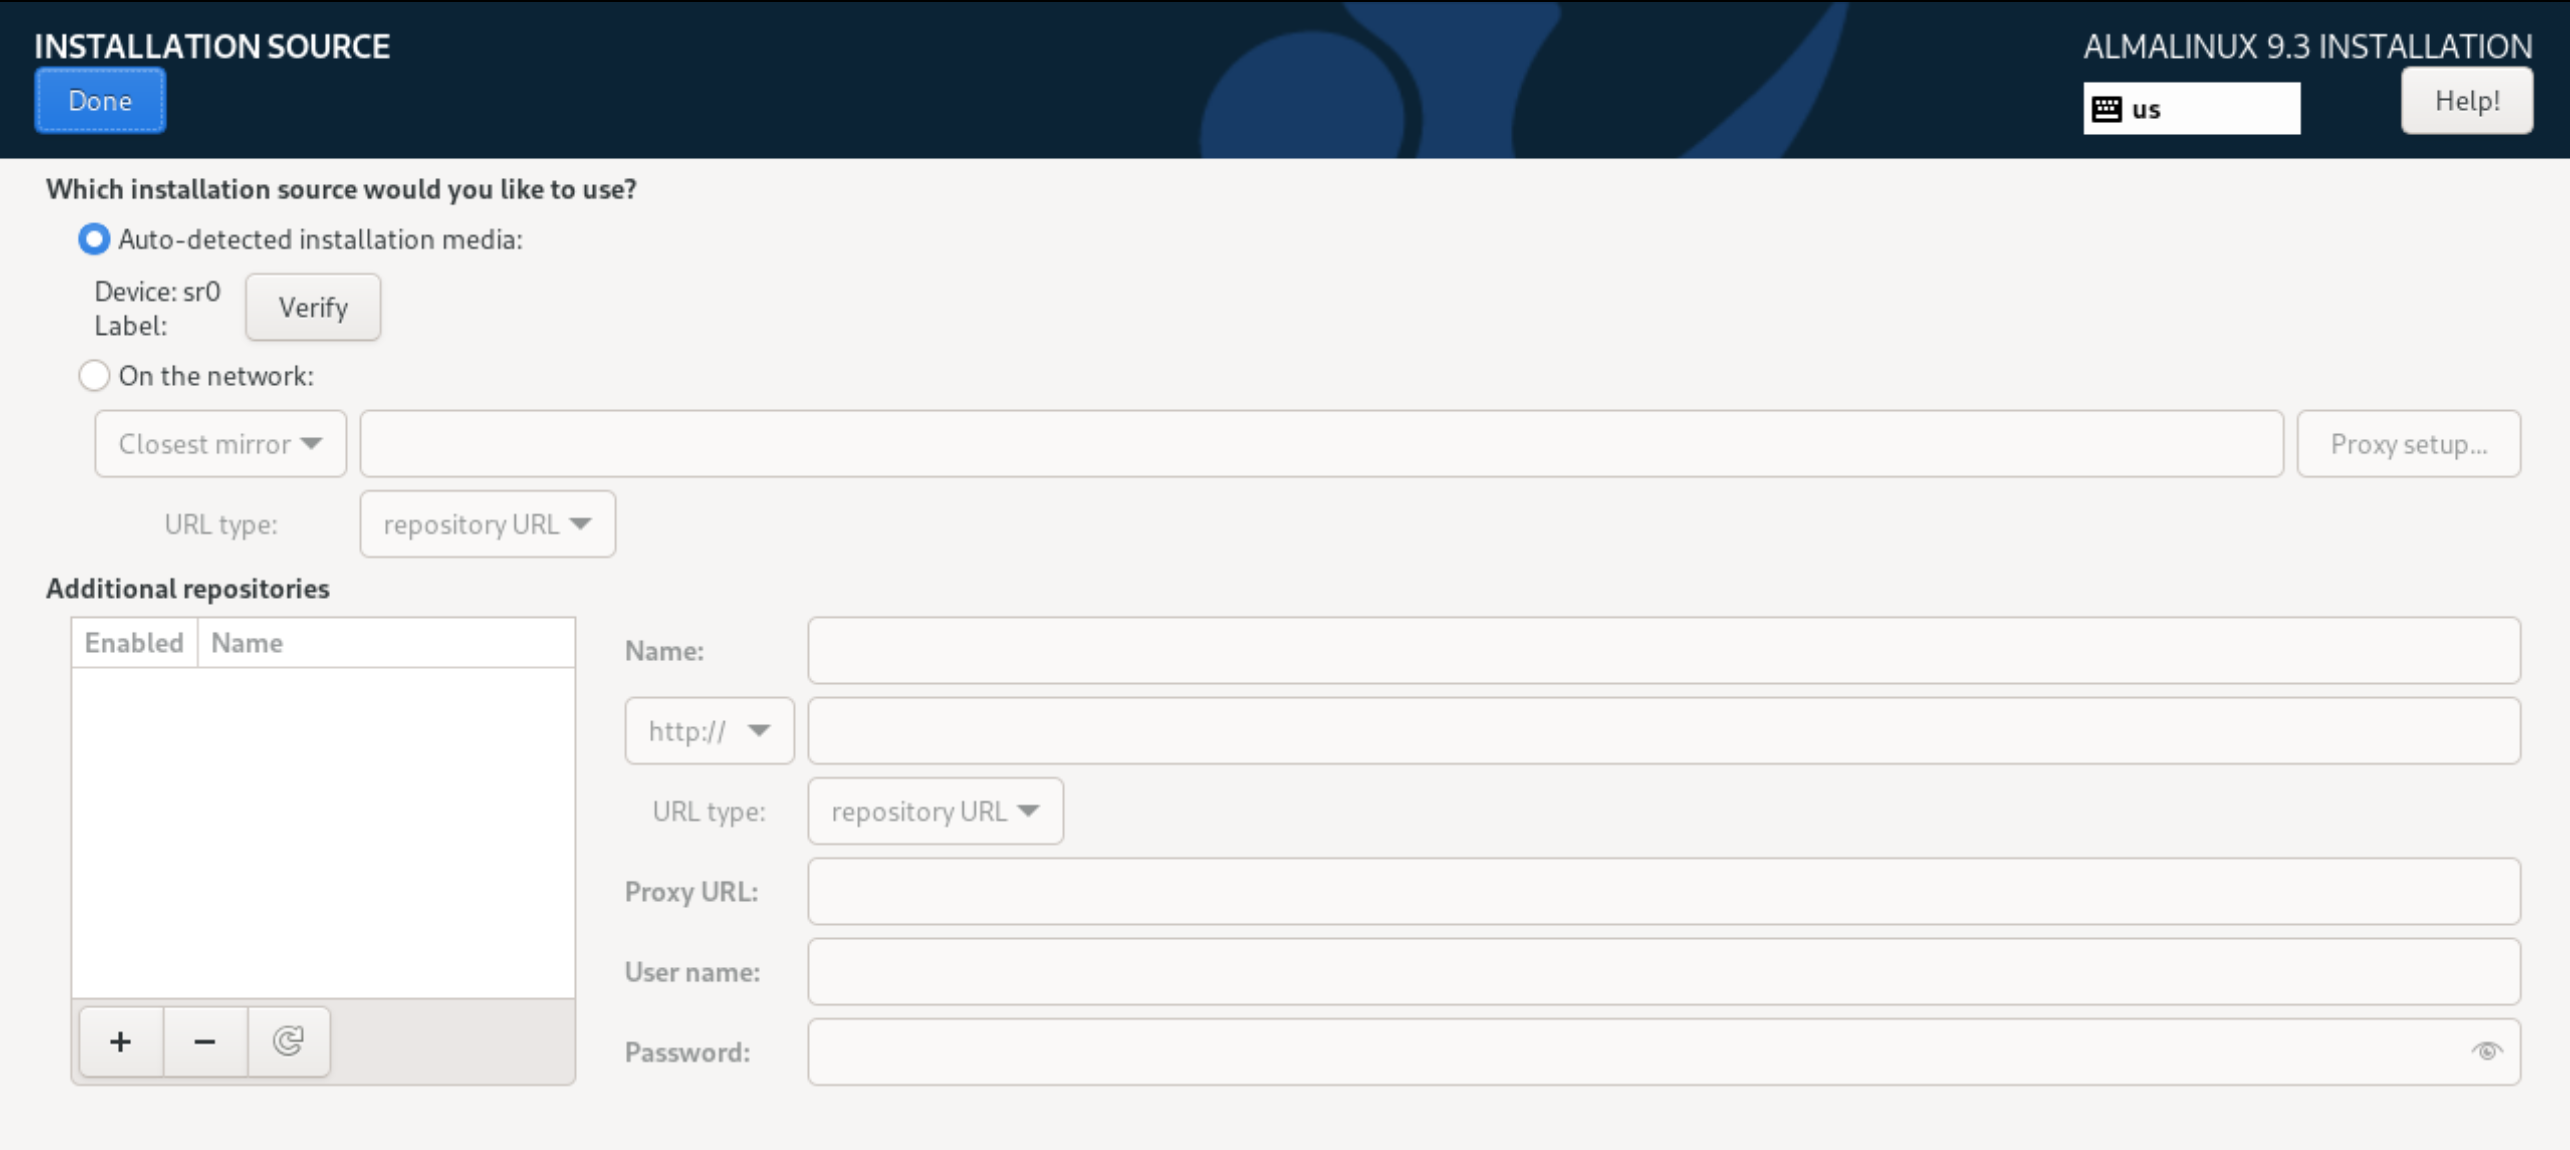
After that, select Done, which will allow you to save the applied settings. The last step is to select the software to work in the OS, for this we will find the Software Selection item. Select the necessary utilities to work with:
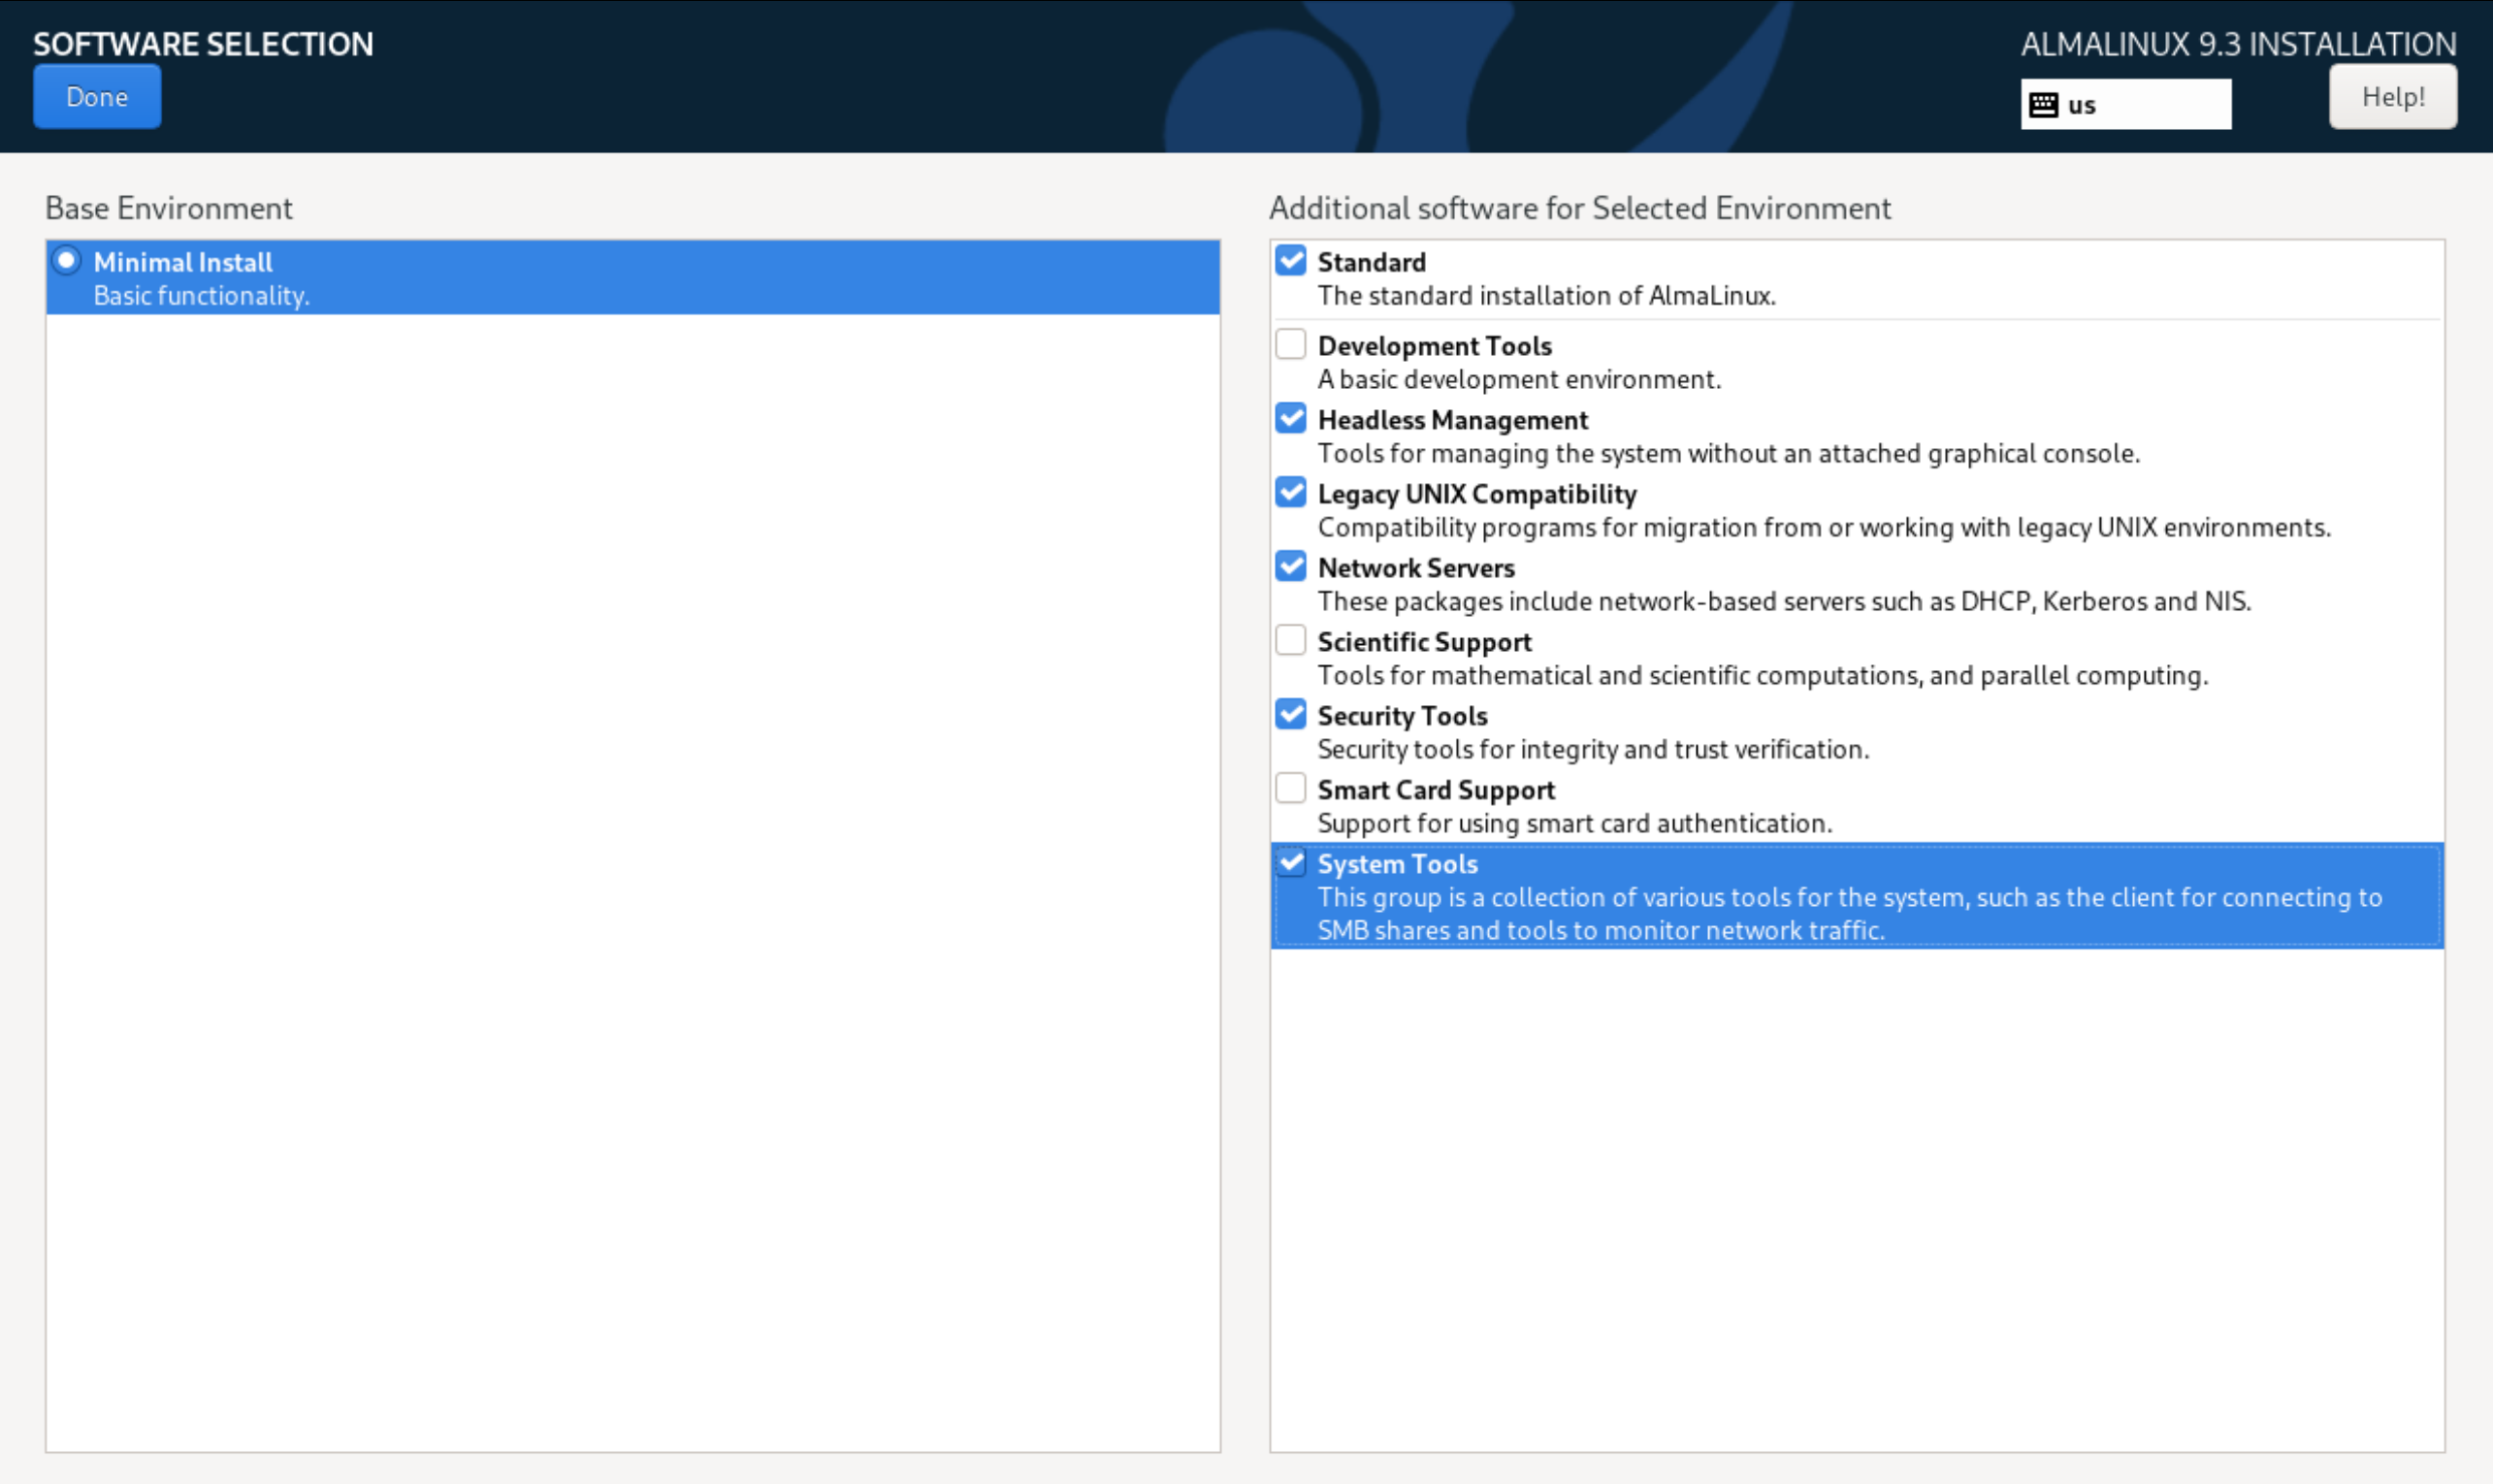
After going to the main menu, after checking all the parameters we will start installing the OS. To do this, click Begin Installation on the bottom left:
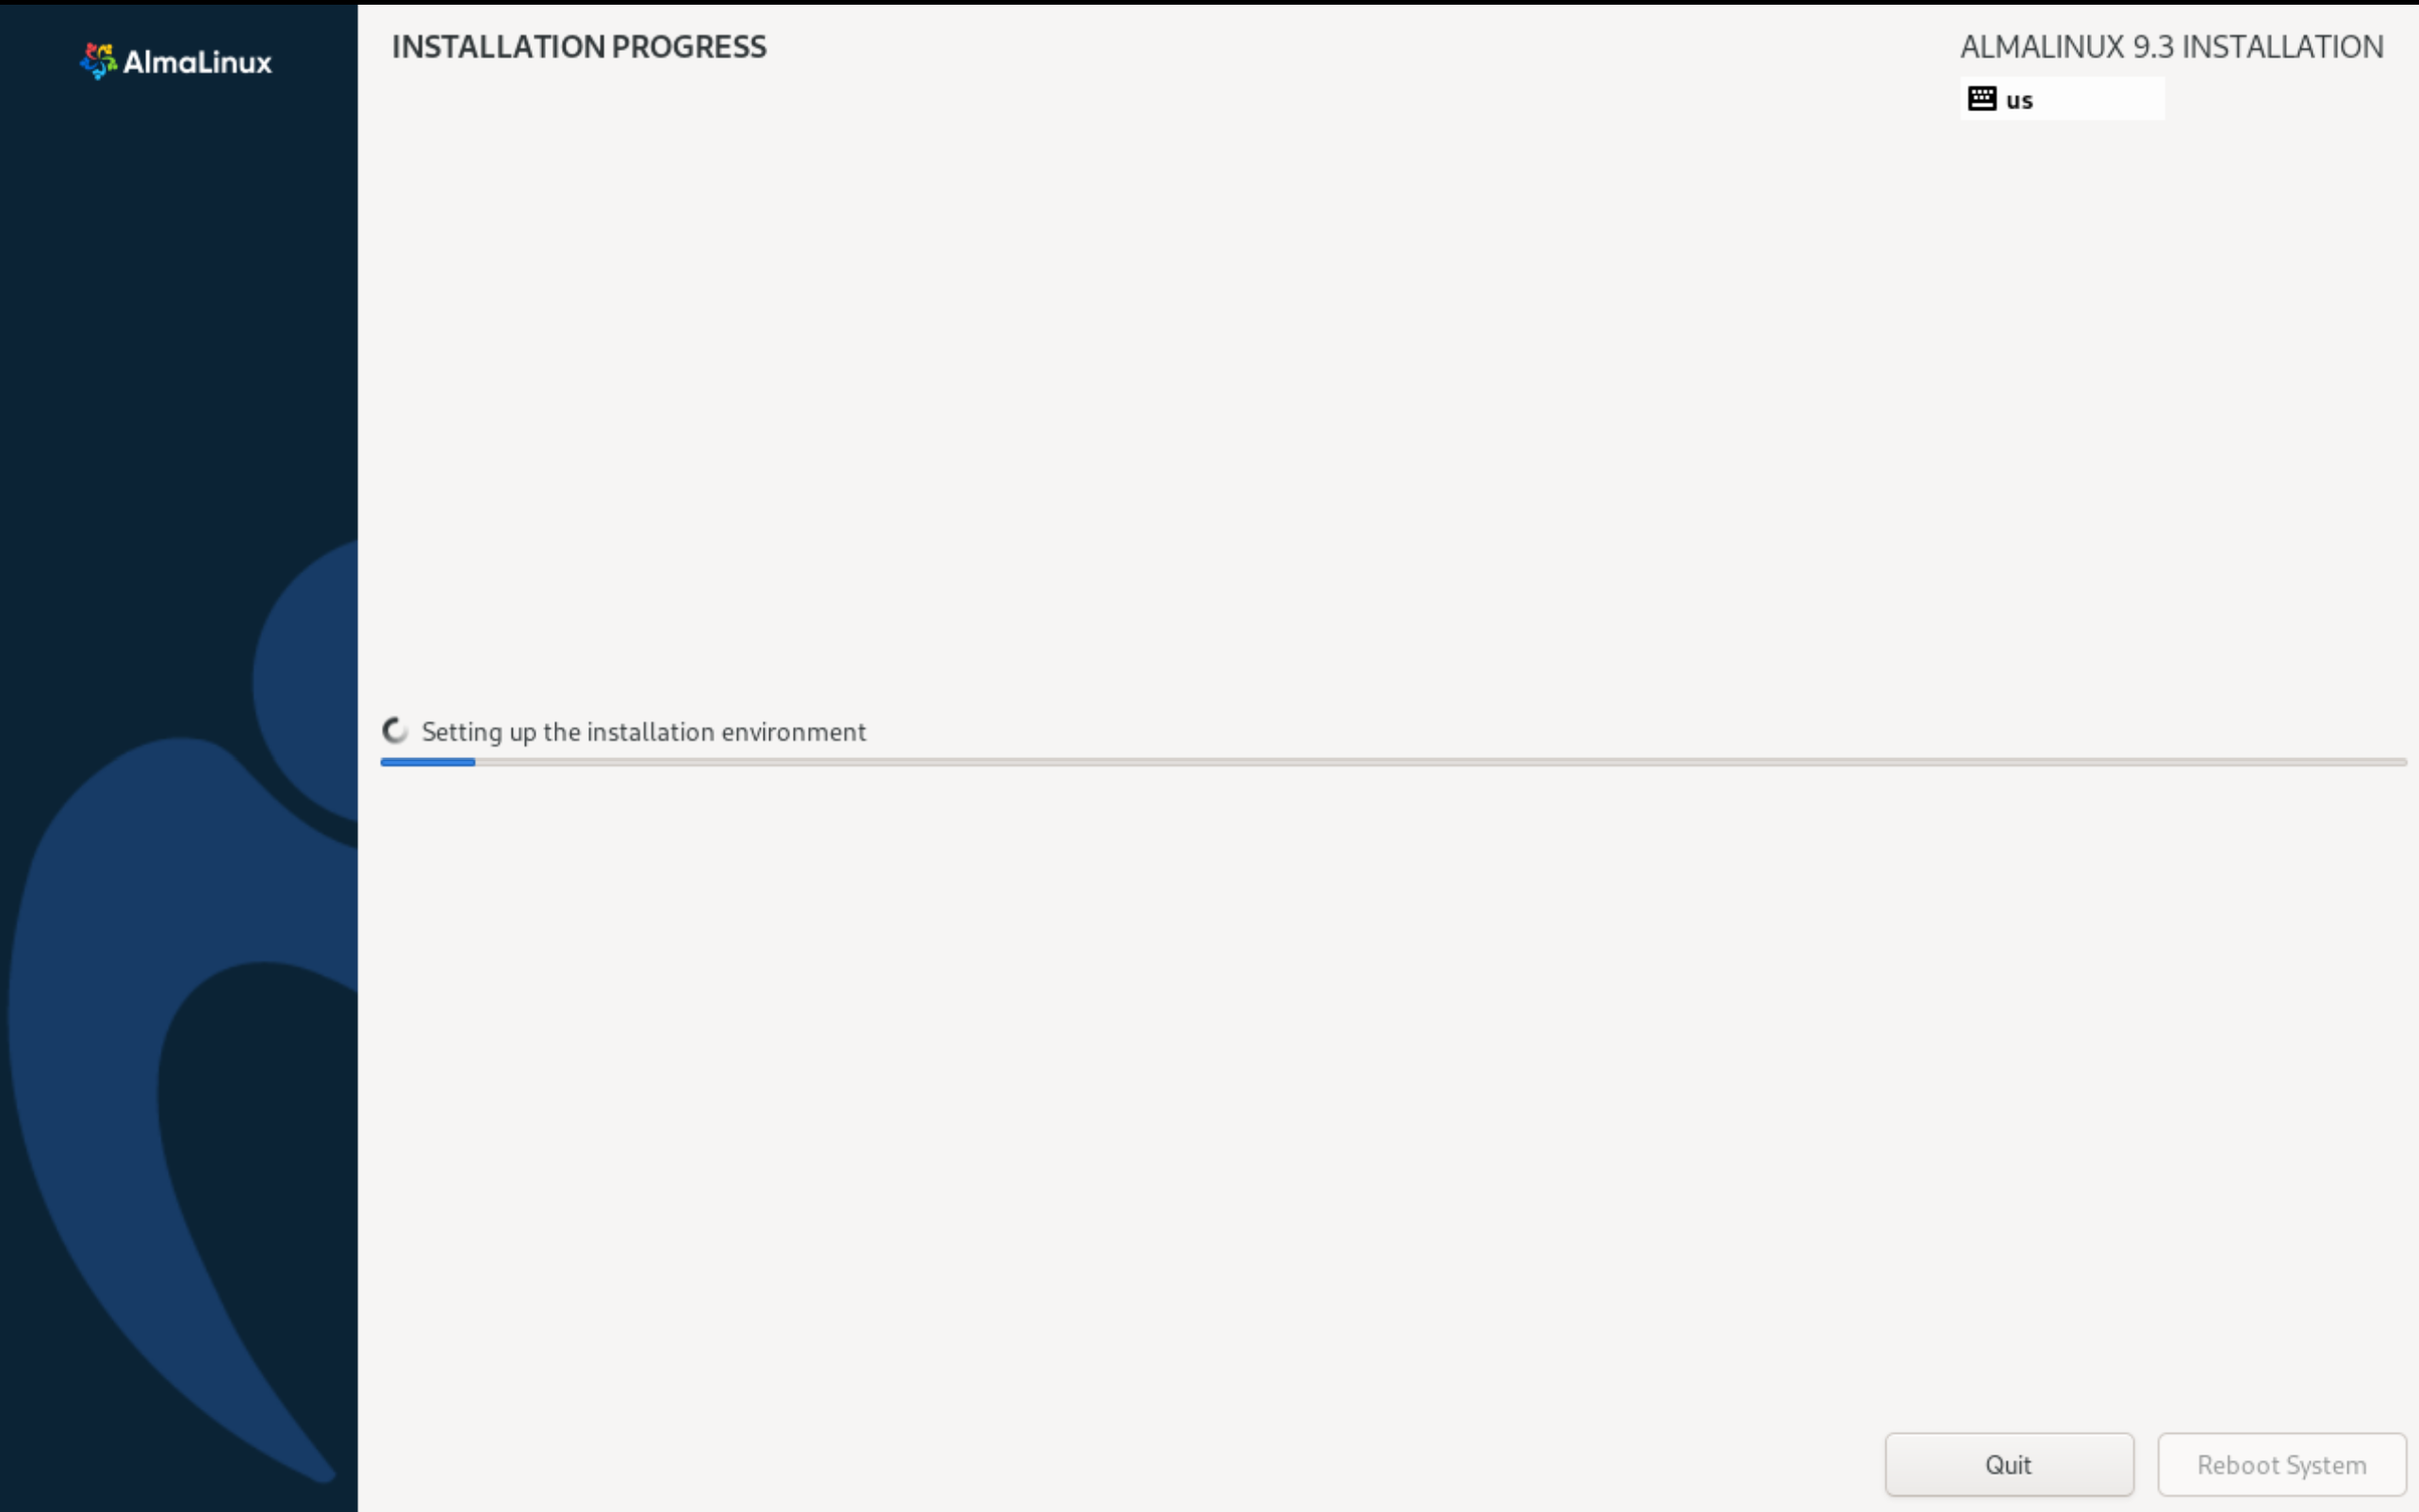
And finish the installation, after which the system will reboot and we will be in the command line shell for Alma Linux!


