What is WikiJS
WikiJS is well-known wiki-based engine. Its popularity is growing today due to such advantages as open-source code which supported by big developers community, easy-to-install, small system requirements and well-readable documents markup by default.
Necessary server specs
To install WikiJS you need:
- Server with at least 1Gb RAM and 10Gb disk space;
- Actual Linux OS (Ubuntu 20.04 in this article);
- Privileged user access;
- Domain name with A-records, "pointed" to the server's IP (optional).
Installation procedure
WikiJS setup process is very simple, possible for everybody. Just do followed step-by-step instruction:
- Authorize on the server, update exist software and reboot machine to apply changes;
apt-get update; apt upgrade -y && reboot
- Set up utilities to earn other necessary tools and scripts;
apt install wget curl -y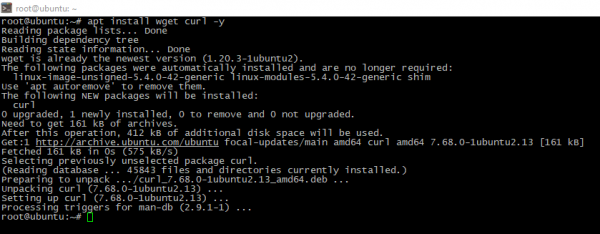
- Earn, then setup nodejs;
curl -fsSL https://deb.nodesource.com/setup_16.x | sudo -E bash - && apt -y install nodejsIMPORTANT: NodeJS v18 is not compatible with WikiJS now! You shuldn't use it.
- Add additional repository and install database service e.g. MariaDB;
apt install -y software-properties-common; curl -LsS https://r.mariadb.com/downloads/mariadb_repo_setup | /bin/bash; apt-get update; apt install -y mariadb-server mariadb-client
- Enable, then launch MariaDB, then check the status;
systemctl enable mariadb; service mariadb start
systemctl status mariadb

- Make necessary database service settings. Set password you want, other settings - up to you, default is enough;
mysql_secure_installation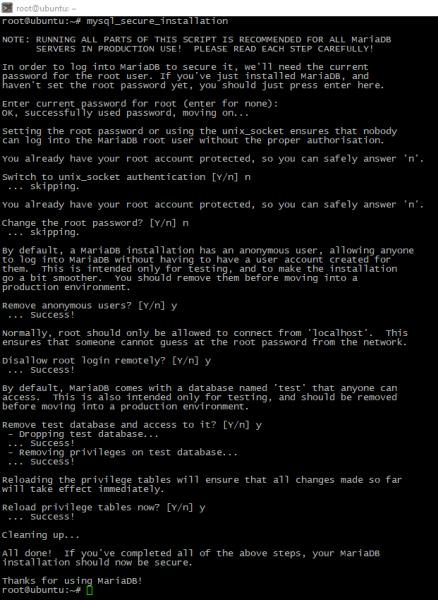
- For convenient experience in future, create authentication data and put section with your credentials inside;
nano ~/.my.cnf

[client]

user=root

password=<your_password>

- Enter into Mariadb console, create database and user for WikiJS;
create database <database_name>;

create user '<database_username>'@'localhost' identified by '<your_database_password>';

grant all on <database_name>.* to '<database_username>'@'localhost' with grant option;

flush privileges;

exit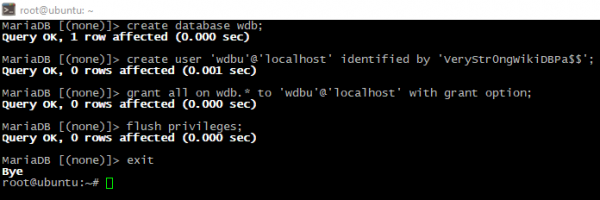
- The best way is run WikiJS engine in dedicated userspace. Let's create account and directory:
adduser --home /wikijs --disabled-password wikijs
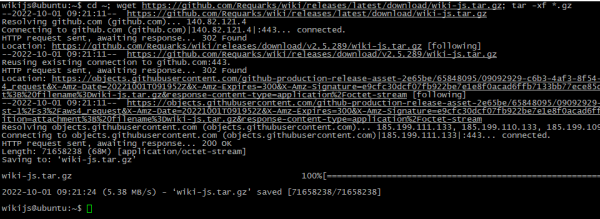
- Switch user to wikijs, download and unpack the archive;
su wikijs
cd ~; wget https://github.com/Requarks/wiki/releases/latest/download/wiki-js.tar.gz; tar -xf *.tar.gz
- Rename template config and edit it. Set database type and credentials;
cp config.sample.yml config.yml; nano config.yml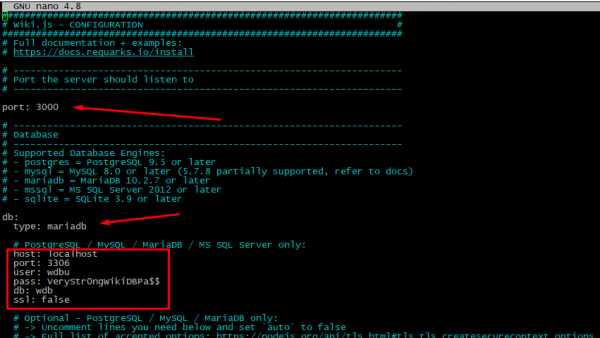
- Return back to the root console and create wiki service via text editor. Just run this command:
exit
nano /etc/systemd/system/wiki.service

- Insert code below into the file and save it;
[Unit]

Description=Wiki

After=network.target
[Service]

Type=simple

ExecStart=/usr/bin/node server

Restart=always
User=wikijs

Environment=NODE_ENV=production

WorkingDirectory=/wikijs
[Install]

WantedBy=multi-user.target

- Then create start.sh script with followed content:
#/bin/bash
sleep 5

/usr/bin/node /wikijs/server
- Reload system configuration, enable and run service you've made. Then check service status;
systemctl daemon-reload; systemctl enable wiki; systemctl start wiki
service wiki status

Final configuration
Now WikiJS is working, so, it's time to finalize installation.
- Open address http://<server_IP>:3000 (or http://<your_domain>:3000) in browser, fill all necessary data add click to the INSTALL button;

- System will apply settings. When finished, you should see WikiJS welcome screen. Congratulations!

Conclusion
Now you knew what is WikiJS, what its system requirements and how to install this platform on your own Ubuntu 20.04 server.


