GitLab is a repository management system for Git. The package includes a wiki, a web interface, and a bug tracking system. Consider setting up GitLab under Ubuntu 18.04.
With Serverspace you can create a server with the GitLab application already installed.

At the very beginning, we update the data about the packages in the repository and the system components:
apt-get update && apt-get upgradeInstalling the main packages:
apt-get install ca-certificates curl openssh-serverIf any components are already installed, the system will ignore them.Let's get to the installation.
Go to the /tmp directory.
cd /tmpDownload the installation script for Debian/Ubuntu:
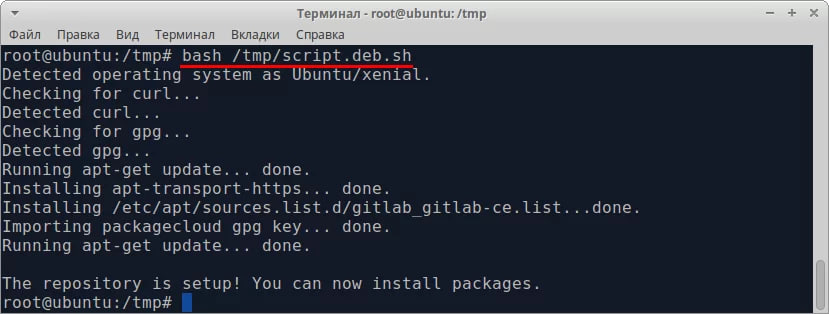
curl -LO https://packages.gitlab.com/install/repositories/gitlab/gitlab-ce/script.deb.shExecuting the script:
bash /tmp/script.deb.shThe program will install missing packages, import gpg keys, and configure the server to support GitLab repositories.
Install the current version of GitLab:
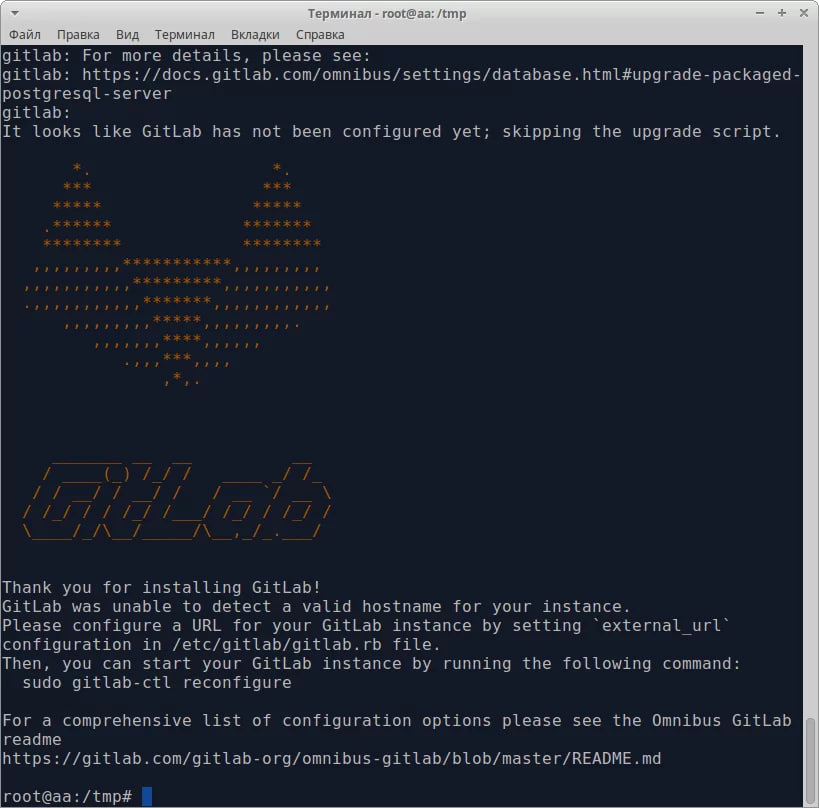
apt-get install gitlab-ceDuring installation, about 81 MB of packages will be downloaded.
Final result:
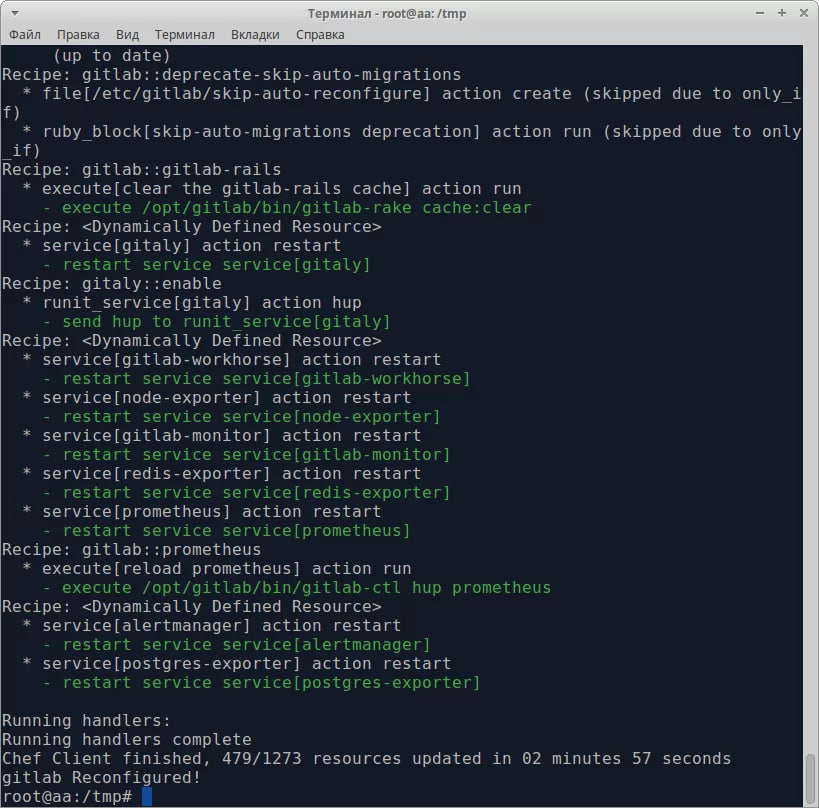
Let's do the initial configuration:
gitlab-ctl reconfigureThis process is fully automated. At the end of the process, the console will look something like this.
Set up a firewall.
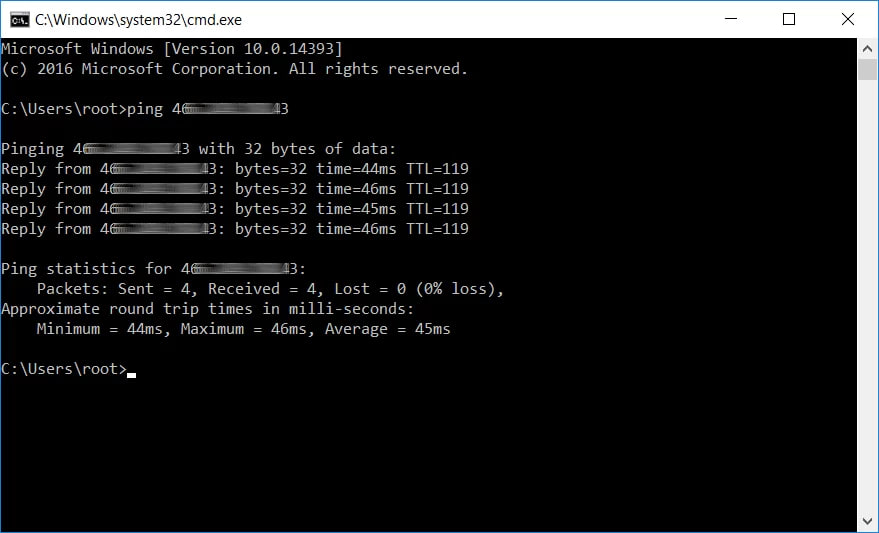
In order to be able to connect to GitLab from the outside, you need to configure a firewall. To do this, add an allow rule for the web port:
iptables -A INPUT -p tcp --dport 80 -j ACCEPTImportant! If port 80 does not suit you for some reason, for example, a web service already exists on this server, then you can change the port. To do this, edit the file:
nano /etc/gitlab/gitlab.rbChange the external_url parameter. After the specified domain name, through a colon (“:”), specify the port number, for example 8080. As an example, it was:
external_url ‘http://gitlab.example.com’It became:
external_url ‘http://gitlab.example.com:8080’When you first navigate to the server address, the web interface will prompt you to set a password for the administrator account.
After entering the password and confirming it, you will be redirected to the authorization page. Enter the username root and password from the paragraph above.
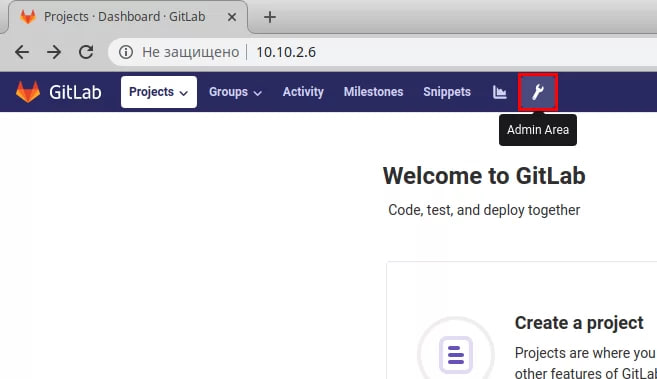
Set up registration rules. Let's go to the Admin Area.
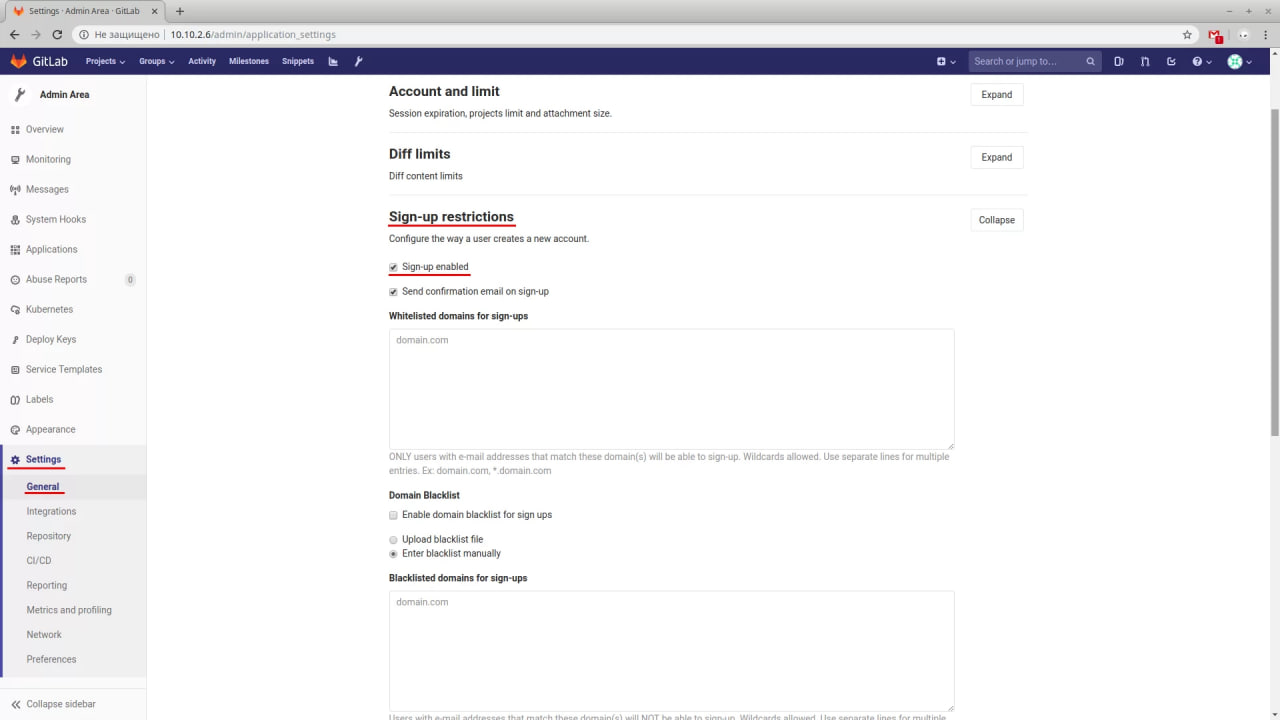
Then, in the side menu, open the settings (Settings). Next General. Opposite the Sign-up restrictions item, click on the Expand button. Check for the Sign-up enabled checkbox.
This parameter allows registration.
Important! In order for users to receive emails when they register on the server, you must configure an email transfer agent.


