This guide describes how to install MS SQL Server 2017 Express on Windows Server 2012 R2 / 2016/2019. Following it, you will get a ready-made tool for exploring the SQL programming language, for checking your developments or launching a small resource that does not require large amounts of database storage.
SQL Server 2017 Express Edition Limitations
This release is free and suitable for commercial use, but has several limitations:
- Maximum number of processor cores: 4;
- Maximum database size: 10 GB;
- Maximum buffer pool size per database instance: 1410 MB.
If you need to go beyond these limits, we recommend that you purchase a Microsoft SQL Server Standard license.
Operating System Requirements
SQL Server 2017 Express is available for installation on the following operating systems:
- Windows 8/8.1/10 and later;
- Windows Server 2012, 2012 R2, 2016, 2019 and later.
Installation Procedure
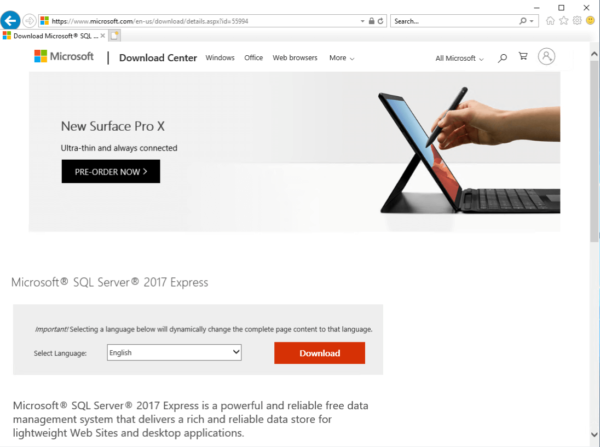
To install SQL Server 2017 Express, go to the link, select the installation language and click Download:
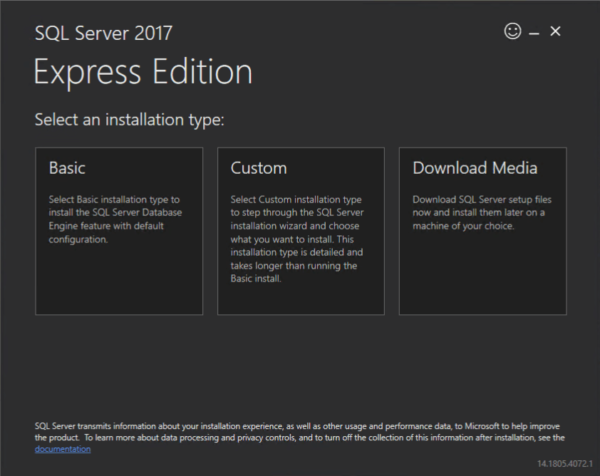
After starting the downloaded file, the installer will open a special window in which it will offer several installation options to choose from. To control the installation options, select Custom:
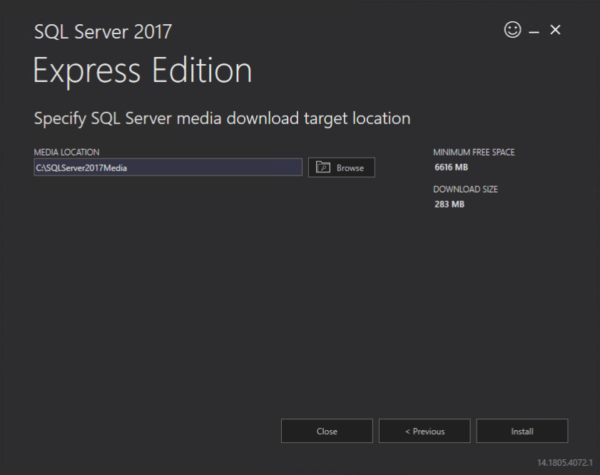
Next, select the place where the installation files will be downloaded, if necessary, change it to the desired one and click Install:
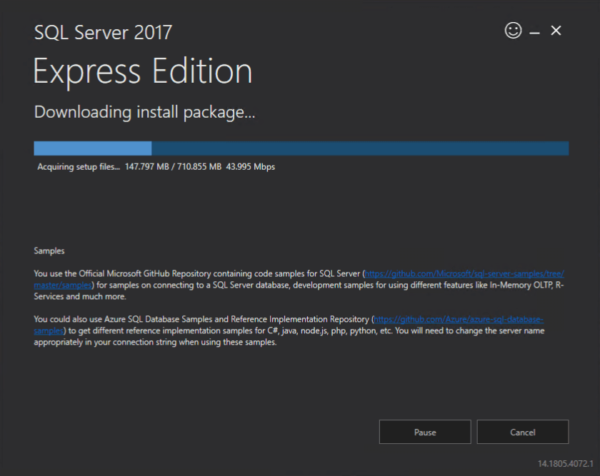
Wait for the download process to complete installation files:
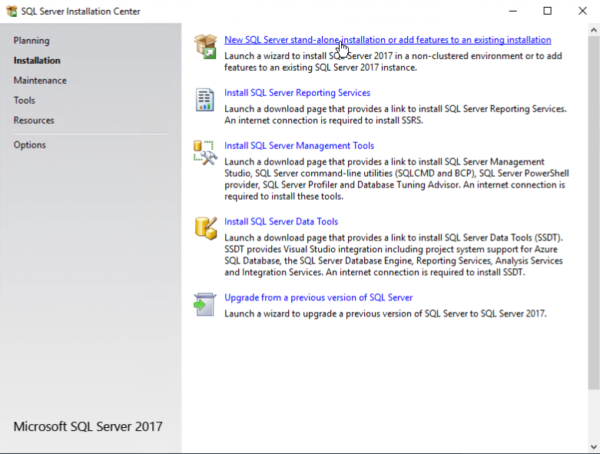
Next, select the first installation item New SQL Server stand-alone installation:
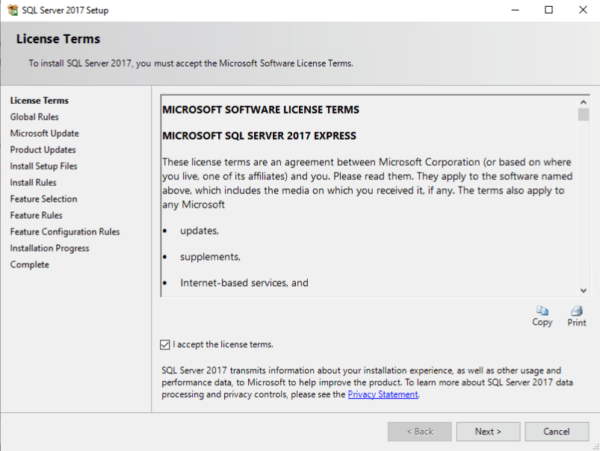
Read the terms of the license agreement and click Next:
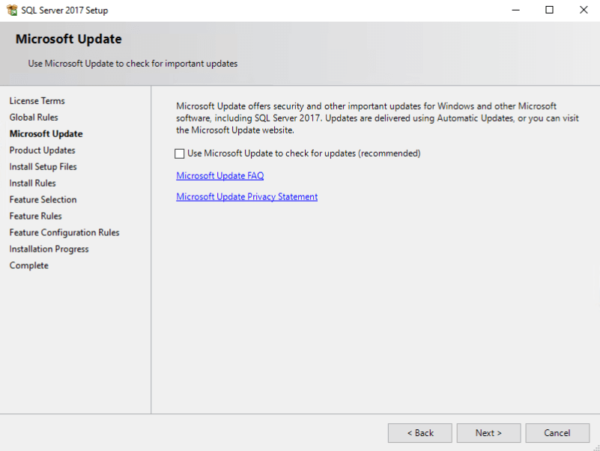
If you need to receive updates from Windows Update, check the box and click Next:
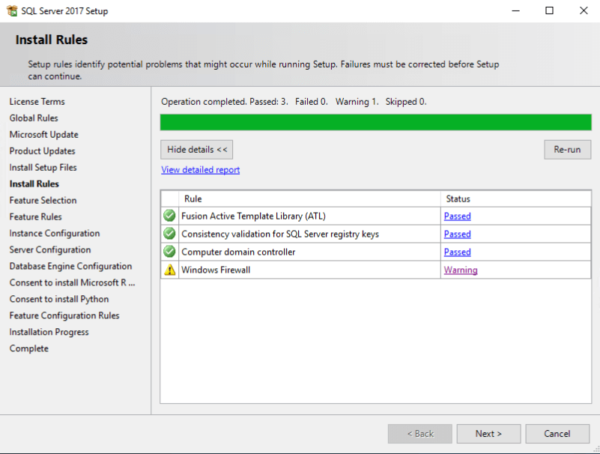
Read the warning about possible problems, and if there are none, click Next:
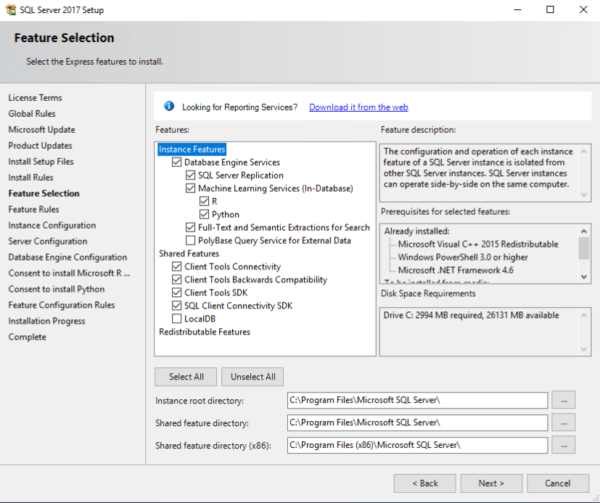
Go to the function selection screen, where you can, if necessary, select or remove additional features for the database server, leave it unchanged and click Next:
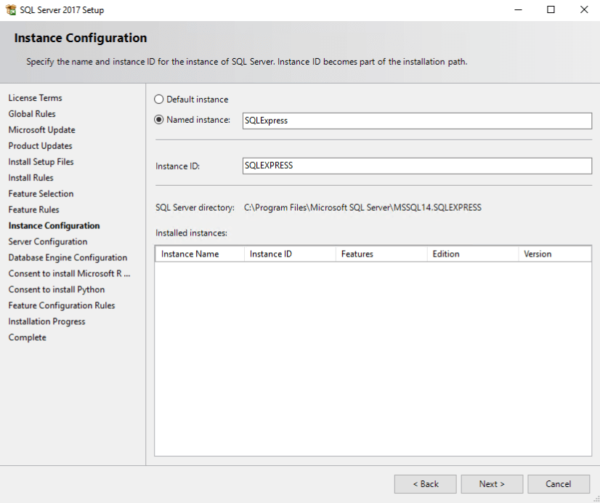
Select a server name and ID. The server identifier will be included in the installation path. Leave the default and click Next:
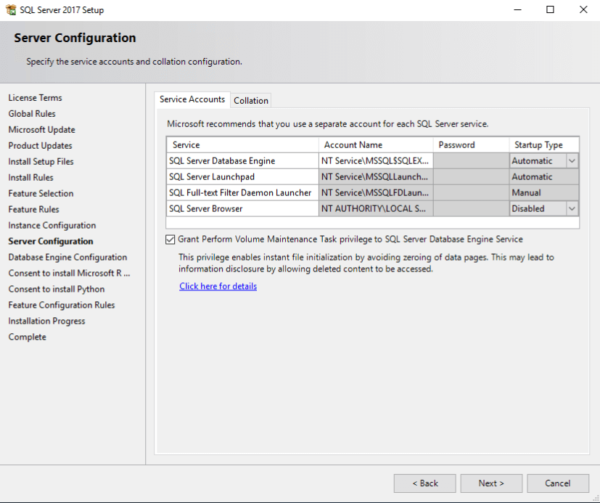
On the next screen, you can specify service accounts that are different from the standard ones and grant the right to perform volume maintenance tasks to the SQL Server DBMS kernel service, which will increase the speed of file initialization, but the DBMS can access the remote content. On the Collation tab, you can change the sorting options for the database engine. In this example, we will grant privileges, leave the default sorting options, and click Next:
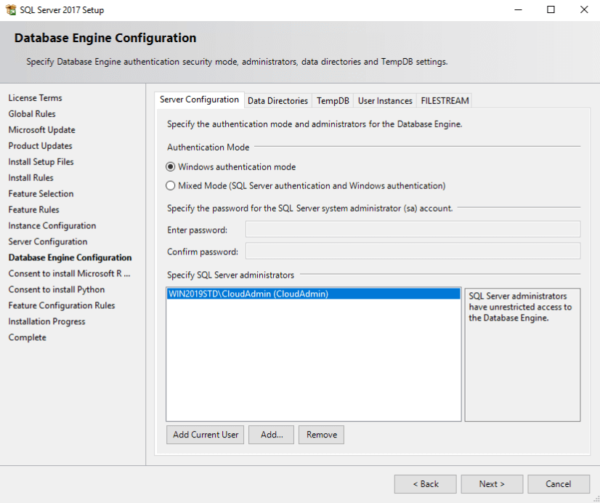
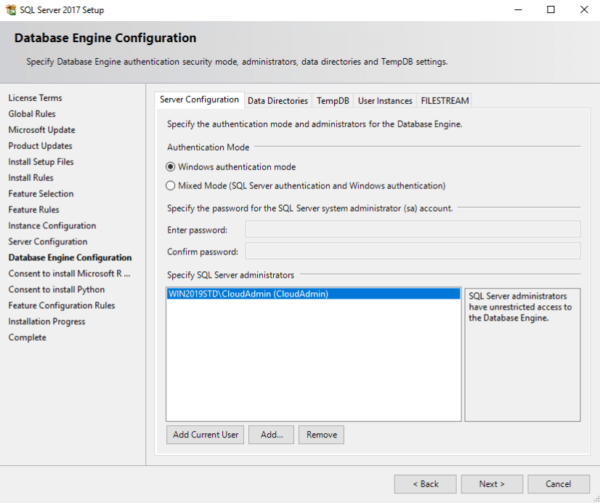
The next step in the installation is to configure the database core configuration. To do this, the following tabs are provided:
- Server Configuration- indicates the method of authorization to the database: using Windows tools or mixed mode, which includes Windows authorization and SQL Server native authorization. When choosing the second option, you must specify the SQL Server administrator password;
- Data Directories- indicates the location of SQL Server executable files and data;
- Temp DB- Parameters of the Temp DB used by internal SQL Server resources, temporary user objects, and version store;
- User instances- allows you to give rights to users who do not have administrator rights to run individual database instances;
- FILESTREAM- turns on if necessary to use tables optimized for memory (Memory Optimized) tables.
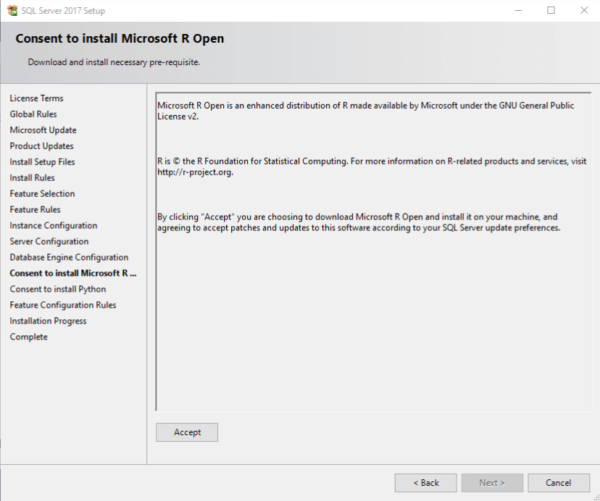
Since Microsoft R (Machine Learning Services) and Python were selected during the installation, you must agree to the terms of use for this and the next step by clicking Accept and Next:
The installation process starts, and then a window appears confirming the completion of the SQL Server 2017 installer. Click Close:
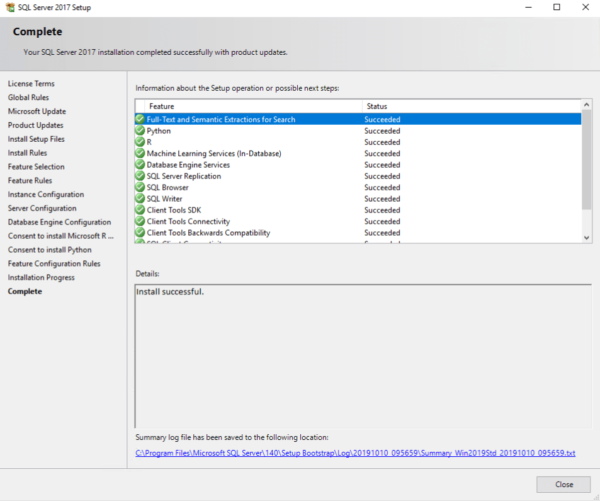
This completes the installation of SQL Server 2017 Express.


