Overview
Commonly, for DB specialists prefer to use Linux due to security issues in another OS, high performance and possibility to rapidly manage. But there are situations when we need accordance to project point and agreement with clients. Which have desire to use Windows instead or information system requires it due to compatibility issues. In that instruction we consider step-by-step process installation MongoDB on the Windows OS.
Preparation
For Windows OS we can use .msi or .exe installation package, which we can find on the official web-site for that scroll page down and search button Select package, choose your version of OS:

By clicking at the button, page will automatically scroll down and represent menu, where you can choose version, platform and type of installation package. Click on the download or you can choose copy link and save data through the suitable way!

At that moment we finished preparation process and start our installation!
Installation
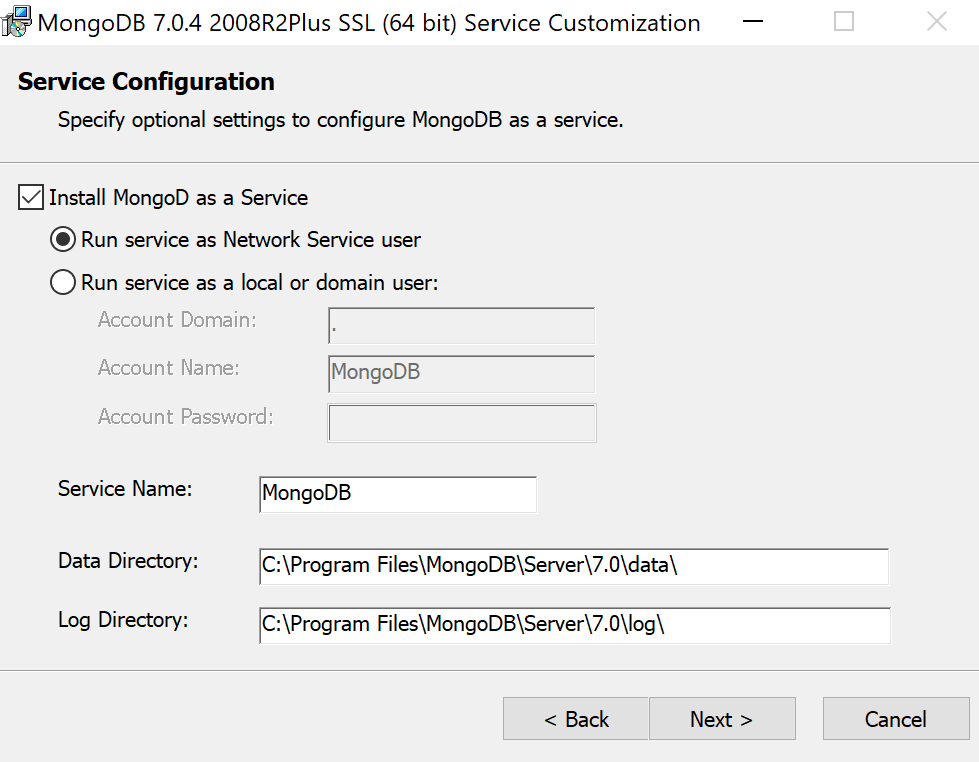
Wait until process will be end and open package with Administrative privileges, you can use account of Domain Administrator or Local Domain Administrator, the last one may be disabled by the policy! Installation package of MongoDB is quite similar to any setup software process, bu there is one difference. Let's consider their below:

Don't look at the check box, we necessary need to install MongoD as a Service, if your box at the default was unchecked, than click on them. Below we can see two type of installation service, at Network and local or domain user. Here you choose way from your needs or requirements of information system. If you choose Network, then separated account will not create and Windows automatically make service with directories.
In another way, in the modern corporate network, create separated account for security issues, like Access Control or Efficiency Control software with concept of minimal privileges. Indicate Service name and directories for log and data, than click Next button! Choose install Compass GUI version for manage Mongo DB or you can use mongosh, which installed by the default:

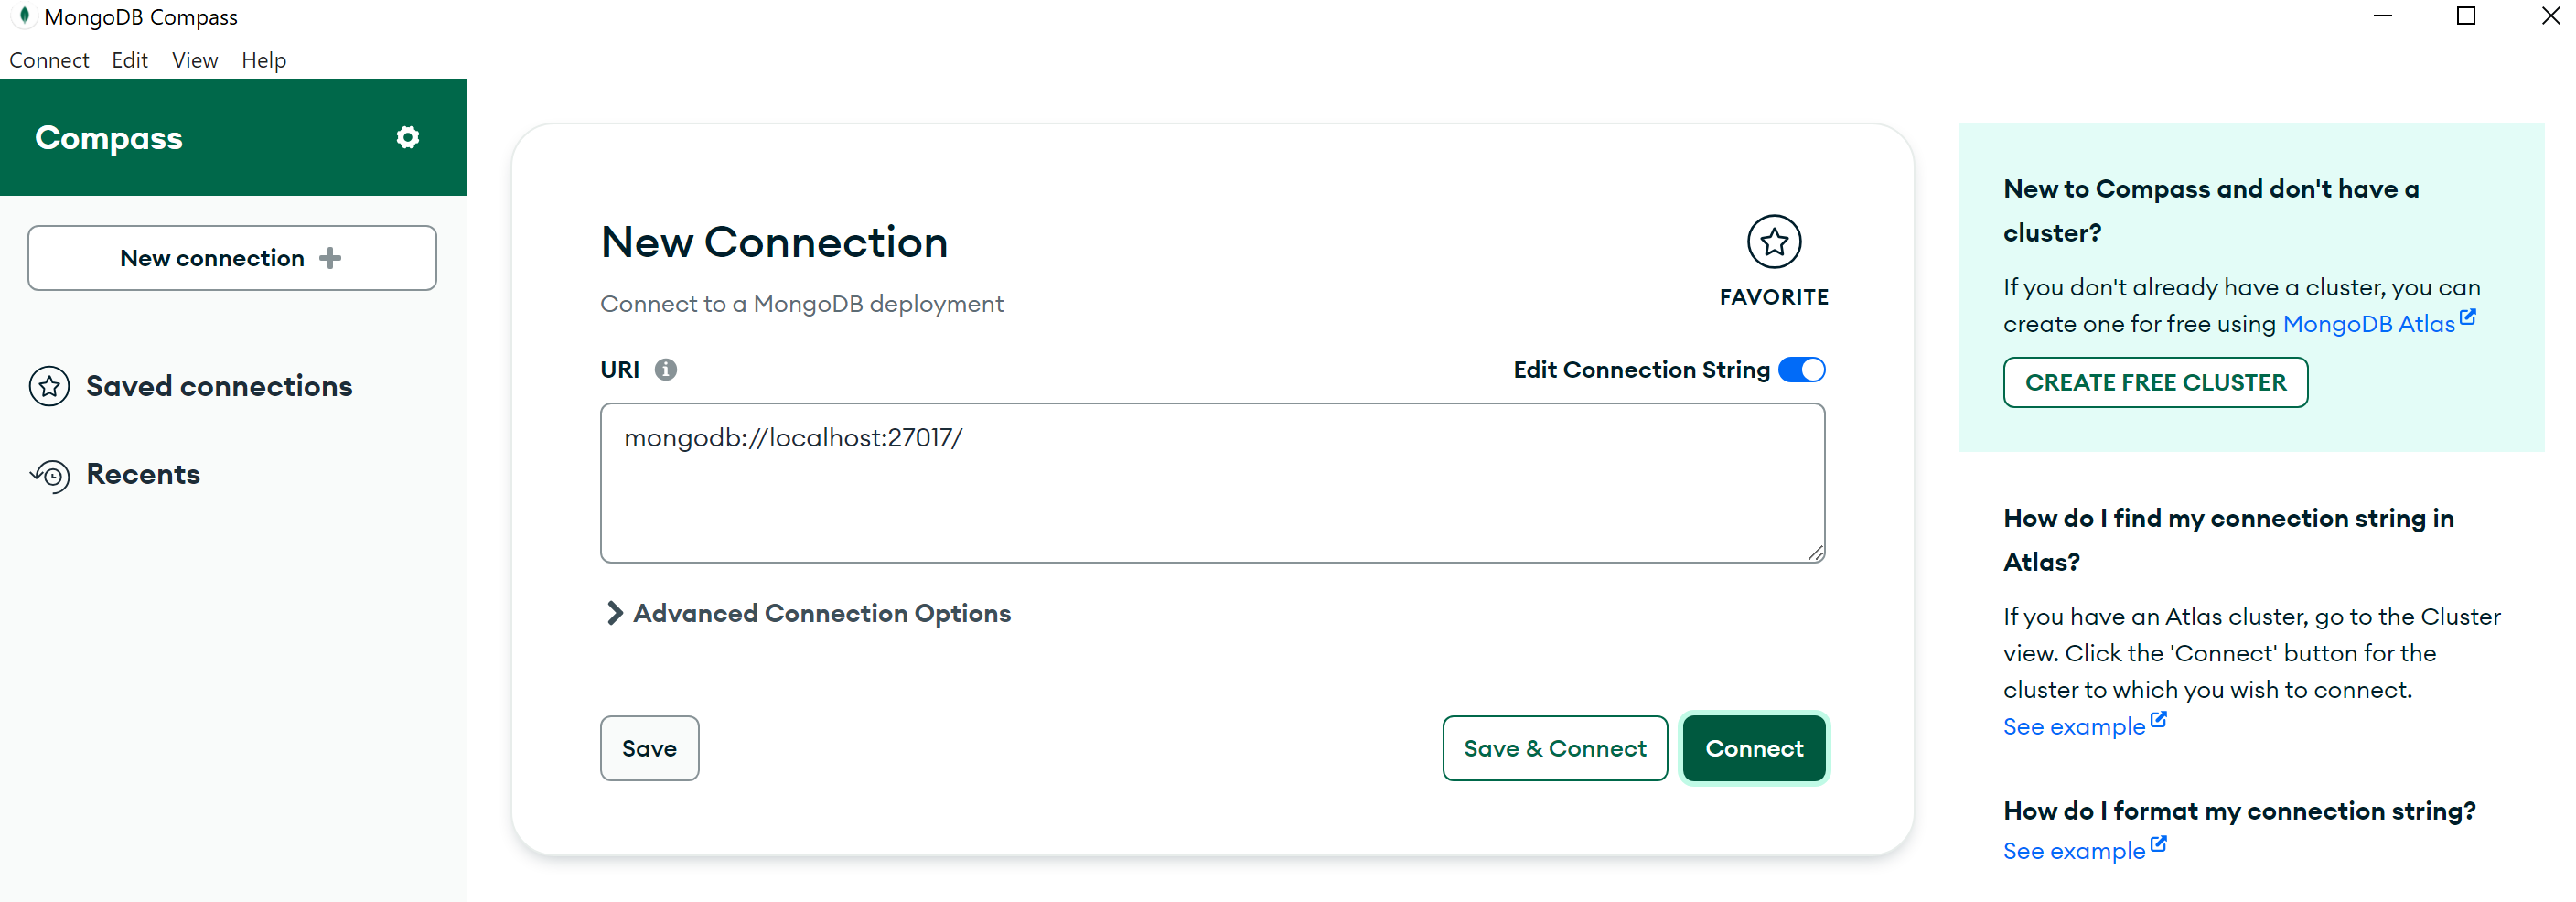
Wait several minutes for the end of installation process and click on the Finish button! Now we have installed MongoDB, open mongosh or Compass for manage. In our case we open search bar at the left corner and find Compass, click on them:

At the field New Connection type your IP-address and port, if you use remote way. For local usage just click Connect and wait pop-up window:

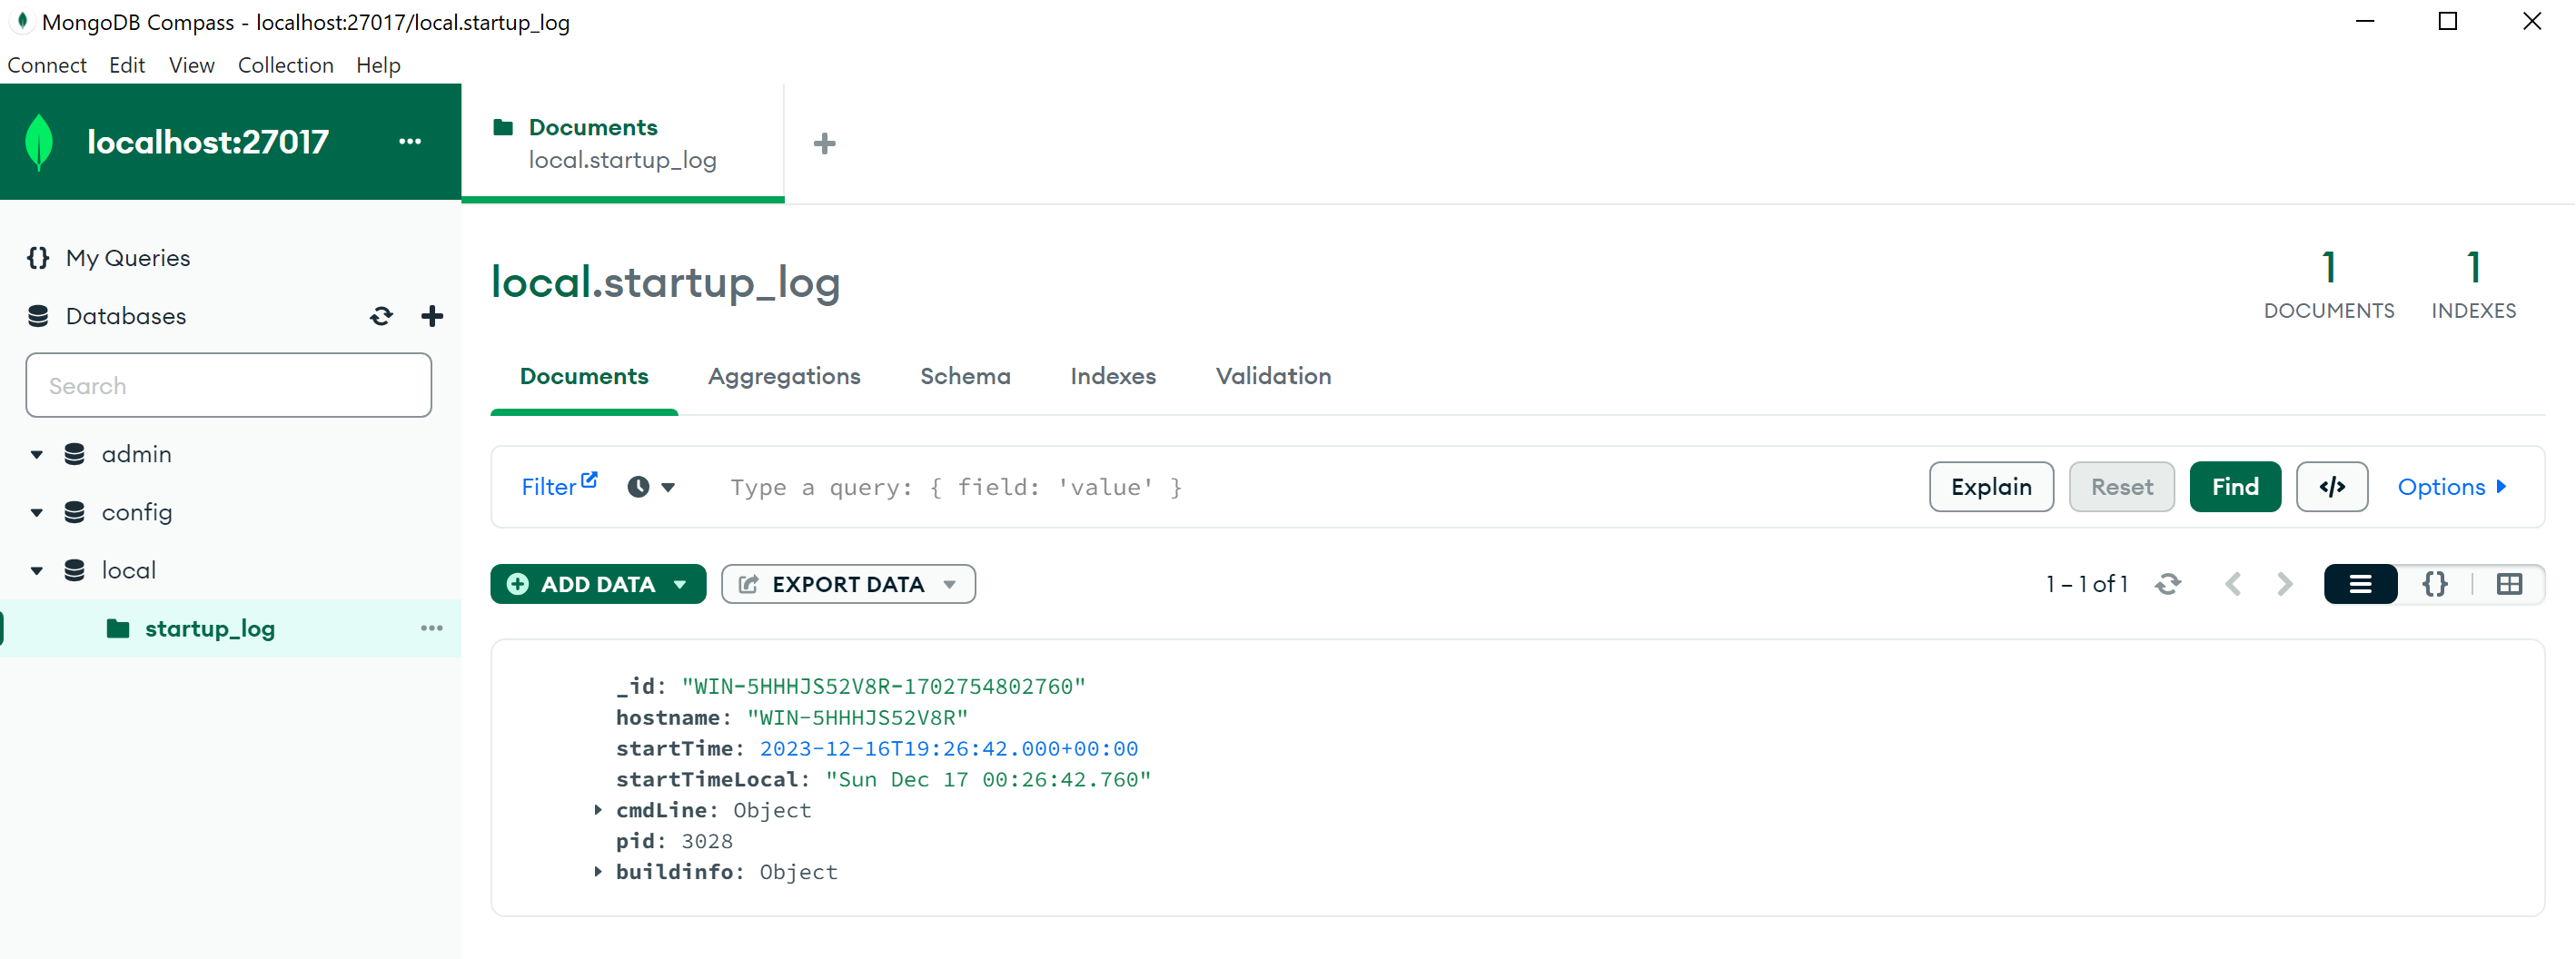
Alright! We are in, at the left we can see default database, at the above endpoint where we connect and another GUI stuff!
This guide concludes with successful MongoDB installation on Windows, providing users with the tools to efficiently manage databases through either mongosh or the Compass GUI interface.


