
Introduction
Apache Maven is toolset disigned for automate software building. Generally it is used for Java projects but Maven could be easily extended to build different project types and development tasks. Maven will "close" two critical "pains" of software builders: first, it describes how the software is constructed, and second, it describes its dependencies. It employs standard practices for the building process and encompasses an extensive array of plugins for its fundamental capabilities.

Prerequisites
Don't hurry to start the installation procedure, renew system packages before:
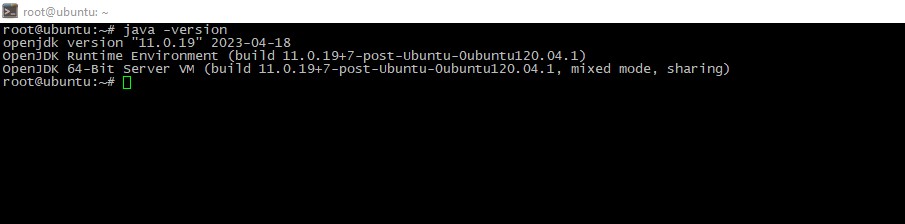
apt-get update; apt-get upgrade -yMaven needs Java, its presence can be verified by the follow command:
java -versionIn case you couldn't find Java on your system, you can install it with this operation:
apt install -y default-jdkThen check version again. We expect you see picture like this:
Open the download page in your browser and get the latest version (3.9.2 on the June 2023).
cd /tmp; wget https://dlcdn.apache.org/maven/maven-3/3.9.2/binaries/apache-maven-3.9.2-bin.tar.gz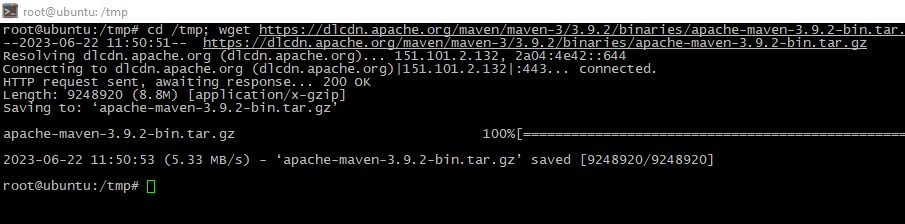
Installation process
Unpack the downloaded archive:
tar xf apache-maven-3.9.2-bin.tar.gz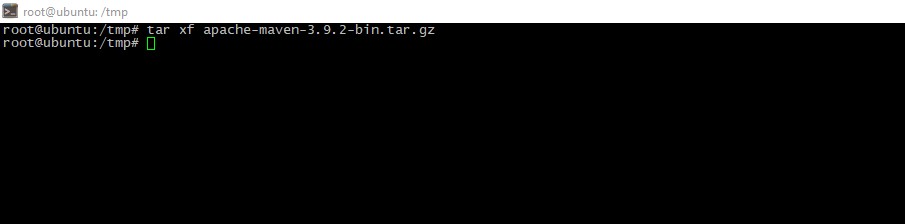
Next, move the result to the /opt directory:
mv apache-maven-3.9.2 /opt/maven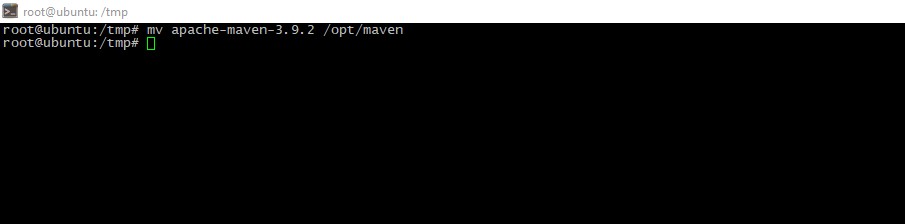 Set correct ownership:
chown -R root:root /opt/maven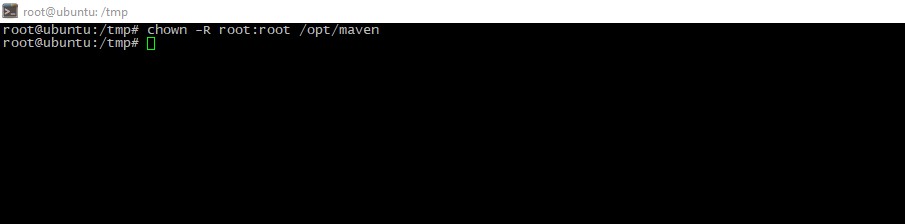
Environment Variables editing
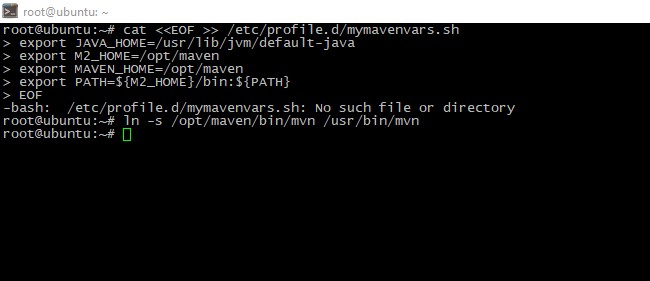
Being that Maven is now installed in the /opt/maven directory, we should add some environment variables to enable Maven execution from the command line:
cat <<EOF >> /etc/profile.d/mymavenvars.sh

export JAVA_HOME=/usr/lib/jvm/default-java

export M2_HOME=/opt/maven

export MAVEN_HOME=/opt/maven

export PATH=${M2_HOME}/bin:${PATH}

EOF

ln -s /opt/maven/bin/mvn /usr/bin/mvn
Then you should change script's permissions:
chmod 755 /etc/profile.d/mymavenvars.sh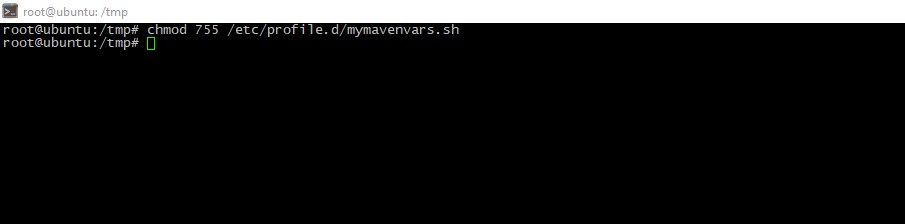
Then rebooting the machine or run this command:
source /etc/profile.d/mymavenvars.sh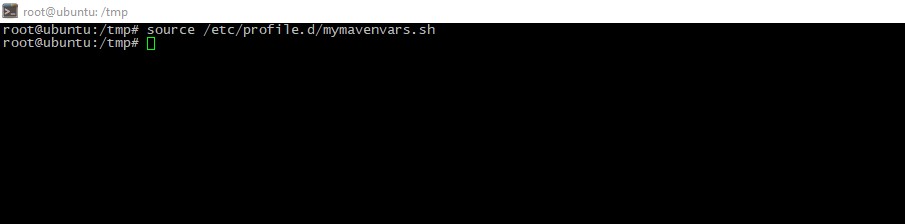
Check the installation result
To check the correctness, run this command:
mvn --versionWe expect that you see picture like this, its indicates that everything is OK:

First app building
Lets illustrate our first app build process. First, create your project app and "fall" inside:
mkdir myproject; cd myproject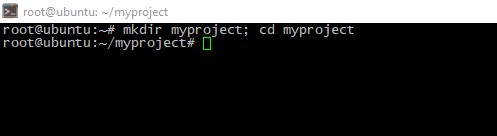
Remember, Maven uses special file called pom.xml to build your artifact (special termin meant Maven's work result). So, lets create this:
cat <<eof>> pom.xml

<project>

    <modelversion>4.0.0</modelversion>

<groupid>instr.serverspace.io</groupid>

<artifactid>you_are_the_best</artifactid>

<version>1.0.0</version>

<build>

<plugins>

            <plugin>

                <groupid>org.apache.maven.plugins</groupid>

<artifactid>maven-compiler-plugin</artifactid>

<version>3.8.0</version>

<configuration>

<release>1</release>

</configuration>

</plugin>

        </plugins>

    </build>

</project>

EOF

</eof>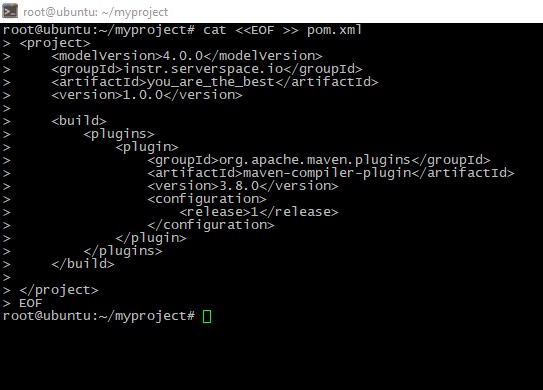
You also can download this file here. Then start building process itself:
mvn package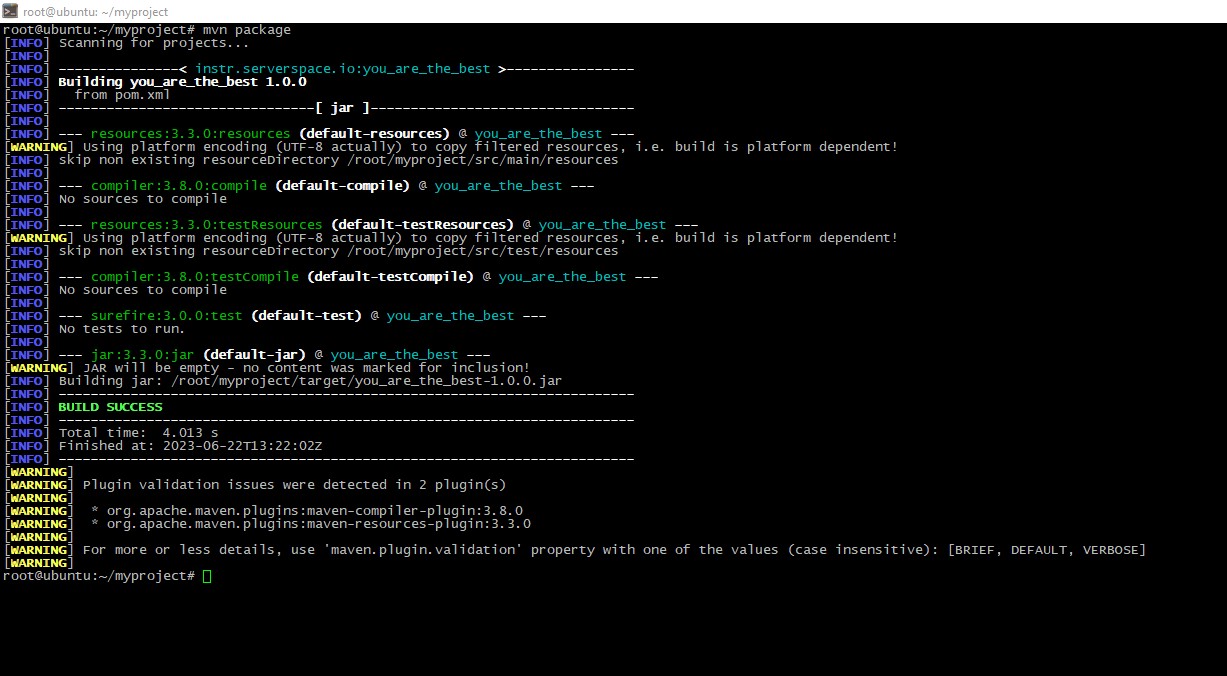
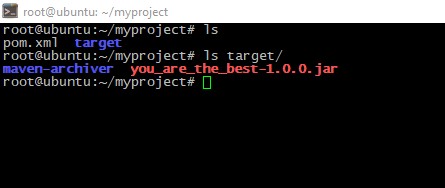
Result should be in target subdirectory:
Conclusion
After reading this guide, you should now be able to install Apache Maven on Ubuntu 20.04 using the binary archive method, configure the necessary environment variables, and verify that the installation was successful. For more advanced usage, make sure to consult the official Apache Maven documentation to explore its rich set of features, lifecycle phases, and an extensive library of plugins tailored for various project types and development tasks.
FAQ - Installing Maven on Ubuntu 20.04
- What is Apache Maven used for?
Apache Maven is a powerful build automation and project management tool for Java-based projects. It simplifies dependency management, builds, documentation, and more. - How do I install Maven manually on Ubuntu 20.04?
Download the binary archive from the official Maven site.
Extract the archive to /opt/maven or another directory.
Set MAVEN_HOME and update PATH in your .bashrc or .zshrc.
Run source ~/.bashrc and verify using mvn -v. - Can I install Maven using APT?
Yes, you can use sudo apt install maven, but this may not install the latest version. Manual installation ensures you're using the most up-to-date release. - Where should I define Maven environment variables?
It’s best to add them to your user’s shell profile, such as ~/.bashrc or ~/.zshrc, so they are loaded each time you open a terminal. - How do I verify that Maven is installed correctly?
After setting everything up, run:mvn -versionThis command should display Maven’s version along with Java and OS details.
- What plugins does Maven support?
Maven supports hundreds of plugins for tasks like compiling code, running tests, packaging artifacts, checking code quality, generating documentation, and deploying applications. - Is Maven only for Java projects?
While Maven is primarily used for Java, it can also support projects in other languages like Scala, Kotlin, or Groovy via appropriate plugins.


