Vulnerability scanners are tools designed to identify security weaknesses in operating systems, services, and network configurations. They help administrators detect outdated software, misconfigurations, and known vulnerabilities before they can be exploited.
OpenVAS (Greenbone Vulnerability Management) is a popular open-source vulnerability scanning platform that provides comprehensive security assessments for Linux-based systems, including Ubuntu servers.
This guide explains how to install and configure OpenVAS (Greenbone Vulnerability Management) on Ubuntu using Docker. You will learn how to deploy the scanner, access the web interface, and perform vulnerability assessments to improve system security.

Choosing a Vulnerability Scanner
Several vulnerability scanning solutions are available, but OpenVAS stands out due to its open-source model, extensive vulnerability database, and active community support.
Installing OpenVAS on Ubuntu Using Docker
Before using the main utility update and upgrade your system :
sudo apt update -y && sudo apt dist-upgrade -y
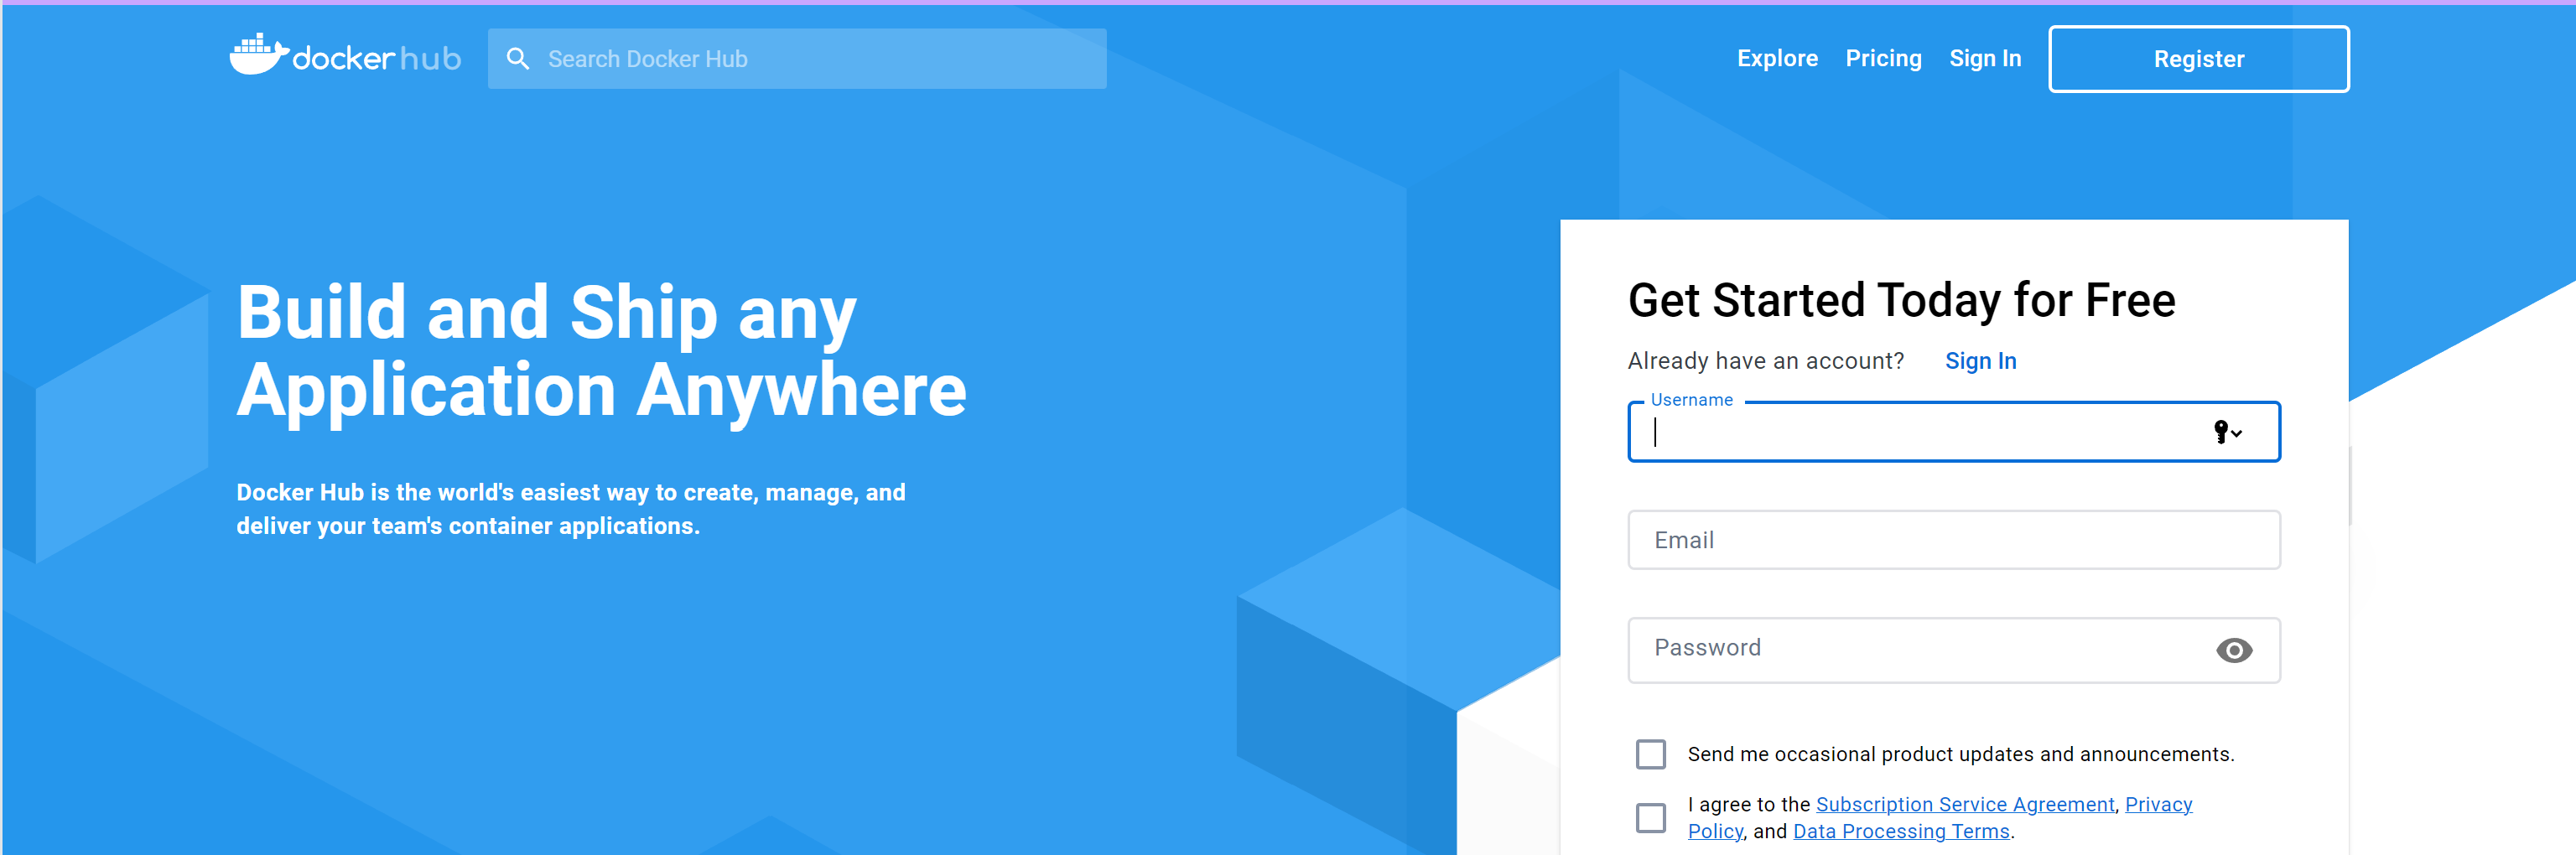
You need to log in to Docker Hub. If so, follow these steps. Register on the website, fill all the needed fields and confirm mail that you will receive after registration:
Install virtualization software for starting container:
apt install docker.io
Press button for confirm installation process. Then you have to log in to Docker Pub via the console using the command:
docker login
Enter your login details and wait for Docker to confirm a successful login that provide access to container in repositories. Now we need to pull container from repositories:
docker pull mikesplain/openvas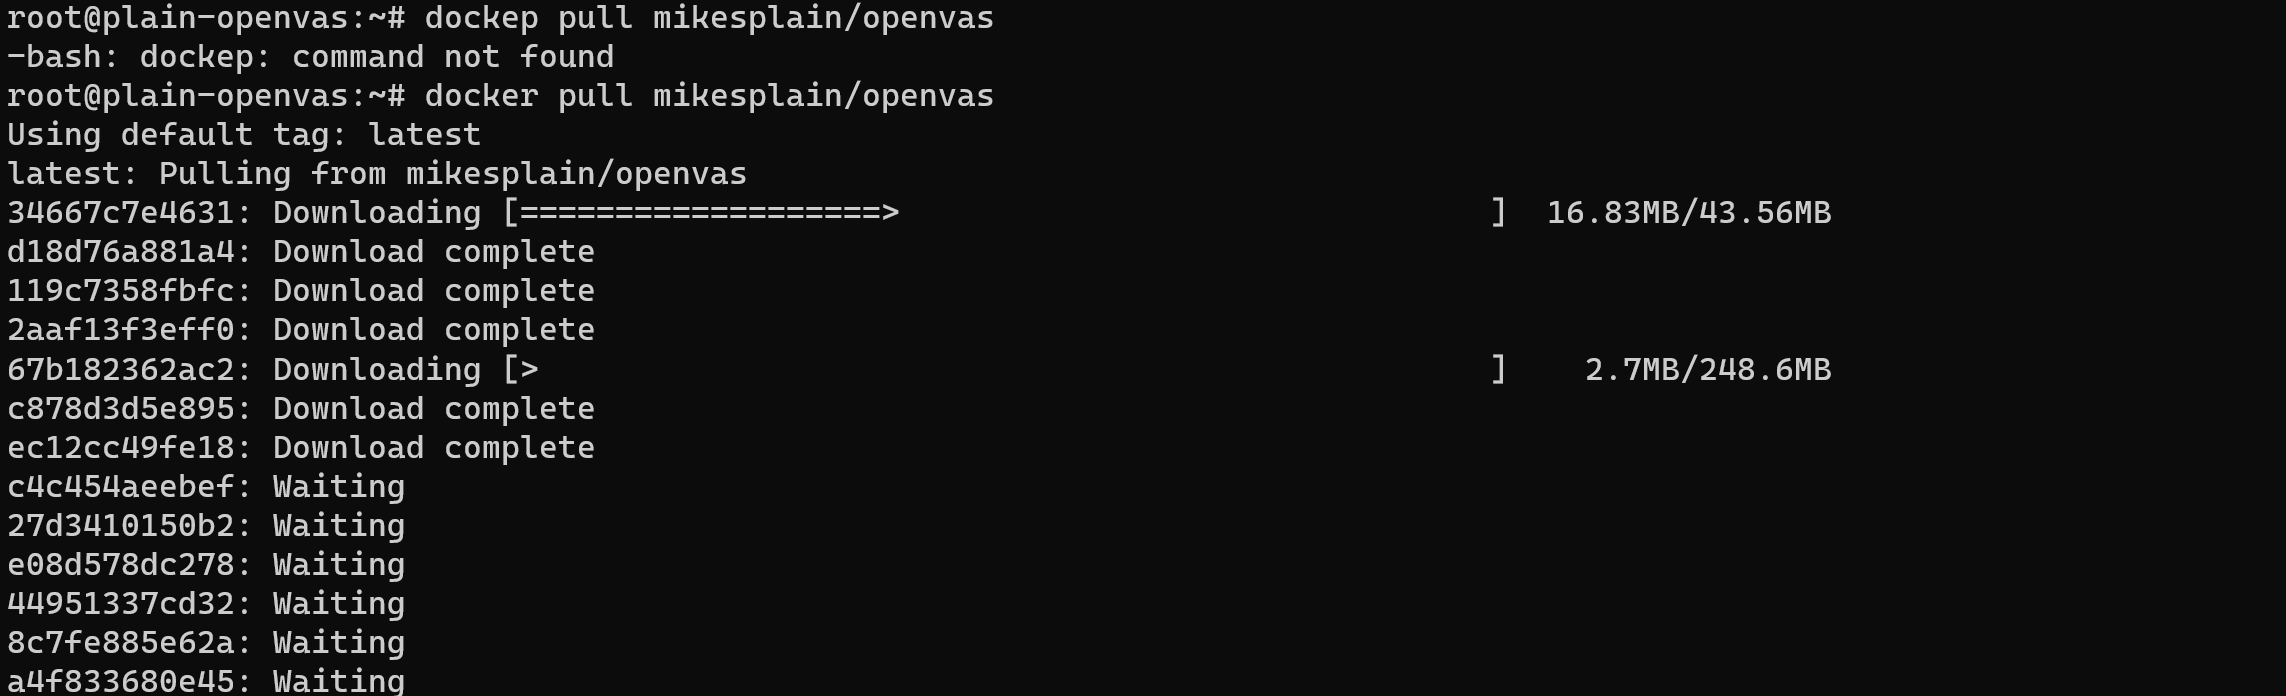
Amount data of the file is quiet big, please be patient in process of downloading! After this run container with parameters:
docker run -d -p 443:443 --name openvas mikesplain/openvas
Retrieving the container from the docker registry and launching it will commence. Kindly note that Openvas startup may require a considerable amount of time as NVT's are scanned and databases reconstructed, hence please exercise patience. Upon sighting the message in the logs, you can proceed to access the web user interface by visiting https://localhost.
For login into the system use this credential:
Username: admin

Password: admin
If you are working on a remote server, it is recommended to access the OpenVAS web interface from your local machine by forwarding port 443 or using the server’s public IP address.
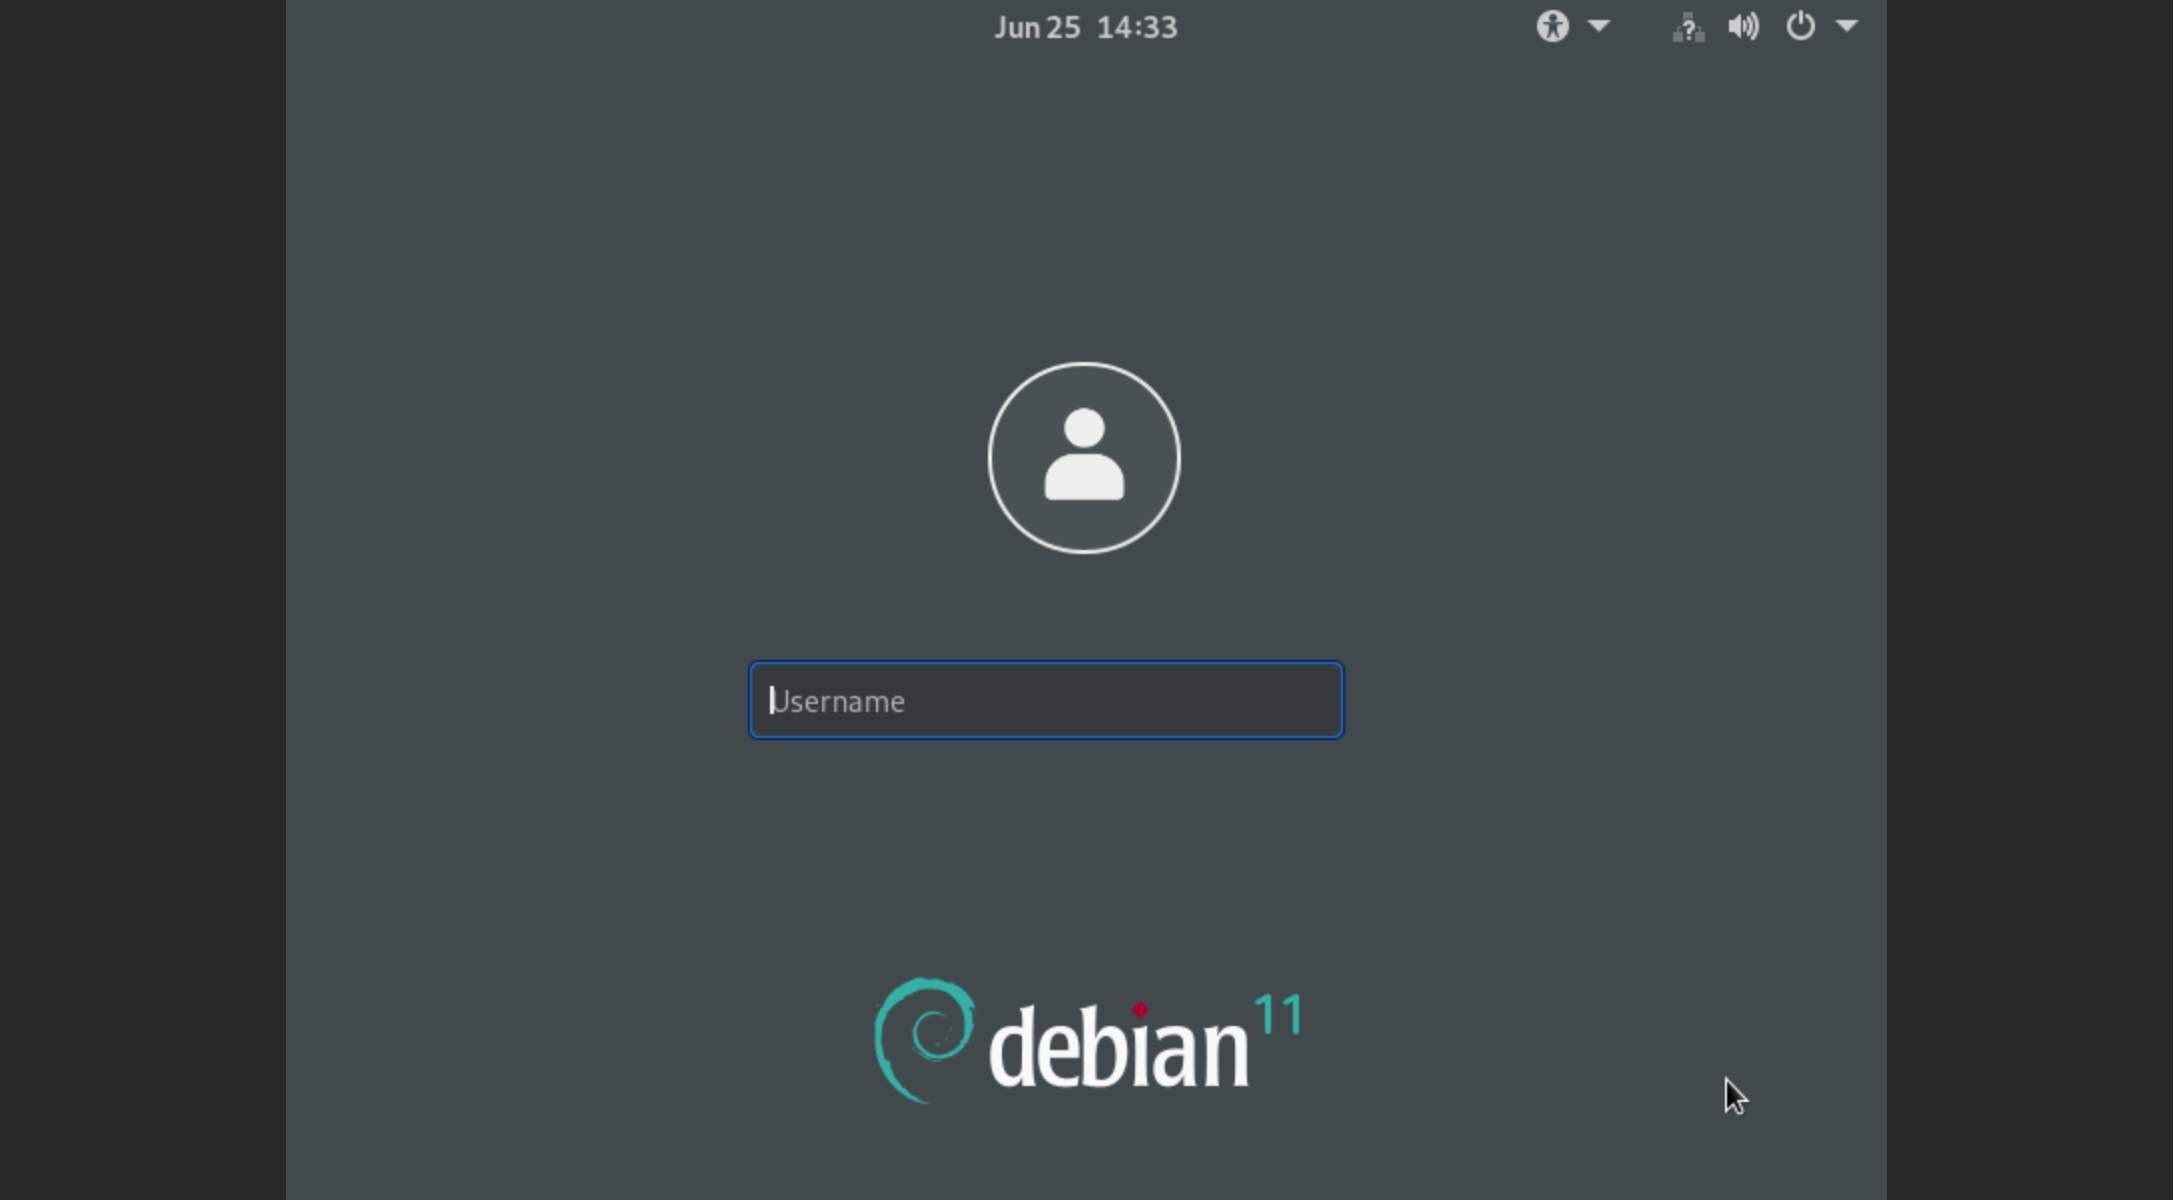
apt install gnome-core
Reboot the server and login through the web console. You have to look at login panel and enter you credentials:
After this go to the application panel and choose needed browser to search URL:
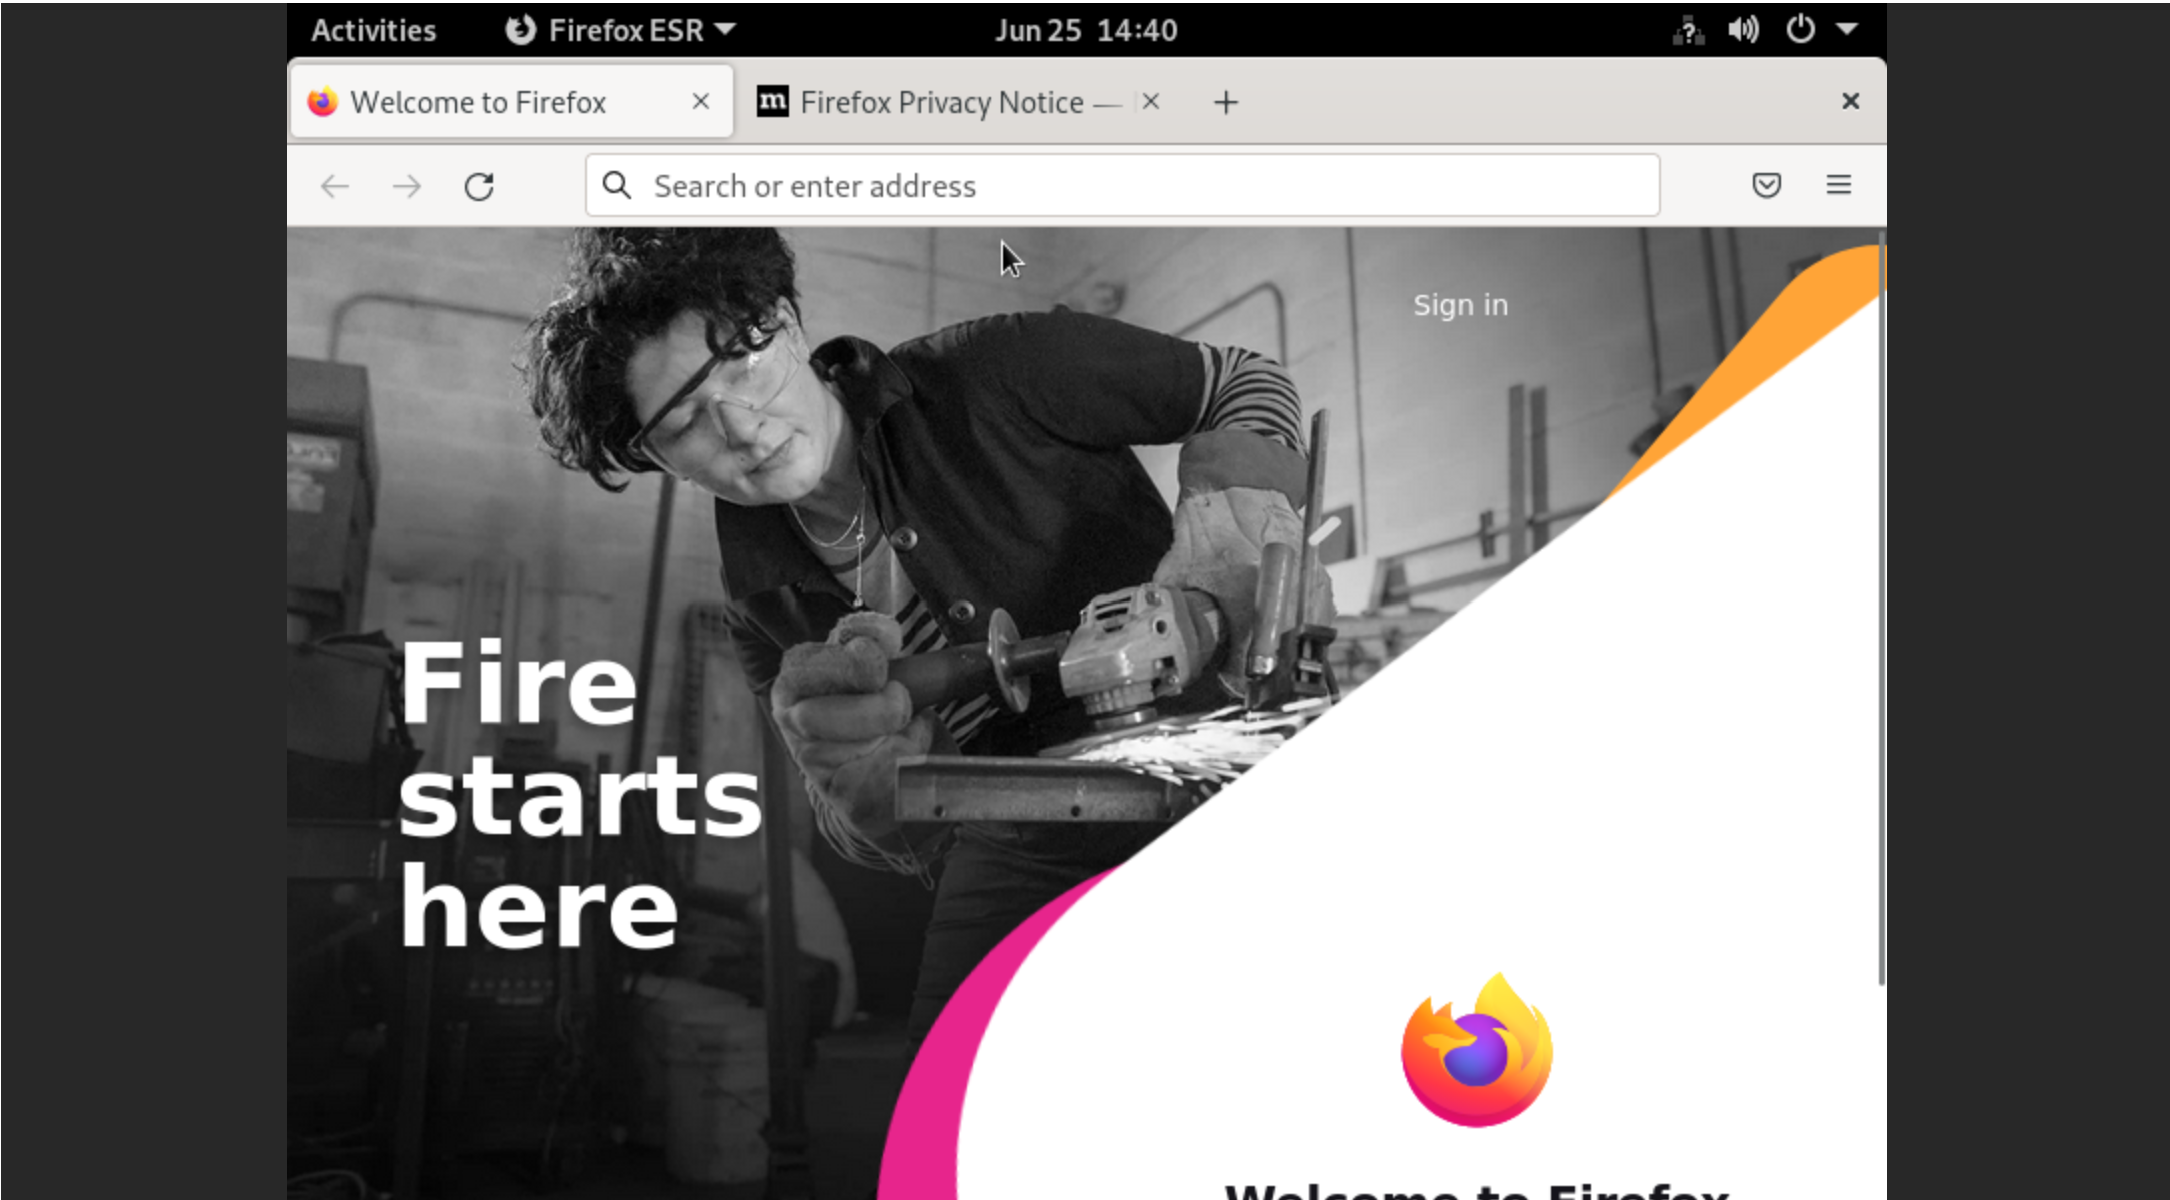
Enter in the Search field URL:
https://localhost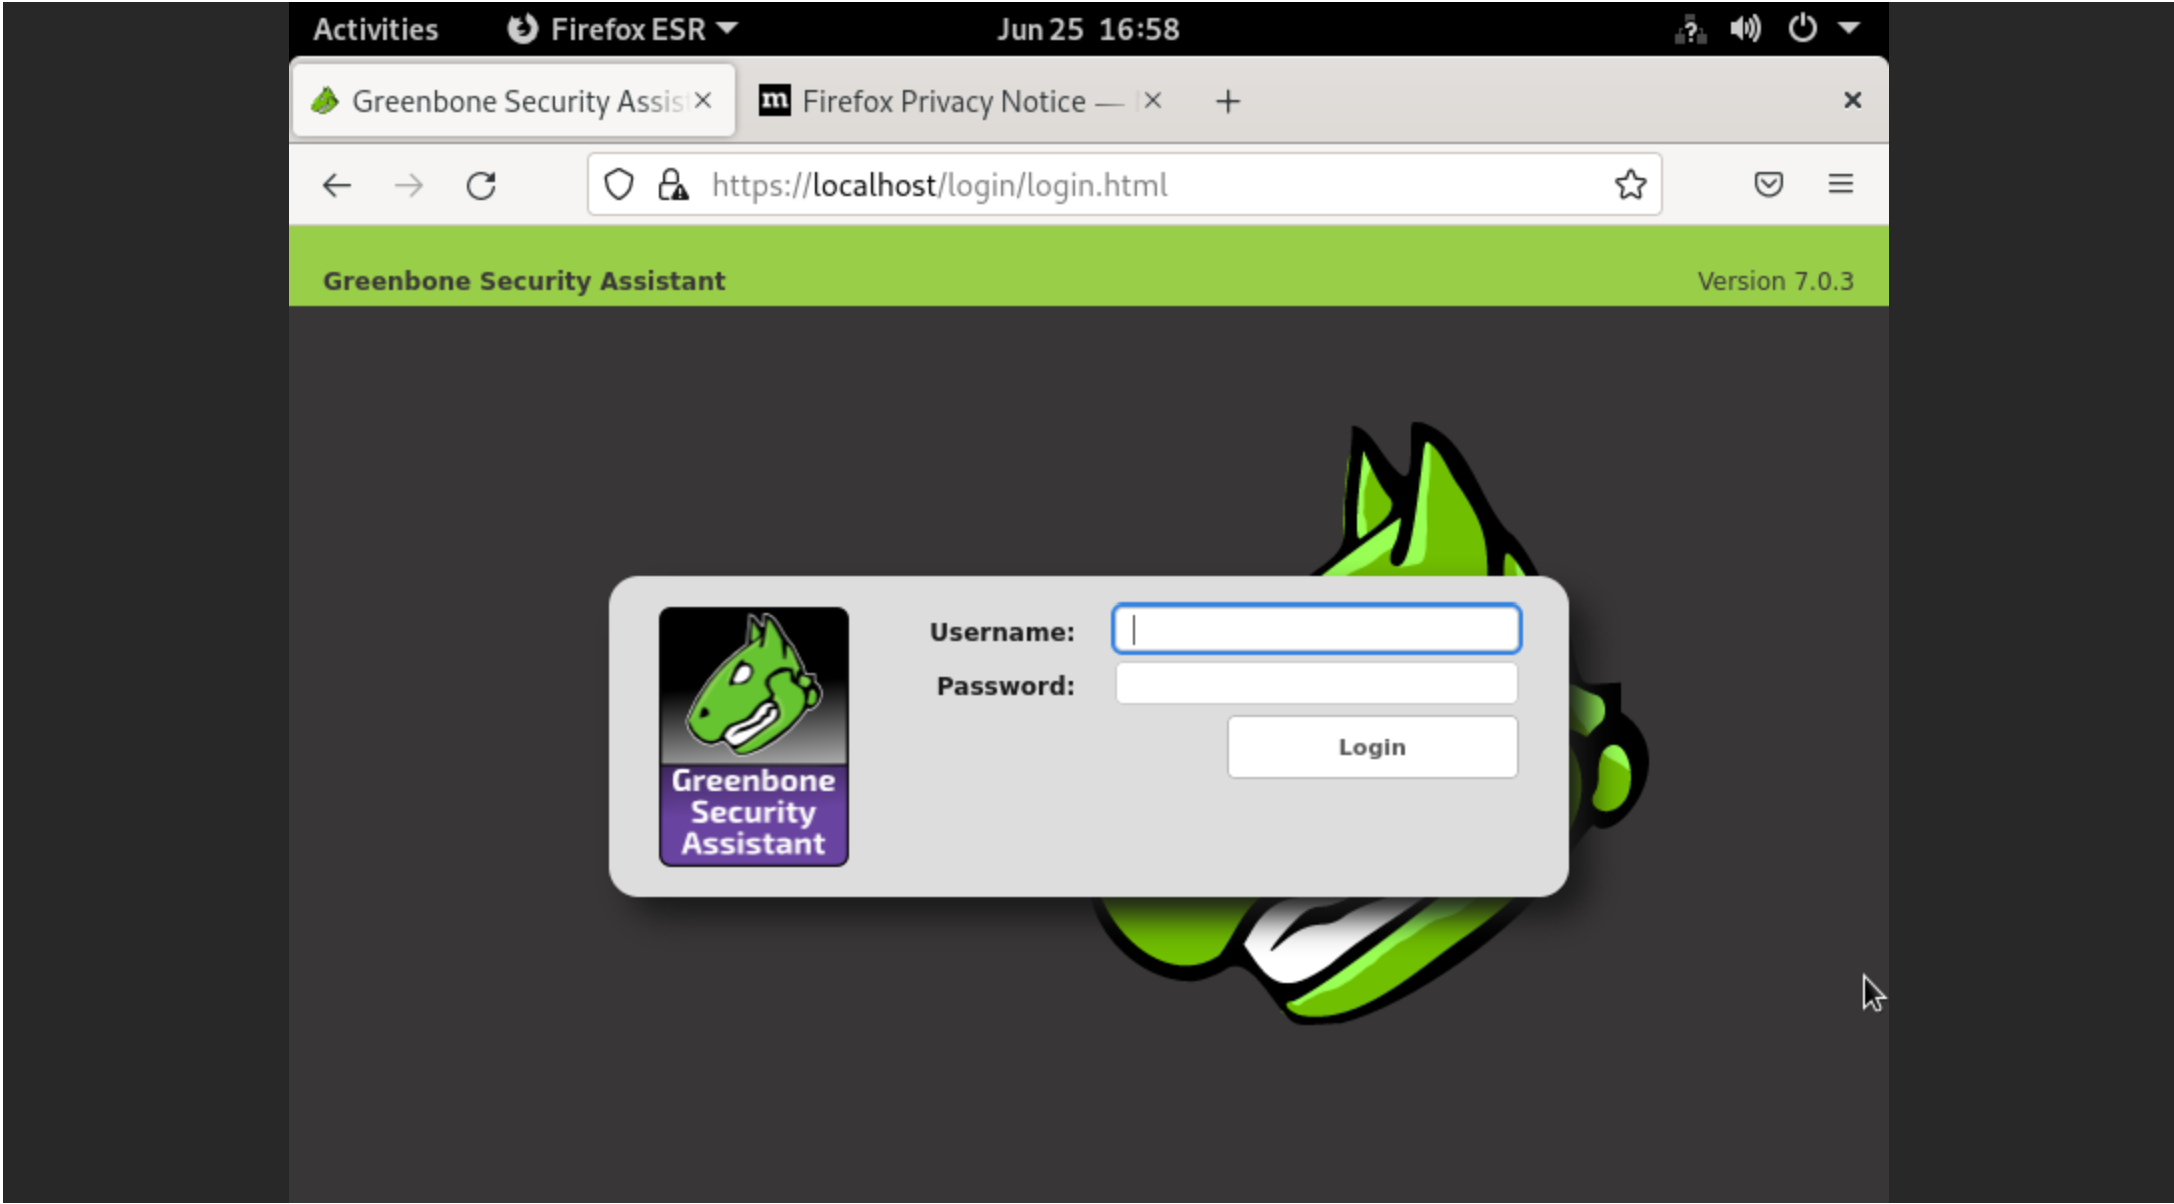
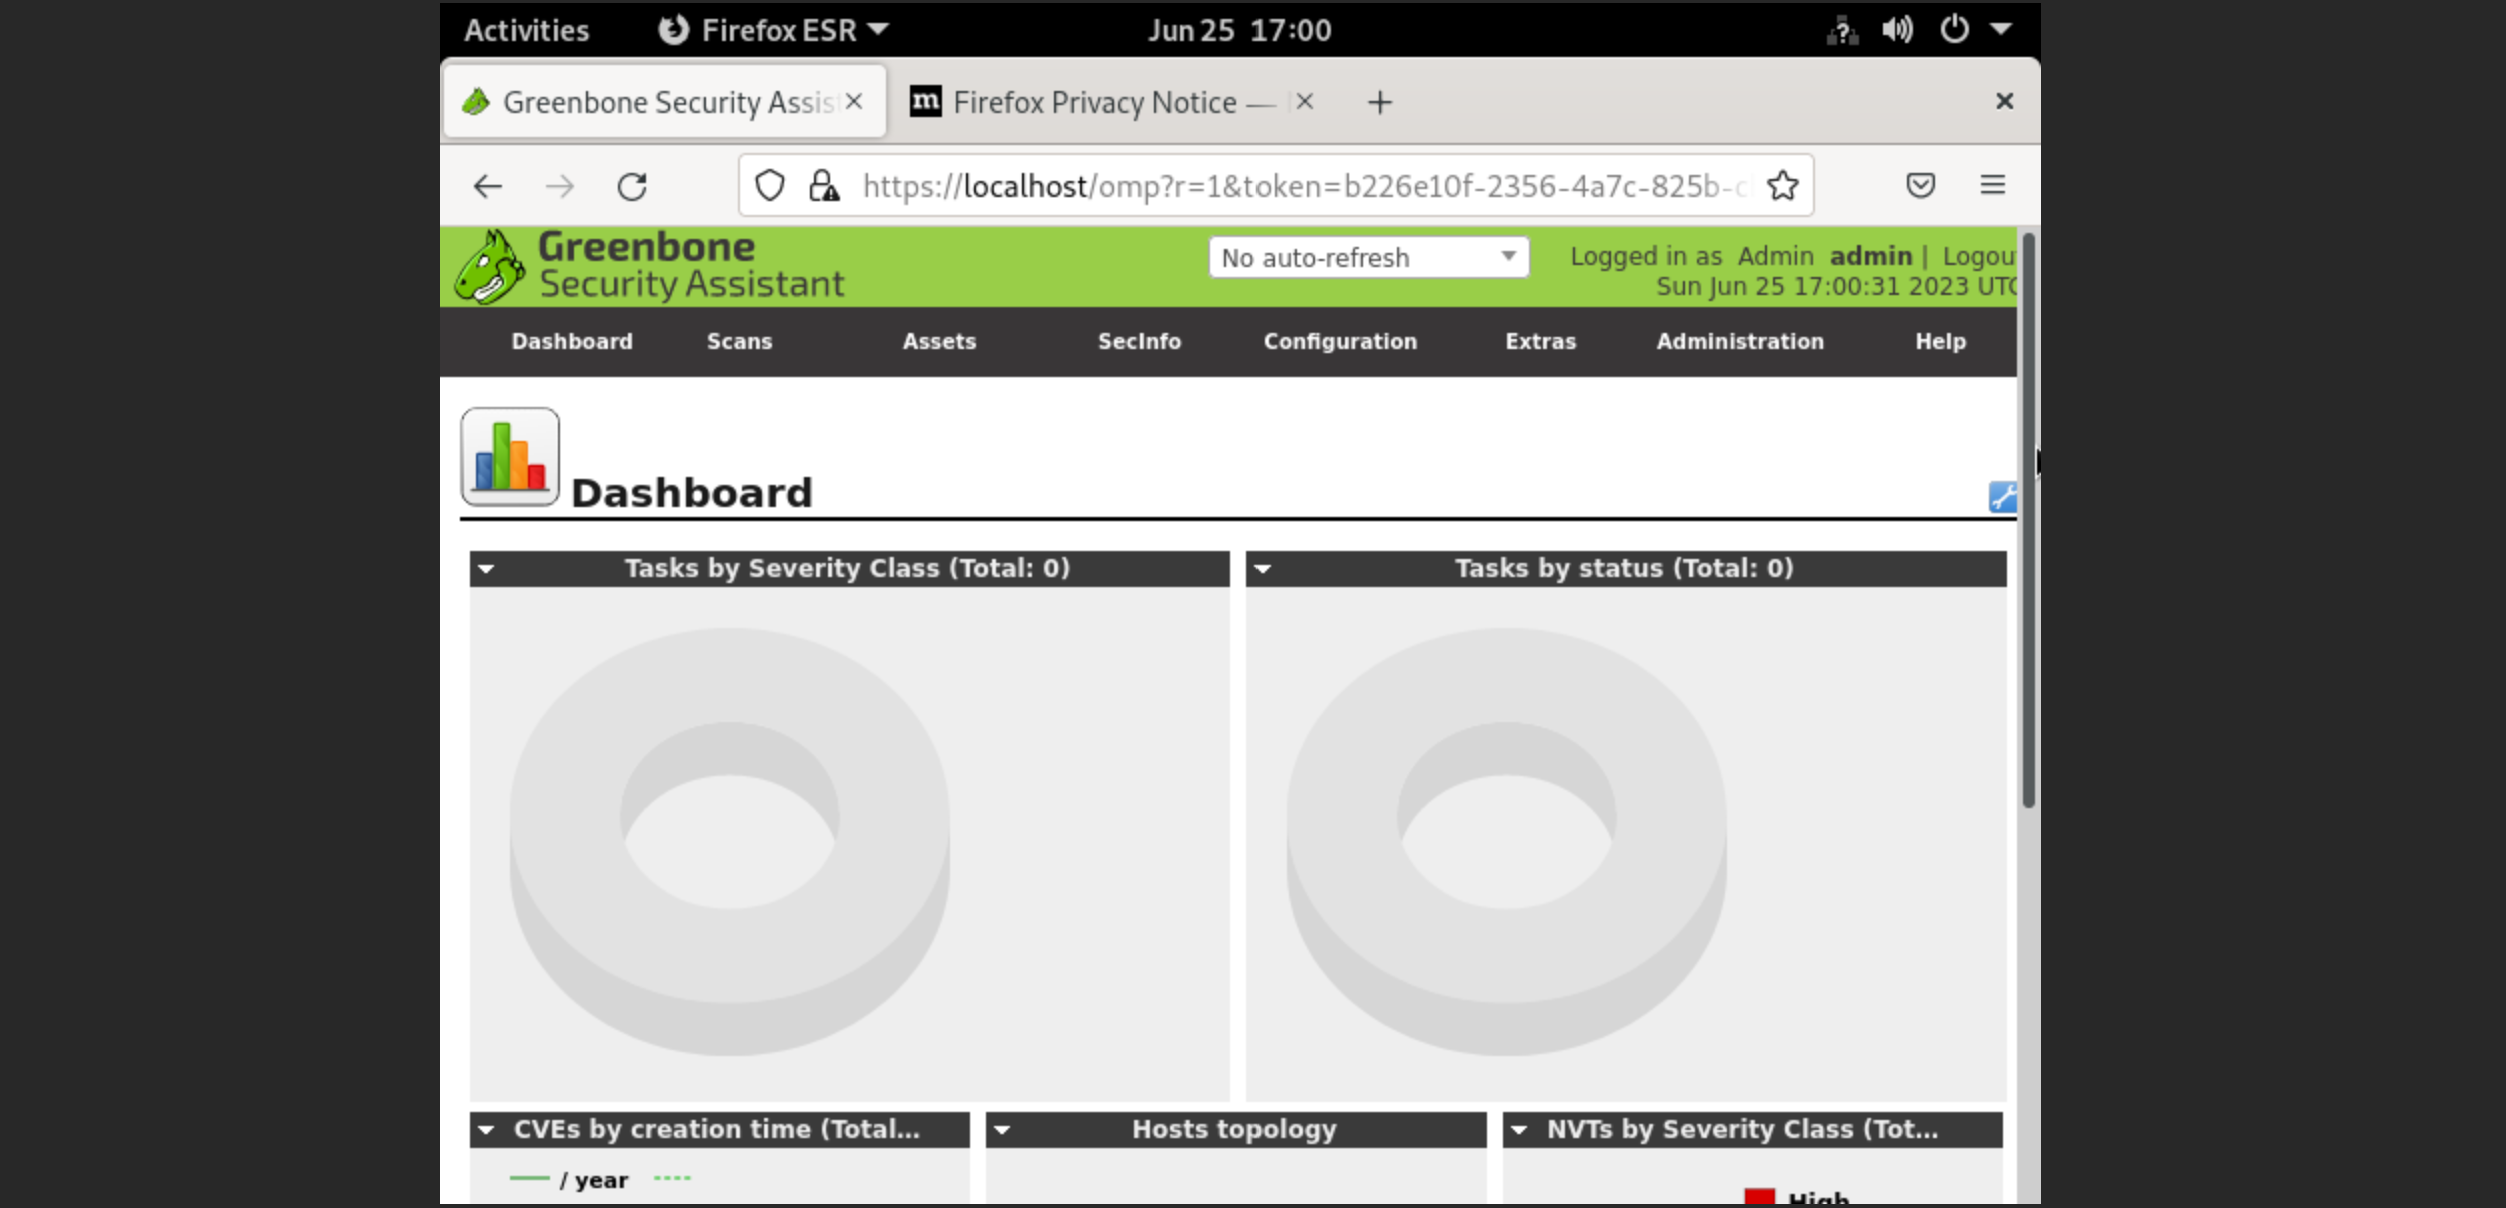
Enter credentials which we consider above of this instruction. Now you have access to modern vulnerability scanner that can help build more secure system!
If you want to change password, at first you need stop container and then use command for change credentials:
docker stop openvasdocker rm openvasdocker run -d -p 443:443 -e OV_PASSWORD=Strong_Password_123! --name openvas mikesplain/openvasAnd write complicated password with letters, numbers and special symbols.
Conclusion
OpenVAS (GVM) is a powerful open-source vulnerability scanner that helps identify security weaknesses in Ubuntu systems. Deploying OpenVAS using Docker simplifies installation and isolates the scanning environment.
By following this guide, you can quickly set up a vulnerability scanning platform, access the web interface, and improve your server’s security posture. Always change default credentials and regularly update vulnerability databases for accurate results.
FAQ
- Q: What is the main purpose of OpenVAS in critical infrastructure?
A: OpenVAS is used to scan for vulnerabilities in critical systems such as energy, water, and transportation networks. These infrastructures often rely on outdated or proprietary technologies that lack proper security mechanisms. OpenVAS helps identify weaknesses and provides actionable insights to mitigate potential cyber threats. - Q: Can I run OpenVAS on a minimal server configuration?
A: While OpenVAS can run on basic server setups, it is recommended to have sufficient resources (CPU, RAM, and disk space) since vulnerability scanning and database updates can be resource-intensive, especially during initial setup. - Q: Is Docker required to install OpenVAS?
A: In this guide, Docker is used to simplify deployment and isolate the OpenVAS environment. However, OpenVAS can also be installed directly on a Linux system without Docker, though the process is more complex. - Q: How do I access the OpenVAS web interface?
A: Once the Docker container is running, you can access the OpenVAS web interface by visiting https://localhost in a browser. Use the default credentials (admin/admin) or the new ones you configured. - Q: Is it safe to use default login credentials?
A: No, it's strongly recommended to change the default password immediately after setup. You can do this by restarting the container with the OV_PASSWORD environment variable set to a secure password.


