In this tutorial, we'll delve into the seamless process of setting up MongoDB in Docker, a method embraced by developers and DevOps professionals alike. Leveraging Docker for MongoDB installation offers unparalleled advantages in terms of portability, scalability, and isolation. By encapsulating MongoDB within containers, you not only simplify deployment but also ensure consistent performance across various environments. We explore the reasons behind choosing Docker for MongoDB setup and unlock a hassle-free approach to modern database management. All steps presented in the tutorial can be performed on a Linux-cloud servers.

Update packages and utilities
At the start of installation process we update indexes and upgrade packages of currently application and utility. That help to avoid potential compatibility issues :
apt update && apt upgrade -y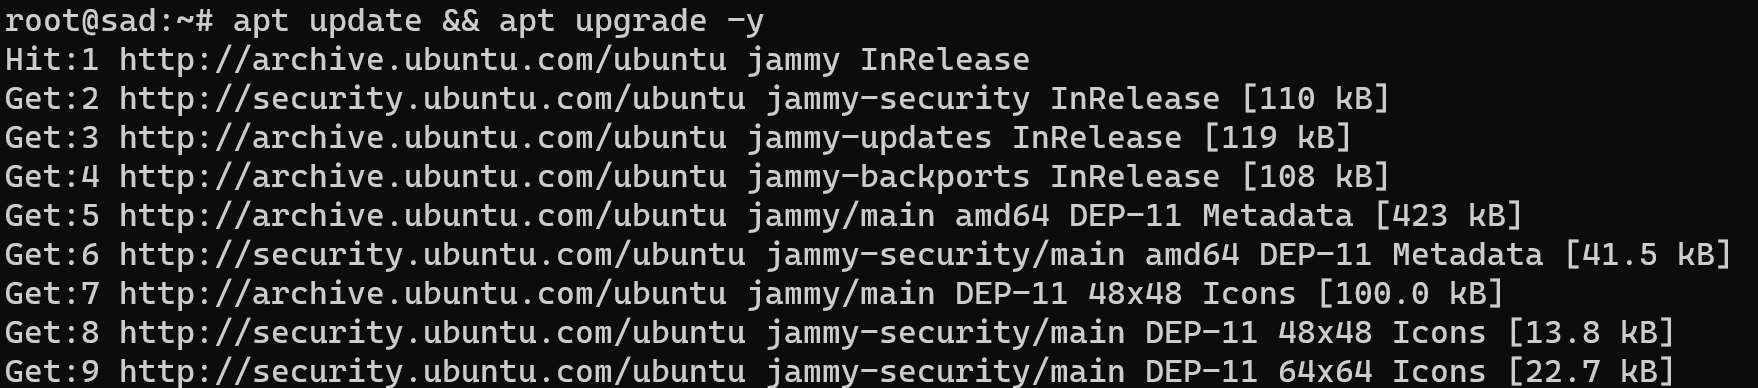
Look at the finish of the command! If they completed successfully, than we can go ahead, in another way check your connection to the Internet, make sure that your repository work properly and update package through command:
apt updateDocker represent software, that can help to run container or virtualize application in the isolated environment with prepared library and another dependencies. That help to run utility, application or service without additional actions. First step in that direction will download package:
apt install docker.io docker-compose -y
Let's give some explanation. If in the first way we use software intended for virtualize container and haven't tools for manage multiply container, than in the second we have that. Docker-compose allow to build multiply container environment and manage that bundle efficiency.
Install MongoDB Docker
Docker already have connection with official repository and allow to download any packages from their. For start example of server type:
docker run --name my-mongo -d mongo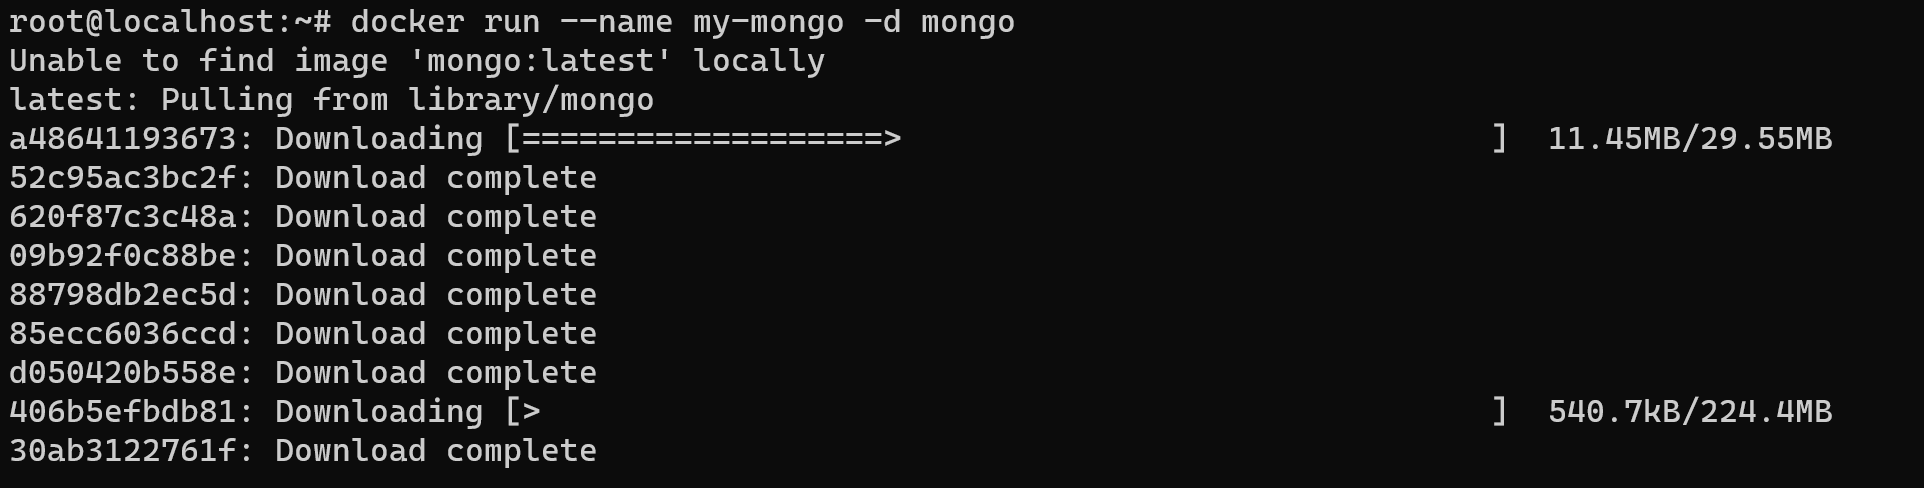
Look at the syntax! The docker command call docker utility, run it's sub command for start container, --name option help you mark container as you want and -d option indicate image from repository. Check list of run container by the command:
docker ps
You can see summary information about container and their status with created time. In that installation we didn't define straight port for our application, then we will use 27017 by the default. If we want to use MongoDB remotely in that case we will indicate for connection settings our white IP-address and same port as we saw before. In a few words, that same process as we use in PAT.
Now we have two ways of usage MongoDB: in the first way we download mongosh and connect to localhost:27017 or we can use command below for straight connect to container:
docker exec -it my-mongo bash
We use exec sub-command and unite option -it, where i means interactive usage container and t build accordance with terminal in Docker and in the host machine. As you can see in the last row after at sign indicated id of container. Now we can run in that environment mongosh for work with system, already locally:
mongosh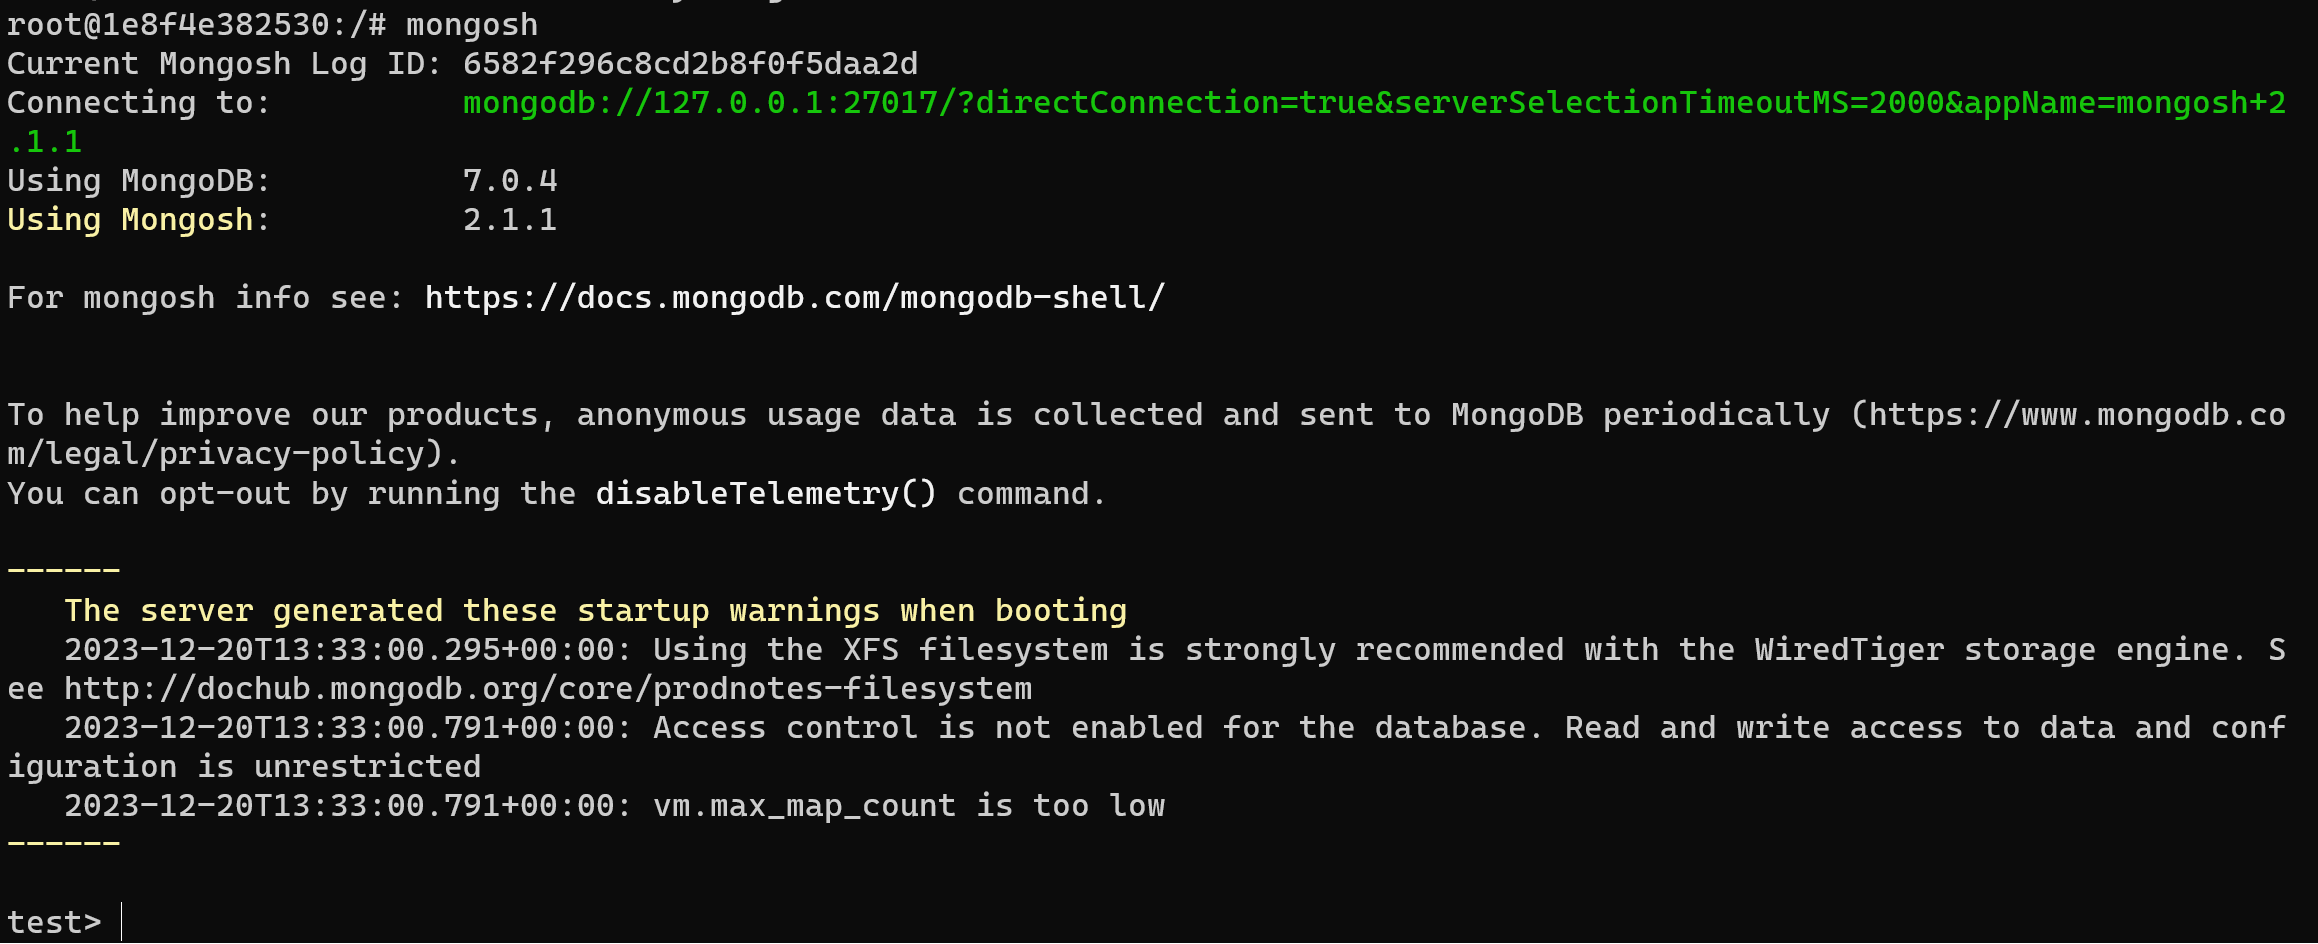
Now we have properly work system, if we need to check logs of container run:
docker logs my-mongoIf you want to build your system on base MongoDB, that way of installation in the perspective will not efficiency. Instead use docker-compose!
Install MongoDB via Docker-compose
The orchestrator from Docker which help to manage and build bundle of container for cooperative usage and work! In that case we will use a little bit another technique. Create work folder and file by the command:
mkdir -p /tmp/mongodb && touch /tmp/mongodb/dd.ymlAnd enter that text in the file:
echo "version: '3.1'
services:
mongo:

image: mongo

restart: always

environment:

MONGO_INITDB_ROOT_USERNAME: admin

MONGO_INITDB_ROOT_PASSWORD: my_password
mongo-express:

image: mongo-express

restart: always

ports:

- 8081:8081

environment:

ME_CONFIG_MONGODB_ADMINUSERNAME: admin

ME_CONFIG_MONGODB_ADMINPASSWORD: my_password

ME_CONFIG_MONGODB_URL: mongodb://admin:my_password@mongo:27017/" >> /tmp/mongodb/dd.yml

That configuration file for docker-compose include services or image for containers which we will use with different options. After service command we can also indicate name of container and choose image, restart property and env variables. In that case we install two image: one with mongodb-server and second with web-shell for them. Run docker-compose with command:
docker-compose -f /tmp/mongodb/dd.yml up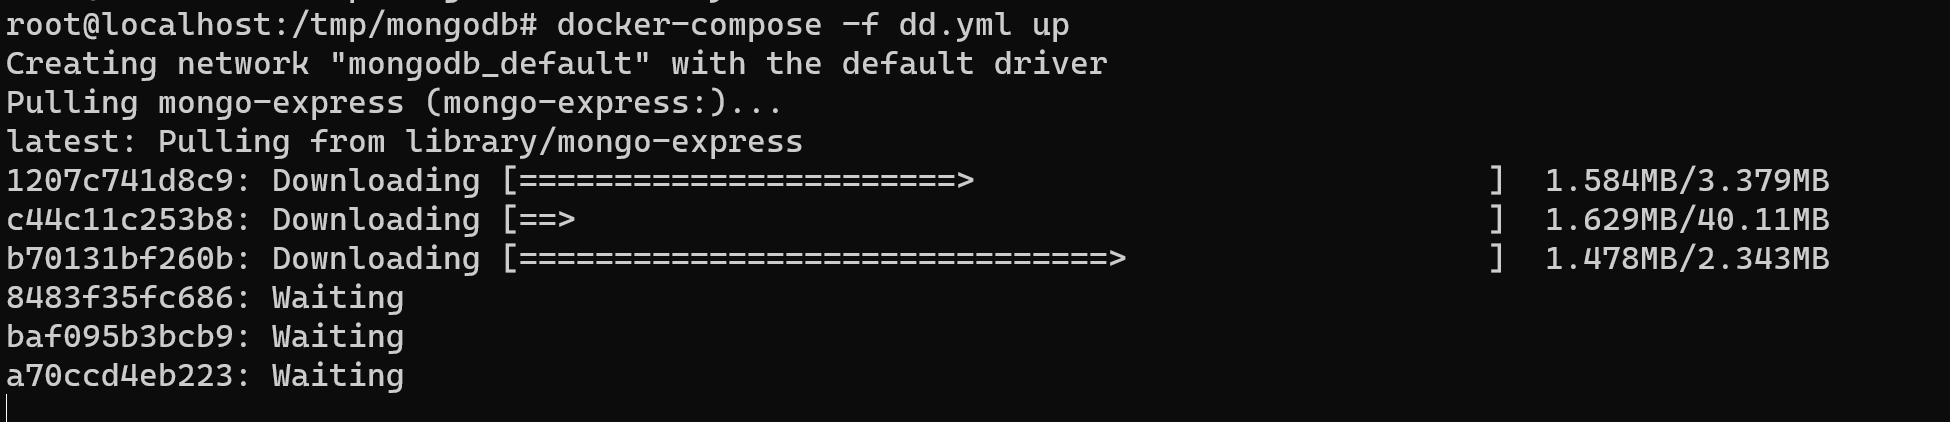
After up web-service we can connect through localhost or using white IP-address for manage DBMS and dont forget indicate your port from config, in our case 8081, than url was looked like https//:163.2.32.1:8081 . basic credentials for connection admin as login and pass as password:
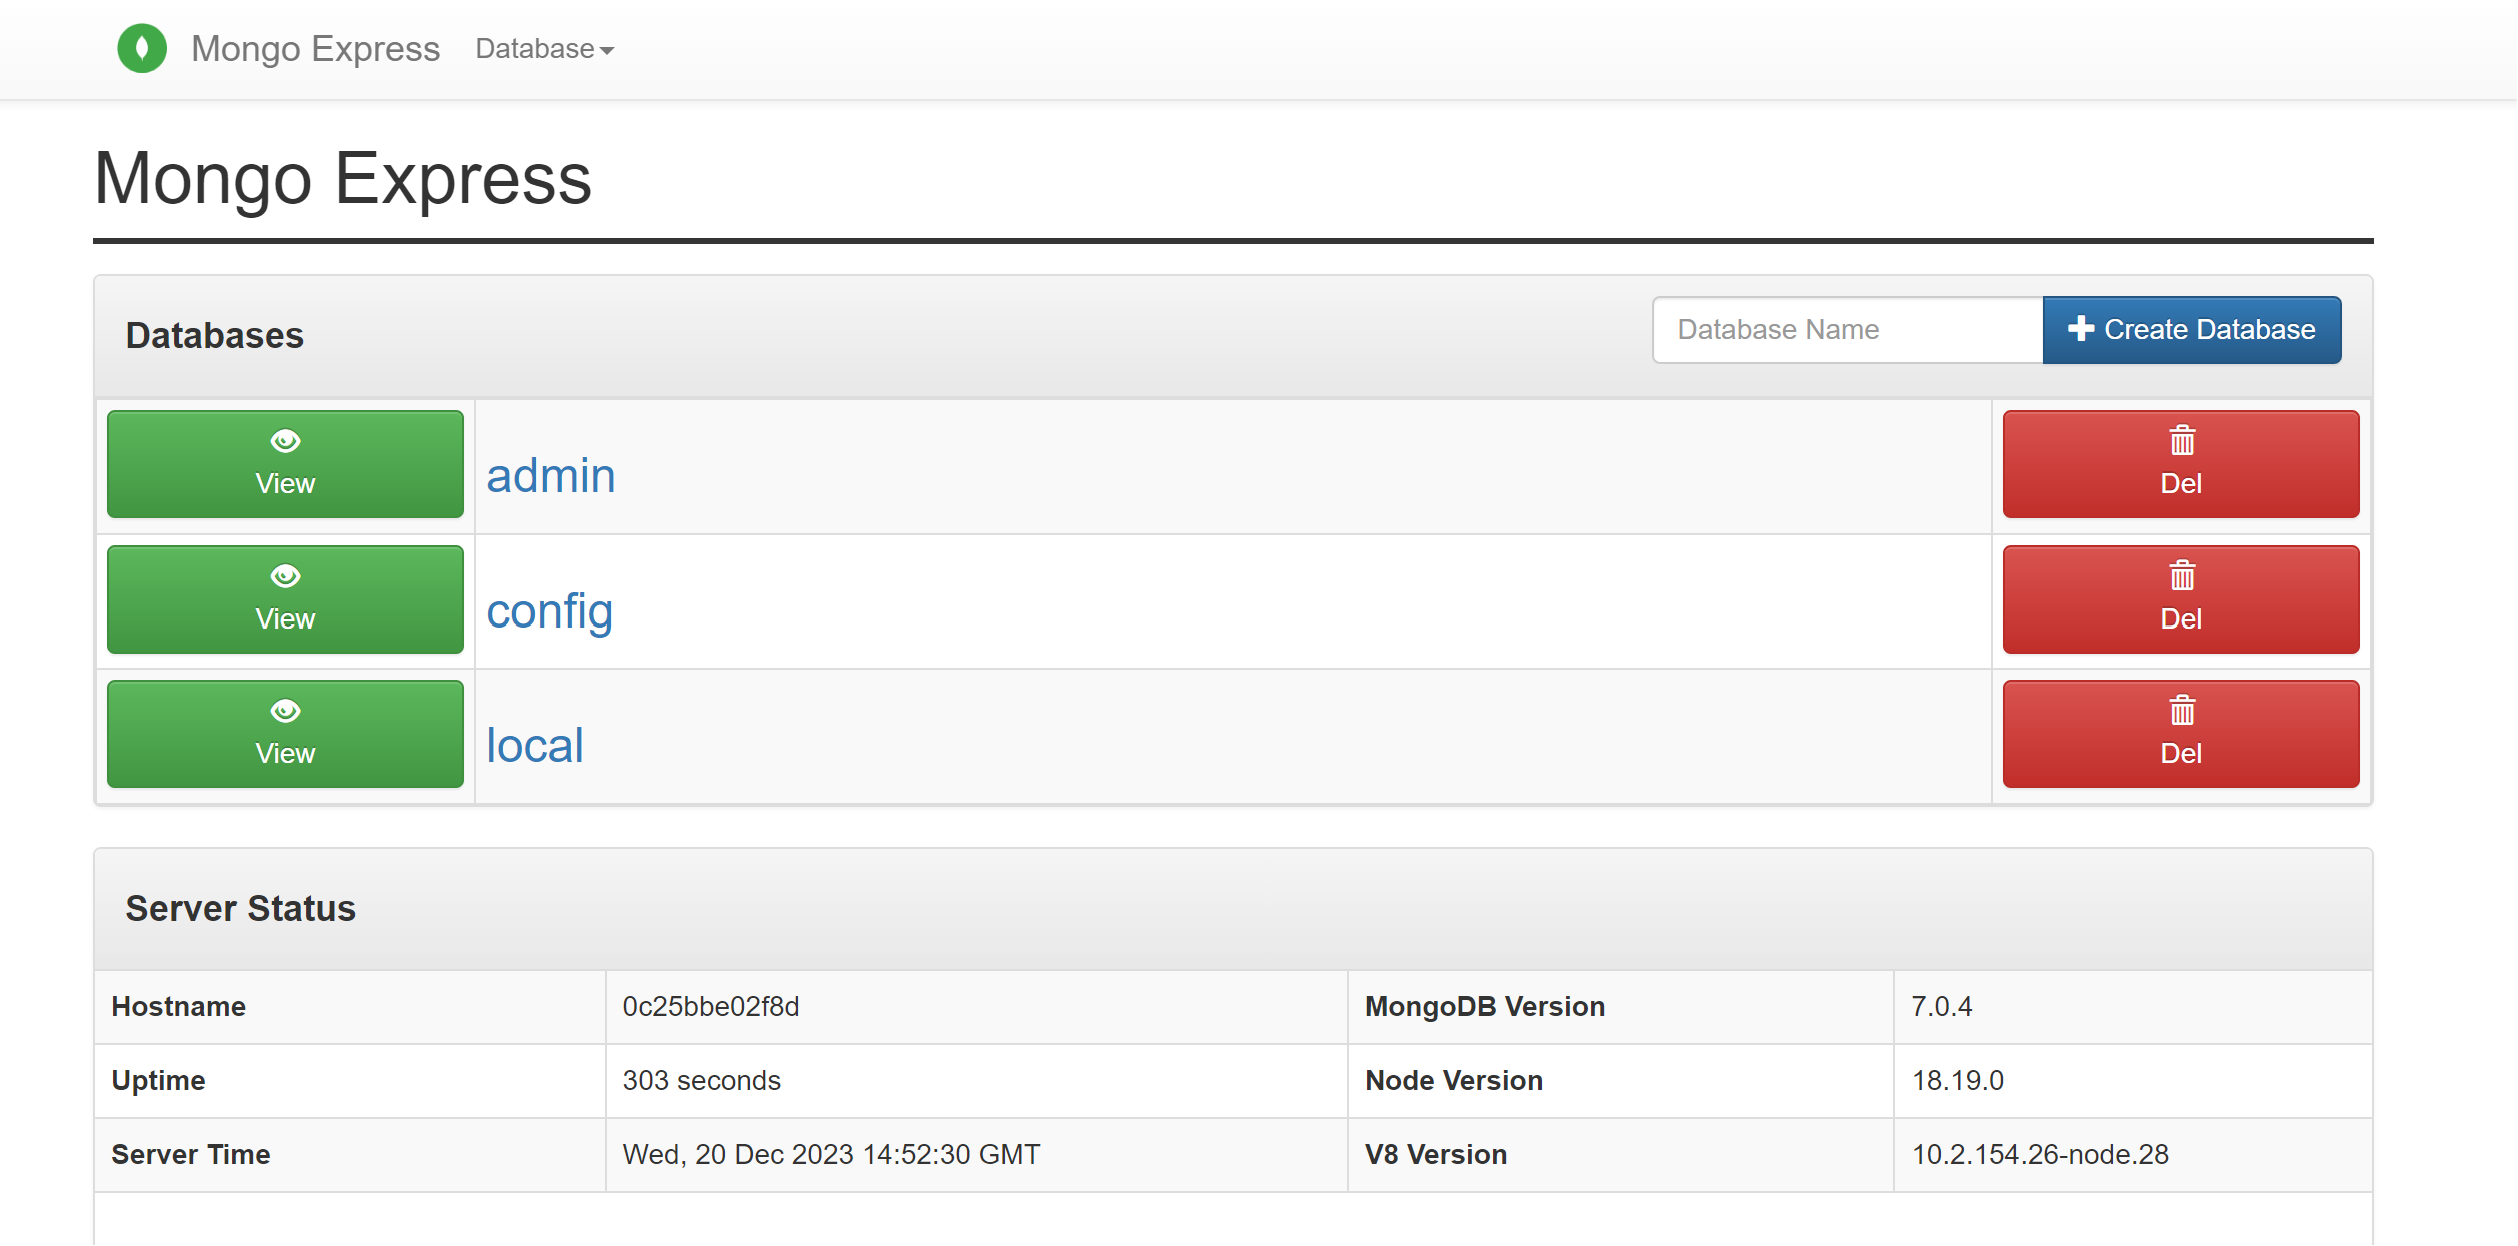
In conclusion, this tutorial has walked you through the robust process of seamlessly deploying MongoDB in Docker, a strategy embraced by developers and DevOps professionals alike. By harnessing Docker's capabilities for MongoDB installation, you gain unparalleled advantages in terms of portability, scalability, and isolation. The encapsulation of MongoDB within containers streamlines deployment, ensuring consistent performance across diverse environments.


