
What is Nginx and why you may need to make changes to it
Nginx is a web server. It stores the site files and sends them on request to a computer or mobile device. That is, it is needed to quickly display Internet pages. It is used in almost all companies specializing in web development. Its main function is the processing of static content on websites. Its popularity is explained by the possibility of free use, open source.
The Nginx web server today is, one might say, an industry standard, therefore it is a part of all current operating system's repositories. "One click" setup is possible, but this is true exactly until you are satisfied with the "averaged" option, which is statistically suitable for most users. If you need something “non-standard”, you couldn't add this feature without some "special" manipulations. If you want disable some function, there is no simple way too. Also, a changes (mostly to exclude certain functions) may be necessary to save system RAM and disk space.

How to change the nginx features list
The functions that nginx could perform, just like the security restrictions, are determined by the set of included modules. Unfortunately, the only way available today to modify the list of nginx modules is to completely rebuild the package. The procedure for such recompilation and installation of nginx is described below. The article will use Ubuntu 20.04 as the host OS.
Firstly, you should check the version of nginx you currently have. Course, you ignore this check, but it is a risk of incompatibility of software libraries, without a deep analysis of the OS logs this problem may not be solved. You're warned.
nginx -v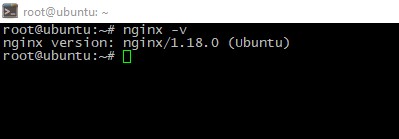
Let's look at the list of available nginx components. To make later compilation easier, you could copy the output of the next command somewhere:
nginx -V
The same result, but in a more readable form, can be obtained using the command:
nginx -V 2>&1|xargs -n1|grep module
Install some necessary utilities to prevent next steps fail:
apt-get update; apt install -y build-essential wget libssl-dev libpcre++-dev libgeoip-dev libssl-dev zlib1g-dev libxslt1-dev libgd-dev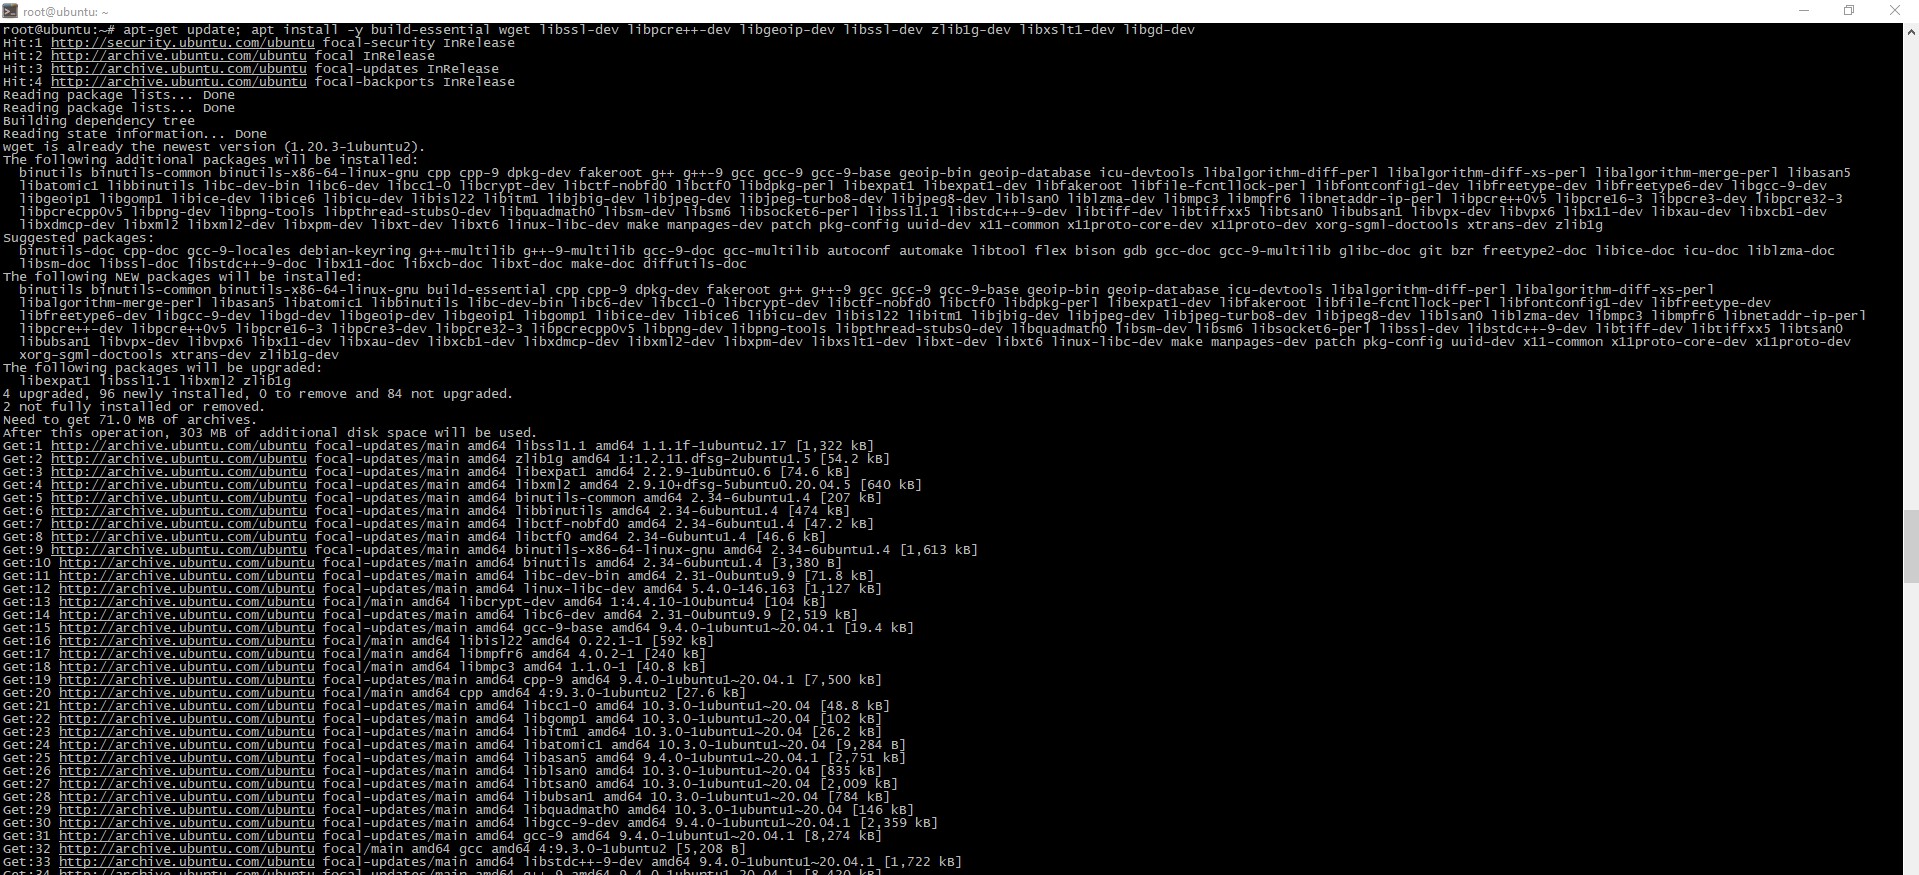
Then let's download the nginx code provided in a compressed form from the developer's site and unpack the archive. To shorten further doings (to avoid the full path typing each time), go to a directory whose name matches webserver edition:
cd /tmp; wget http://nginx.org/download/nginx-1.18.0.tar.gz; tar -xvf *.gz; cd nginx-1.18.0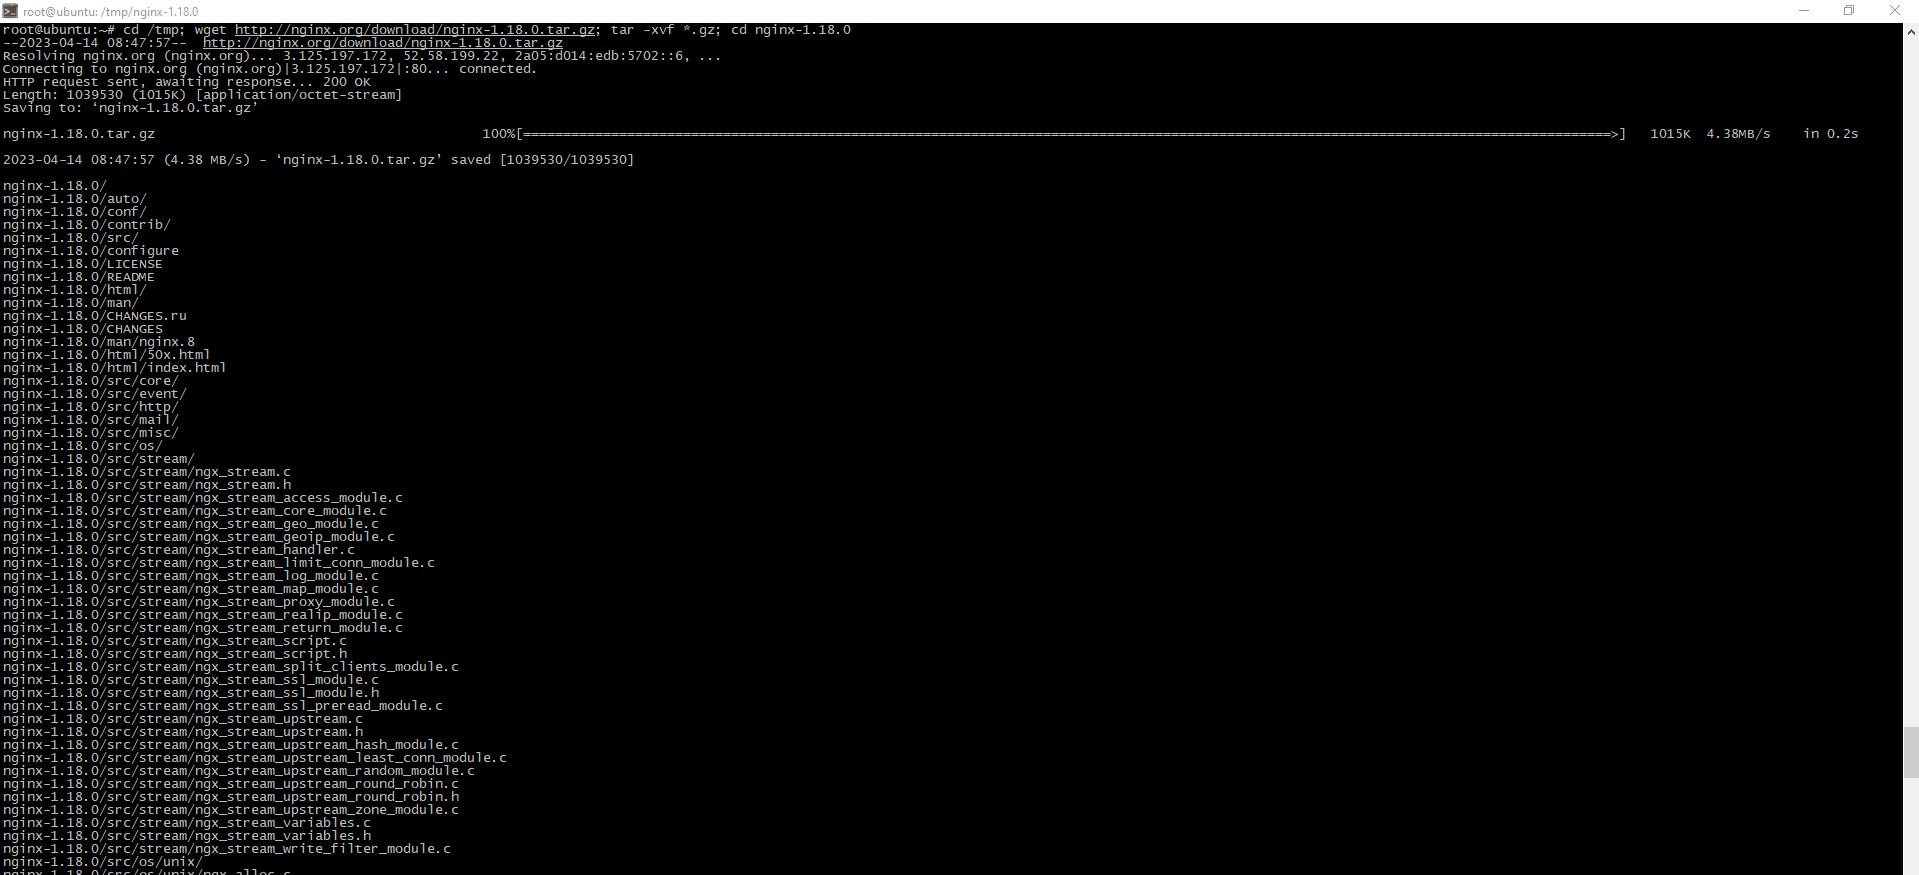
Now the time to begin our configuration building. To insert a component, the --with- construct should be used; accordingly, to exclude it just remove the parameters that describes this module. For example, let's turn the mail_ssl_module component off and add the features of http_geoip_module:
./configure --with-cc-opt='-g -O2 -fdebug-prefix-map=/build/nginx-lUTckl/nginx-1.18.0=. -fstack-protector-strong -Wformat -Werror=format-security -fPIC -Wdate-time -D_FORTIFY_SOURCE=2' --with-ld-opt='-Wl,-Bsymbolic-functions -Wl,-z,relro -Wl,-z,now -fPIC' --prefix=/usr/share/nginx --conf-path=/etc/nginx/nginx.conf --http-log-path=/var/log/nginx/access.log --error-log-path=/var/log/nginx/error.log --lock-path=/var/lock/nginx.lock --pid-path=/run/nginx.pid --modules-path=/usr/lib/nginx/modules --http-client-body-temp-path=/var/lib/nginx/body --http-fastcgi-temp-path=/var/lib/nginx/fastcgi --http-proxy-temp-path=/var/lib/nginx/proxy --http-scgi-temp-path=/var/lib/nginx/scgi --http-uwsgi-temp-path=/var/lib/nginx/uwsgi --with-debug --with-compat --with-pcre-jit --with-http_ssl_module --with-http_stub_status_module --with-http_realip_module --with-http_auth_request_module --with-http_v2_module --with-http_dav_module --with-http_slice_module --with-threads --with-http_addition_module --with-http_gunzip_module --with-http_gzip_static_module --with-http_image_filter_module=dynamic --with-http_sub_module --with-http_xslt_module=dynamic --with-stream=dynamic --with-stream_ssl_module --with-mail=dynamic --with-http_geoip_module
If everything well done at all, the picture as below:

Let's start the build process itself:
make; make install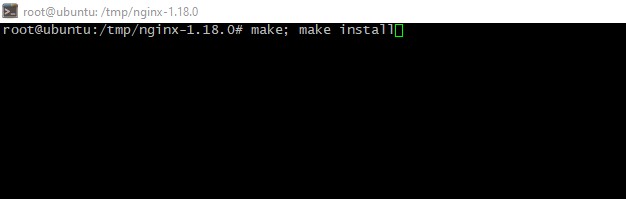
Then check the list of supported modules:
objs/nginx -V 2>&1|xargs -n1|grep module
Nginx was successfully rebuilt. Then replace the installed file using a compiled one. That is why we looked at the nginx edition at the start. If the same version was assembled as originally installed from the repositories, just “binary” replacing is enough, nothing other is required. Restart nginx when replacing is done:
mv -f objs/nginx /usr/sbin/nginx; service nginx restart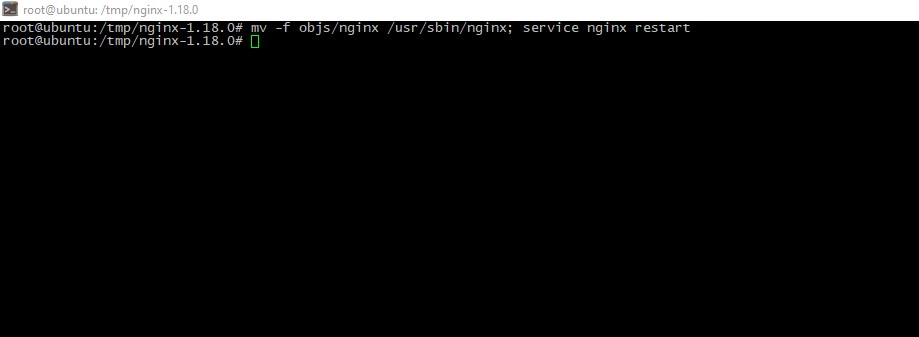
Conclusion
In the tutorial, we reviewed a method on how to add or delete nginx modules. The process of package compiling from source code, some of the pitfalls of the build procedure, and the simplest approach to avoid problems in the process are described. In addition you can create "highly specialized" binaries e.g. to "extremely" save machine system resources.
You may be also interested in
FAQ: What is Nginx and why would I need to modify it?
Nginx is a widely used open-source web server designed to efficiently serve static content and handle web traffic quickly. It is included in most operating system repositories and can be installed easily with default settings suitable for typical use cases. However, sometimes you may need to customize Nginx by enabling or disabling specific modules to fit your unique needs, such as adding geo-location support or disabling unused features to save system resources like RAM and disk space. Since Nginx modules are compiled into the server binary, changing which features are included usually requires rebuilding Nginx from source code. This process might seem complex, but it gives you full control over the functionality and performance of your web server, allowing you to create a more secure and efficient environment tailored to your project.


