How to create Routed network
A routed network is a type of local network that utilizes a router with at least one public interface, allowing devices within the network to access external resources on the Internet. Additionally, with specific NAT settings in place, devices outside of the local network can also connect to it. Essentially, all devices within this network have the ability to connect to the Internet and utilize external resources.
How to build a network with routing?
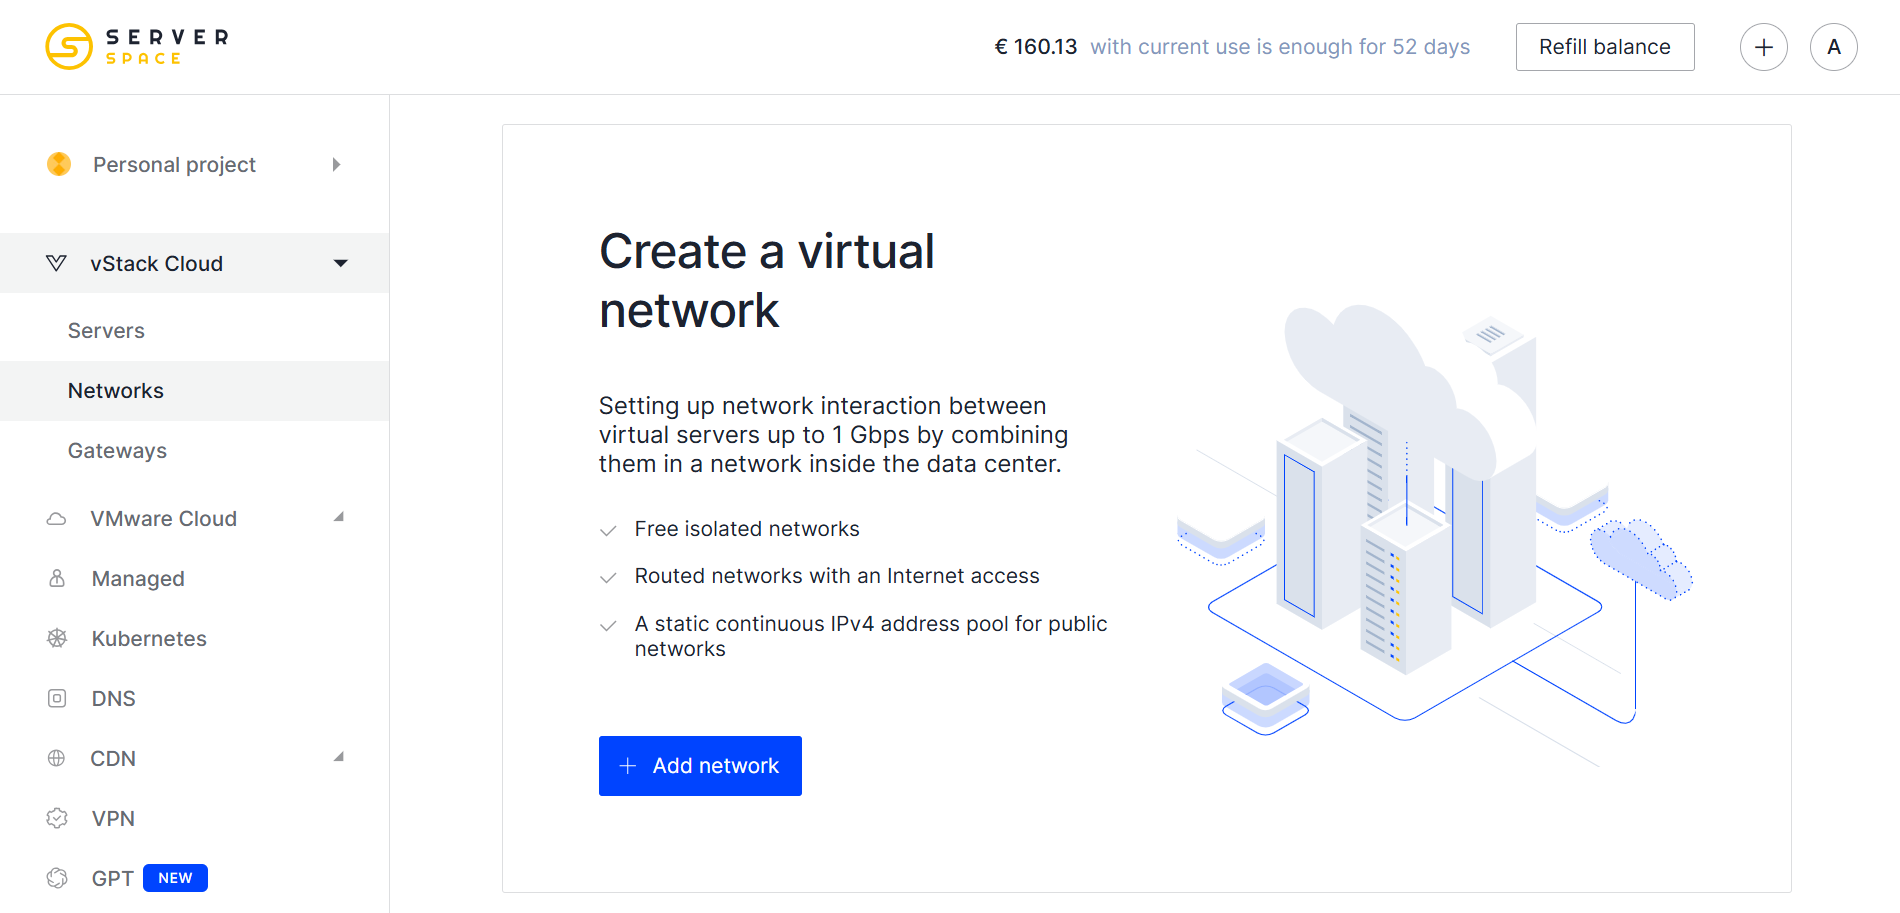
To create a network, select the Networks section in the vertical menu on the left and click Add a network. After that, the configuration panel will appear on the right, which is divided into the main configuration steps:

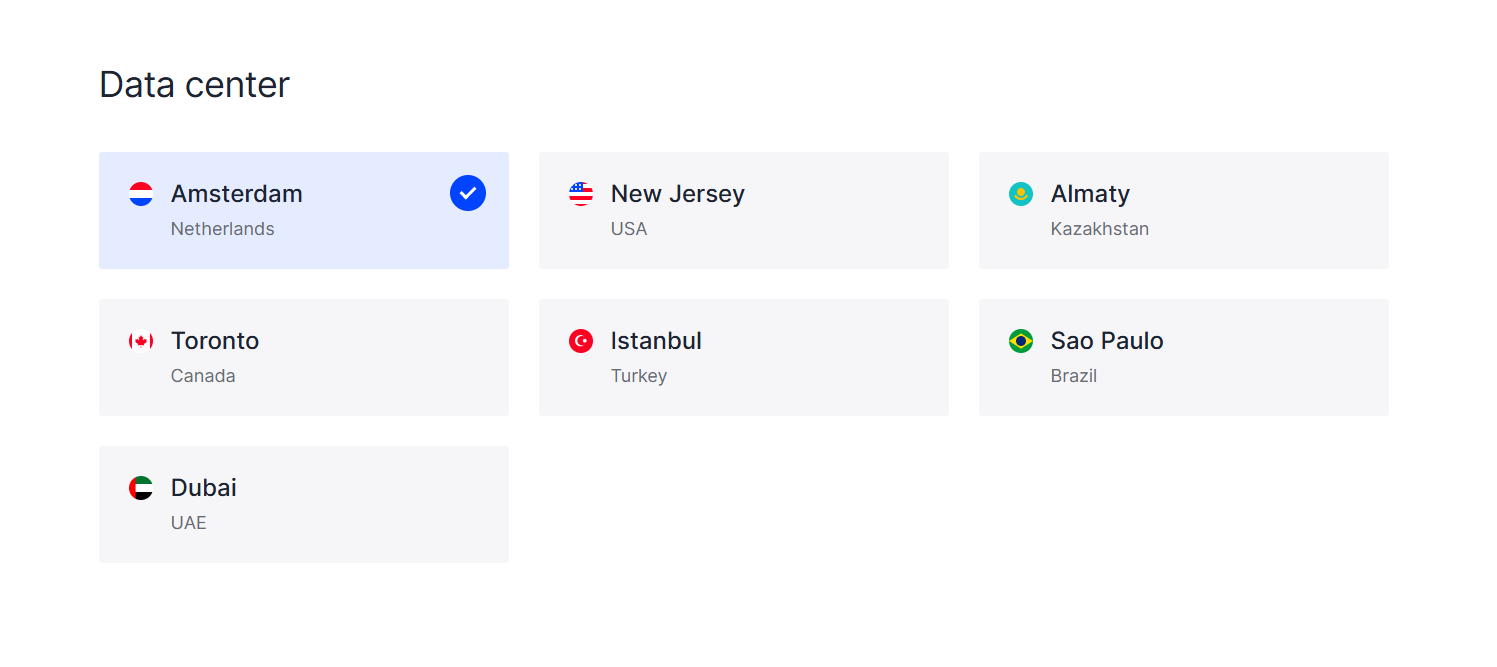
The creation begins with the selection of the Isolated network. Then you need to choose the optimal location of the data center in which the network will be created.

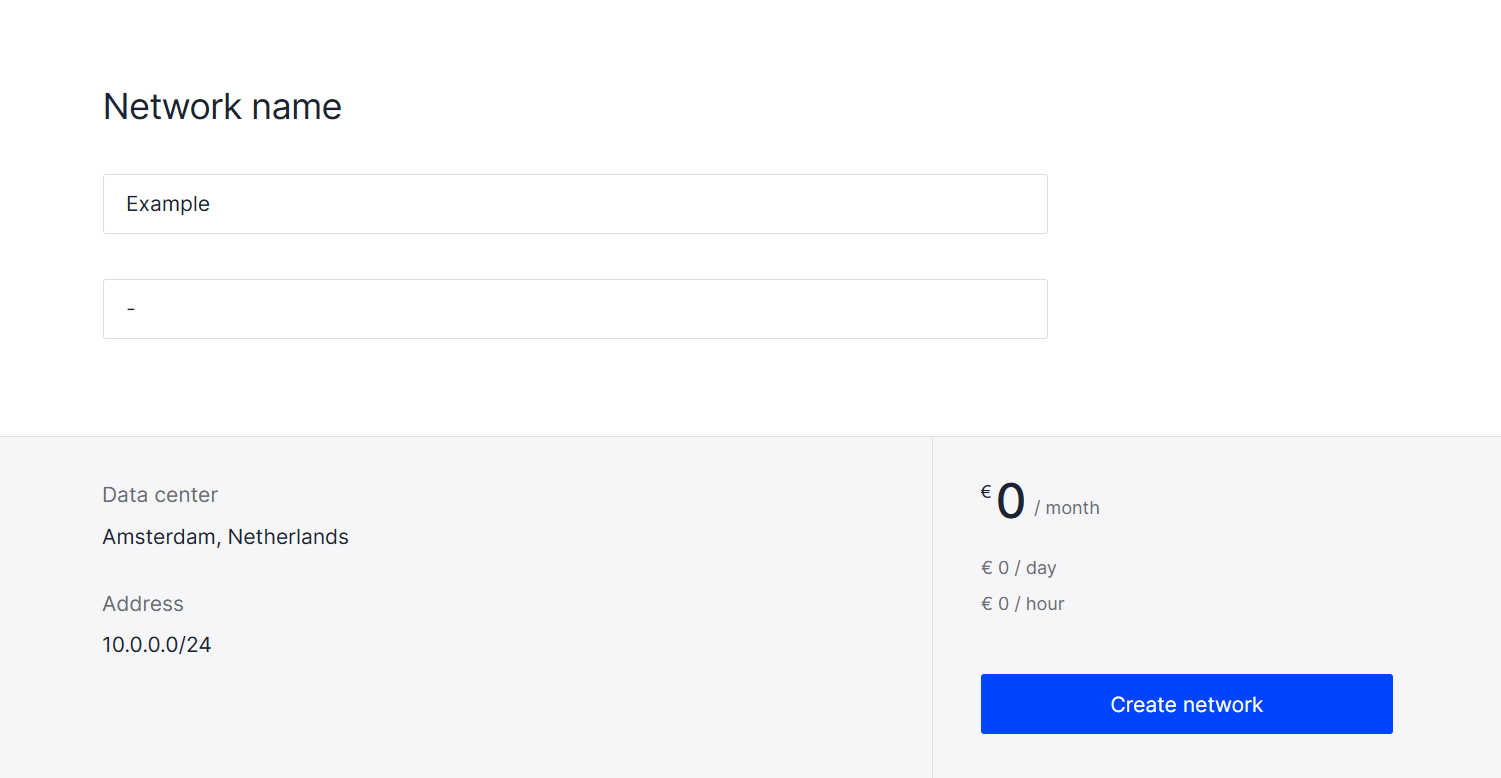
Next, specify the address of the network segment or use the automatically generated:

Lastly, click Create , but before that, do not forget to specify the network name and description (optional).

Create gateways
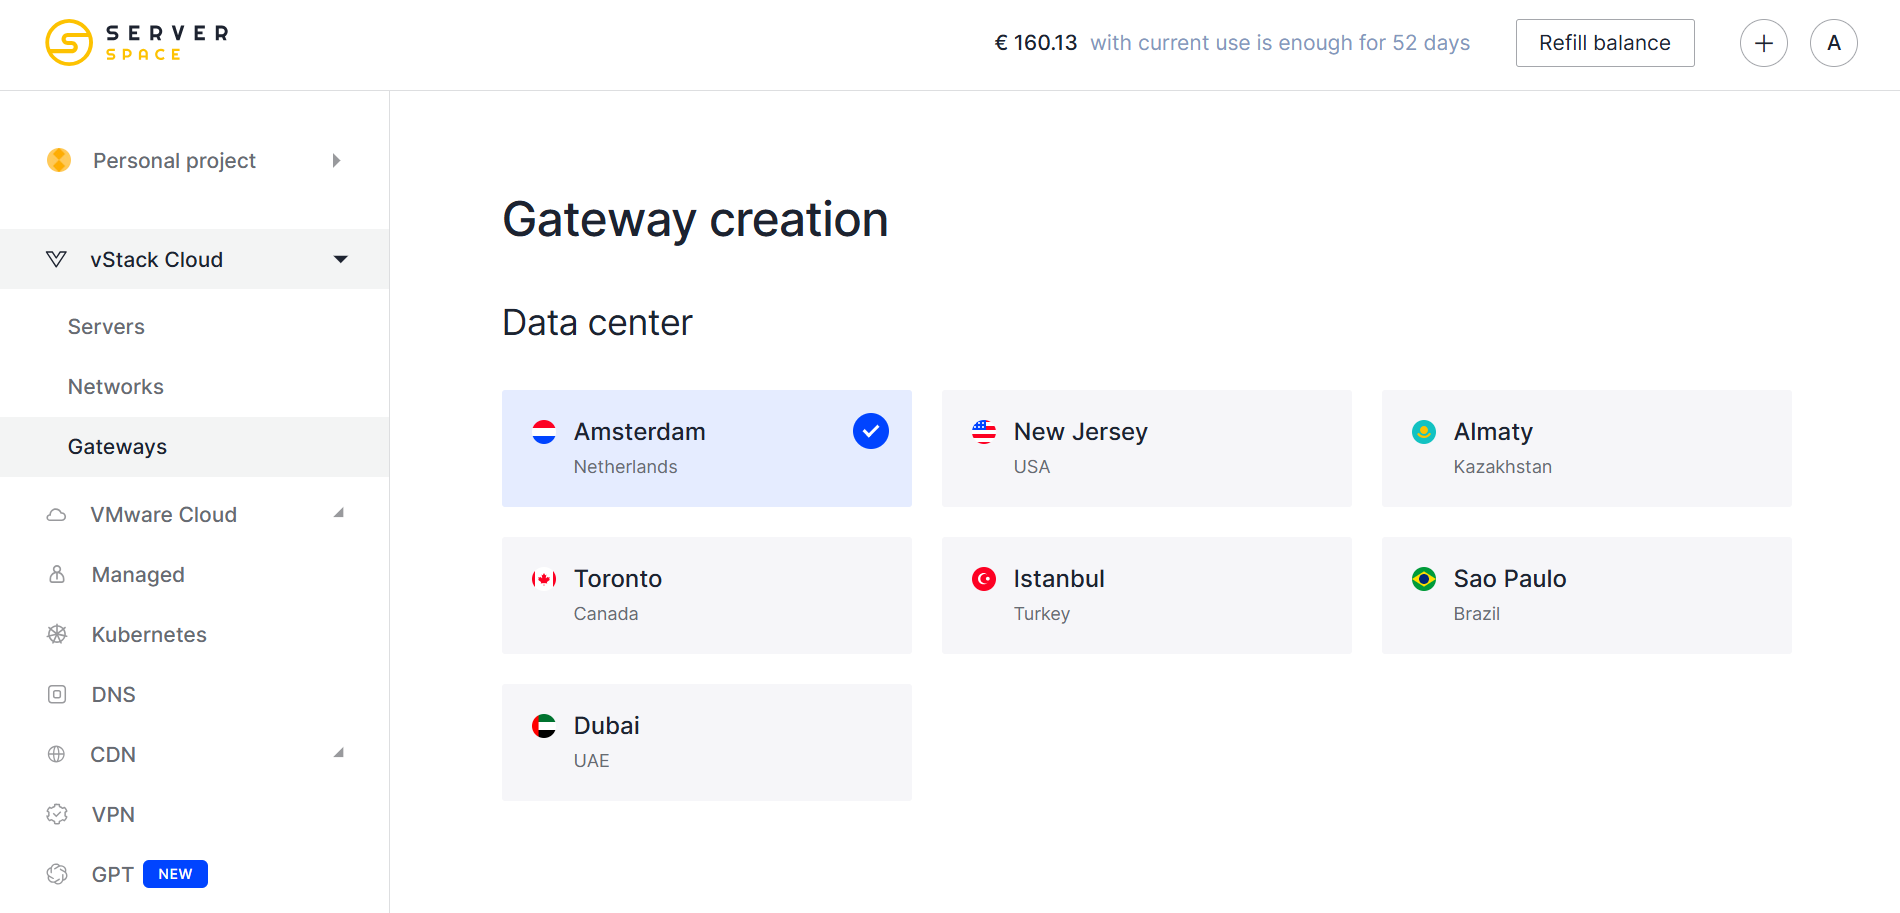
In order to switch from an isolated network to a routed one, you need to configure a router with a public interface. To do this, go to the Gateways tab and select the desired data center:

Select the created isolated networks to connect to the router interfaces. The panel displays a general summary with the number of occupied IP addresses and the network. You can also add more networks at any time if you didn't have time to do it at the time of creation. The channel width is changed by moving the slider or buttons next to the value:

Enter the appropriate gateway name, and click on the button Create:

How to delete gateways
You can manage the created gateway via the panel, change the configuration or delete the created devices:

To delete a connected network, select Deleting in the Actions section. Confirm the action by clicking the appropriate button. You can also remove a network from the list by clicking on the ellipsis and selecting the appropriate item.
 700
300
 700
300
 700
300


