Kubernetes is now widely recognized as the industry standard for managing containerized workloads, but traditionally its setup requires time, experience, and deep technical knowledge. In the Serverspace control panel, this process is significantly simplified — you can deploy a fully functional Kubernetes cluster in just a few minutes without writing configuration files or manually managing infrastructure. In this article, we’ll walk you through the setup process using the intuitive web interface, explain the key parameters, and give recommendations for choosing the right configuration.
Cluster Setup
Start configuring your cluster by navigating to the Kubernetes section of the control panel:
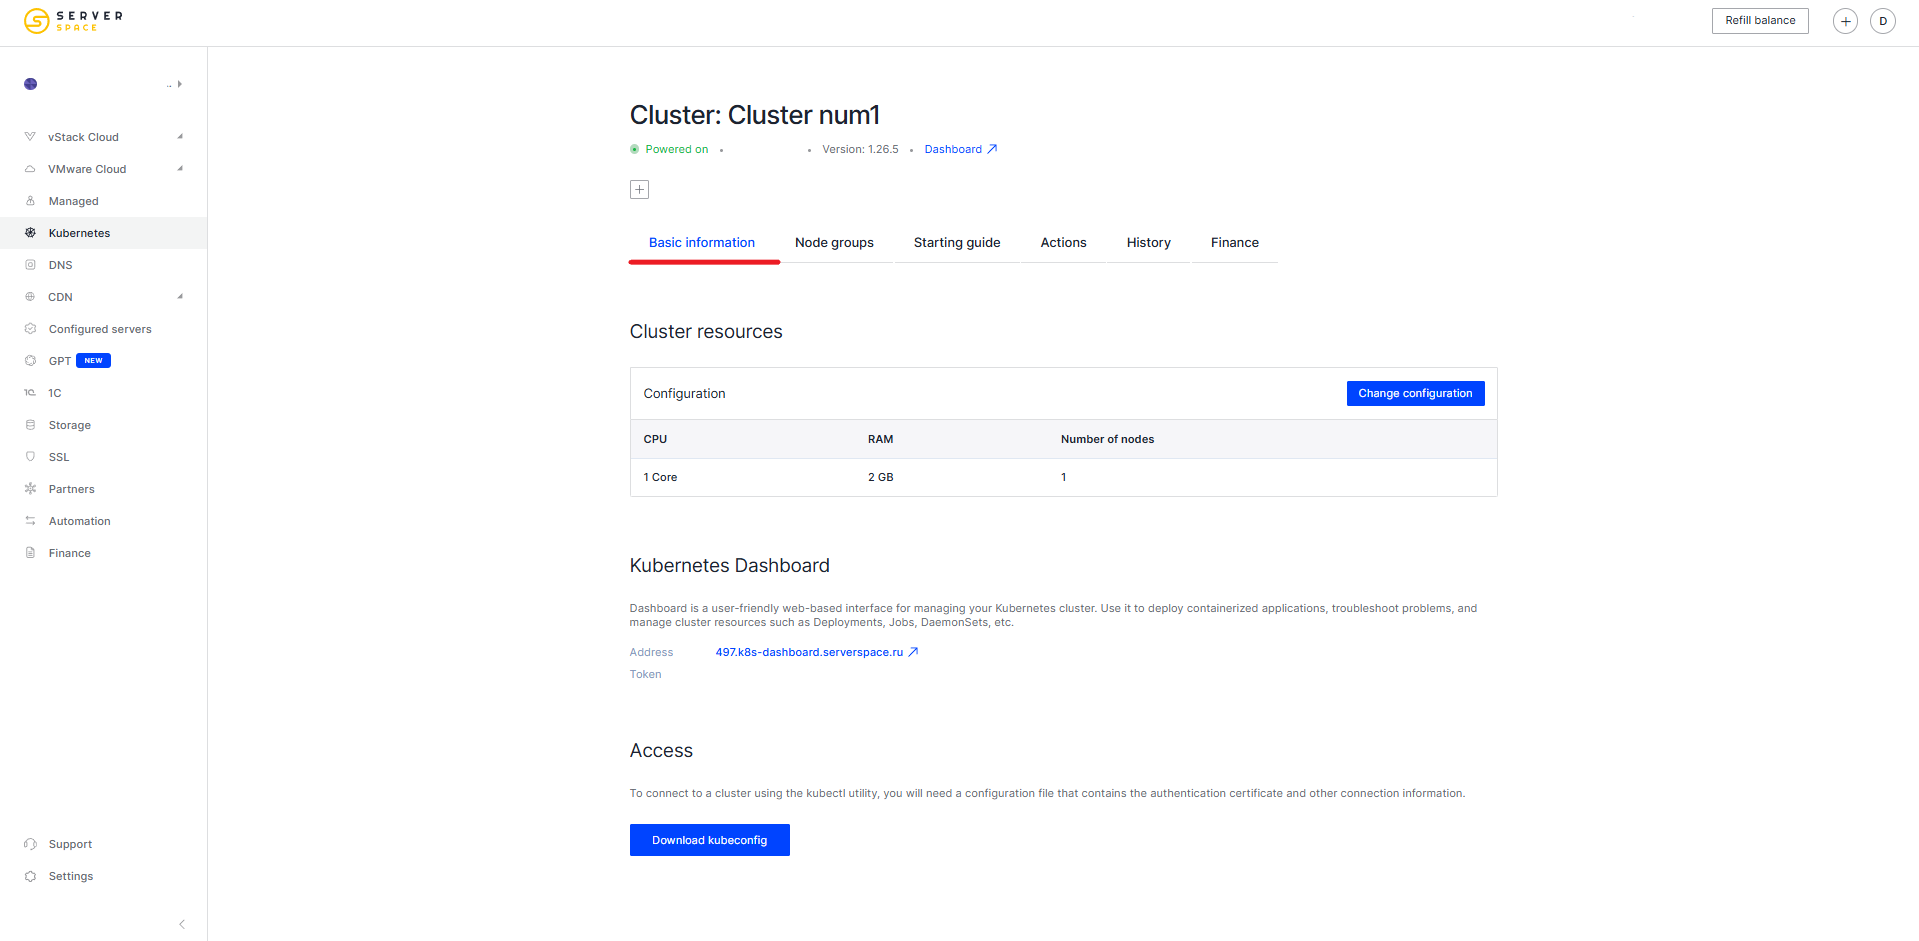
In the Main Information section, you can configure:
- Cluster resources – including its CPU, RAM, and number of nodes
- Kubernetes Dashboard – if you’ve enabled Ingress, you’ll get access to the Dashboard, a convenient web interface for managing your Kubernetes cluster.
- Access – allows you to download the kubeconfig file to connect to the cluster using the kubectl utility
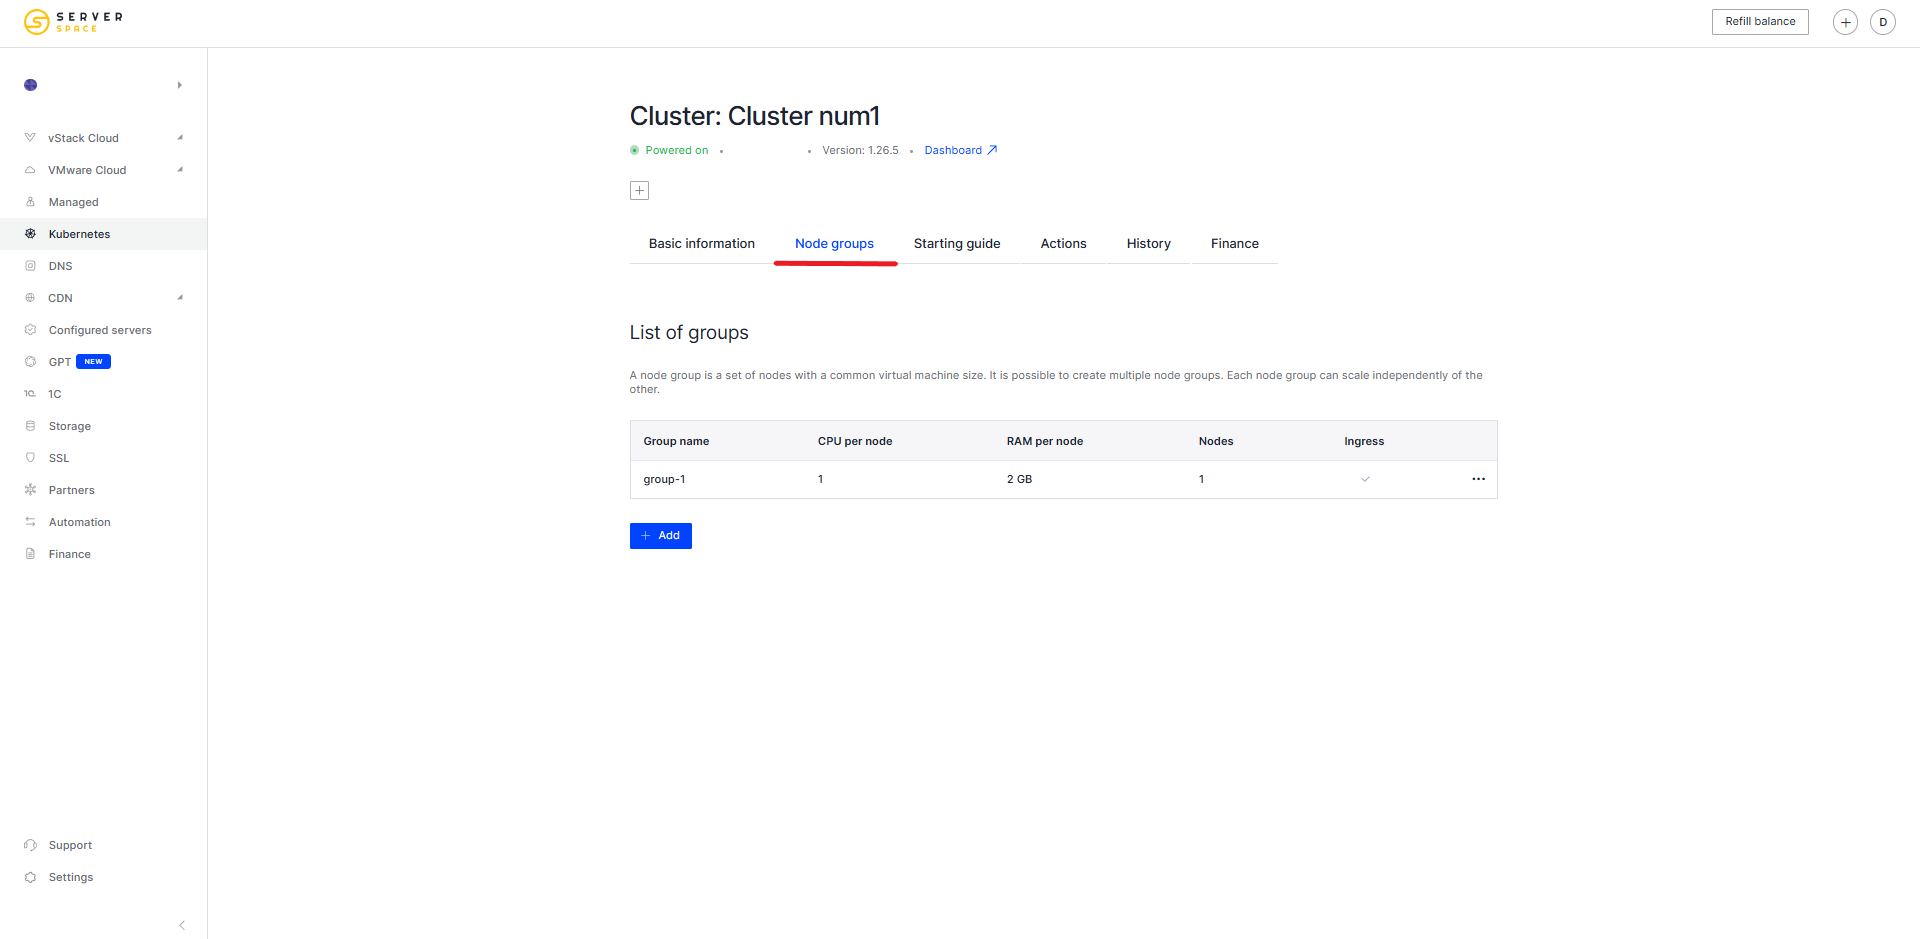
In the Node Groups section, you can manage the list of node groups:
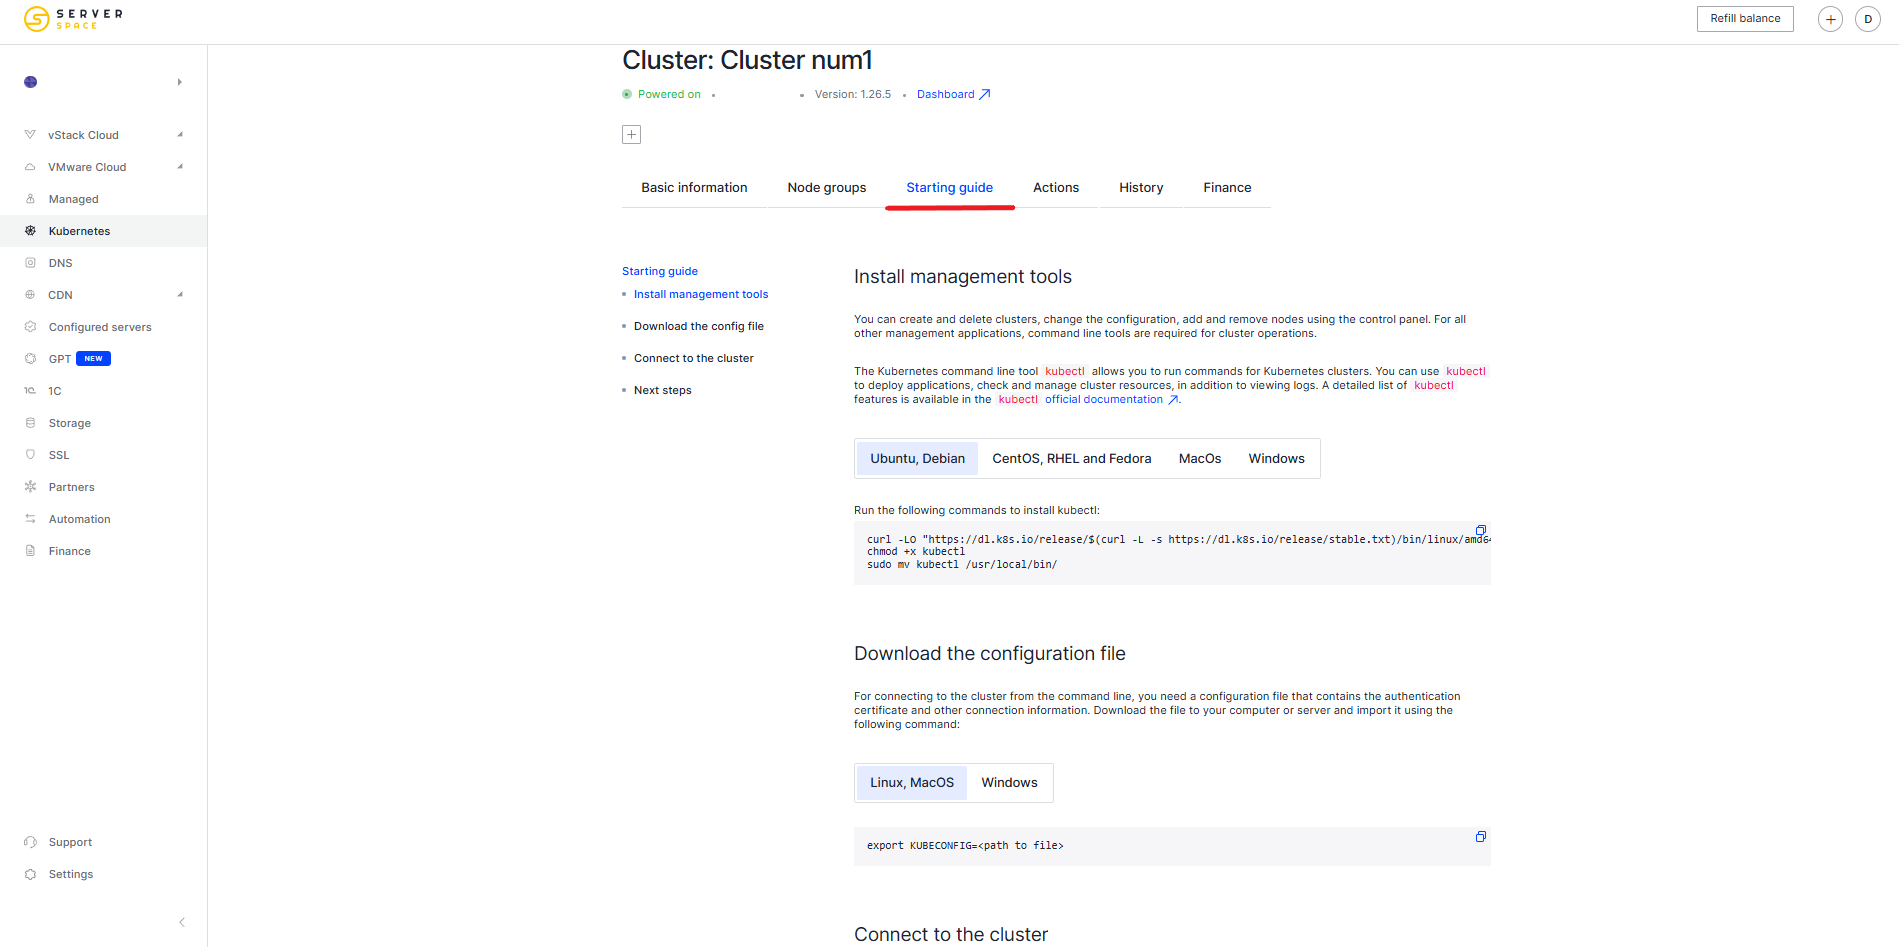
In the Getting Started Guide section, you’ll find information about:
- How to install Kubernetes management tools
- How to download the Kubernetes configuration file
- How to connect to your Kubernetes cluster
- Next steps – explaining what you can do after successfully connecting to the cluster
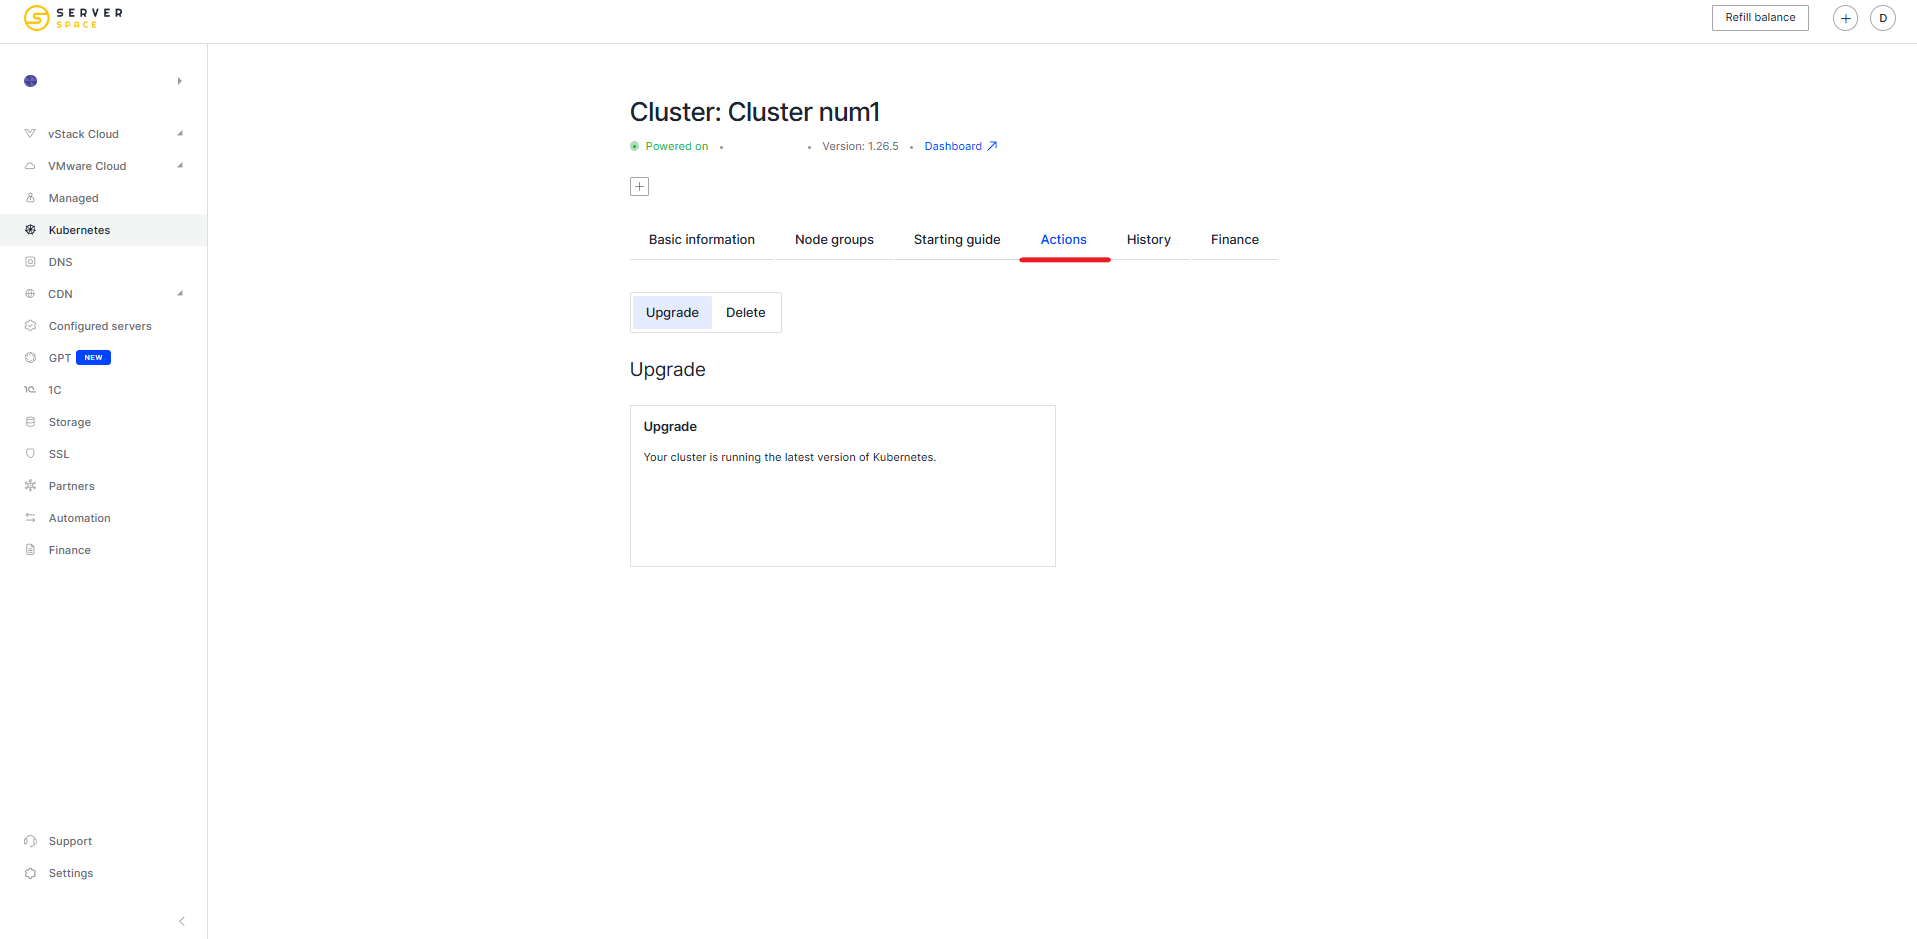
In the Actions section, you can update your cluster to the latest version or delete it:
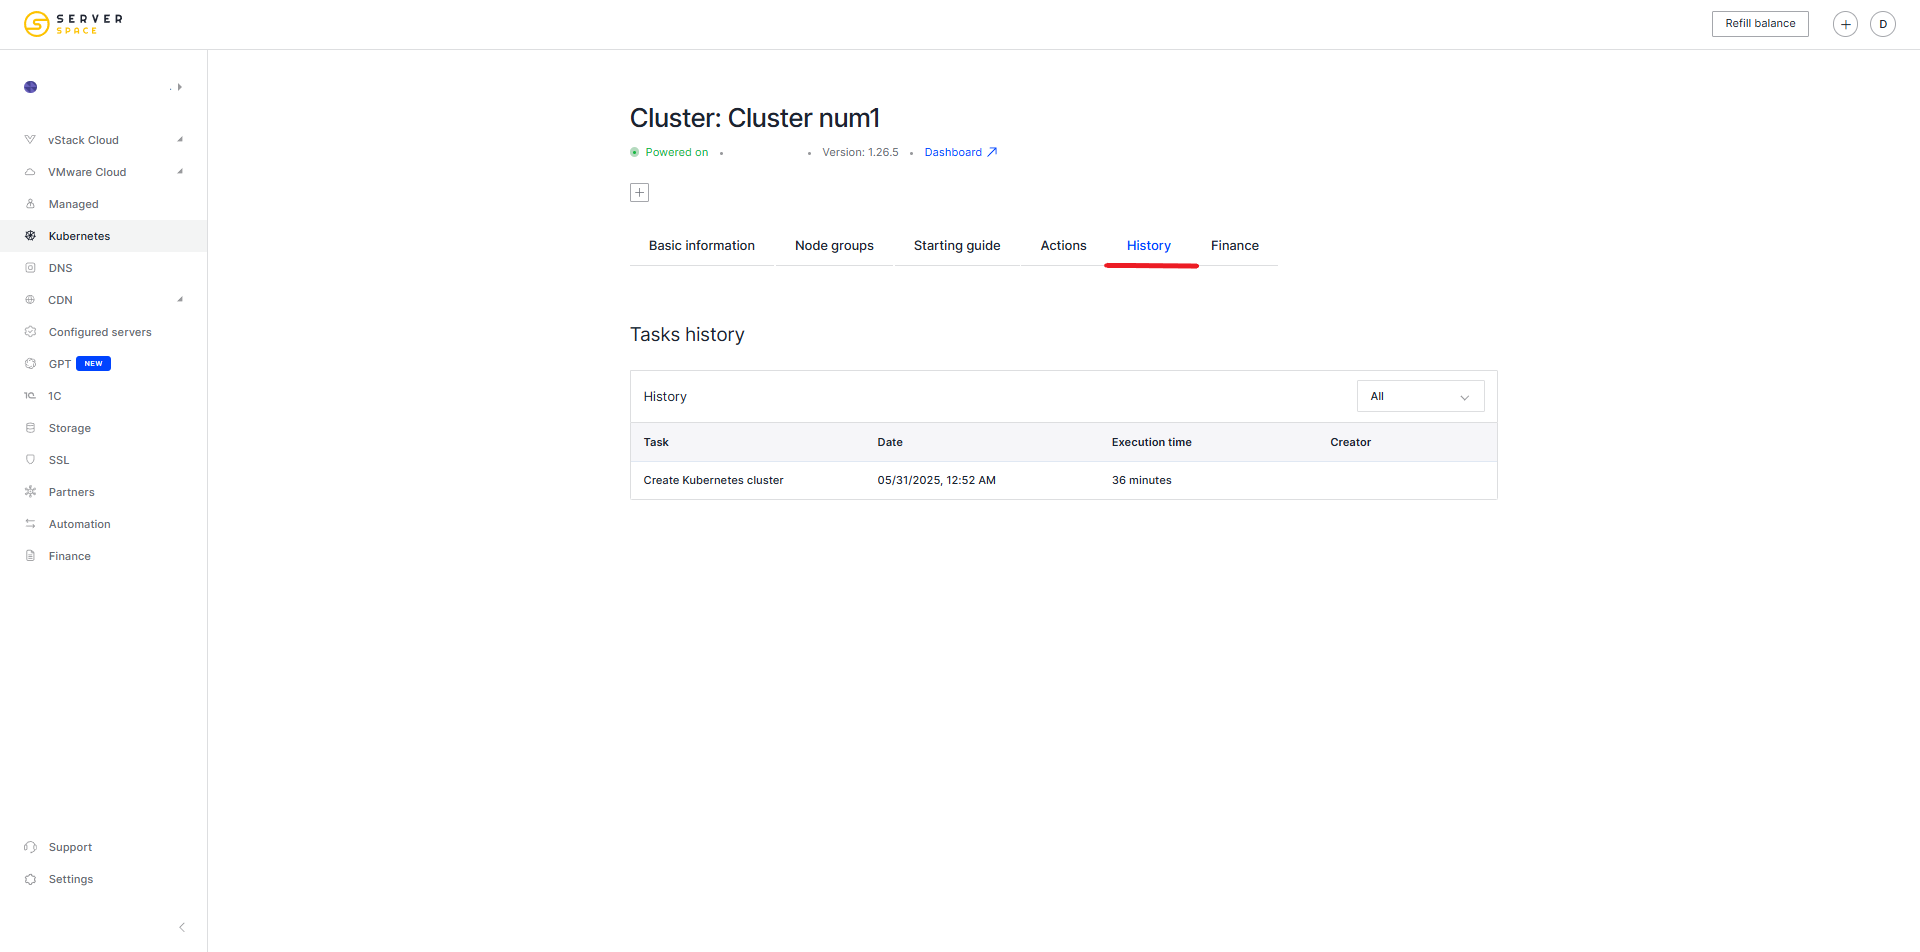
In the History section, you can view recent actions performed on your cluster:
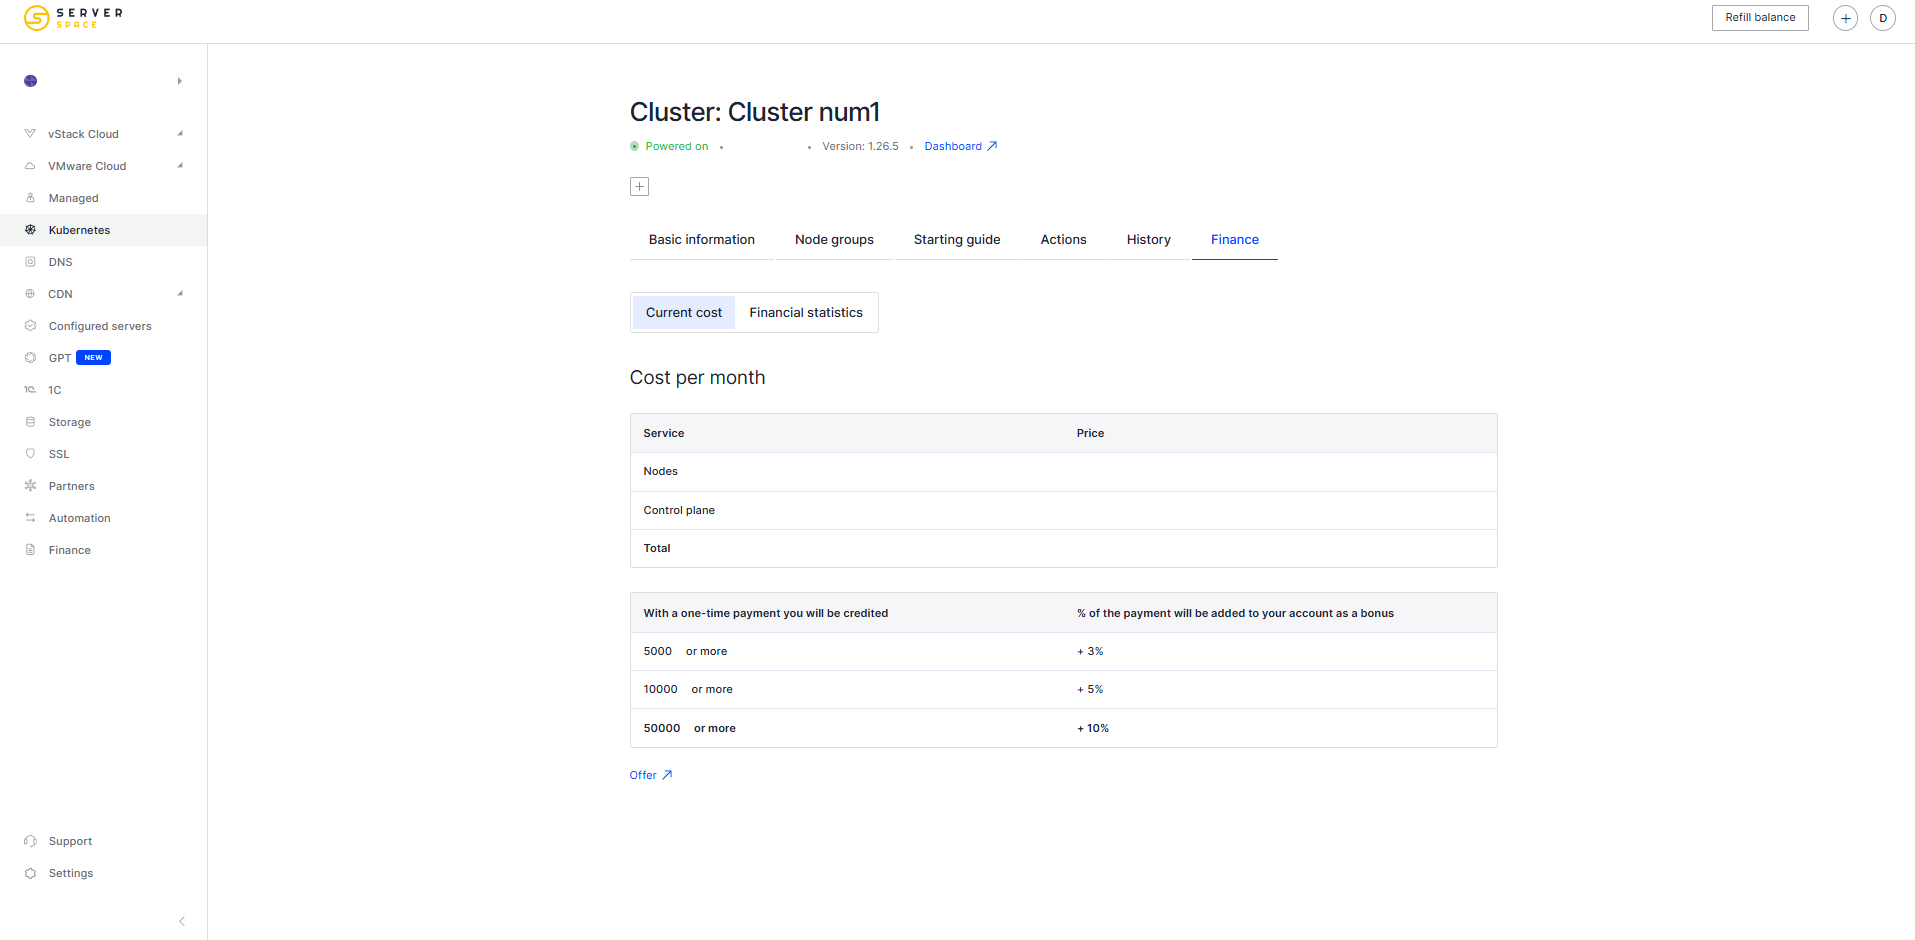
In the Billing section, you can view the monthly cost of your cluster in detail, as well as check the billing history: