Everyone is simply consumed by repetitive and similar tasks, especially if they often come down to “copy“ and “paste“. CRM systems have become one of the solutions to operational processes in business that can be fully optimized, however, and they soon became scarce.
Large companies developed their own automation solutions, but for this they had the people and the means, which is clearly inaccessible to ordinary people to solve their tasks. Therefore, the development team implemented the n8n open-source project, which in low-code format allows automating operational chains.

In this article, we'll look at how to quickly deploy a self-hosted task automation solution!
What is n8n and how do I install it?
n8n is an application server that contains many connectors or nodes that know how to communicate with external API solutions and transfer information between each other to build a processing chain.
There is a trigger or event that triggers the entire process and the rest of the processing nodes, including AI agents, each of which performs its own functions. For installation, we will use a Docker image with a Community Edition server license.
We will install all the dependencies before starting work. To do this, enter the line, depending on your package manager, the commands may change:
apt install docker.io docker-compose -y 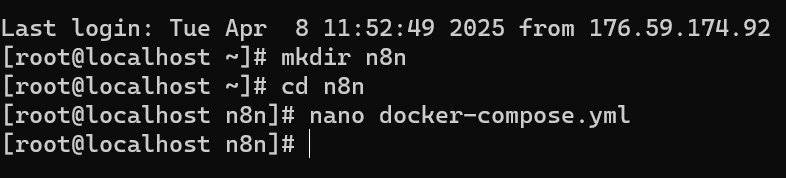
After that, we will create a temporary directory and configure the n8n service via the Docker Compose file:
version: '3'
services:

n8n:

image: n8nio/n8n

restart: unless-stopped

ports:

- "2002:2002"

environment:

- N8N_BASIC_AUTH_ACTIVE=true

- N8N_BASIC_AUTH_USER=

- N8N_BASIC_AUTH_PASSWORD=

- N8N_HOST=

- N8N_PORT=

- N8N_PROTOCOL=http

- N8N_WEBHOOK_URL=http://

- N8N_SECURE_COOKIE=false

volumes:

- n8n_data:/home/node/.n8n

networks:

- n8n_network
volumes:

n8n_data:
networks:

n8n_network:

driver: bridge
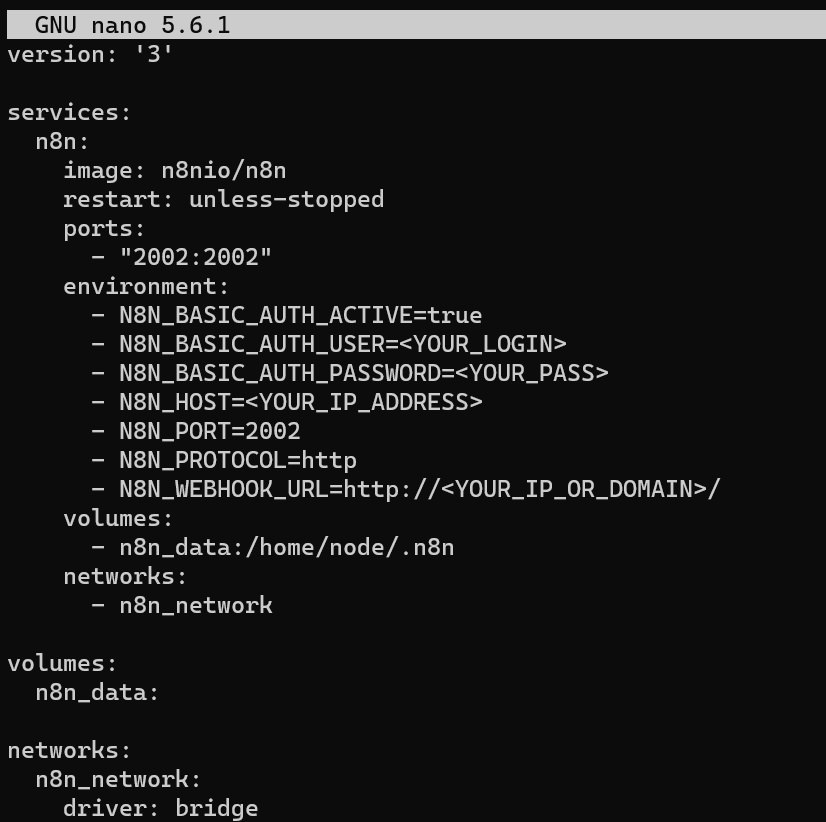
The environment variables that are passed to the container are responsible for the image configuration. The screenshot above shows the basic configuration kit. You will need to enter your username, password, and the IP address of the device where it will be available. As well as the port and url, you need to specify the IP in it./A domain name with a URL scheme. If you plan to use it without SSL, leave http.
Then run the image with the command:
docker-compose run -d 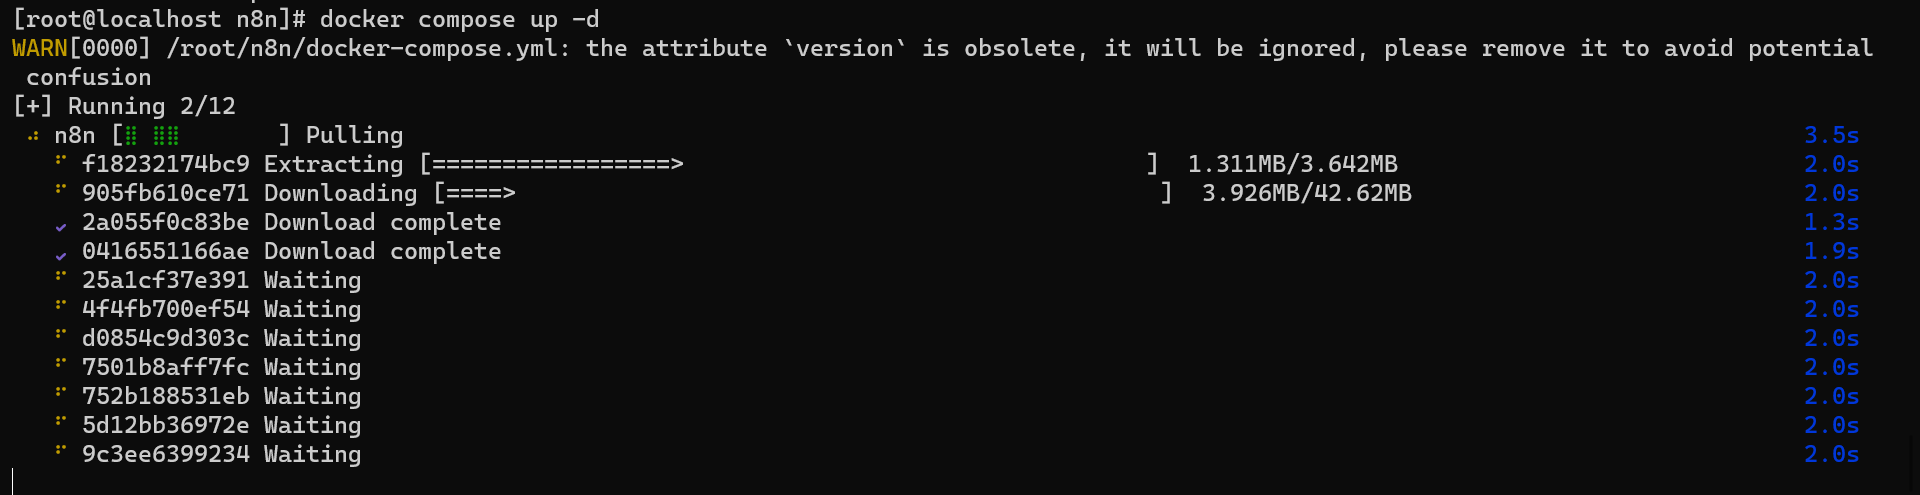
The image will load onto the device and accept all the environment variables, after which you can connect to it using the URL. Register an account using the form:
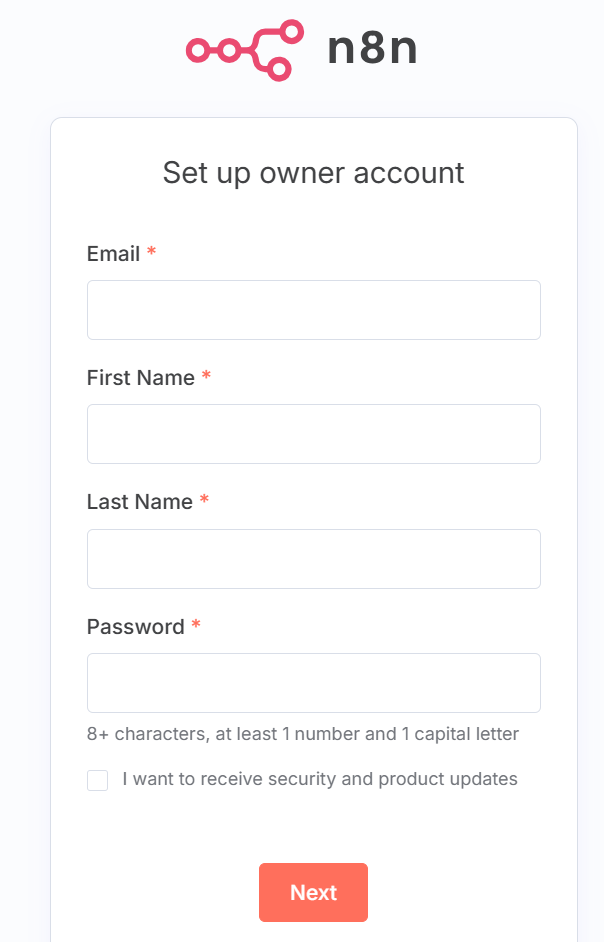
After that, you can receive the activation key by email and enter it in the settings. Great, the platform is installed and ready for use.
How to work with n8n?
It is important to understand that this is an application server that generates/processes API requests to external solutions, and then puts each field of the received package into a variable, which can then be used by the following modules. For example, we have a Microsoft Phi-4 GPT model that can analyze any of your data streams. The simplest scheme looks like this:
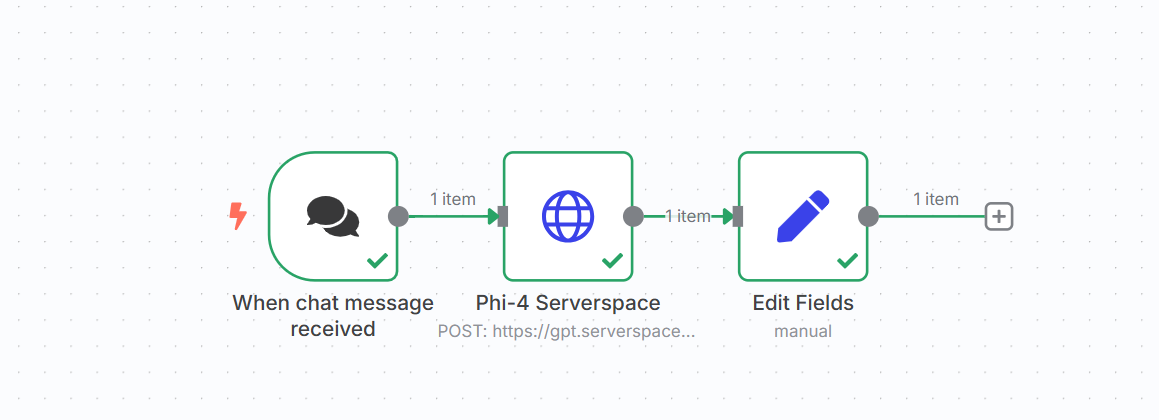
Where the trigger is a chat in which we can communicate with the model. After that, the model itself is a module that generates an API request, transmitting the result to the output filtering node. You can import the schema itself from our file, just select the three dots on the right, top and click import via file.
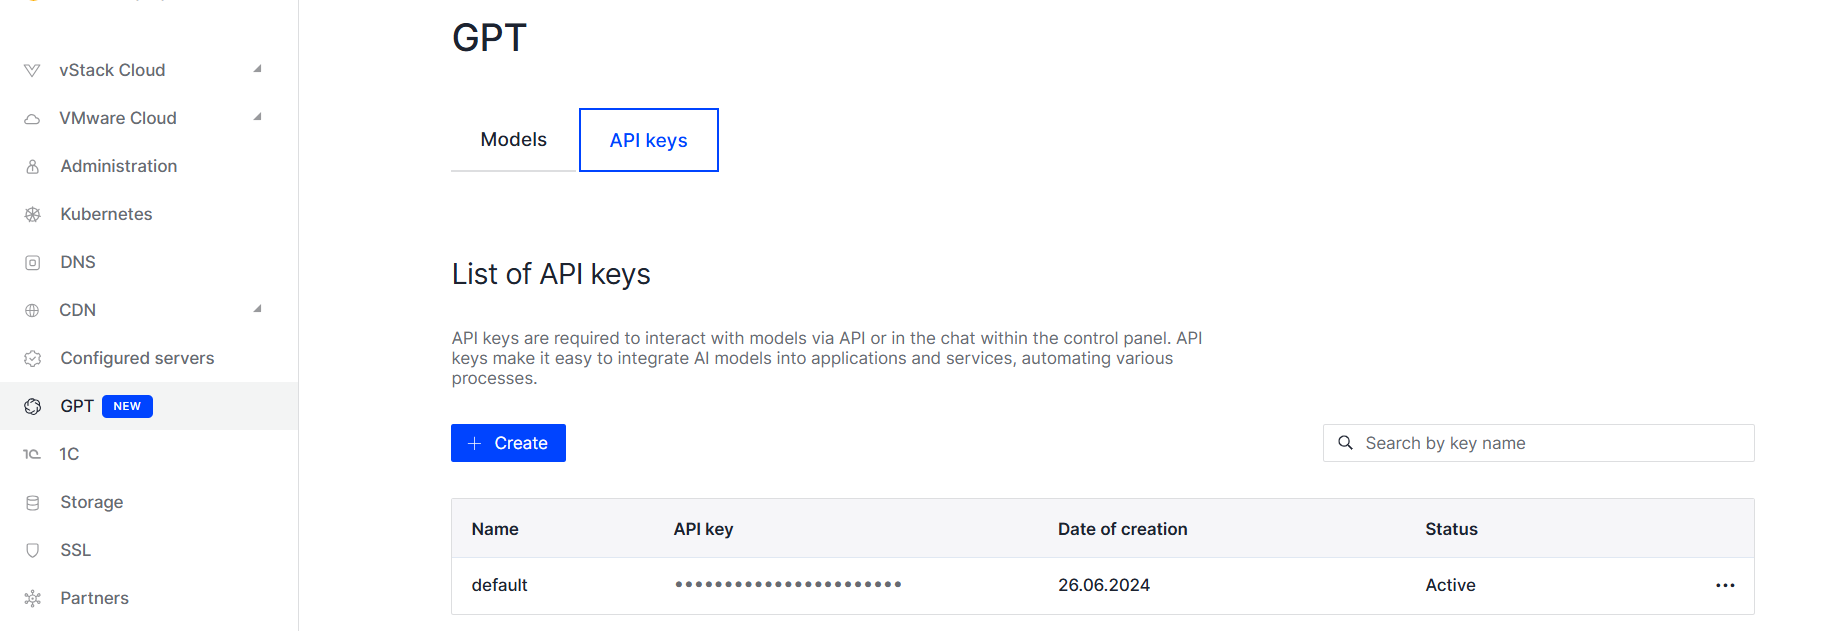
You just need to go to our panel and create an API key, then copy it:
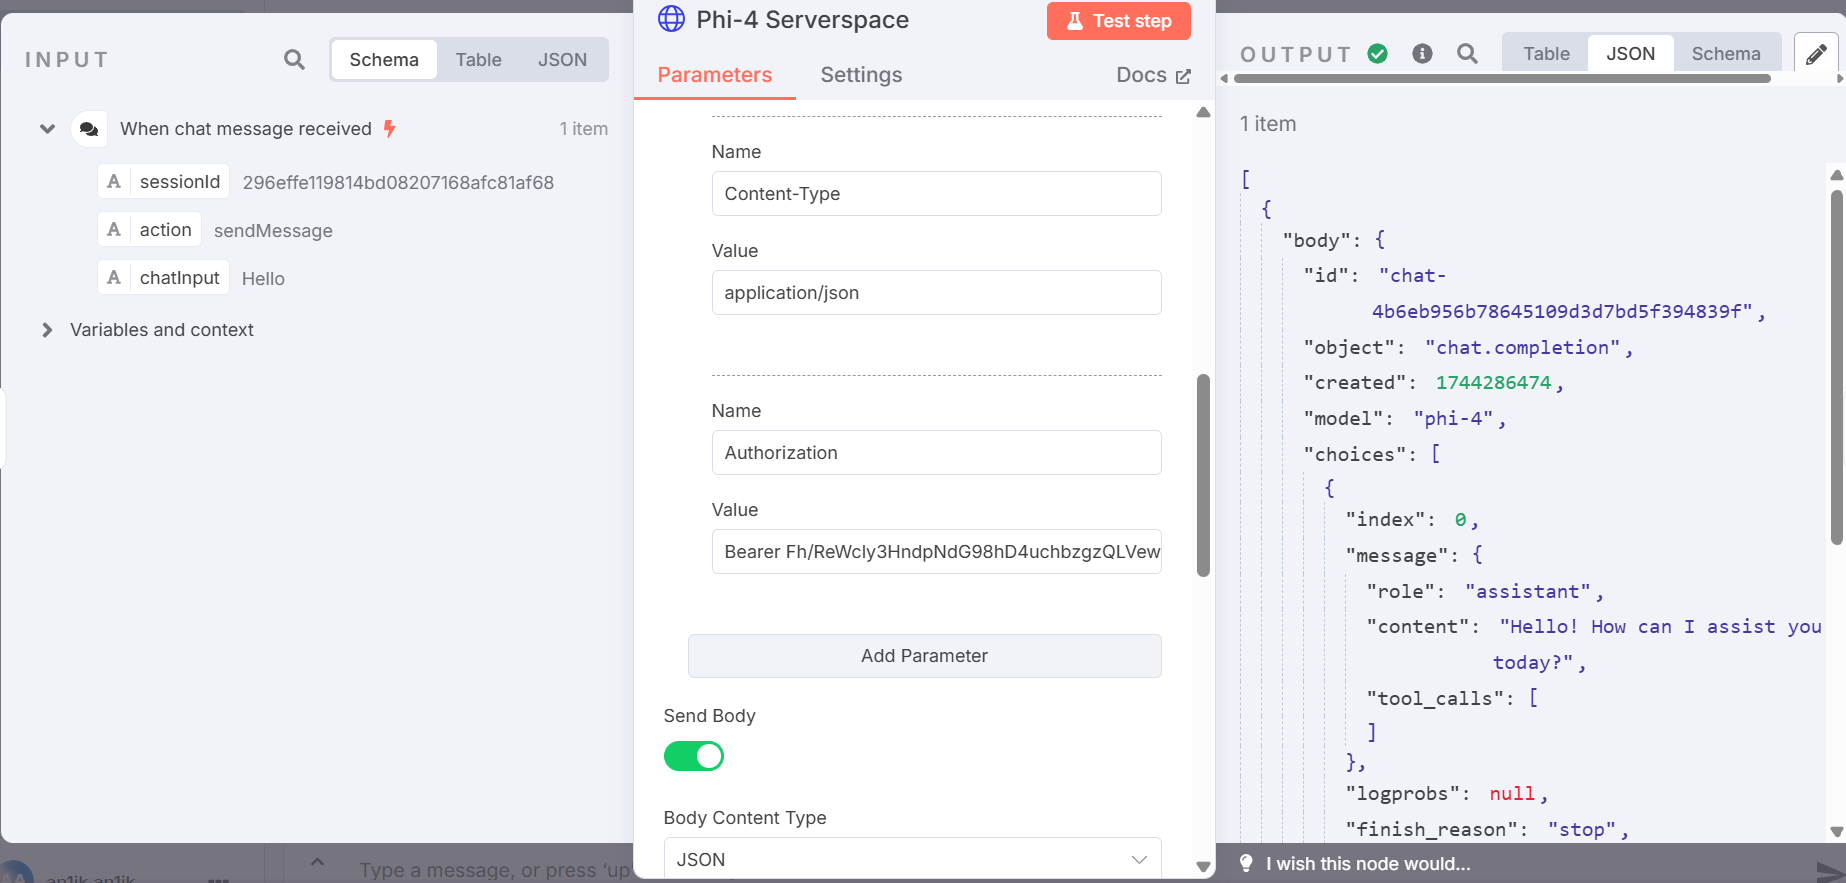
Open the Phi-4 node and insert your entire key in the Value field from the Authorization header:
Then log in to the chat and write any request, just like a classic GPT bot:

Now you can connect any trigger or other block to it, like Telegram messages from your bot or product reviews from the marketplace, the main thing is to remember the Input and Output data model! Look at the screenshot above and note that we use the chatInput variable to generate an API request, and then JSON is passed to the Output!
In the following materials, we will look at how to build more complex analytics chains with an overview of a large number of nodes so that everyone can form their own chains!
FAQ: Deploying and Using n8n
- Q: What is n8n used for?
n8n is an open-source workflow automation tool that lets you connect APIs, apps, and services with a low-code interface. It helps automate repetitive tasks without custom coding. - Q: How can I deploy n8n on my server?
You can deploy n8n using Docker and Docker Compose. Simply set up environment variables (username, password, host, and port), run the container, and access the web interface through your server’s IP or domain. - Q: Does n8n require SSL?
SSL is optional. For local or test environments, you can use HTTP. For production, it’s recommended to configure SSL (e.g., via a reverse proxy like Nginx with Let’s Encrypt). - Q: Can I integrate AI models like GPT with n8n?
Yes. n8n supports external API calls, so you can connect AI models (e.g., Microsoft Phi-4, OpenAI GPT) or any third-party service, pass data between nodes, and build custom automation workflows. - Q: Is n8n free to use?
Yes, the Community Edition of n8n is free and open source. Paid options are available for cloud hosting or advanced enterprise features.


