
In one of the previous articles, we explored the process of running a Docker container from an image. Docker's main concept revolves around each individual process having its own dedicated container with the necessary environment tailored to its specific needs. However, when dealing with complex applications, a challenge arises.
Consider a web application that requires a database, a web server, and potentially a PHP interpreter. This already involves managing three separate containers, and it becomes inconvenient to manually set up and run them individually. To address this issue, the "docker-compose" utility was introduced. It enables the management of container groups, facilitating their creation, configuration, removal with one command. This tutorial aims to introduce Docker to beginners, focusing on the practical use of docker-compose.
Docker-compose setup
Firstly, you should install 'base' set of packages:
apt-get update && apt-get install -y ca-certificates curl gnupg && sudo install -m 0755 -d /etc/apt/keyrings && curl -fsSL https://download.docker.com/linux/ubuntu/gpg | sudo gpg --dearmor -o /etc/apt/keyrings/docker.gpg && chmod a+r /etc/apt/keyrings/docker.gpg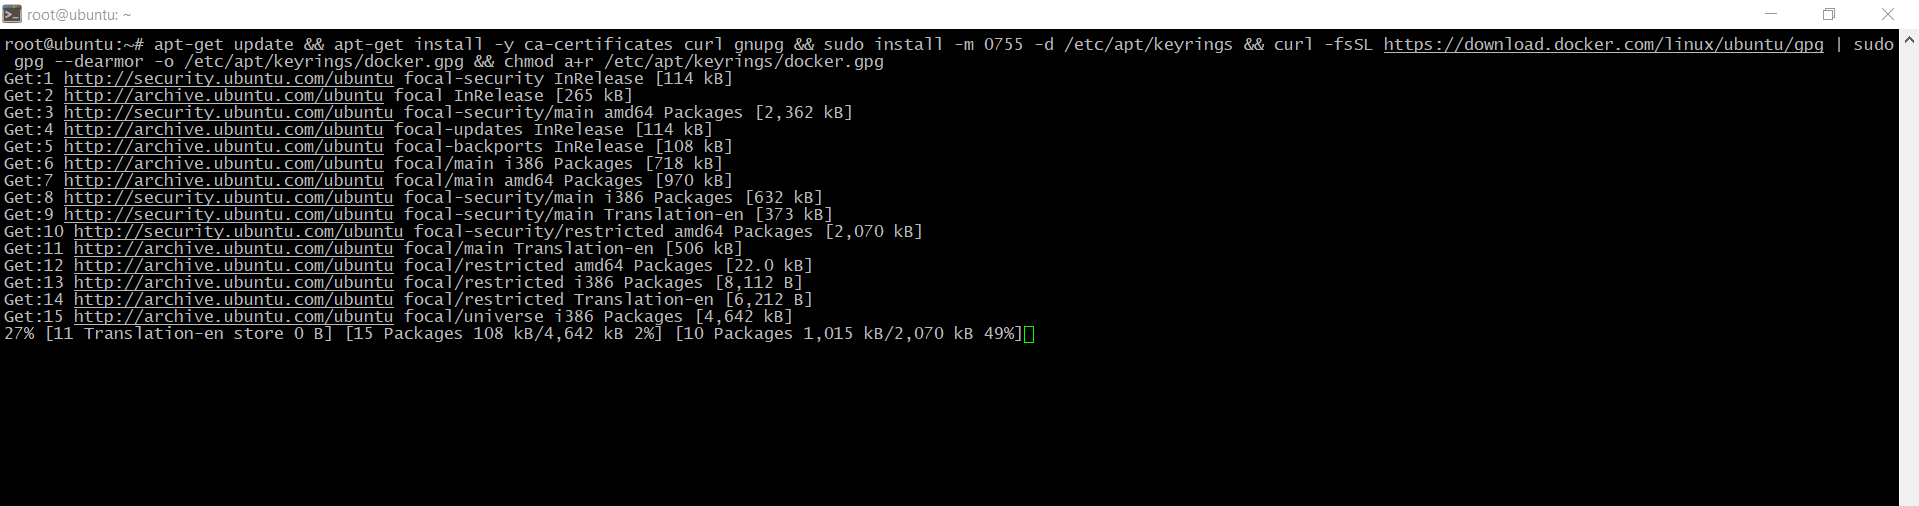
echo \ "deb [arch="$(dpkg --print-architecture)" signed-by=/etc/apt/keyrings/docker.gpg] https://download.docker.com/linux/ubuntu \ "$(. /etc/os-release && echo "$VERSION_CODENAME")" stable" | \ sudo tee /etc/apt/sources.list.d/docker.list > /dev/null
apt-get update && apt-get install docker-ce docker-ce-cli containerd.io docker-buildx-plugin docker-compose-plugin -y
Further process is very simple, download pre-compiled file is enough:
curl -L "https://github.com/docker/compose/releases/download/1.27.0/docker-compose-$(uname -s)-$(uname -m)" -o /usr/local/bin/docker-compose
Then grant an execute permissions:
chmod +x /usr/local/bin/docker-compose
Then, check package's version:
docker-compose --version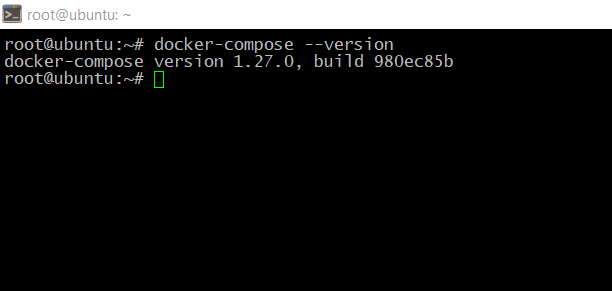
Creating a project
If you have worked on or seen projects using Docker, you may have noticed that there is a docker-compose file in the project folder.yaml". It is in this file that the containers that need to be created for your project are configured. They will be automatically created using docker-compose. The file uses YAML syntax and should contain the following data:
version: 'file_version'

networks: 'used_networks'

volumes: 'used_storages'

services: 'used_containers'
The version indicates the syntax version of the file, different versions have different keywords available, which is done for backward compatibility. We will use version 3.5. Next, we need to list the volumes, networks, and the containers itself.
YAML syntax is similar to JSON, there are key-value pairs separated by colons, but here the value can be completely empty, can contain other keys, and it can also be an array of values, in which case each array element starts with a dash "-". But unlike JSON, indentation is very important here to show the nesting of values, so don't miss them.
Let's create a folder called 'serverspace-docker' and create a file called 'docker-compose.yaml' inside it:
mkdir /opt/serverspace-docker && nano /opt/docker-compose.yamlAnd put this code inside:
version: '3.5'

services: docker-nginx: image: nginx 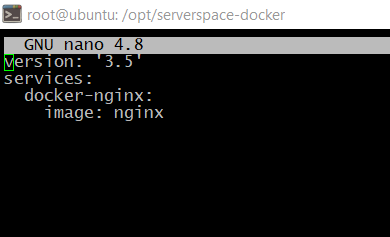
It is enough to run container.
Running containers
To start a group of containers configured in docker-compose.yaml, you need to navigate to the folder where this configuration file is located and execute the command docker-compose up there. For example:
cd /opt/serverspace-docker/

docker-compose up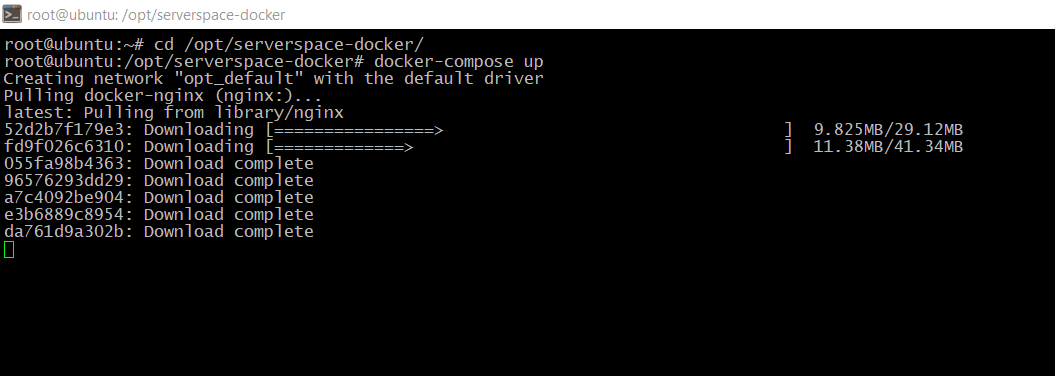
After that, the containers will be launched, their output streams will be merged into one, and you will see information in the terminal. To stop the containers, simply press Ctrl+C. If you want to run the containers in the background, use the -d option:
docker-compose up -d
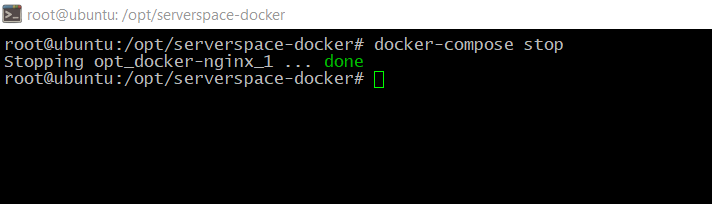
To stop containers running in the background, you can use the docker-compose stop command:
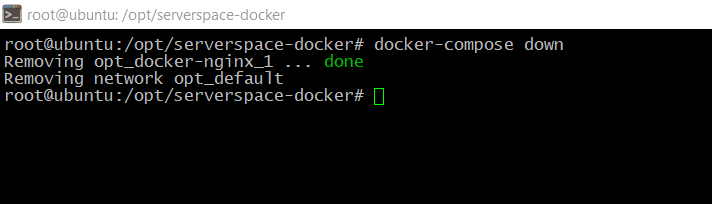
The docker-compose down command not only stops all running containers but also removes them:
Container ports forwarding
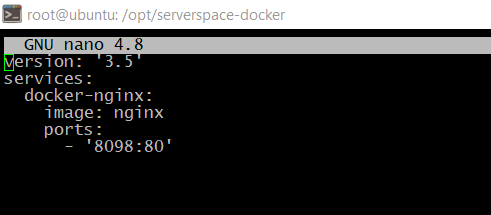
The container is running, but it is of little use to us at the moment. With Docker, we can forward port 80 of the container to the host operating system and gain access to it. To do this, use the 'ports' directive. The syntax is as follows:
ports:

- external_port:internal_port
So, lets forward port 80 to 8098
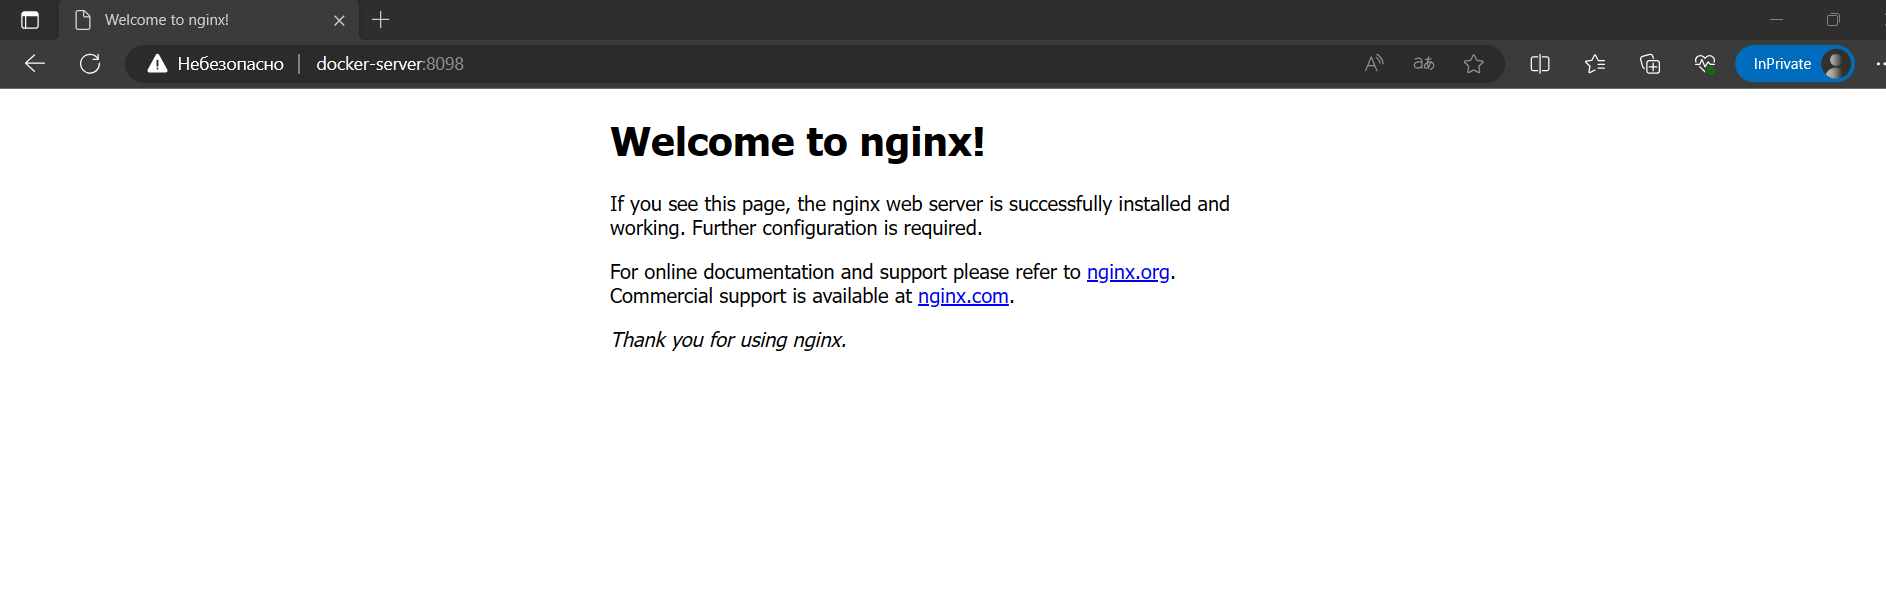
As a result we can open nginx on 'external' port:
Mounting folders
To mount external storage or host folders to the container, the "volumes" section is used. The syntax is very similar to working with ports:
volumes:
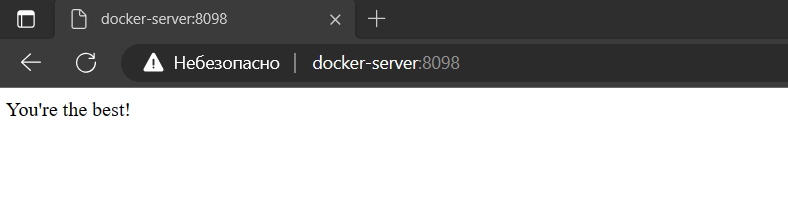
- /path/to/external/folder:/path/to/internal/folderLet's create a file called "index.html" in the current project folder and mount this folder instead of the container's "/usr/share/nginx/html/" folder:
echo "You're the best!" > index.html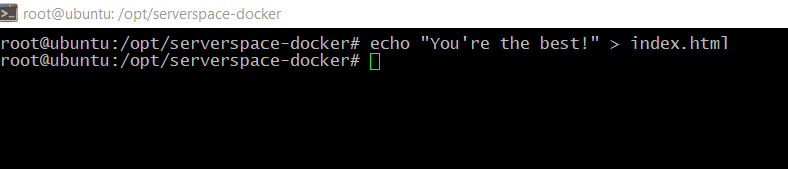
And add folder mounting directive to the docker-compose file:

After restarting the container, you will see your own page in the browser.
Configuring volumes
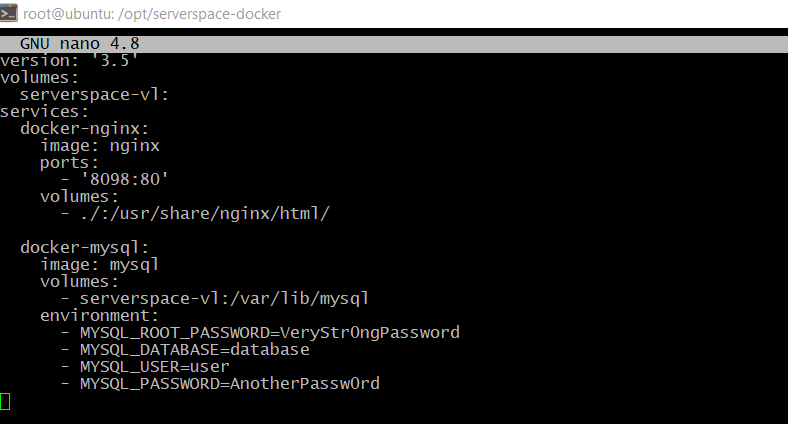
We can mount not only external folders but also volumes created in Docker to the container. To do this, you first need to add the volume to the main "volumes" section. For example, "serverspace-vl". Most web applications require a database, such as MySQL. Let's add another container for this database and add our volume to it. The volume is added the same way as an external folder, except that instead of a folder, the name of the volume is specified. Let's add MySQL to our configuration:
docker-mysql:

image: mysql

volumes:

- serverspace-vl:/var/lib/mysql

environment:

- MYSQL_ROOT_PASSWORD=VeryStr0ngPassword

- MYSQL_DATABASE=database

- MYSQL_USER=user

- MYSQL_PASSWORD=AnotherPassw0rd
Here, we also added the "environment" section where we set environment variables for the container. They are necessary to specify the default database name and root password.
Configuring networks
Containers need to communicate with each other. We already have Nginx and MySQL, and they do not need to communicate with each other yet. But once we have a container for PhpMyAdmin, which needs to access MariaDB, the situation will change. Virtual networks are used for communication between containers and can be added in a similar way to volumes. First, add the network to the main "networks" section:
networks:

serverspace-network:
Then, add this network for each container that needs "outside" access. Afterwards, the containers will be available on the network by their names. For example, let's add PhpMyAdmin and give it access to the database:
docker-phpmyadmin:

image: phpmyadmin/phpmyadmin:latest

ports:

- "8099:80"

environment:

- PMA_HOST=docker-mysql

networks:

- serverspace-network
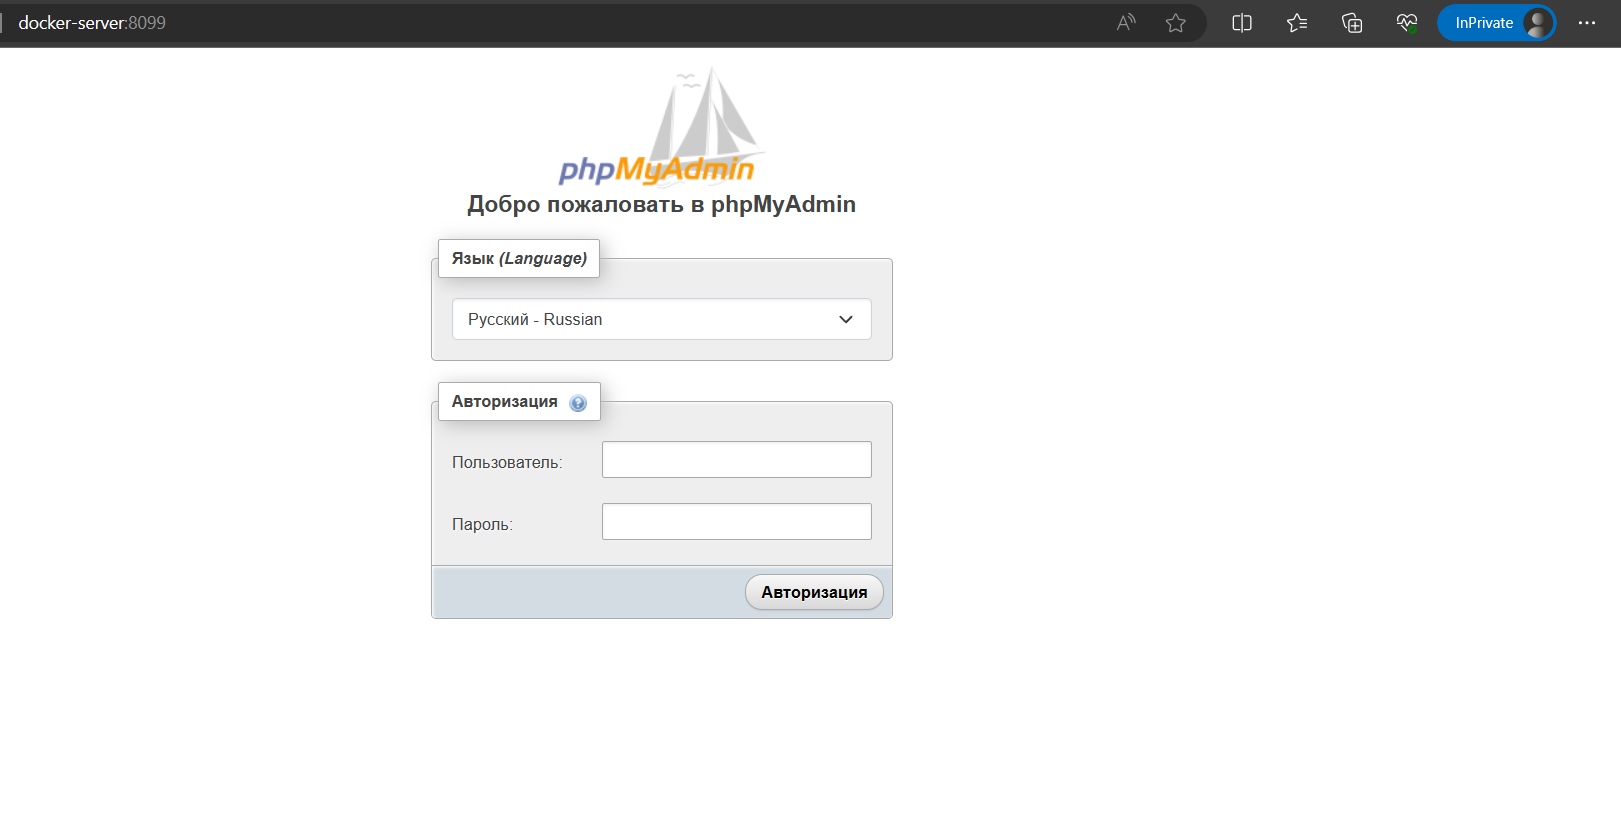
Here, in the PMA_HOST variable, we refer to the "docker-mysql" host, which is accessible thanks to the shared network between these containers. Similarly, in the "docker-mysql" container, our PhpMyAdmin container is accessible as "docker-phpmyadmin". You can open the address http://docker-server:8099 and authenticate to check if the database is working.
Connecting to a container
With docker-compose, you can connect to any container in the group. Simply use the exec command. For example, start the project in the background:
docker-compose up -dThen let's connect to the container with Nginx:
docker-compose exec docker-nginx /bin/bash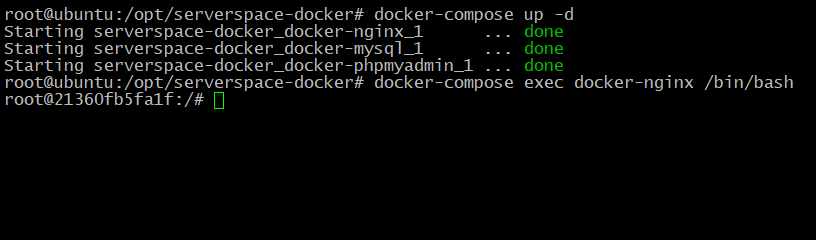
Conclusions
In this article, we covered the usage of Docker for beginners. Also we described how to use a few docker containers as a complex, one unit. Topic is quite extensive and complex, but very interesting. By deploying project on one machine in this way, you can deploy it wherever you need by simply copying configuration there. That's why this technology has gained such great popularity among developers and DevOps.


