
In order to make the most of Zabbix's features, it's important to create users, user groups, and permissions. This will allow you to control who can access and modify different parts of the monitoring system, ensuring that your data remains secure and that only authorized personnel can make changes. In this article, we'll go through step-by-step instructions on how to create users, user groups, and permissions.

Creating Users
Click on the Administration tab in the top navigation menu, and then click on Users.
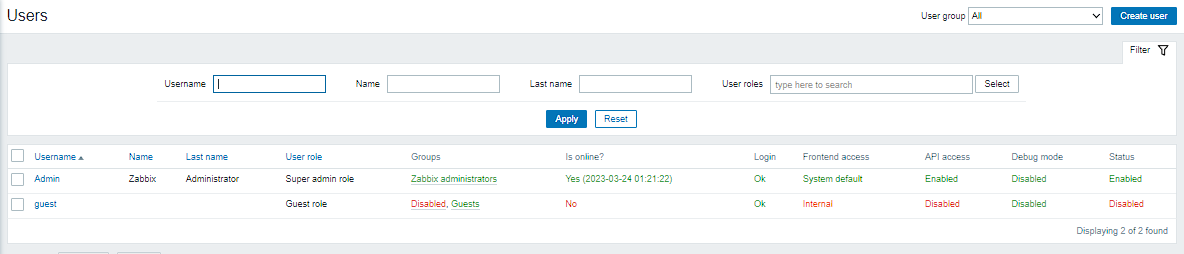
Click on the Create user button, or a user you want to edit.

In the User details section, fill in the username and password fields.
In the User group section, select the user group to which the user should belong. If the user group does not exist, you can create it using the instructions below.
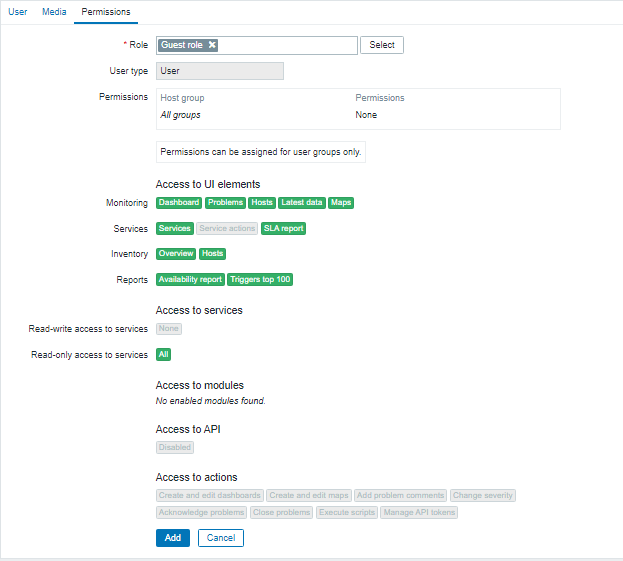
In the Permissions section, you should choose a pre-created role for your user which specifies what UI elements are accessible for this user. It also sets permissions for specific actions, such as acknowledging problems or deleting events.
Creating User Groups
User groups in Zabbix serve as a way to manage and organize users who share similar responsibilities within the monitoring system. User groups allow administrators to assign permissions to a group of users, rather than having to assign permissions to each user individually. This helps to simplify the management of user access and makes it easier to ensure that all users with similar responsibilities have the appropriate level of access.
Go to the Administration tab in the navigation menu, and then click on User groups.
Click on the Create user group button, or the group you need to change.
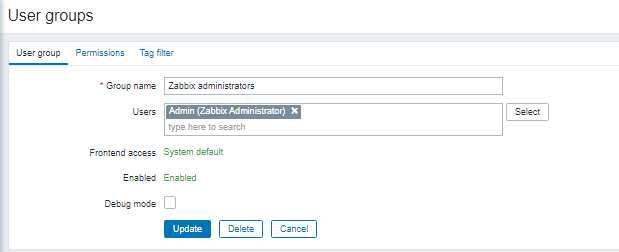
In the User group details section, fill in the group name and add users for this group.
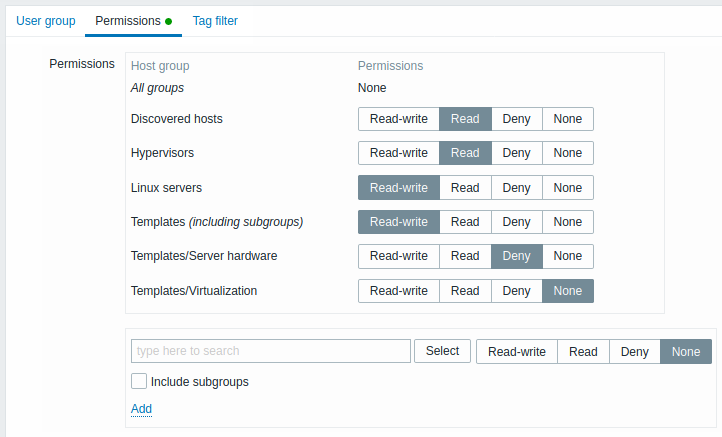
In the Permissions section, you can specify which host groups and templates, and other objects linked to them the user group can access and read and/or write.
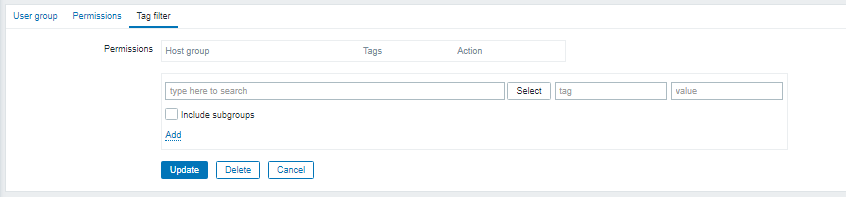
The tag filter tab allows giving access based on tags. Write the combination of needed host groups and tags.
User roles
User roles at the Administration tab. As always create a User role or edit an existing one.
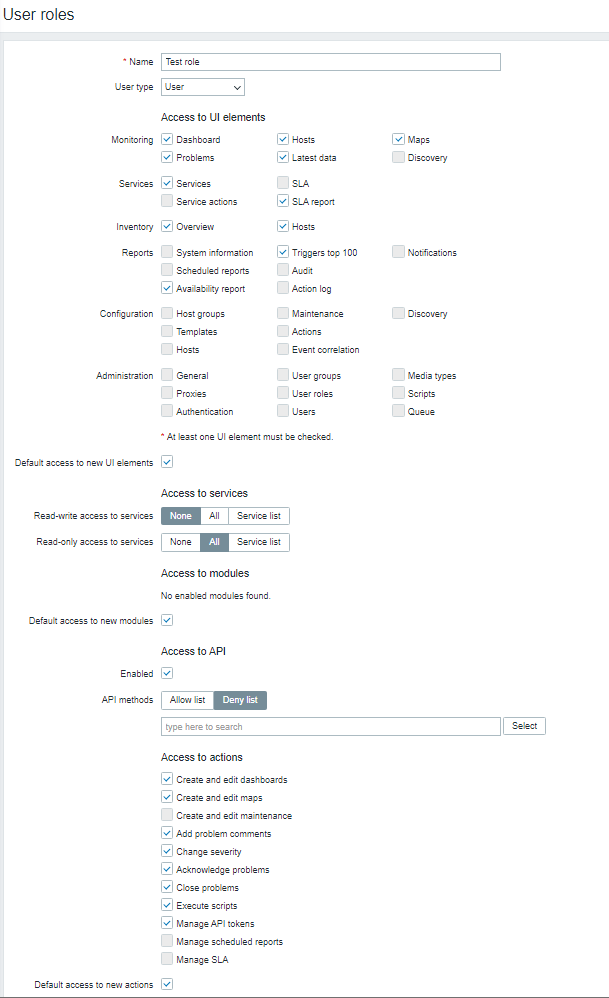
Give it a name, and choose which UI elements are accessible to this role (you can jump off the three user types it suggests.). Next, you can choose access to modules, services, and actions.
Save the changes and that's it.
Conclusion
We looked into configuring Zabbix users, user groups, and user roles for them.


