
Introduction
With our server and agents going lets look closer into configuring our first hosts and items.

Hosts
Go to Configuration → Hosts.
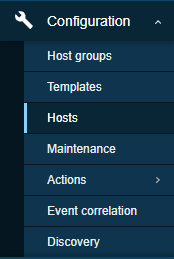
Click on the "Create host" button to add a new host.
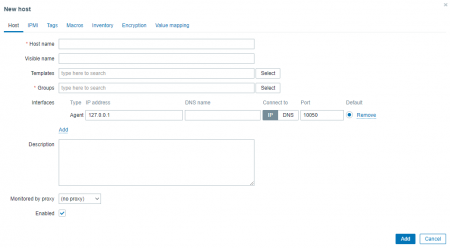
- Enter a case-sensitive host name, it must be identical to the one you configured on the host.
- The visible name line defines how this host will be displayed in graphs, maps, etc. and can be left empty if the original hostname suits you.
- A template is a pre-made set of items, triggers, graphs, etc, host linked to a template will automatically get all the things linked to this template implemented to it.
- A host should belong to at least one host group. Choose one or create your own (just type the name to add one).
- Then press the ‘Add’ button at the interface line and choose it’s type. Zabbix is able to get its data through the agent, SMNP, JMX, and IPMI, today we are working with the agent.
- Afterwards input the IP address or DNS name of the host and choose which one Zabbix will use to collect the data.
- Add a little description if you like.
- No proxy lets you choose between monitoring by the server itself, or a proxy.
- Make sure to check the ‘enabled’ box to make the host active and monitored.
Items
Items are responsible for collecting the data from hosts, let's look into creating them.
Configuration → hosts → items on the host line, then hit create item on the top right.
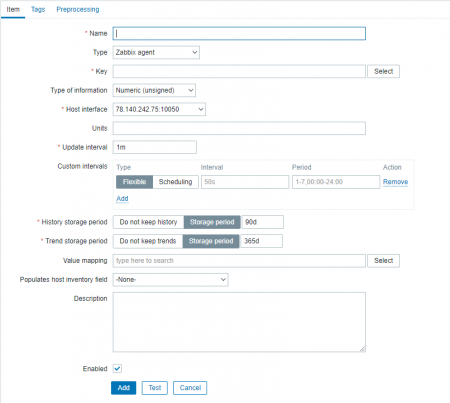
- Here we will need to Give it a name, and choose the suitable item type.
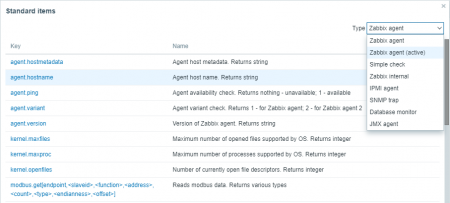
- Key line defines what data will this item be getting from host, select the one you want to monitor, and [] parameters allows to customize the data you will get.
- Type of information specifies the type of data: Numeric (unsigned) - number, Numeric (float) - floating point number, character - short text, Text - long text, log - long text with log options. Will change according to a selected key if it supports a single type of data.
- Host interface allows the selection of which interface to use.
- Units will make Zabbix post-process data according to the selected option.
- Update interval and Custom intervals will set how often the agent gets request, the supported suffixes are seconds (s), minutes (m), hours (h) and days (d).
- History storage period - how long you want to storage data.
- Trend storage period - same for trends (minimum, average, and total number of recieved item values).
- Value mapping allows to translate the numeric representation of some keys into a more readable form. For example: ‘0’ - ‘Not available’, ‘1’ - ‘available’ etc.
- Description - speaks for itself.
- And the last thing to do is to check 'enable' box to make this item active for monitoring.
Now we can go to test → Get Value and test.
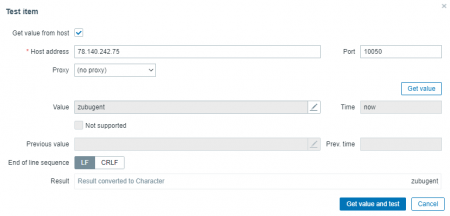
Everything works. let's add this item.
Conclusion
We did a quick run-through of options for Zabbix hosts and items and learned how to create them.


