
Creating triggers
In this step-by-step guide, we’ll walk you through how to create, configure, and customize triggers in Zabbix to generate intelligent alerts and real-time notifications based on monitored metrics.
You’ll learn how to define trigger conditions, set severity levels, and fine-tune alert thresholds to ensure your system responds promptly to potential issues.

A trigger in Zabbix is a logical expression used to generate alerts and notifications when the data of the item it looks after is trespassing some threshold we specified. After that happens triggers changes its state. The states are:
- OK — which speaks for itself.
- Problem — when data goes beyond acceptable values (for example average availability of a host for 2 minutes goes from logical 1 to logical 0, and so we know it’s offline).
- Unknown — something went wrong and the trigger value cannot be calculated.
Creating triggers
Click on "Configuration" in the top menu. → "Hosts" in the left menu. → host you want to create a trigger for → "Triggers" tab. → "Create trigger" in the top right corner. Fill in the required information, such as the trigger name, expression, and severity level.
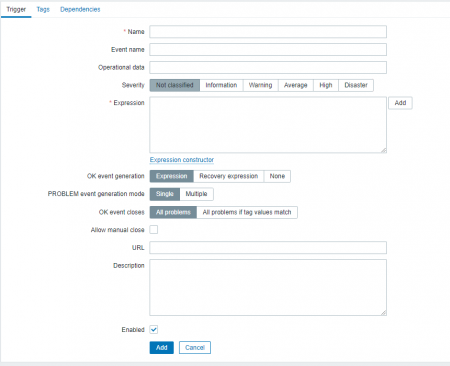
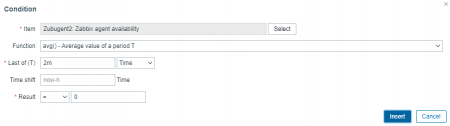
The “Expression” line works as a logical expression that defines the acceptable threshold of monitored data when incoming data passes it — the trigger changes its condition. Click on the expression constructor. Choose what item it will refer to, the function which describes the condition, and the result of the function which triggers the condition.
For detailed examples you can look into official documentation https://www.zabbix.com/documentation/6.0/en/manual/config/triggers/expression
Ok event generation — describes when the trigger will change to OK state:
- The expression works on the expression from the previous line.
- Recovery expression works when it becomes True and error expression becomes False.
- If None is chosen trigger won’t go back to normal on its own.
Problem event generation mode allows choosing between generating events on every occasion of the problem or only on the first one.
The next line defines if the OK event closes all problems on this trigger or only one with matching tags.
“Manual closing” allows closing problems of this trigger by hand.
And “Enable” as usual makes this trigger active.
Click on "insert" to create the trigger.
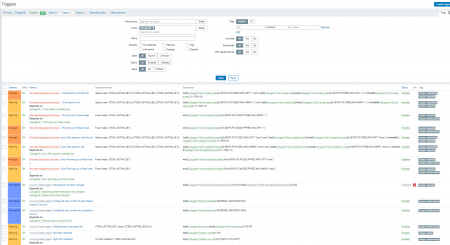
To check a condition of a trigger you can go to configuration → hosts → triggers tab.
Conclusion
We’ve explored one of the key components of effective network monitoring — creating and customizing triggers in Zabbix.
Properly configured triggers allow you to detect anomalies, automate alerts, and respond to issues before they impact system performance or availability.


