The following instruction defines how to create projects in the control panel.
What is it?
Shared project creation is now available for our users. This enables you to collaborate with other users and manage shared resources, such as servers or networks, shared balance, and support cases.

As part of this feature, the user can have no more than one personal project and any number of shared. Resources, balance, and support are now tied to the project, not the user.
A personal project is intended for the individual work of the user, it is impossible to add other participants to it.
All existing users have their current resources combined in a personal project. For most users of the service, there will be no need to work with shared projects. In this case, all the changes in the control panel interface should remain unnoticed for the user.
Creating a shared project
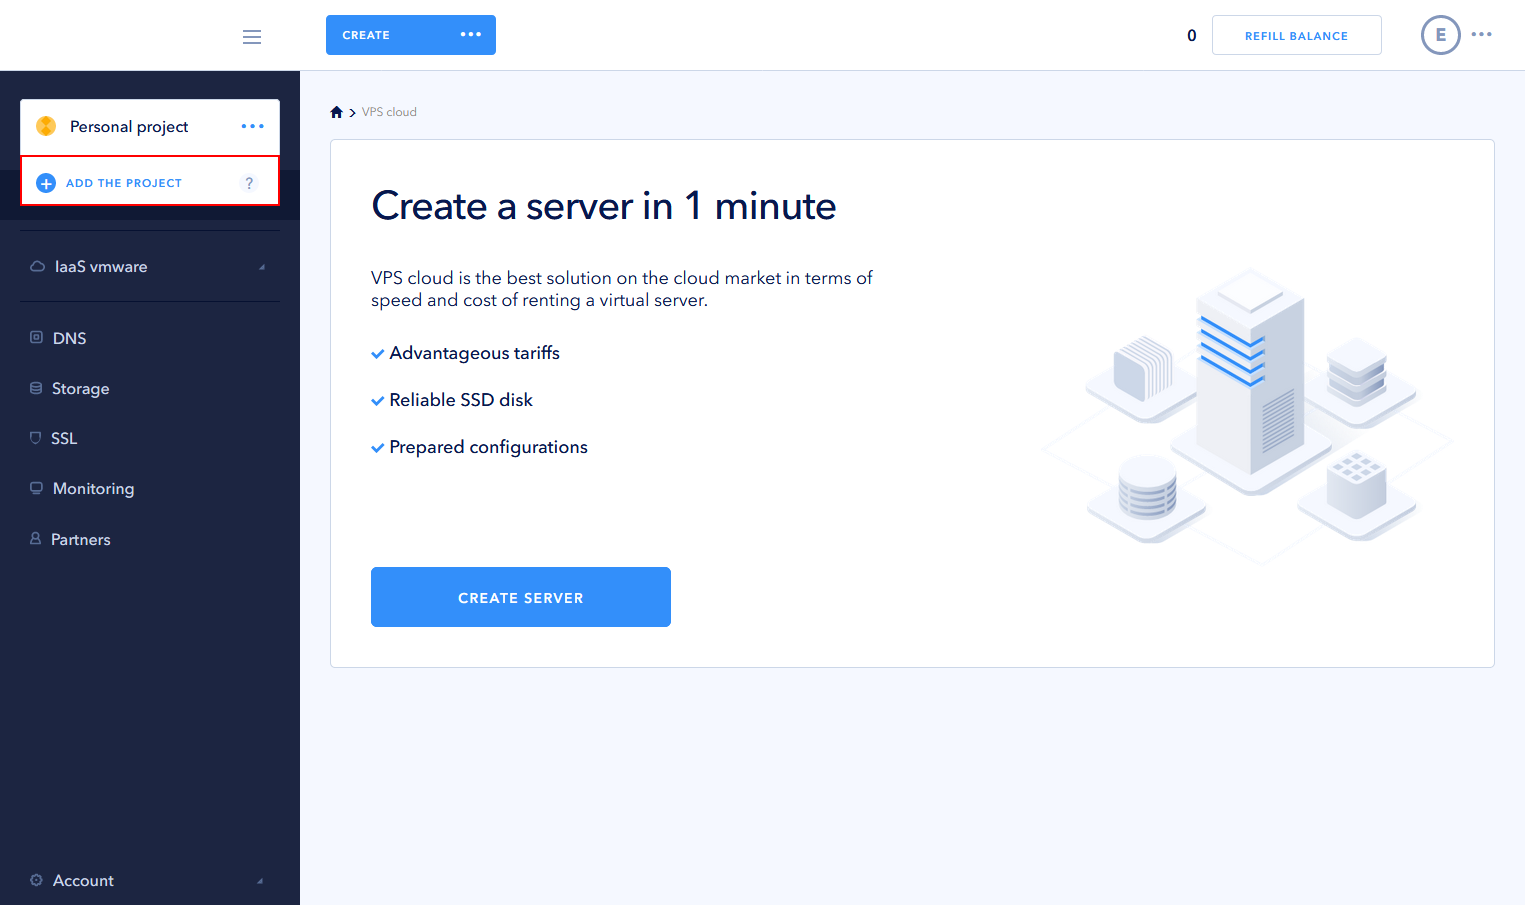
After registration in the control panel, the user will always create a personal project. To create the first shared project, select the + Add project option in the Settings menu located in the upper left corner:
This opens a dialog box where you can:
- optionally, select Convert an existing personal project to a shared project. In this case, the personal project is converted to a shared project, which means that all user resources, such as servers, networks, SSL certificates, etc., can be shared with other users. If this option is not selected, in addition to the personal project, which is available only to the user, a shared project will be created;
- enter project name.
A user can choose the logo from the list or upload a custom one. Available extensions — .png, .jpg or .jpeg, size — not more than 1 MB.
Fill the form and click Create a project.
Note: having a personal project, each time you create a new project, you will be asked to convert the personal project to a shared one:

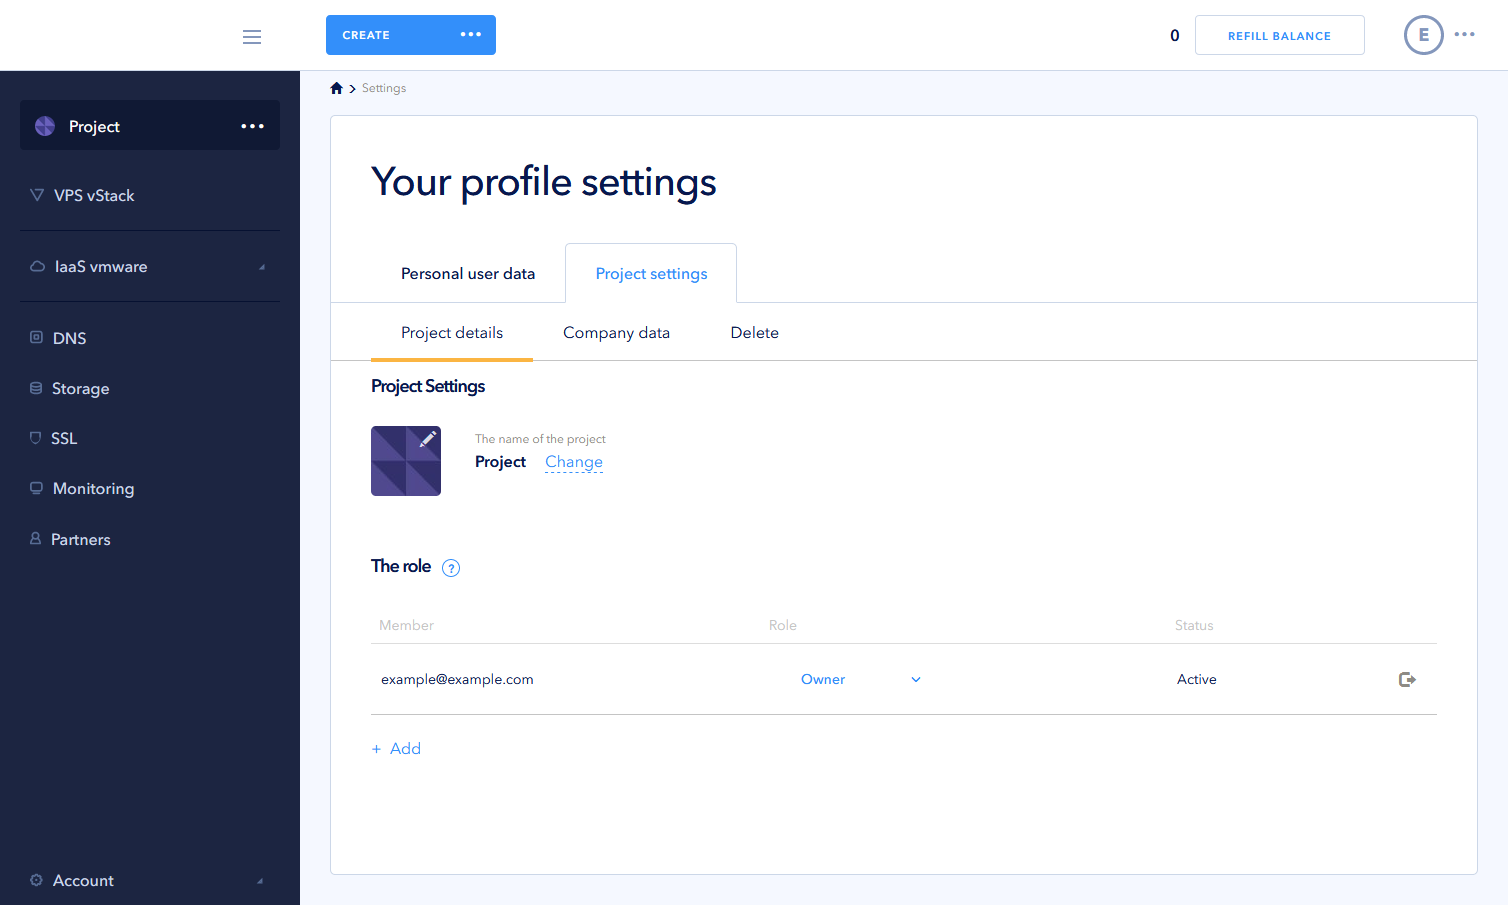
After creating a new project, new project settings open, the Project Settings tab:
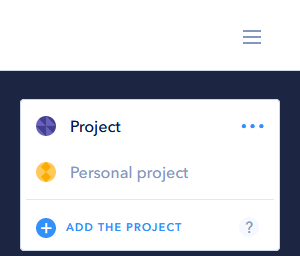
To switch between workplaces, use the drop-down window in the horizontal menu at the top of the panel. There will now be an option + Add project: