
What is certbot and why you would need to install it on nginx webserver
Certbot is software for issuing of non-paid LetsEncrypt SSL certificates. Today SSL-protection is industrial standard cause actual browsers are often marks unprotected sites as potential dangerous.

How to install Certbot
As example I will explain Certbot installation on the server under Ubuntu 20.04. So far as this software is common used, it is a part of OS repositories. And "one-step-install" is possible now. Just authorize as privileged user and run command below:
apt install -y python3-certbot-nginx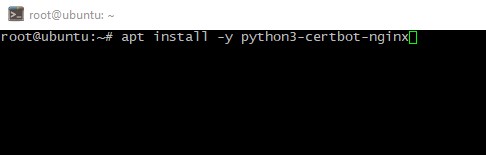
How to get the certificate
Cause the LetsEncrypt is owned by the Electronic Frontier Foundation you should a "point" your domain's A-records to your server and wait till changes is applied worldwide. To ensure just check current A-record via this command:
nslookup <your_domain_name> <any_public_DNS_server>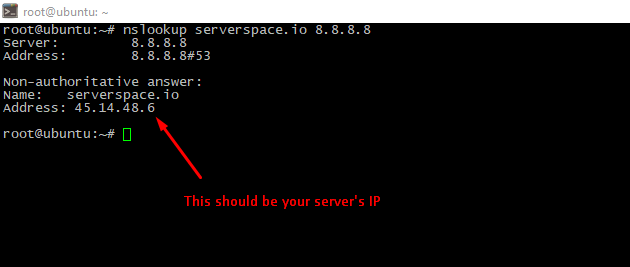
Then ensure which service is listening web-port:
netstat -lptn | grep 80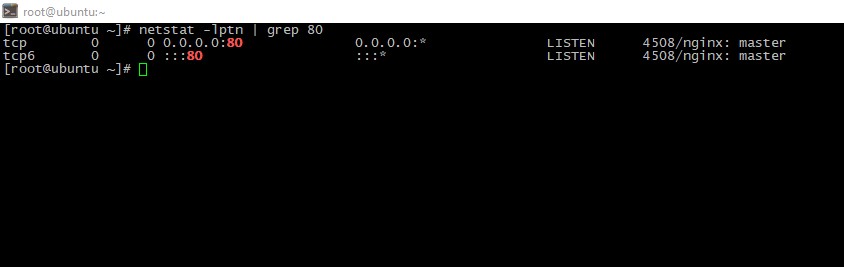
As we see, our webserver is really nginx. So, we can issue the certificate via Certbot:
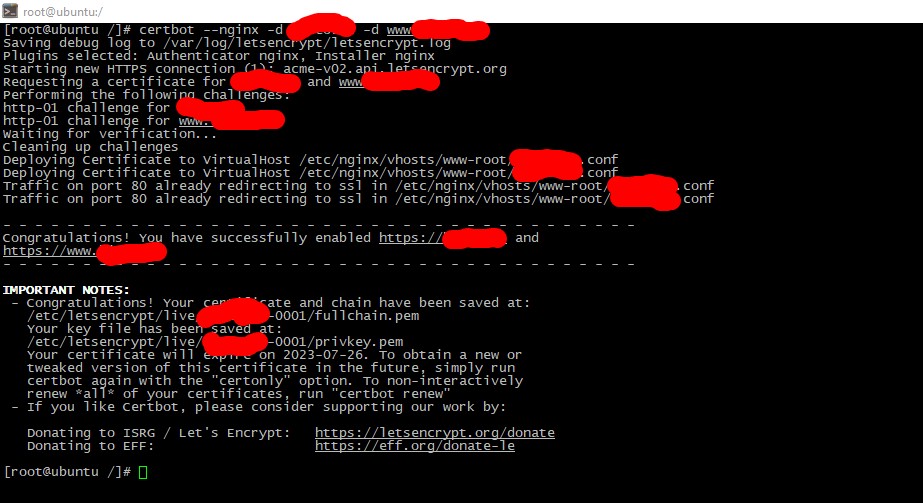
certbot --nginx -d yourdomain.tld -d www.yourdomain.tld -d anyothersubdomain.yourdomain.tld You should see the picture like below:
To apply changes you need restart web-service:
systemctl nginx restart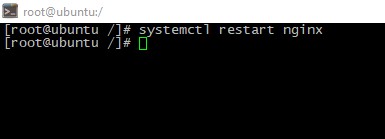
Checking
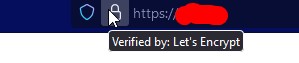
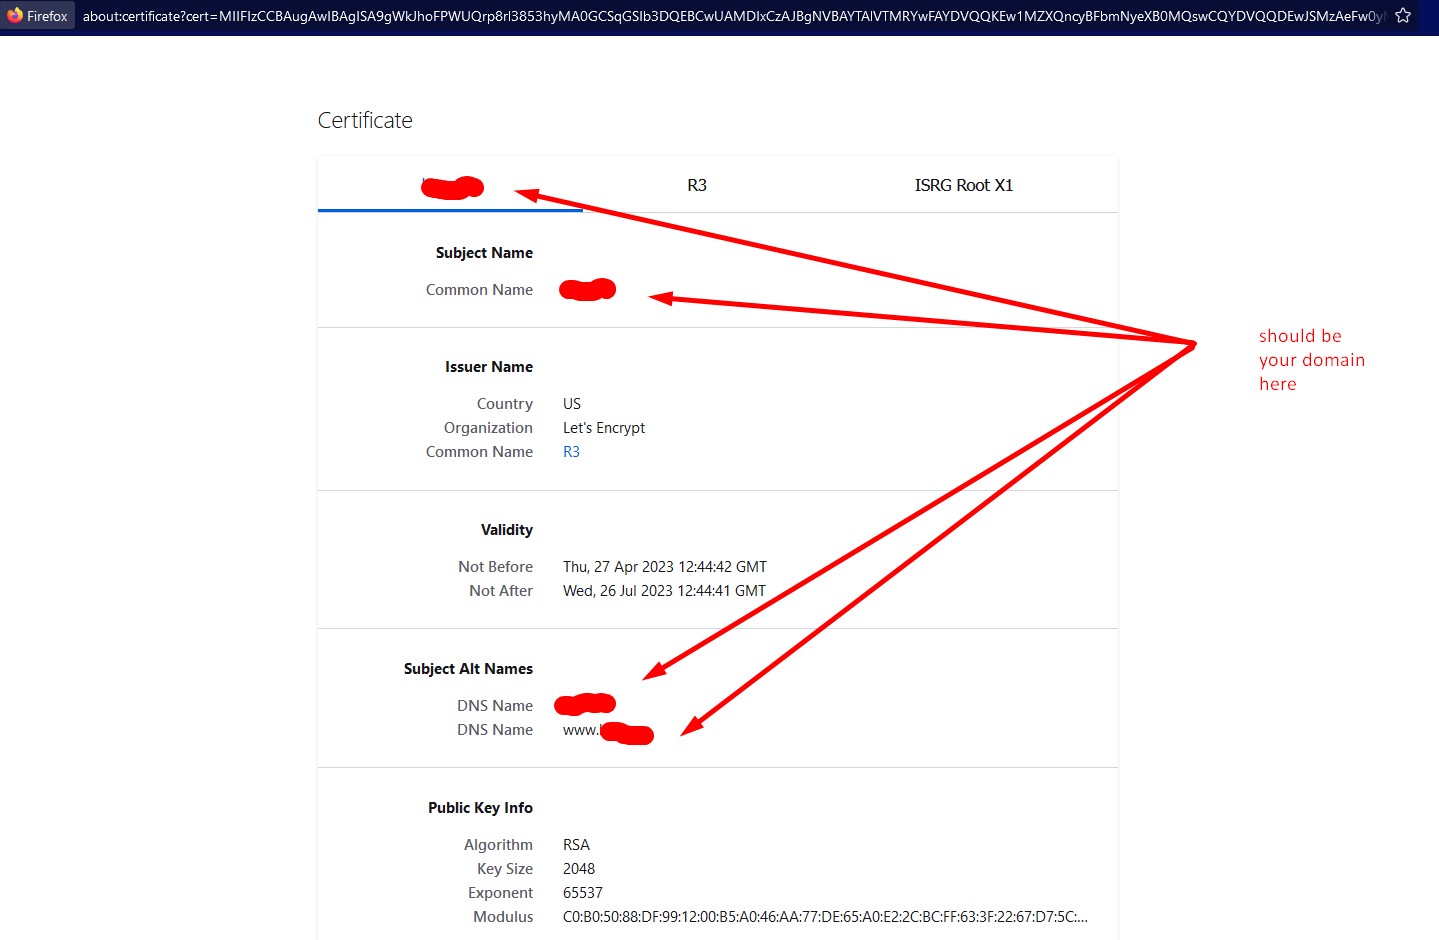
To check the certificate open your website in browser, then you can see cerdificate brief or detailed info:
Conclusion
After this matherial reading you knew what is Certbot an how to issue valid certificate for your website via this software.


