In the last few days, many people have faced the problem of connecting and using virtual private networks. This concerns various popular VPN software solutions due to their lack of protection against active search and other various attacks aimed at detecting the VPN server.
In this tutorial, we will look at a new way of creating a secure communication channel developed by Chinese specialists. XRAY is a technology of building a protected and secure to a certain extent channel when transmitting confidential data through an open and trusted network. The peculiarities of the technology are that it allows you to create an encrypted and obfuscated connection that hides the VPN server from prying eyes. How to do it?

Installation
First of all, you need to update the system packages to work correctly and update the system path and indexes:
apt update && apt upgrade -y
To manage our server in a more visual and intuitive way, we will install the Web-UI panel and run it using the docker container. Let's make sure your distributions have docker and git by typing the command:
docker && gitBut if after typing the docker command you see the message: command not found, then you need to install the packages, most distributions have a repository with docker packages. We will install the main package for containerisation and orchestration of docker:
apt install docker.io docker-compose git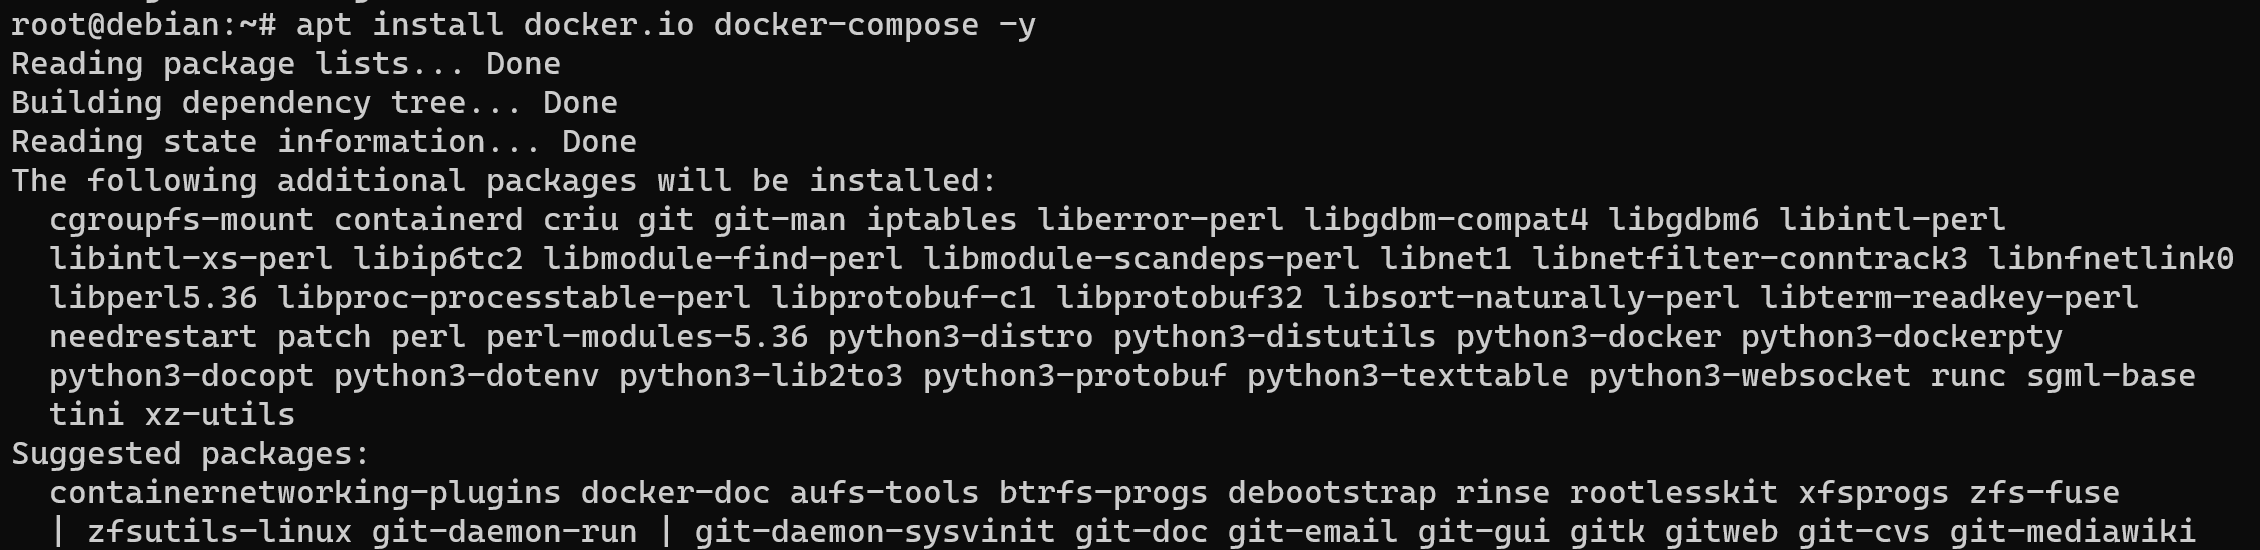
After making sure our system is ready to go, we need to download and install the web panel with the XRAY server for management and more flexibility. Warning. This solution allows you to use different combinations of protocols for more secure traffic transfer, such as VLESS+Websockets, XTLS-Reality and others. Let's consider one of them!
VLESS (VMess over TLS) is a protocol developed by the V2Ray team to provide secure and encrypted data transfer between client and server. VLESS is an enhanced version of VMess (V2Ray's messaging protocol) and works on top of TLS (Transport Layer Security) to provide data encryption and authentication.
WebSockets is a protocol that allows a persistent two-way connection to be established between a client and a server through a web browser or other applications. This protocol can be used to transfer a variety of data, including VLESS.
The combination of VLESS and WebSockets means using the VLESS protocol over a WebSockets connection. This can be useful in various scenarios, such as bypassing network restrictions, increasing security and anonymity, and providing access to Internet services.
Benefits of VLESS + WebSockets:
- Encryption and security: Using the VLESS protocol over WebSockets provides data encryption and protection against eavesdropping and interference;
- Traffic Masking: This allows traffic to be masked as normal web traffic, which can help bypass blocking or filtering;
- Flexibility: The combination of VLESS and WebSockets provides the flexibility to choose the right protocol for your needs;
- Restriction Bypass: On some networks where standard protocols are blocked or restricted, using VLESS + WebSockets can help access Internet resources.
Set up the same configuration, enter the commands below:
git clone https://github.com/MHSanaei/3x-ui.git

cd 3x-ui

git checkout v1.4.6
This command sequence will download and navigate to the folder containing the Docker configuration file, which we need to run with a single command:
docker-compose up -d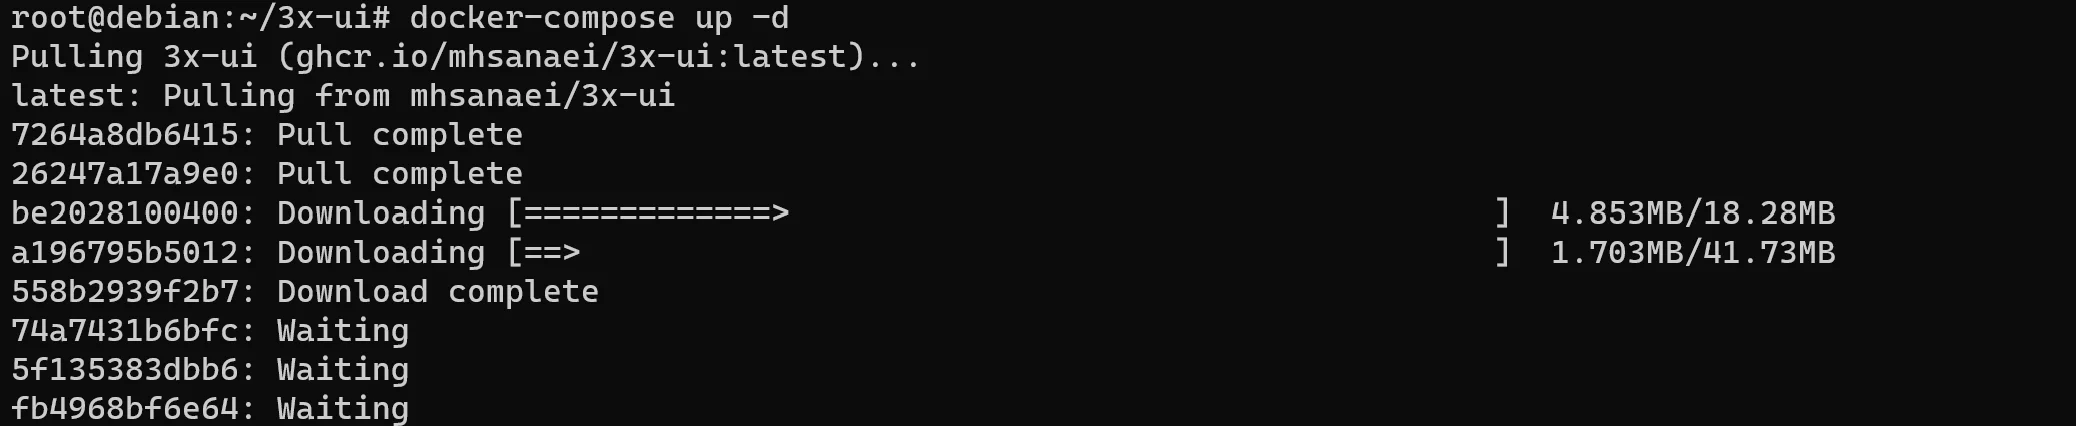
That's it about the installation process, pretty simple step! We pull the desired container and start the process.
Configuration
If you have a private or free domain name, you'll need to make an entry for your service, for example:
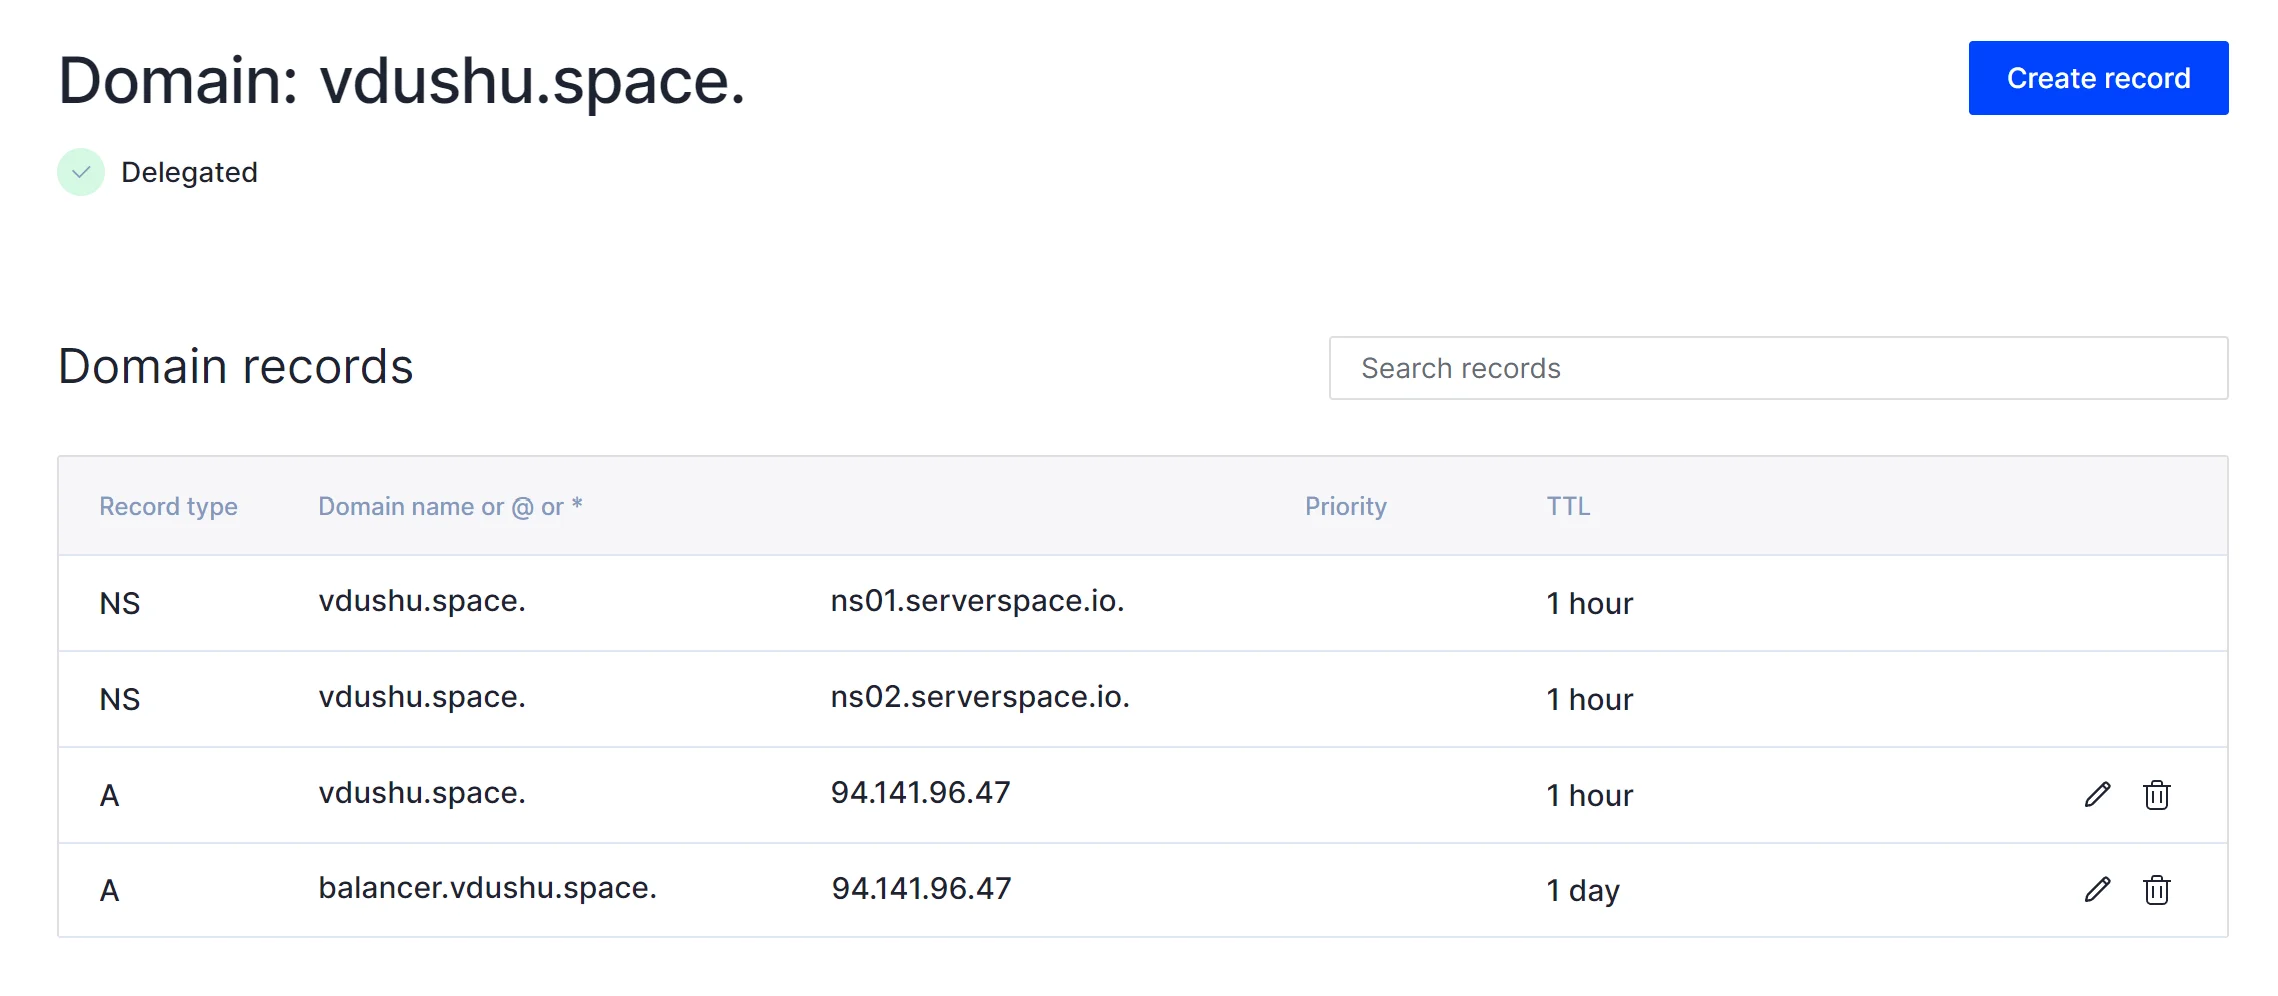
It may take a minute or a few hours to save your changes, which depends on your DNS provider. Let's make sure our records are updated by running the following command:
apt install dnsutils && dig balancer.vdushu.space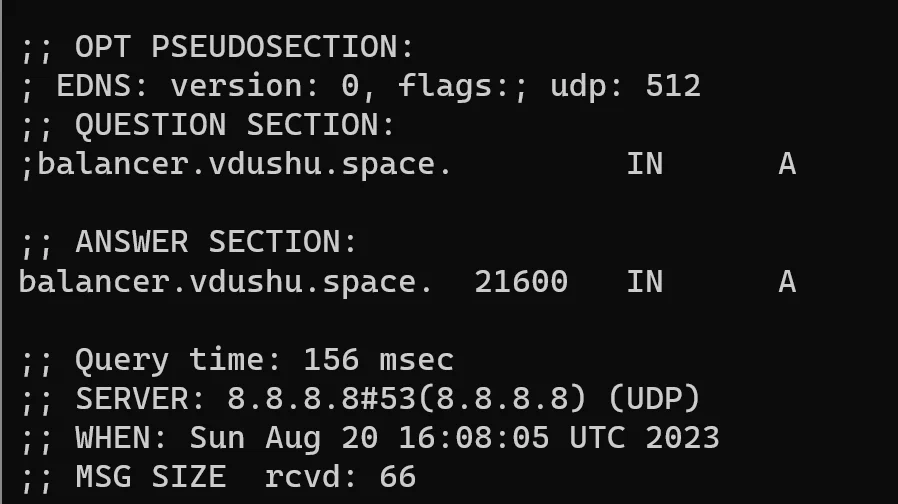
Ok, we can see that our domain has been found and we can continue with the server setup. Go to http://yourdomainname:2053/panel/ and change the domain name to the real domain name of the server, in our case balancer.vdushu.space. And go to the web panel to manage the server:
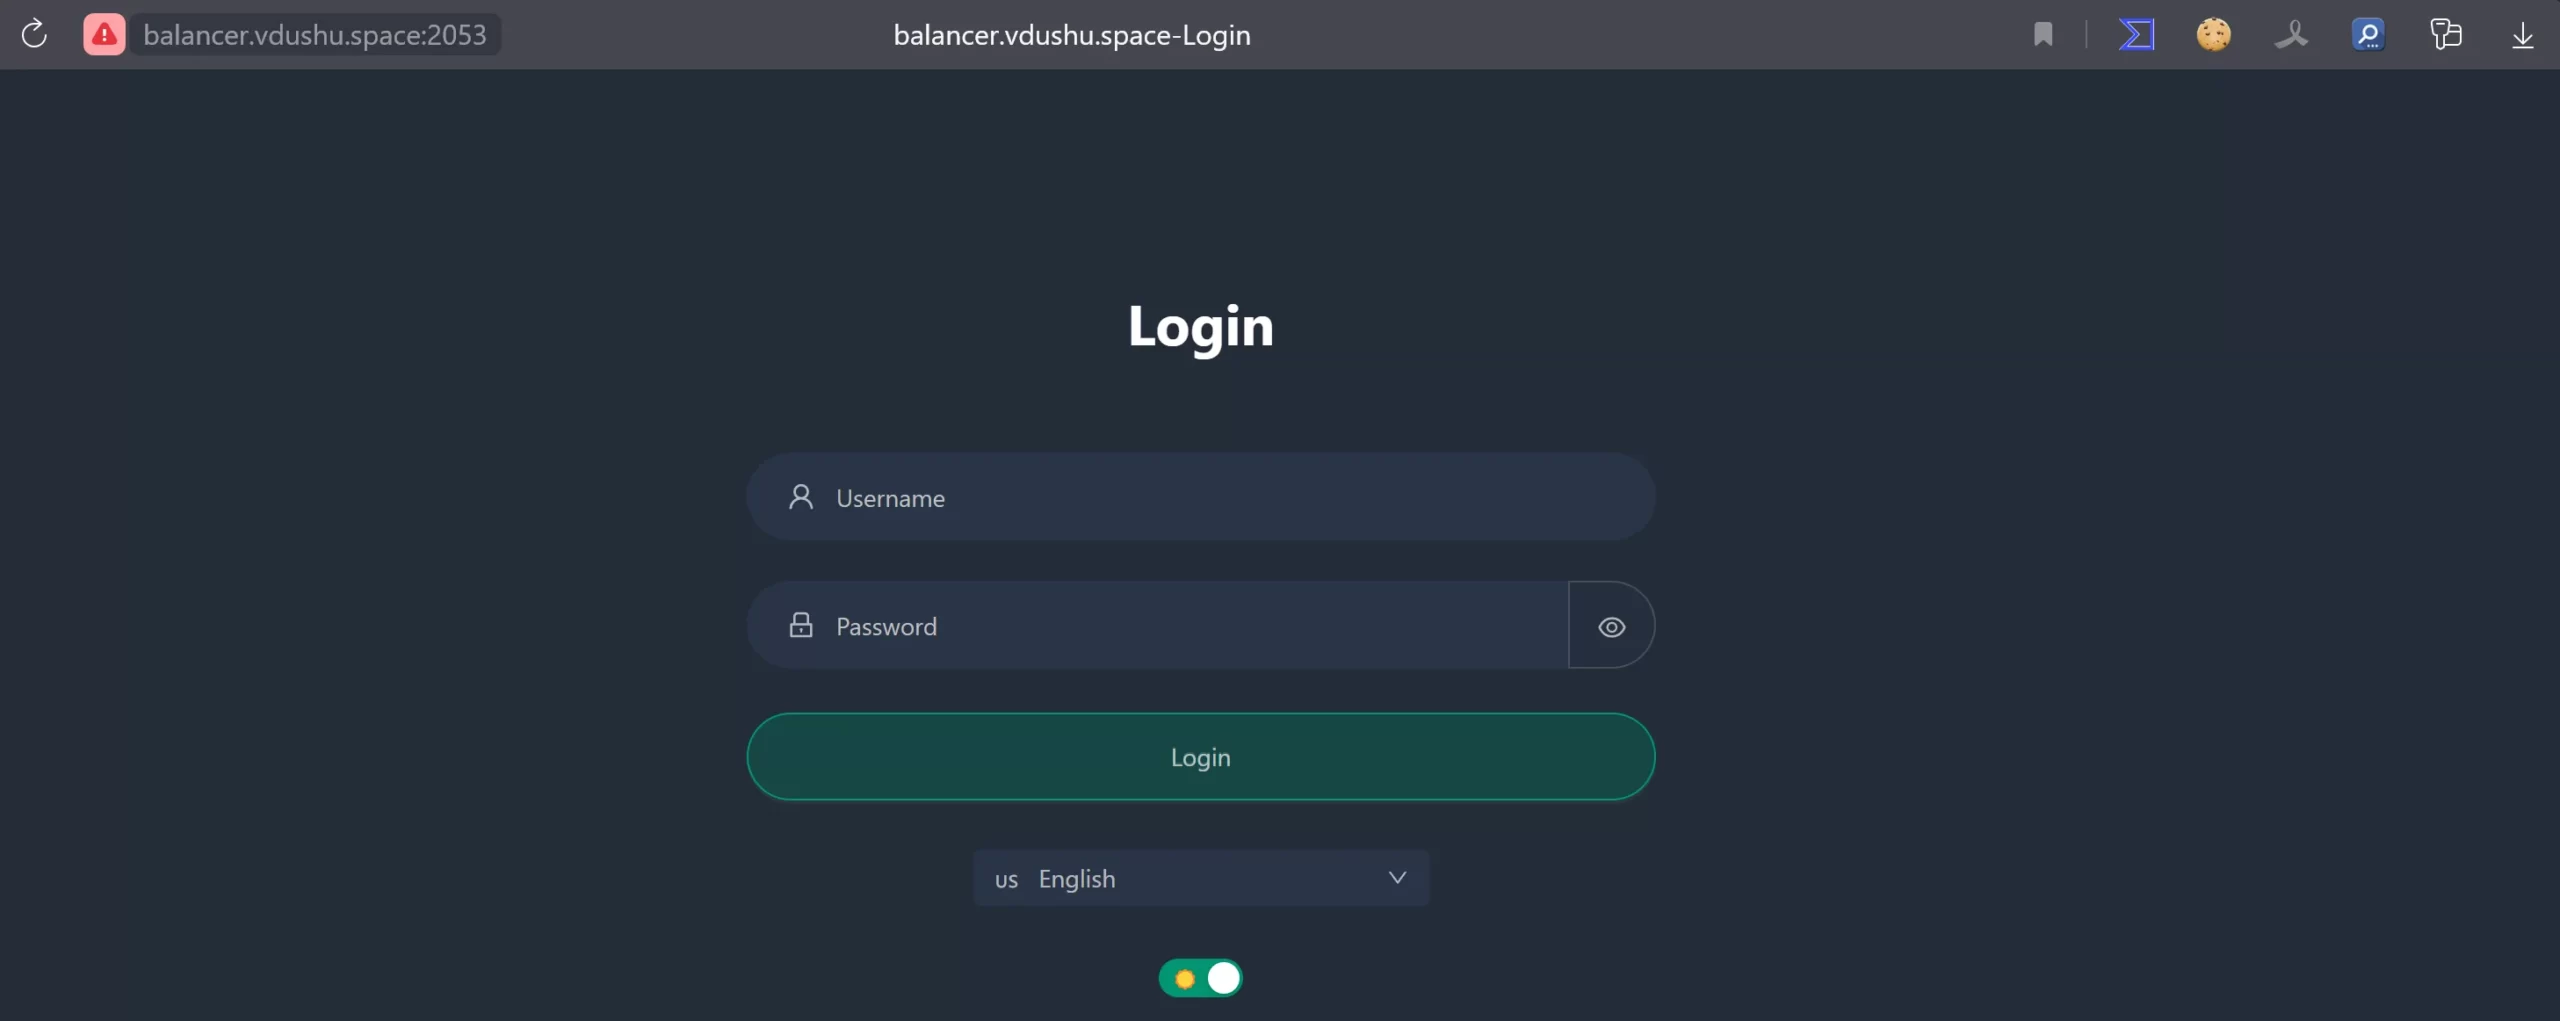
Now we can access by the standard Login:Password credentials - admin:admin. The status panel will open in front of us:
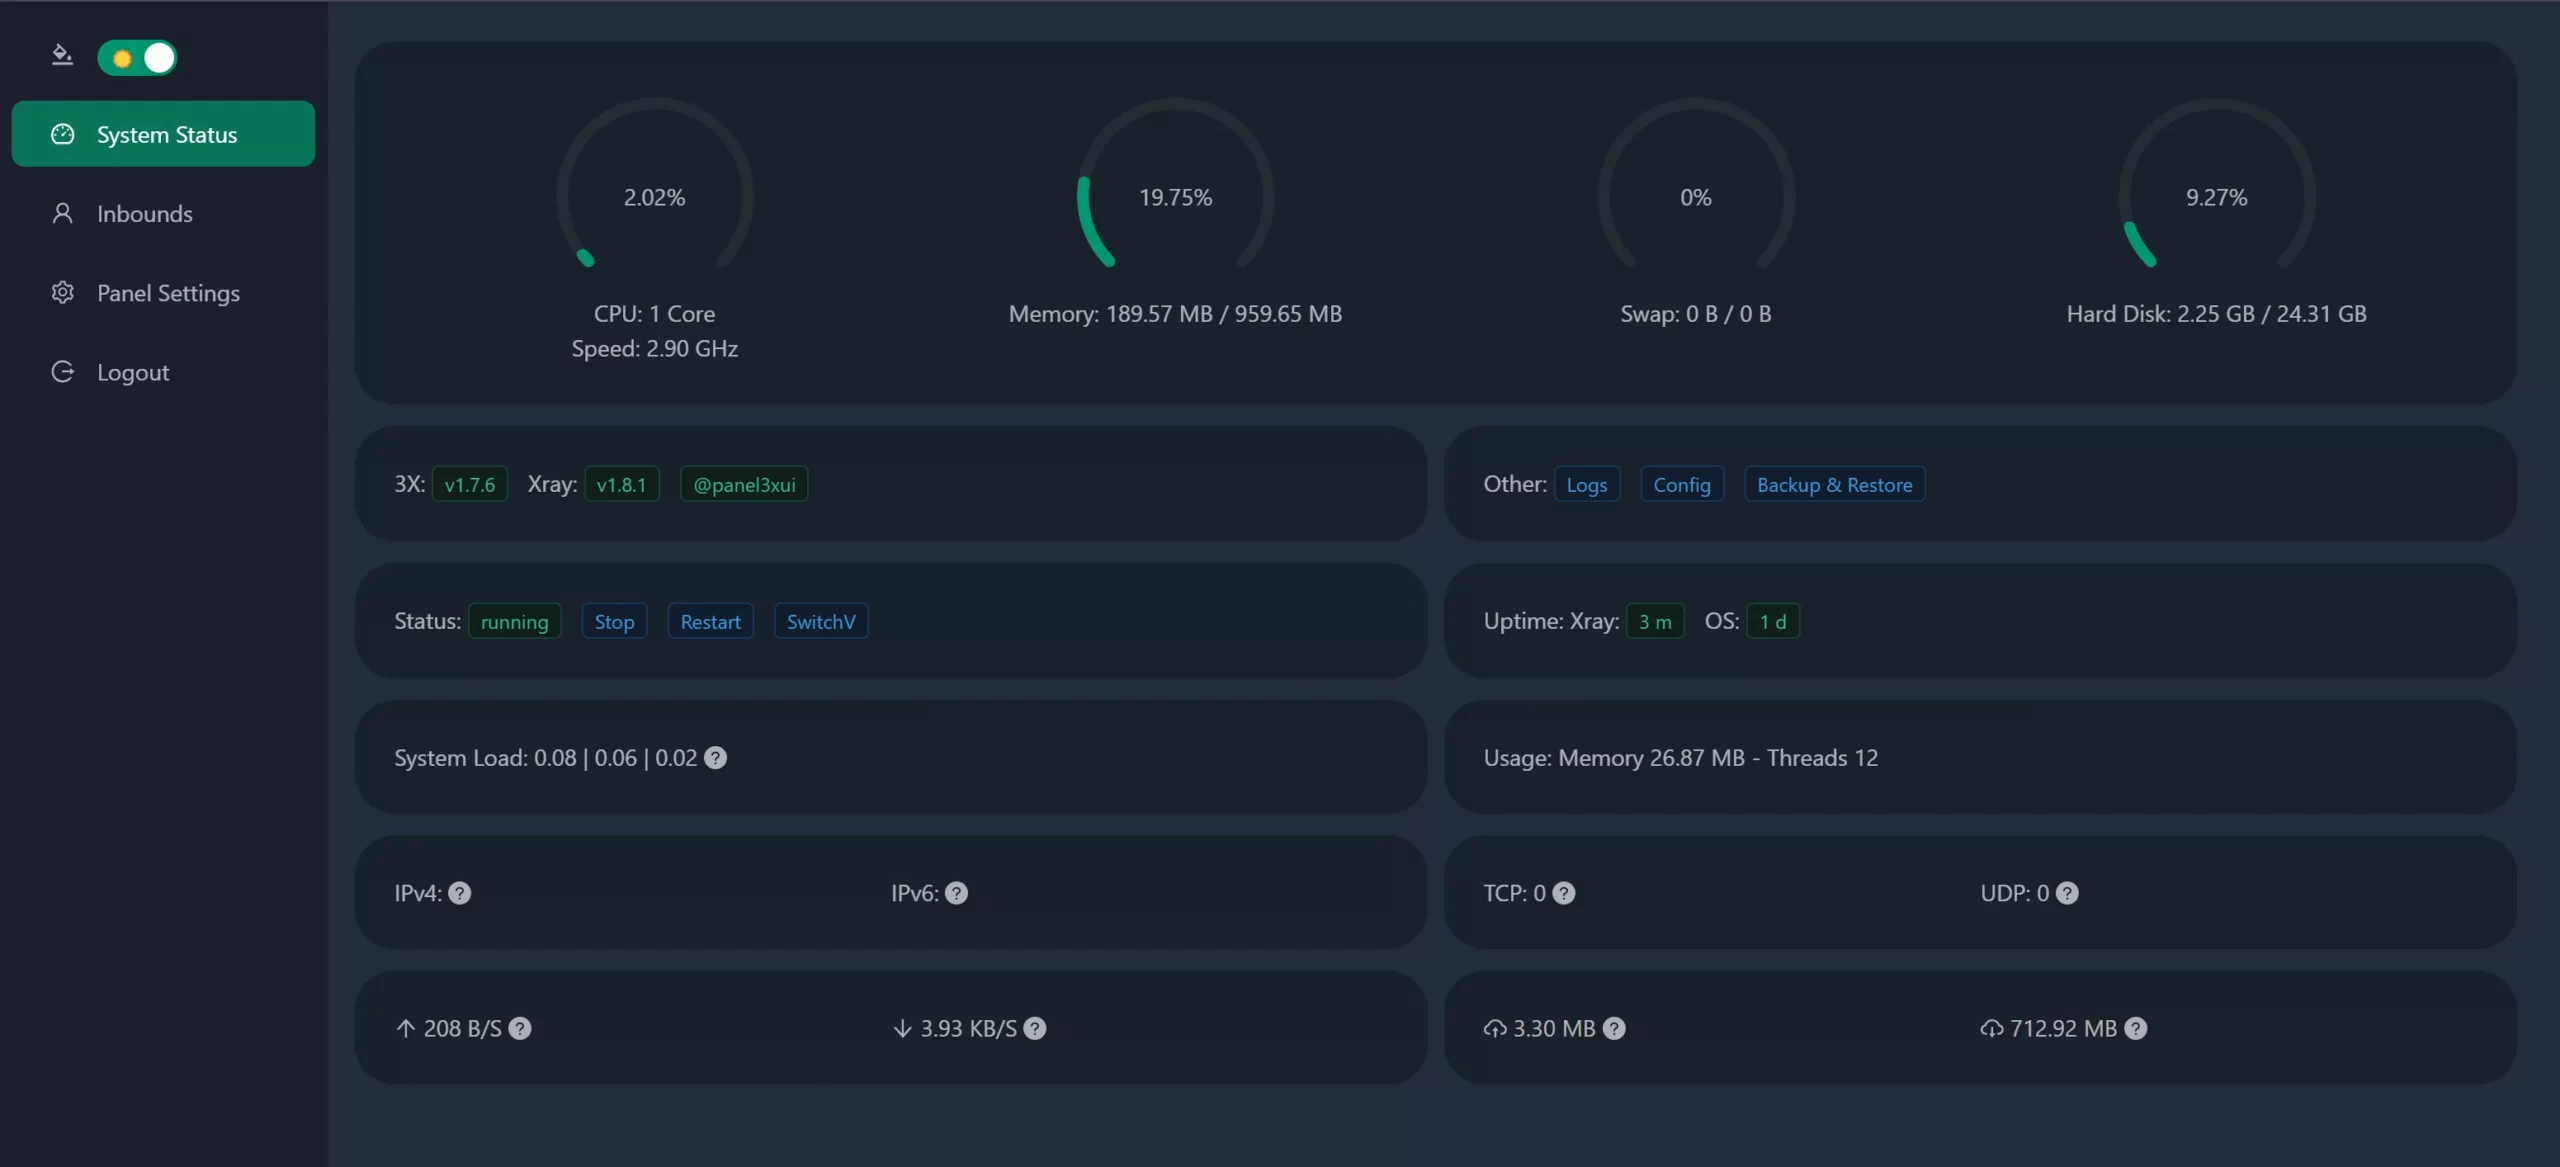
The main panel page has indicators for CPU time, memory, hard drive and swap for our VPN system. Let's make some changes to secure our server, to do this go to Panel Settings in the menu on the left:
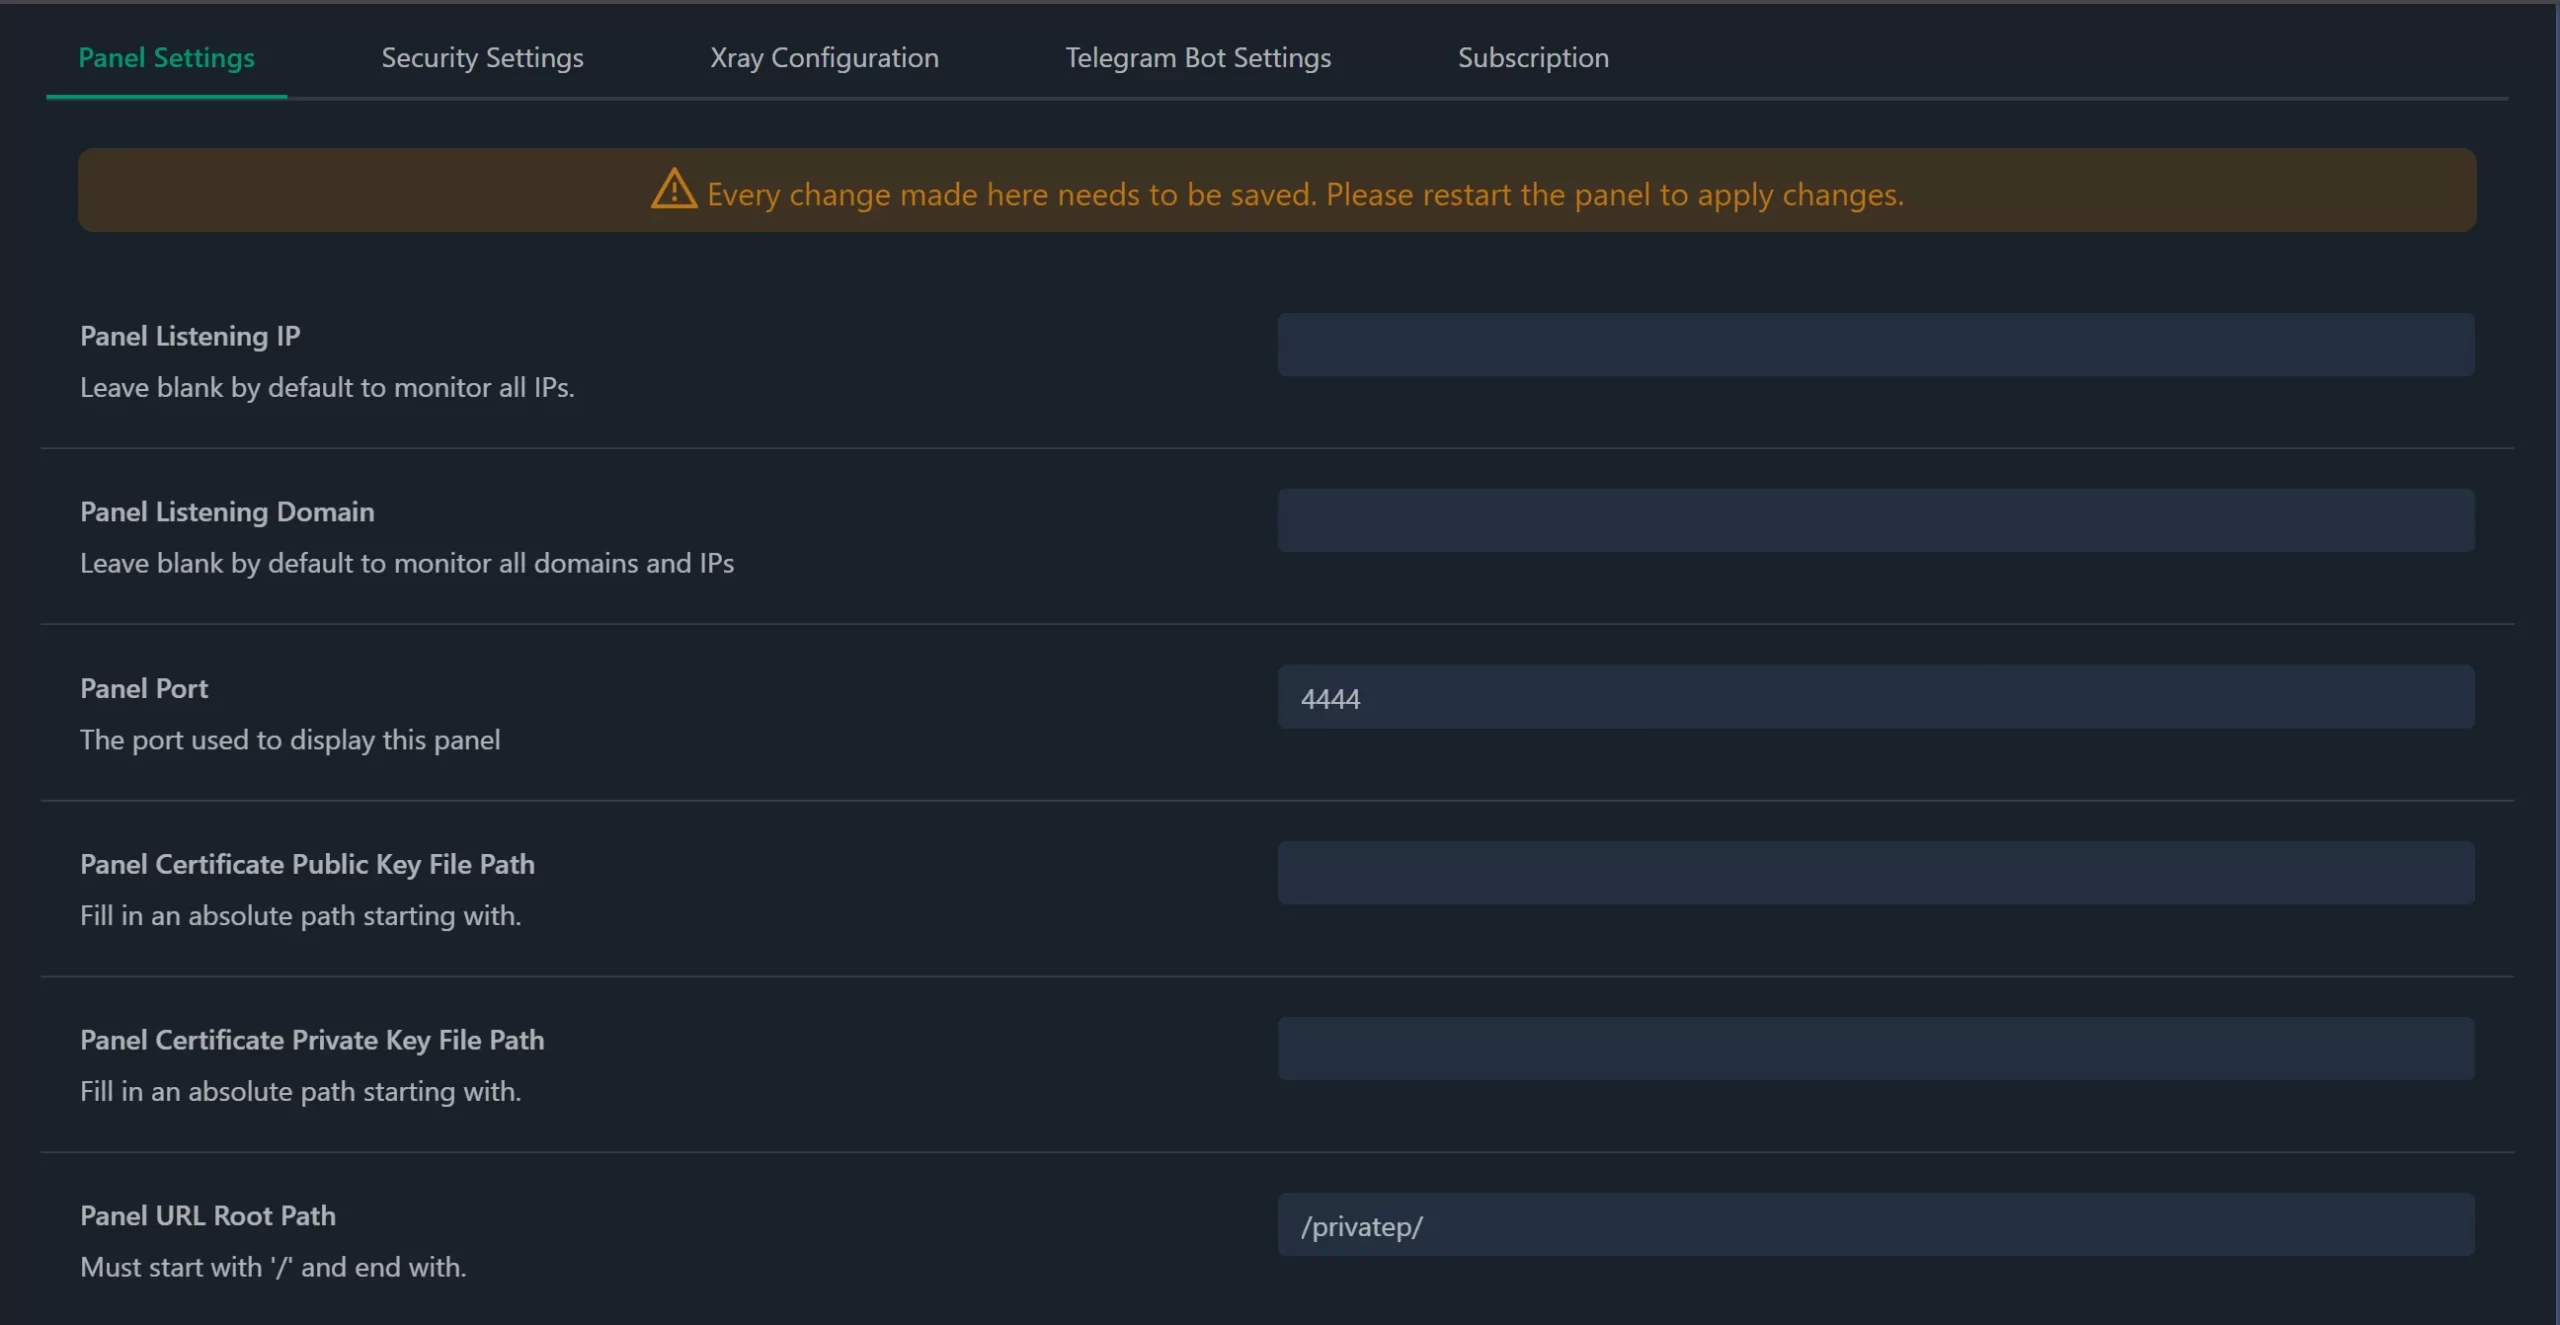
Change the default port to your port and switch the root directory, the highlighted name should start and end with a forward slash! Save your changes and go to the Security tab above:
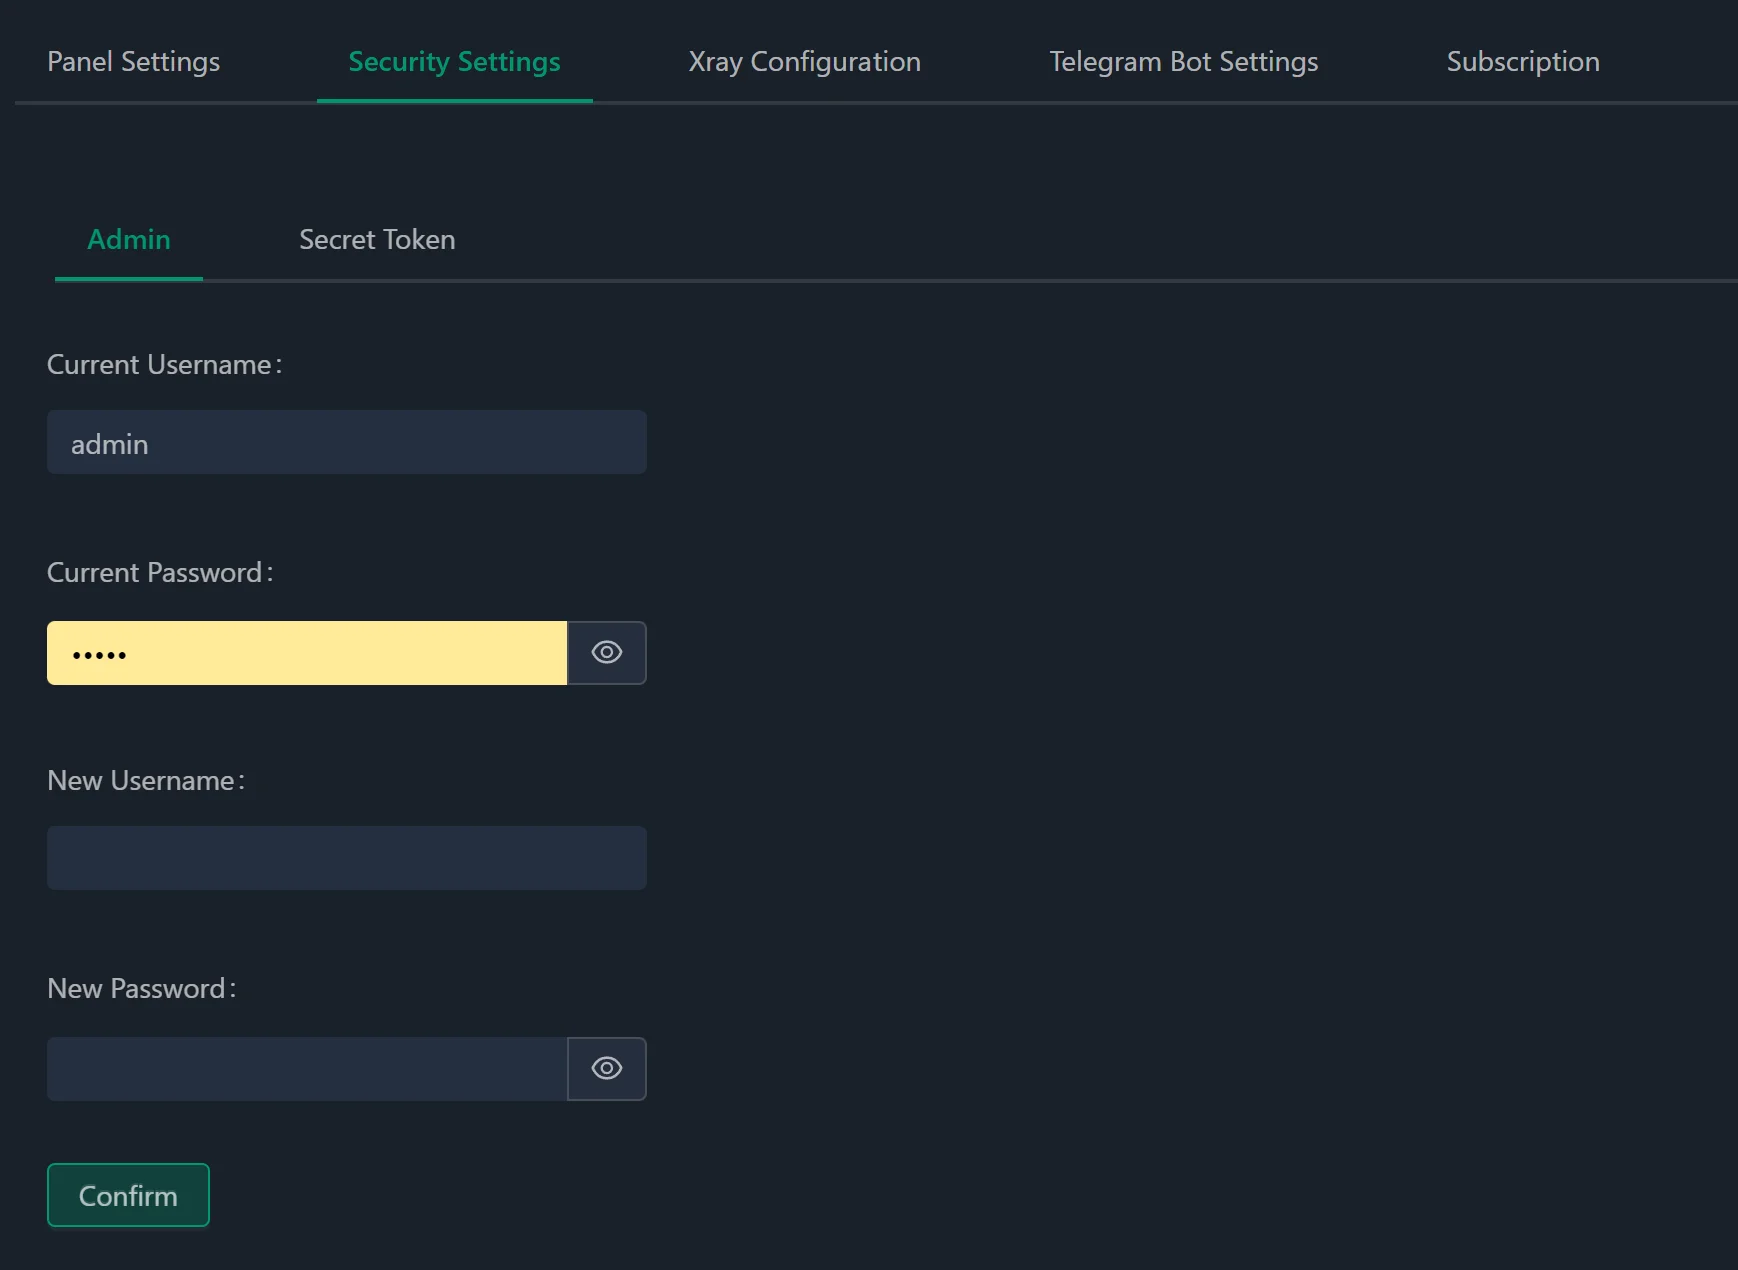
Change the default credentials by entering a new username and password, then click Confirm, which will cause the panel to reload and require you to enter the new credentials. Then go to the subscription tab and enable subscription for the server client:
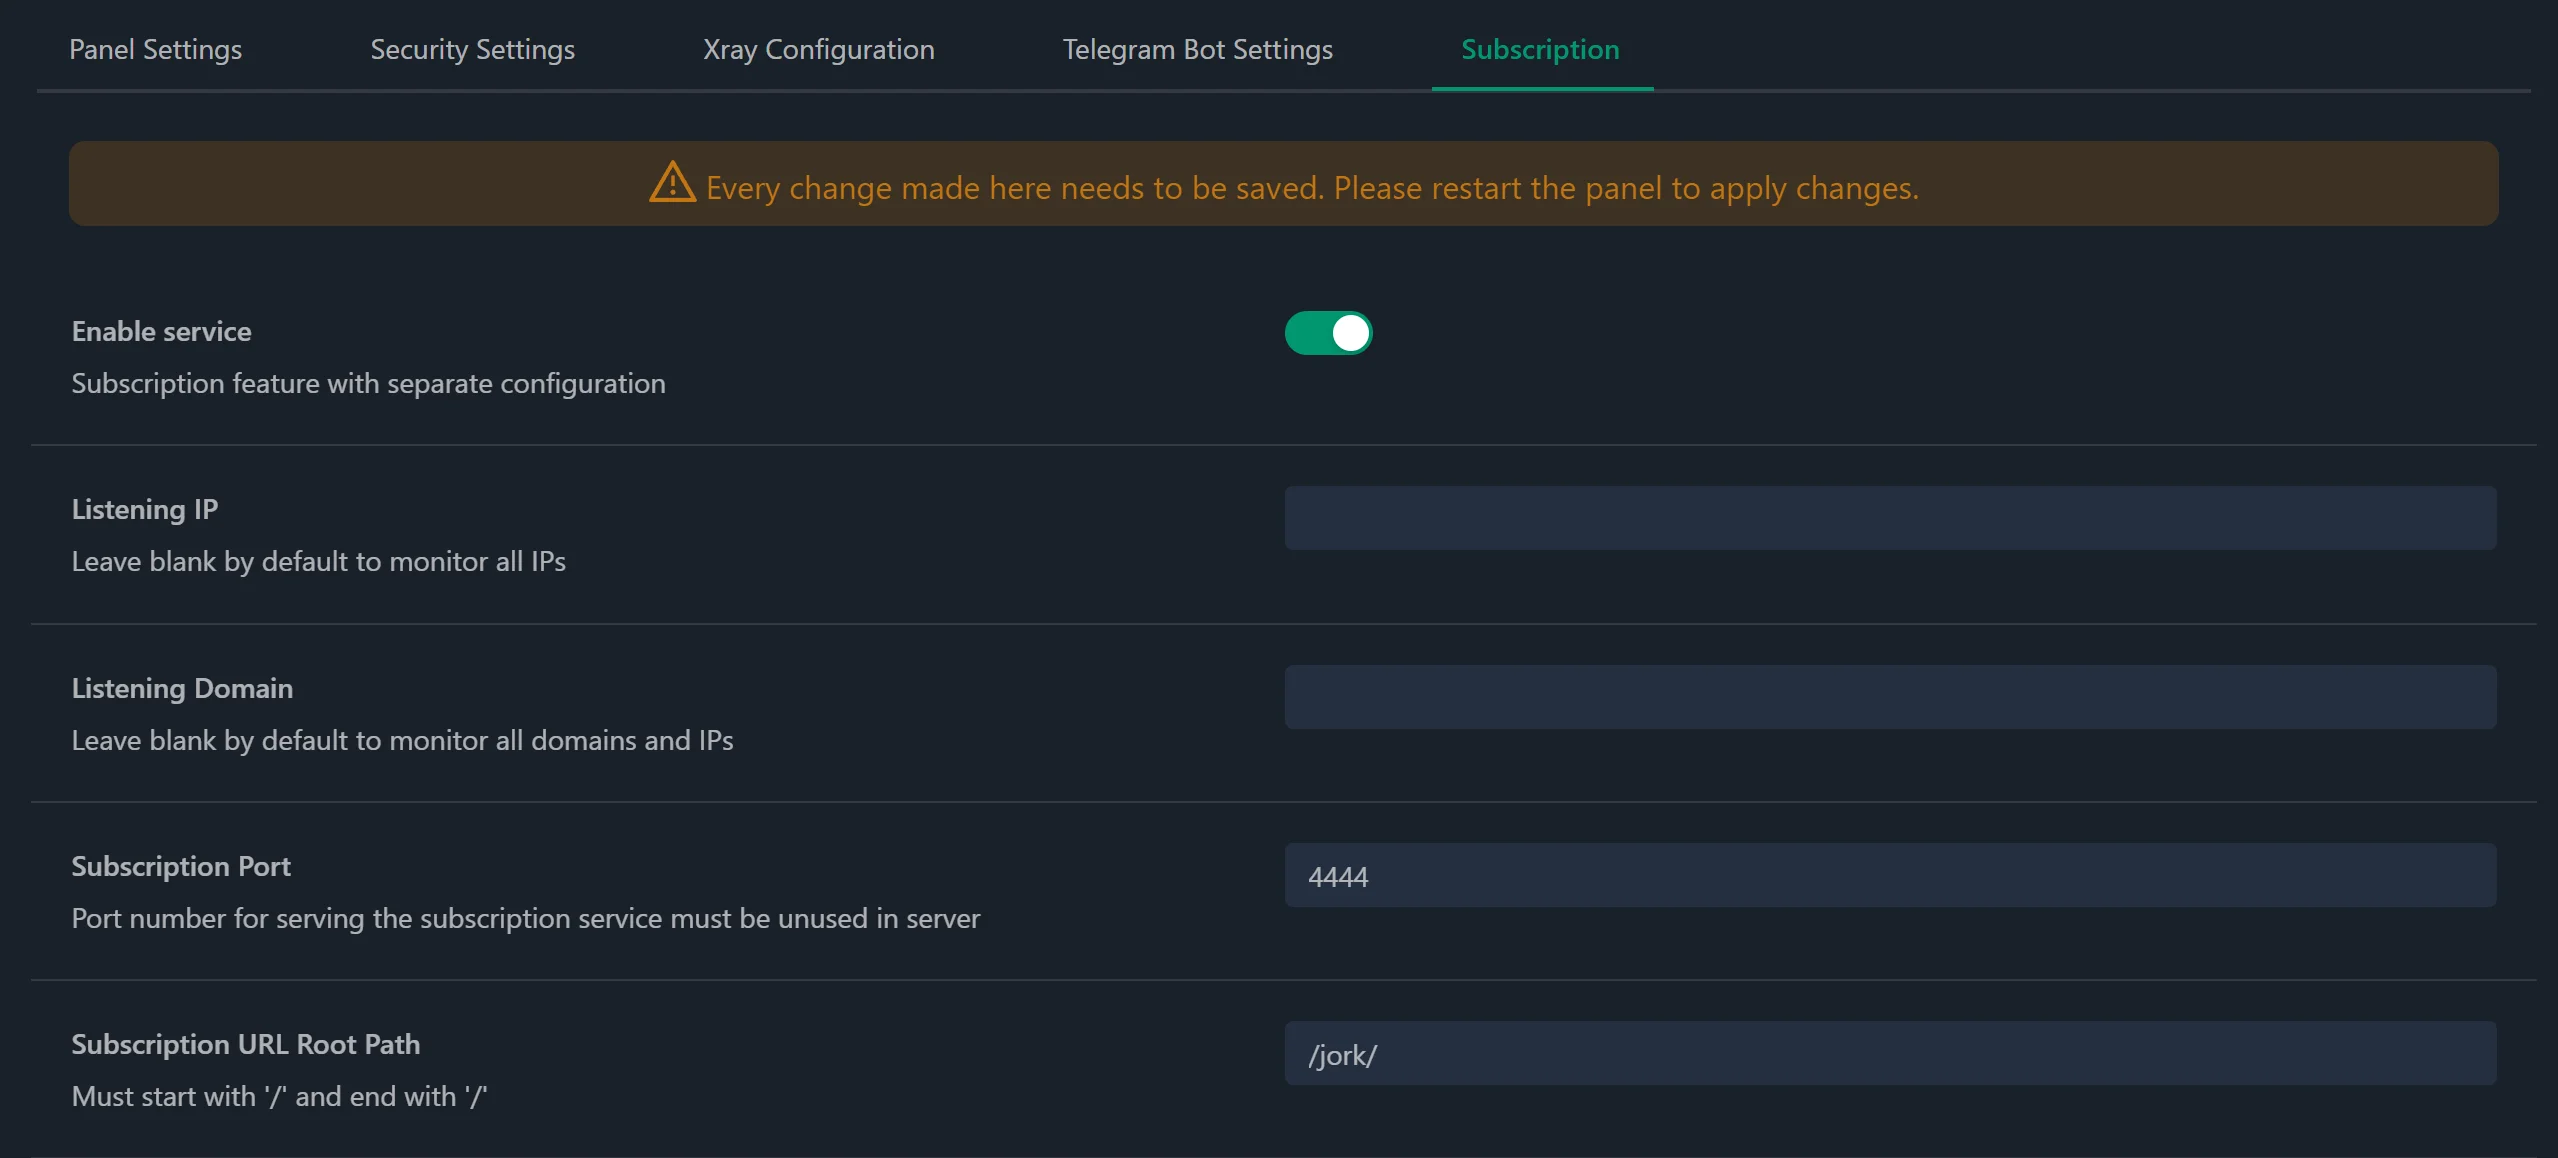
You should also change the default listening port and directory name, which will avoid detection by automated tools. Subscription in our VPN machine is necessary to configure automatic updates and deliver it to the clients. Save the changes and restart the panel:

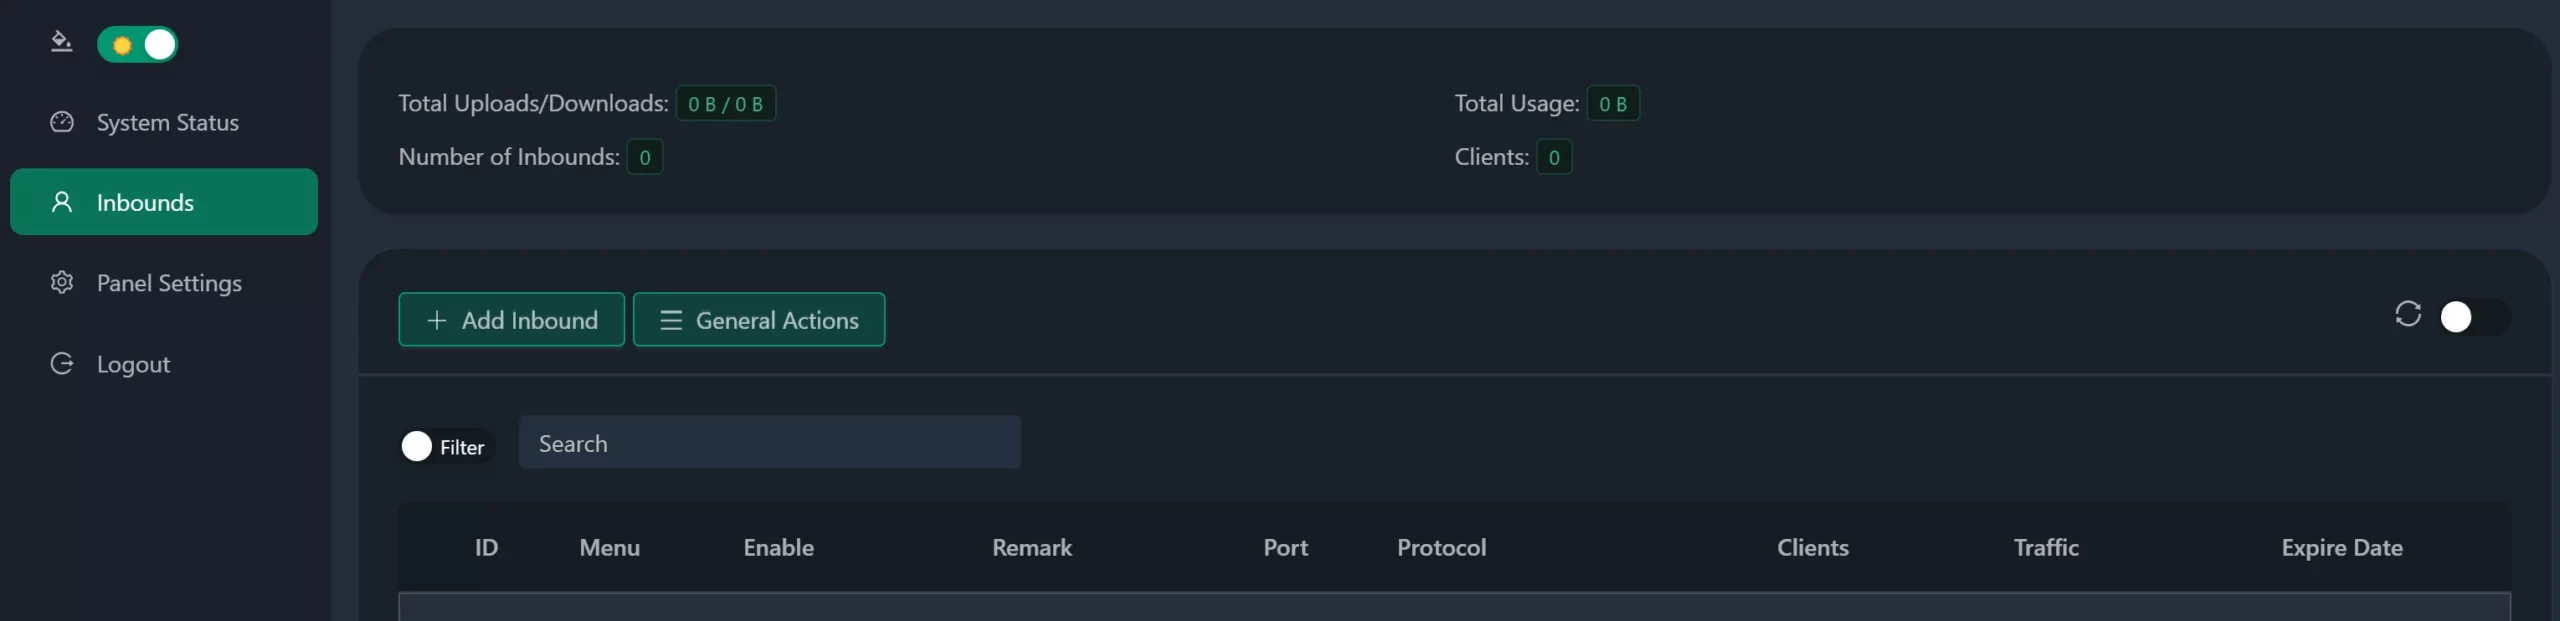
Configuring inbound connections
Click on the Inbounds left menu tab and add a new Inbound by clicking the button:
A popup window will appear, fill in all the required fields in it:
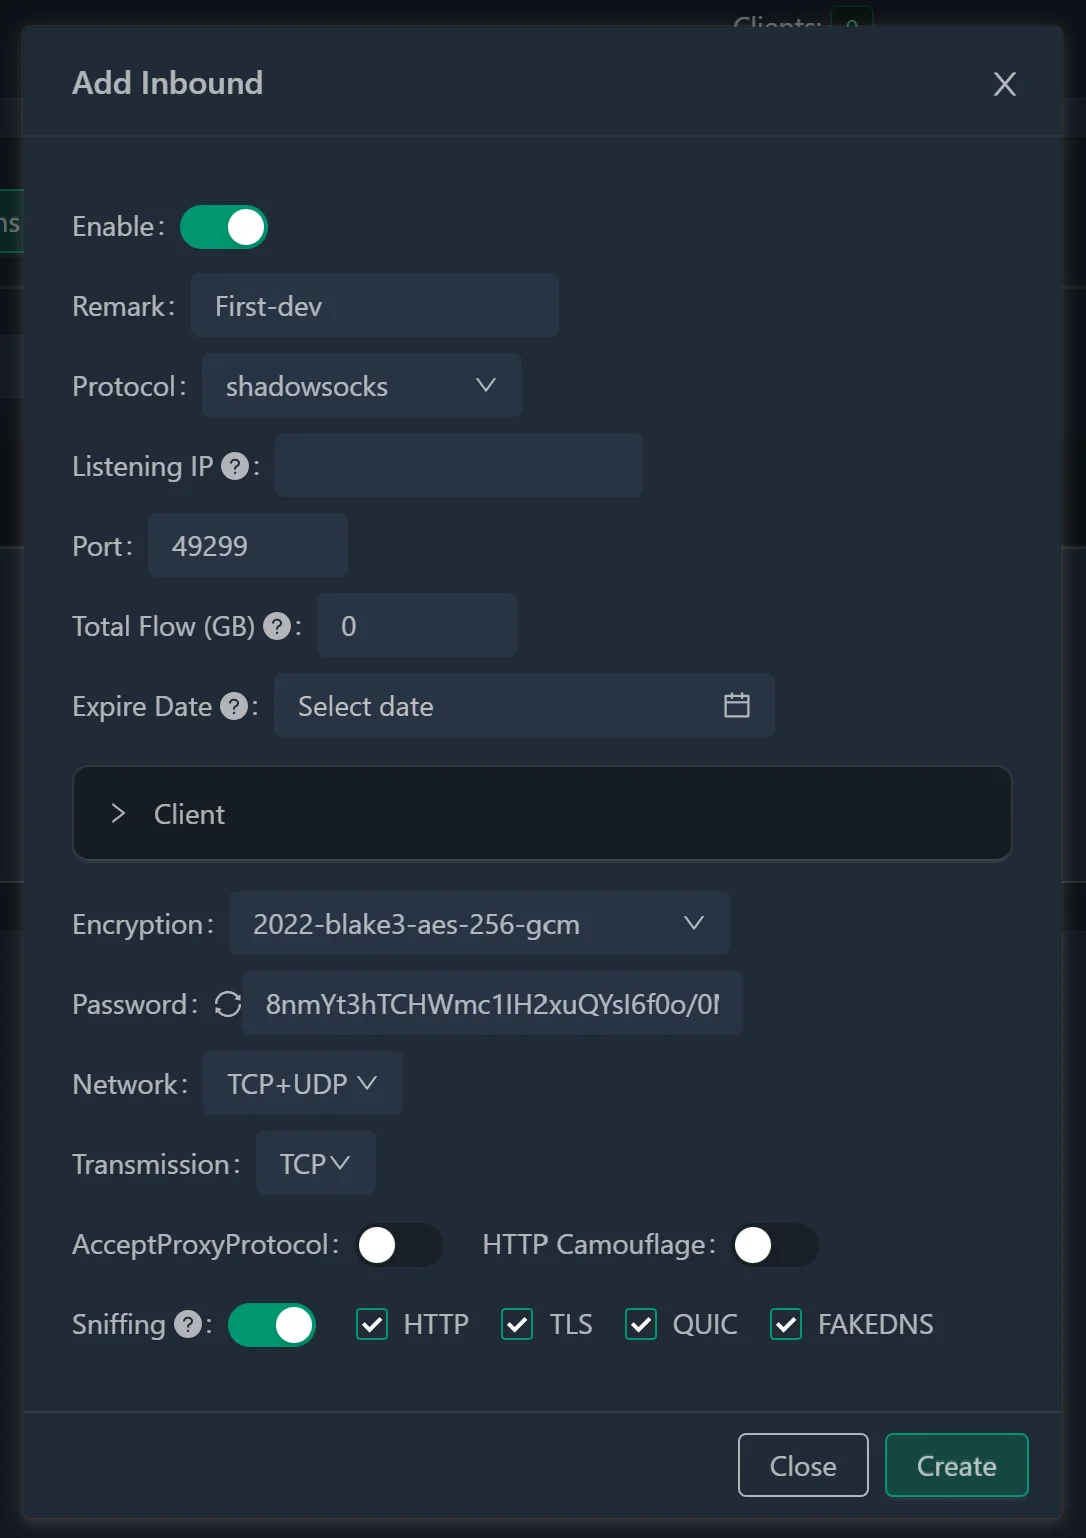
- Annotation - feel free to enter any content you want; it's just a human-readable title;
- Communication Protocol - select the communication protocol;
- Listening Address - you can leave it blank so that the server listens to all IP addresses, or you can specify a specific address;
- Port Number - the system will select it randomly;
- Next, configure the user (during the initial configuration of incoming messages, one user is set, later on, if necessary, you can add more users): The Email field does not have to contain a real email; any text (user ID) will do - the system generates a set of random characters.
- If you plan to create separate user profiles, it is advisable to enter something meaningful and coherent here;
Access - currently you can enter the same username.
After that, the protocol configuration pops up:
Encoding - choose one that starts with 2022; the default is usually fine;
The password (key) will be automatically generated by the system with a length corresponding to the selected encoding method;
Select Generate and the Shadowsocks configuration will be completed and it will be ready for use.
Press button to save configuration and now we have set up inbound on our server, which we can use in different ways. For mobile devices you can download IOS and Android version, also there is client for Windows OS. Just scan QR code and you are have access to your secret server!
In this installation guide, we have explored the process of setting up a secure and obfuscated VPN server using the XRAY technology, developed by specialists from China. This technology allows for the creation of a protected and safe channel to transfer data through open and trusted networks, effectively safeguarding sensitive information. By combining encrypted and obfuscated connections, the VPN server becomes hidden from unauthorized individuals, enhancing security.
Conclusion
In this tutorial, we have explored the installation and configuration of a secure V2Ray/XRAY VPN server using Docker and the Web-UI panel. By combining protocols such as VLESS over WebSockets, you can create an encrypted and obfuscated communication channel that protects your server from detection and unauthorized access. Properly configuring the server, including inbound connections, DNS records, and changing default credentials, ensures a robust and secure VPN setup for personal or organizational use. With this approach, sensitive data can be transmitted safely over open networks while maintaining flexibility for various client platforms.
FAQ
- Q1: What is XRAY and how does it differ from V2Ray?
A: XRAY is an advanced fork of V2Ray, designed to enhance security and obfuscation. It allows encrypted and obfuscated connections that make it harder for networks and attackers to detect VPN traffic. - Q2: Which protocols should I use for maximum security?
A: Using VLESS over WebSockets with TLS provides strong encryption and traffic masking, allowing you to bypass network restrictions and protect your server from active detection methods. - Q3: Do I need a domain name to run a V2Ray/XRAY server?
A: While a domain is not strictly required, it simplifies management, allows SSL/TLS configuration, and is necessary for using subscription and Web-UI panels efficiently. - Q4: Can I use this VPN server on multiple devices?
A: Yes. The server supports clients on Windows, macOS, Linux, iOS, and Android. You can generate QR codes or configuration files for easy client setup. - Q5: How can I further secure my server?
A: Change default ports, update credentials, configure the Web-UI panel securely, and enable TLS. Regular updates of the XRAY software and Docker container also help maintain security. - Q6: Is this setup suitable for bypassing internet restrictions?
A: Yes. With VLESS + WebSockets, traffic can appear as standard web traffic, helping bypass network censorship or firewall restrictions while maintaining encryption.


