A widely used DBMS for storing and organizing large volumes of data with high speed and performance is MySQL, which is an open-source system. It supports SQL language, allowing for various manipulations with databases, for instance, creating tables, modifying, deleting, inserting data. Additionally, MySQL supports the use of triggers, functions, and stored procedures. Its popularity comes from its ease of use, high performance, and wide variety of software available for working with it. Below we will discuss the installation process on the Windows Server 2019 operating system.

Preparatory work
To install the DBMS correctly, it is required to have Python package installed, in version not less than 3.7. It is necessary to download and install it on the server in advance. Additionally, it is desirable to update the operating system with the latest patches from Microsoft.
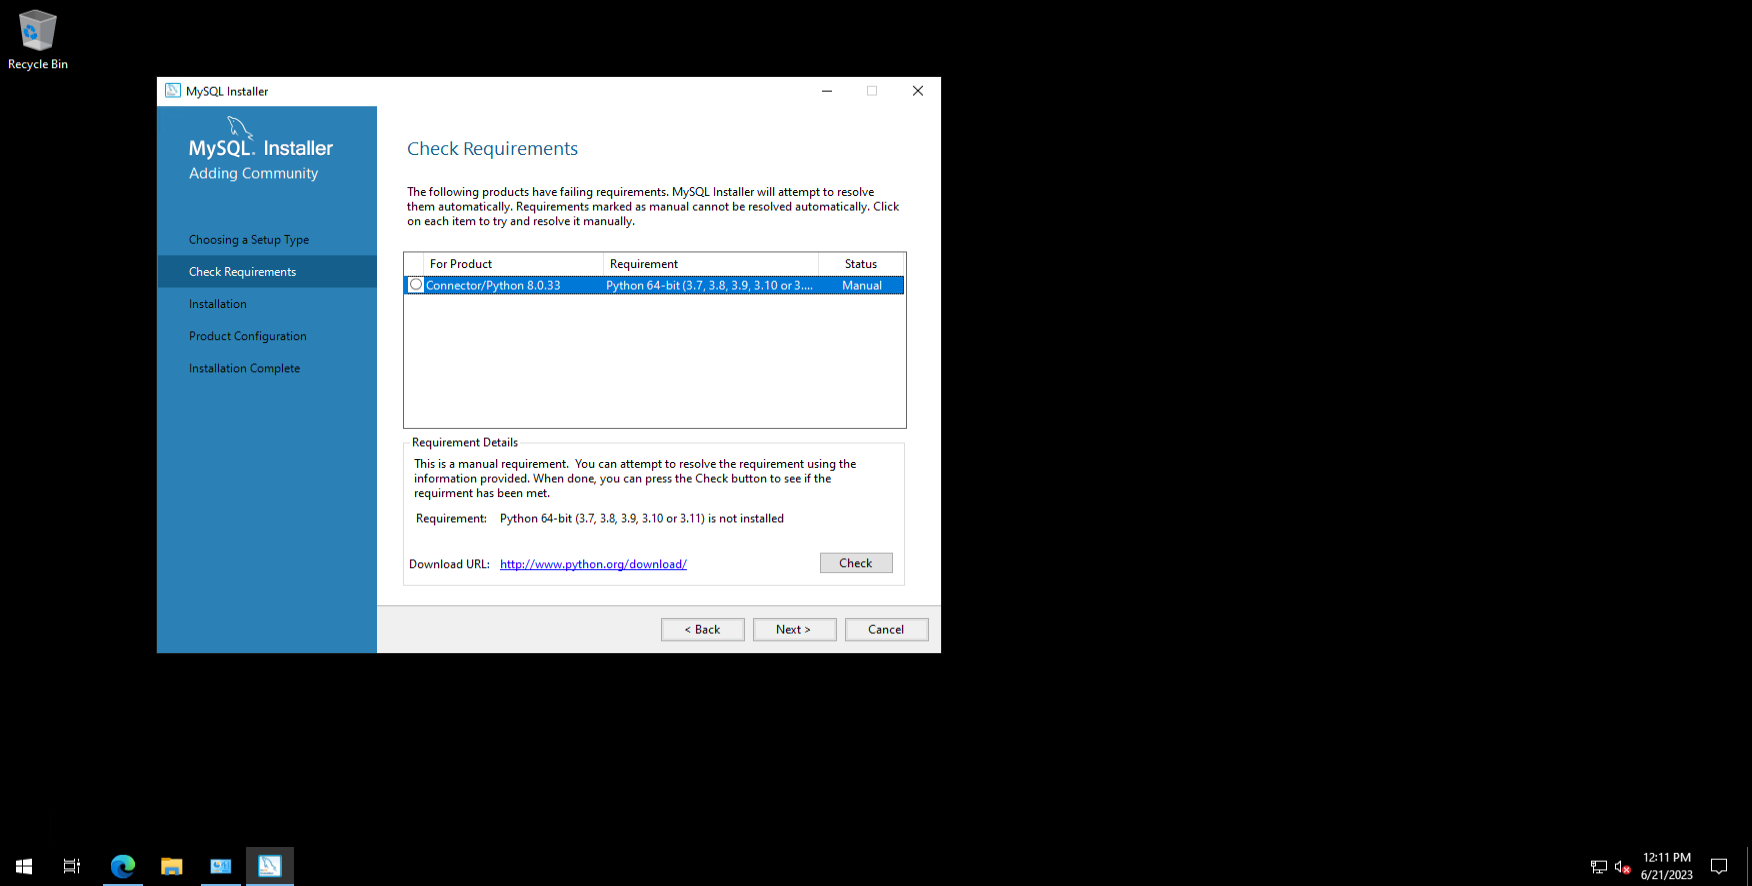
Download msi distribution from the site and install by following the installation wizard, almost everywhere by clicking "Next".
Downloading the MySQL Distribution
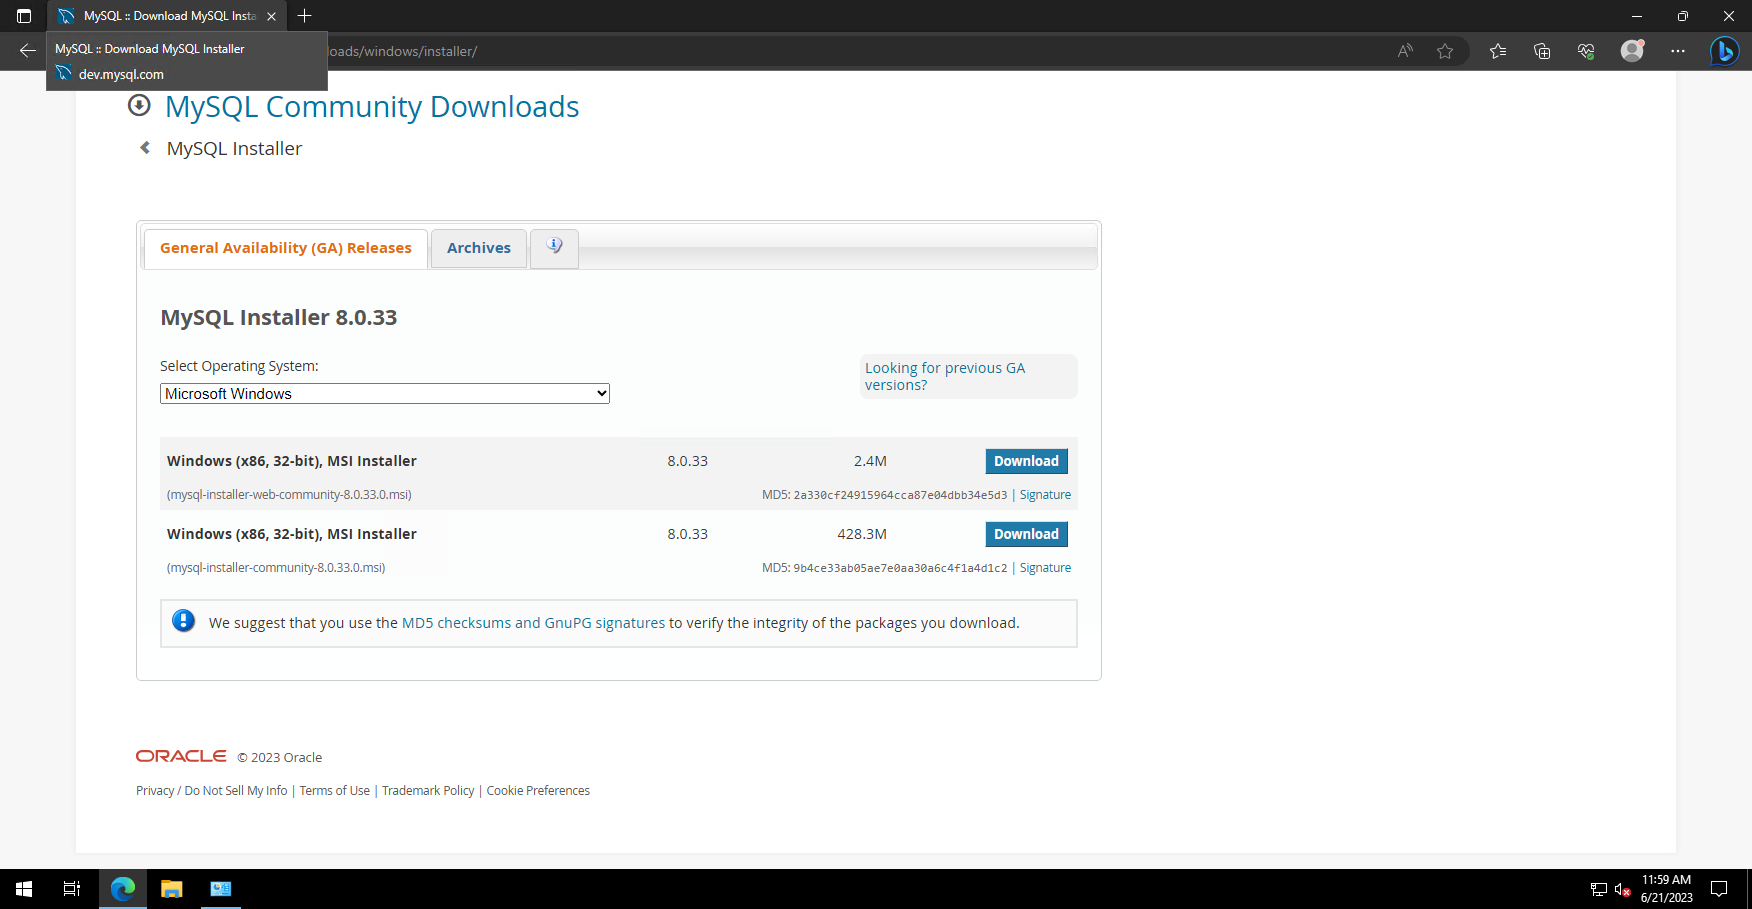
In order to start installing, we will download MySQL install files available on their website. Select "MySQL Installer for Windows" option, download and start the file on your server.
Starting the installation and selecting components
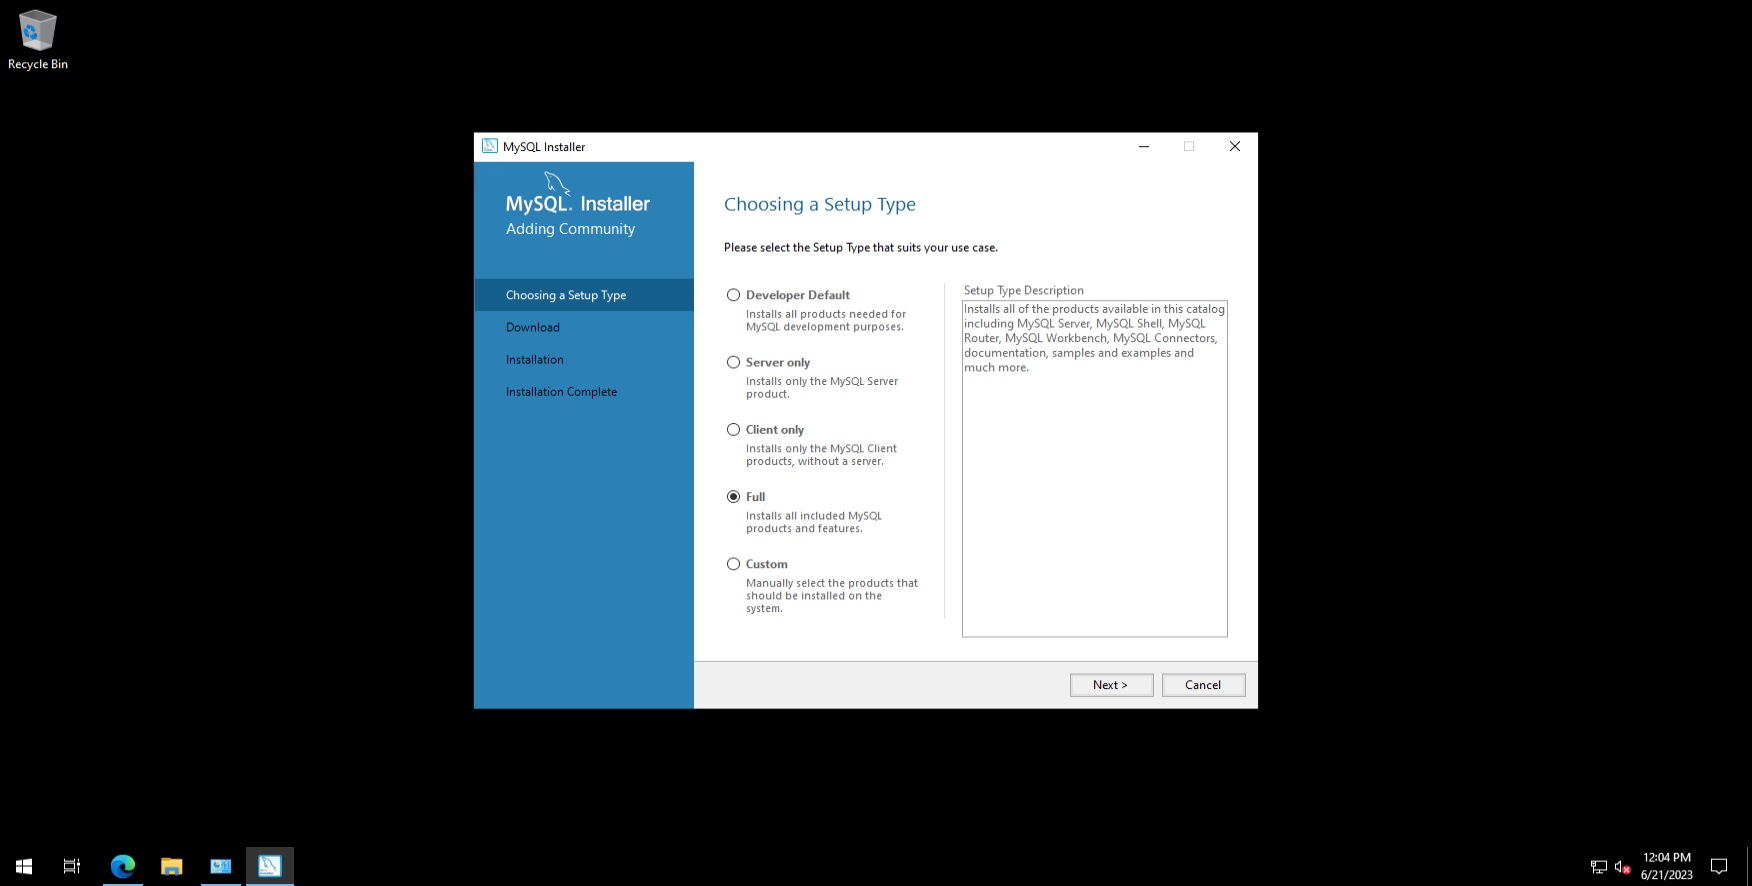
After the download is successfully finished, MySQL installer interface will appear on the screen. To install only MySQL, select "Custom". However, if we decide that need other Oracle products, choose "Developer Default". Please note that some components may depend on others, and if you do not select them, you will not get the necessary functionality of the system. It is needed to choose one of the options that is most suitable for the tasks of the server, in this case, select "Full" and click "Next" to proceed with the installation.
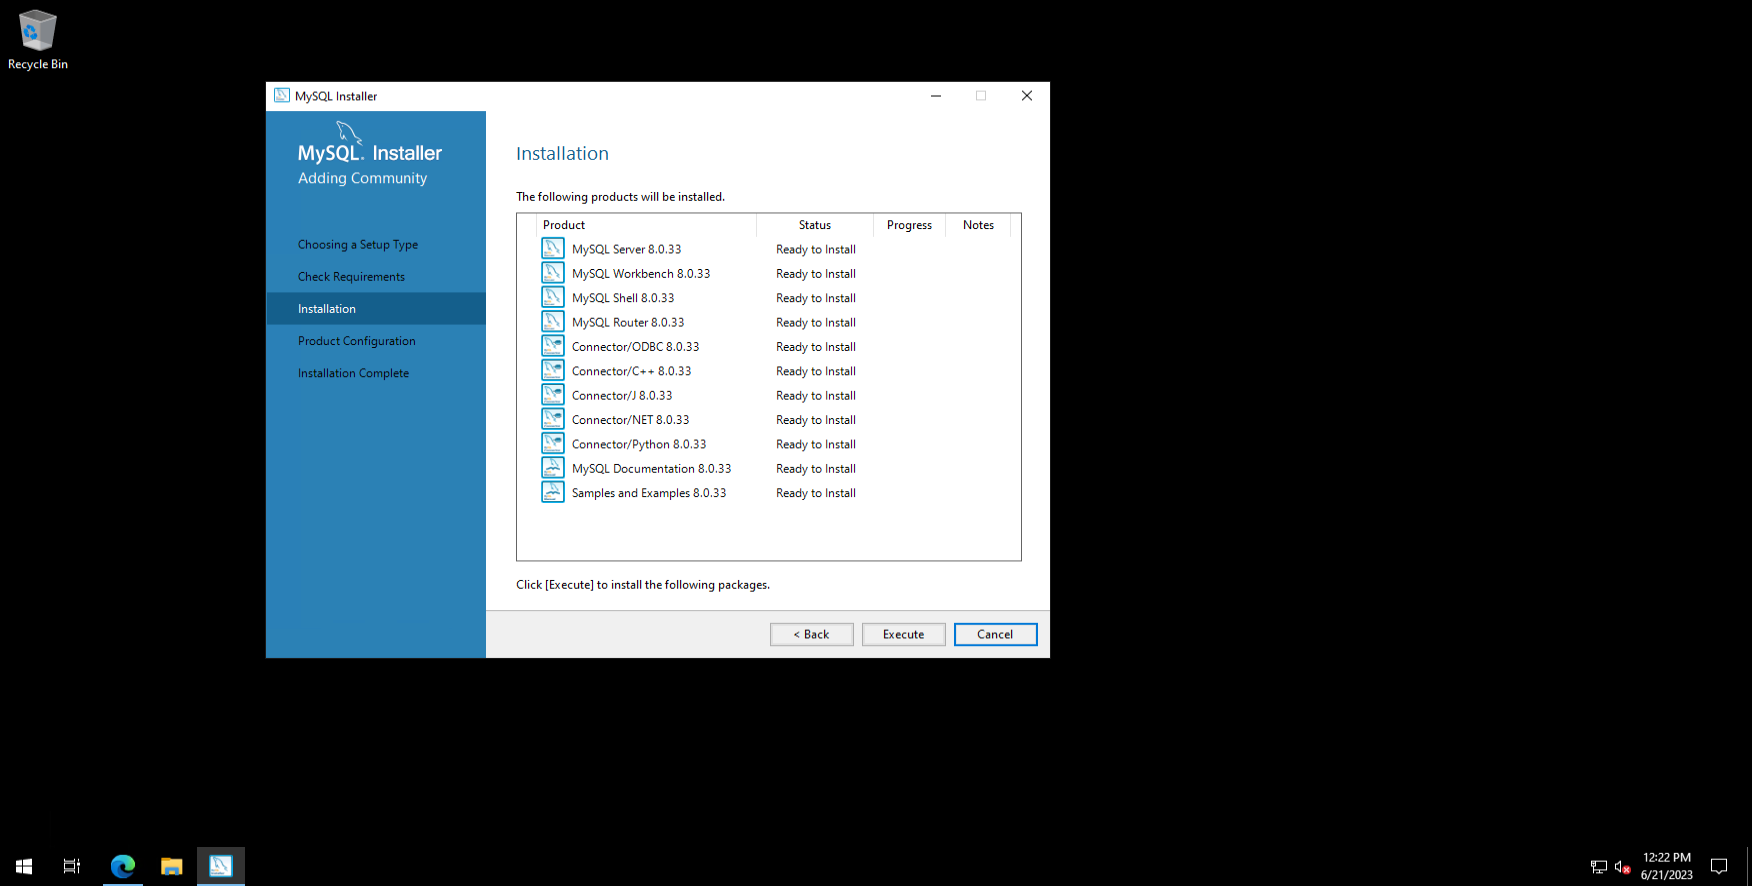
On the next "Installation" page, click "Execute"
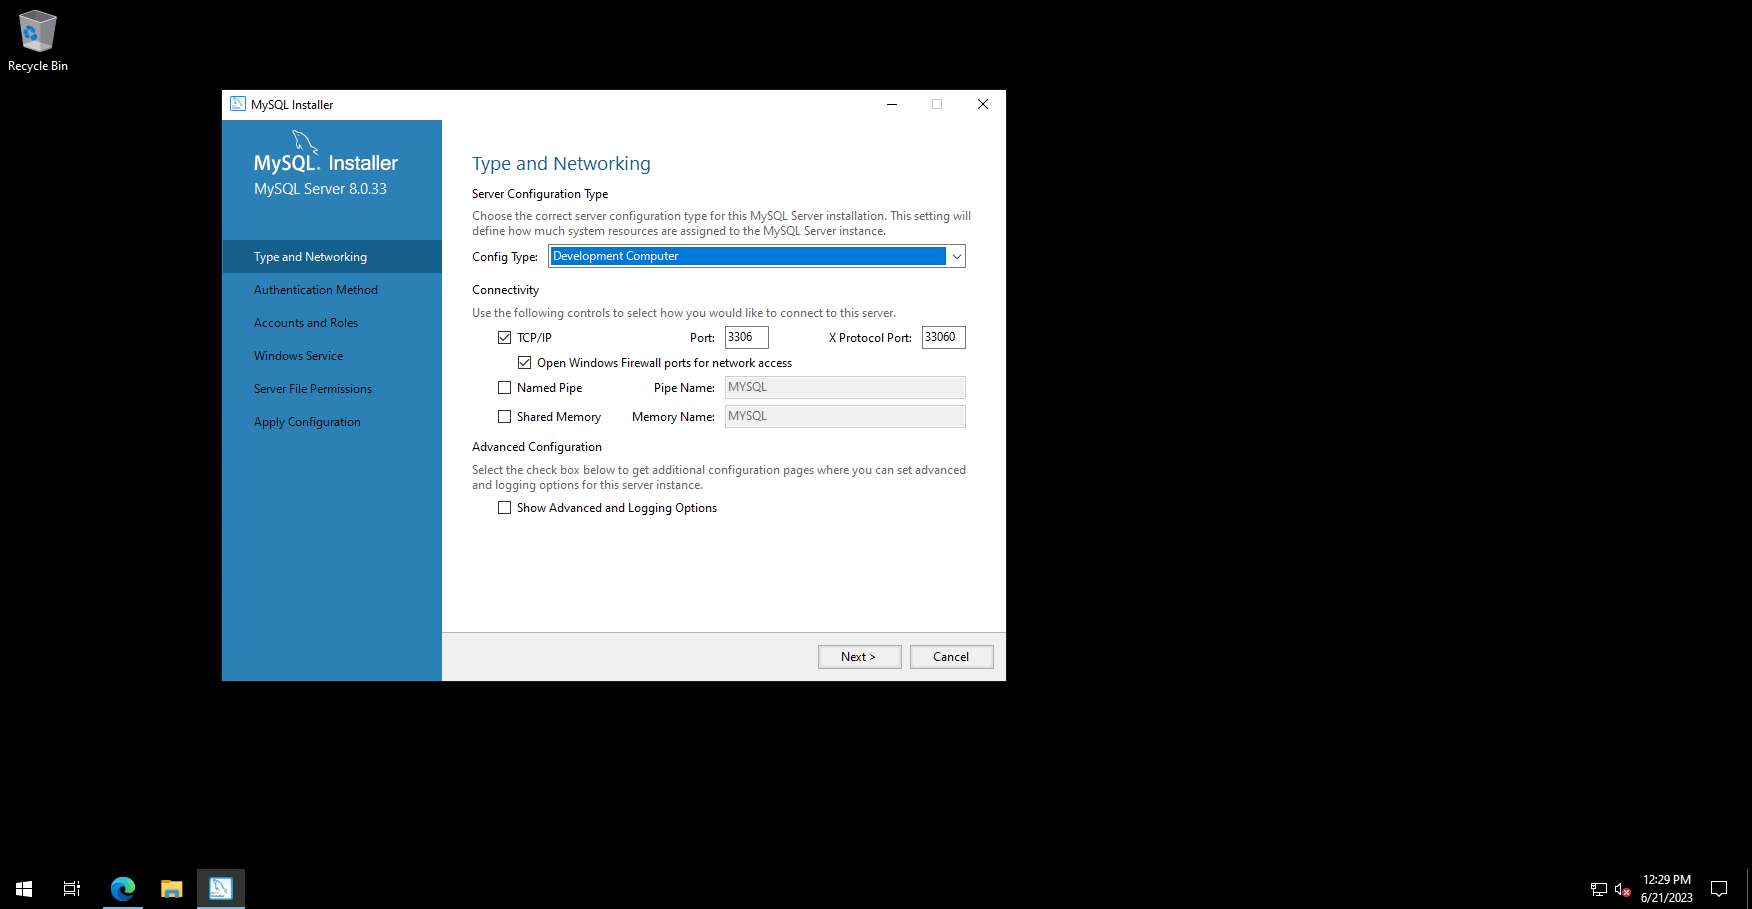
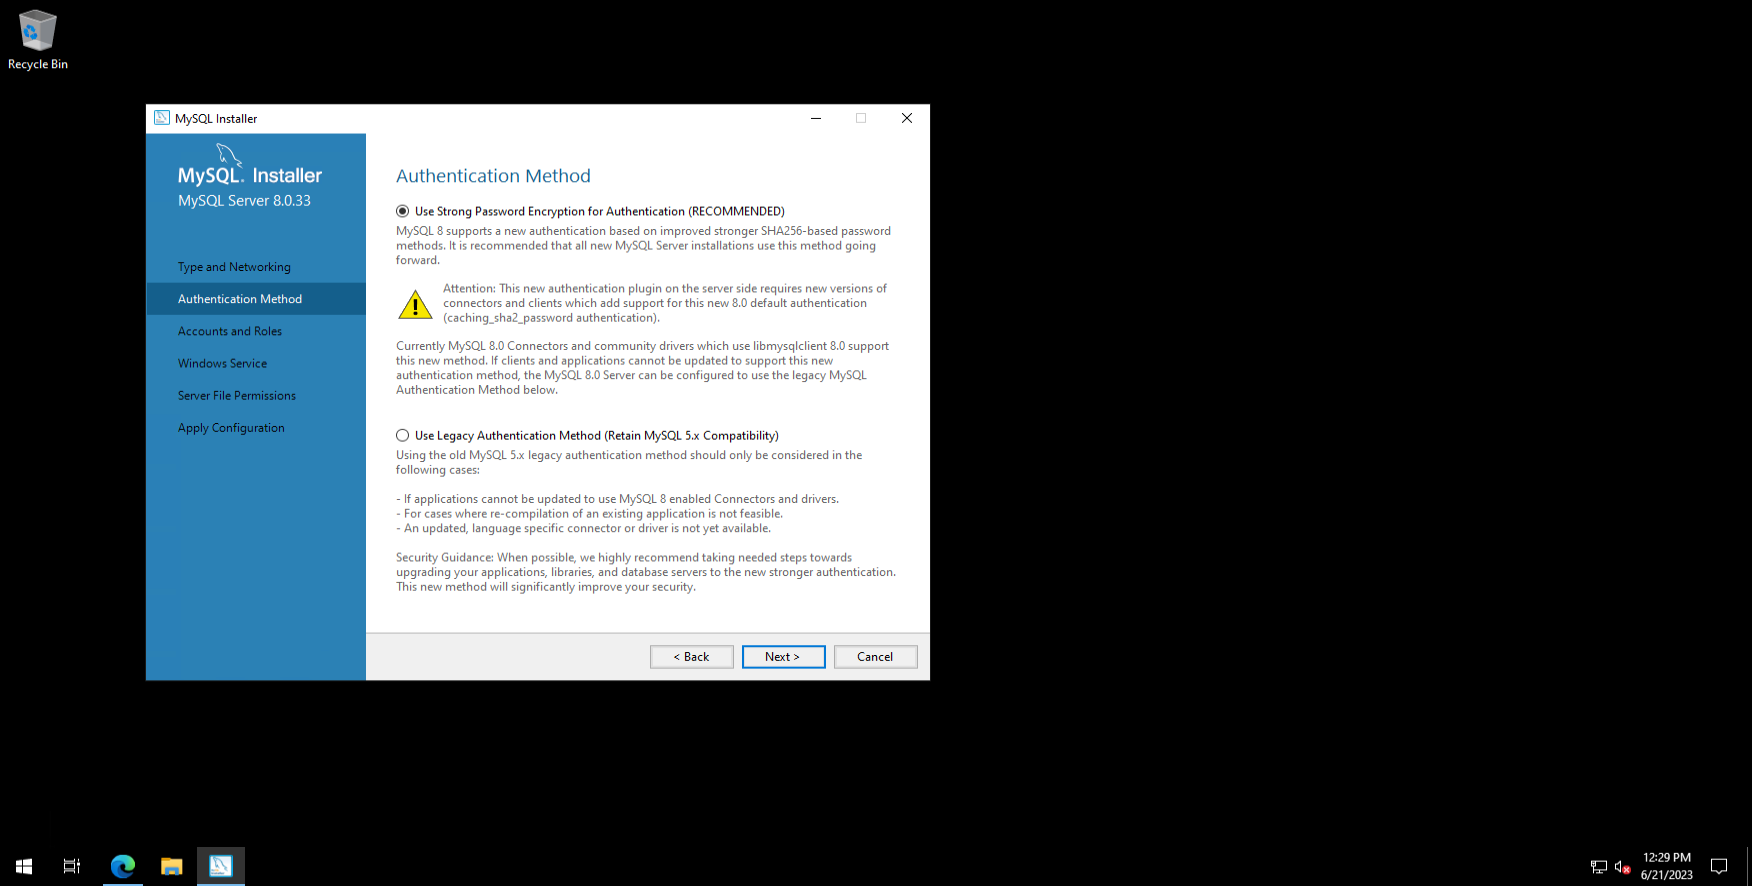
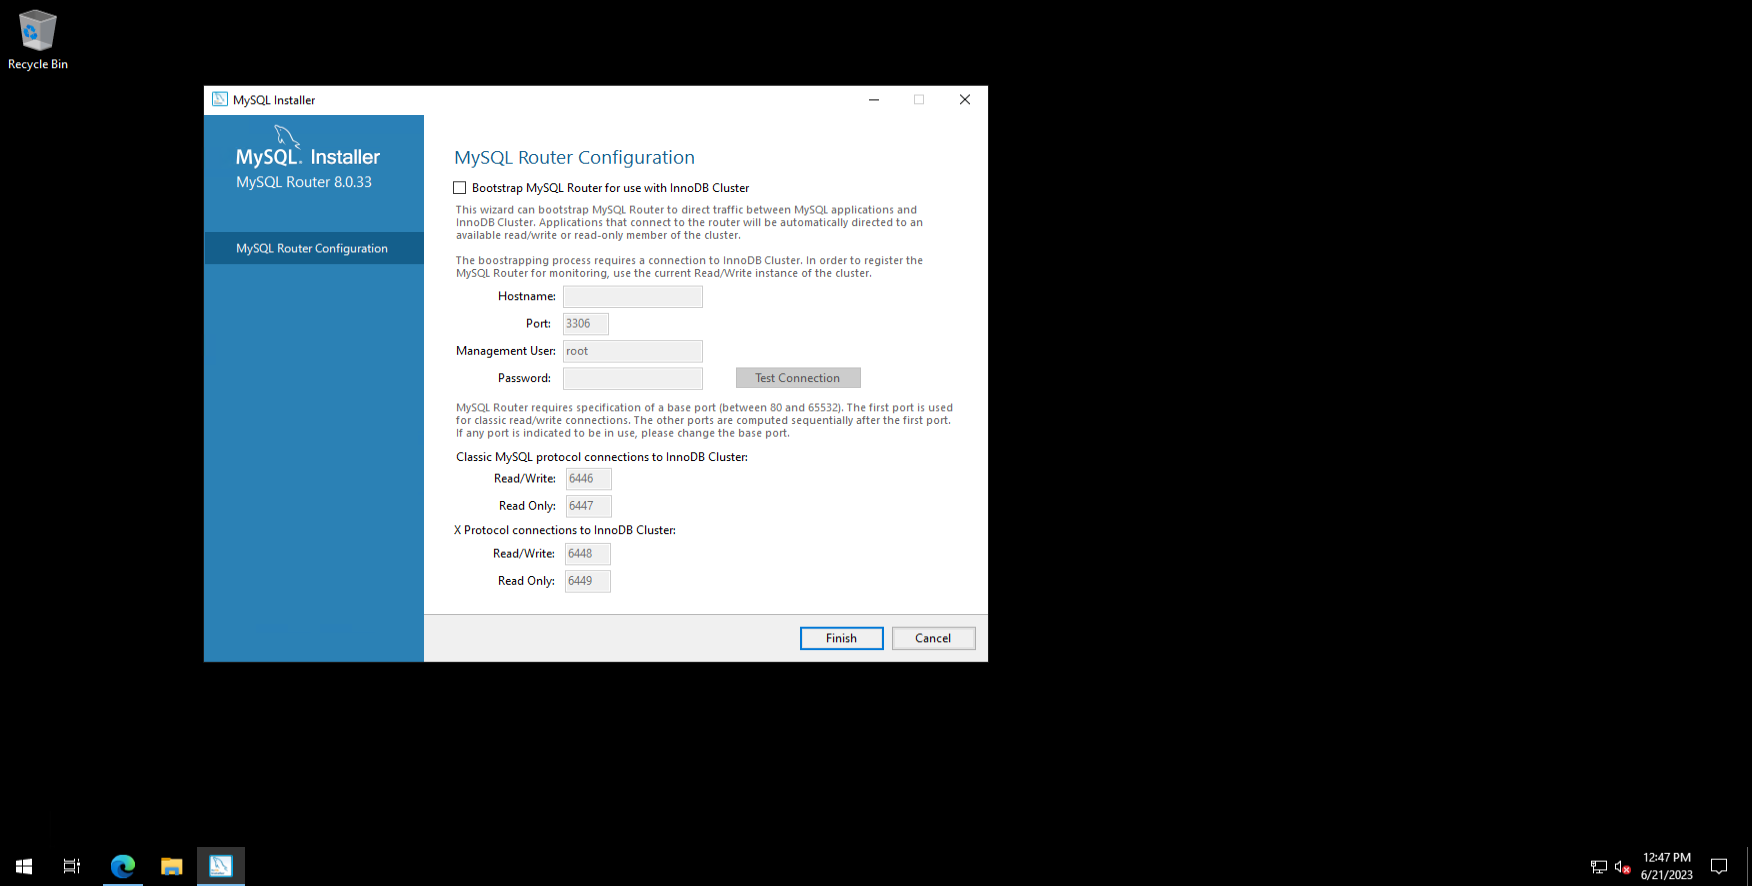
Configuring Connection Types
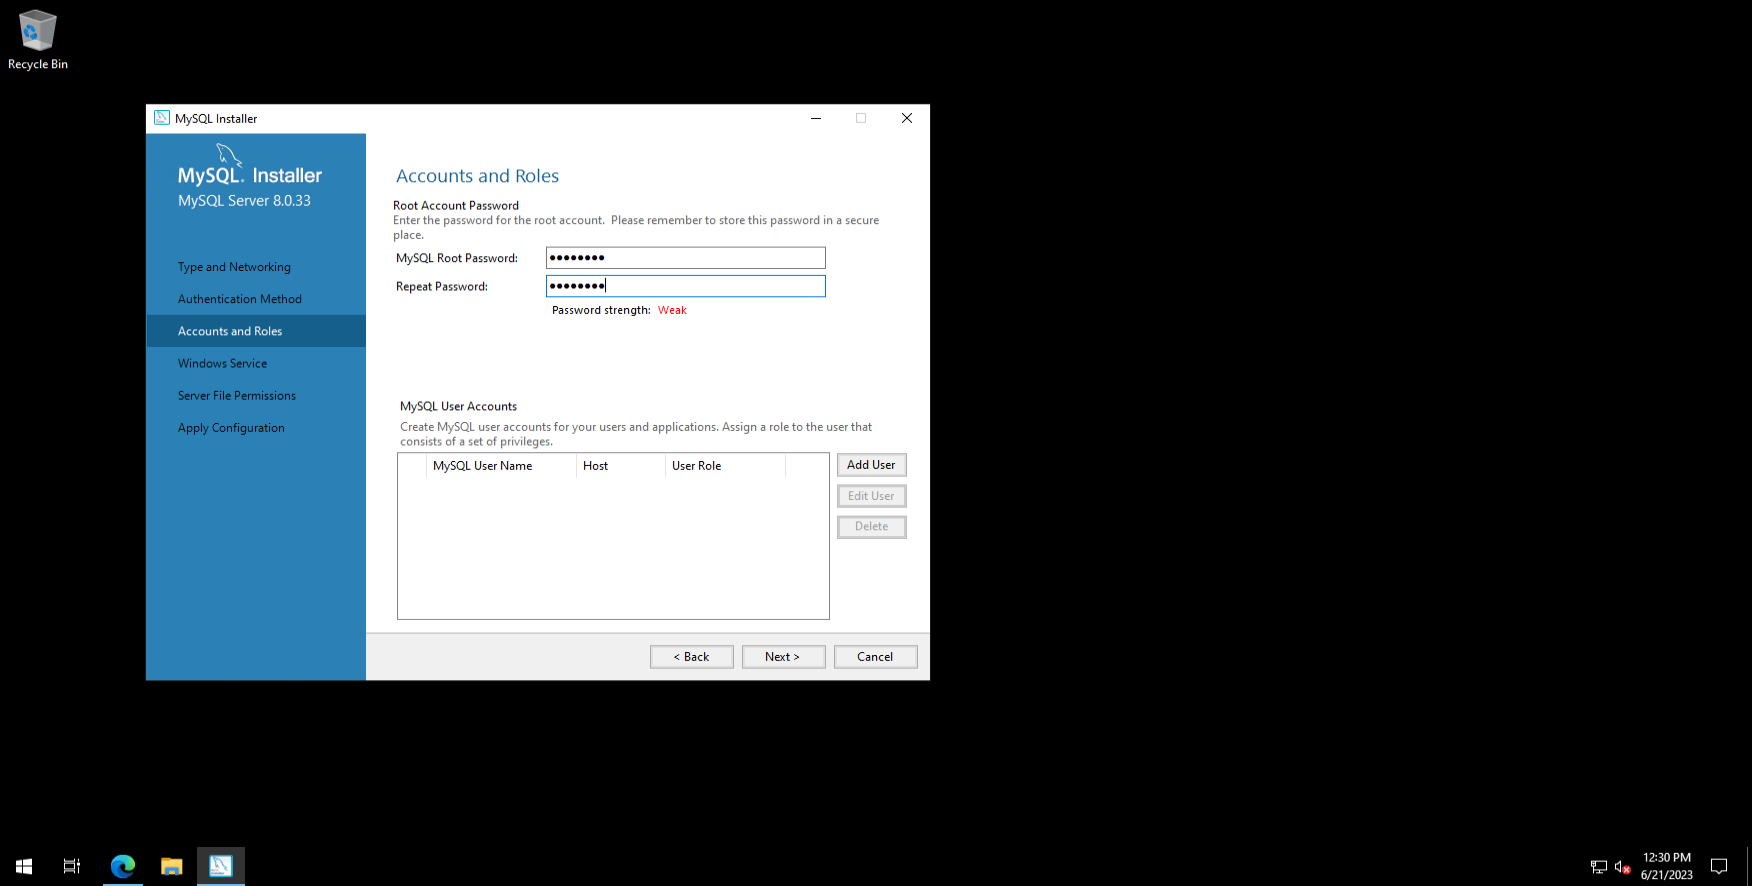
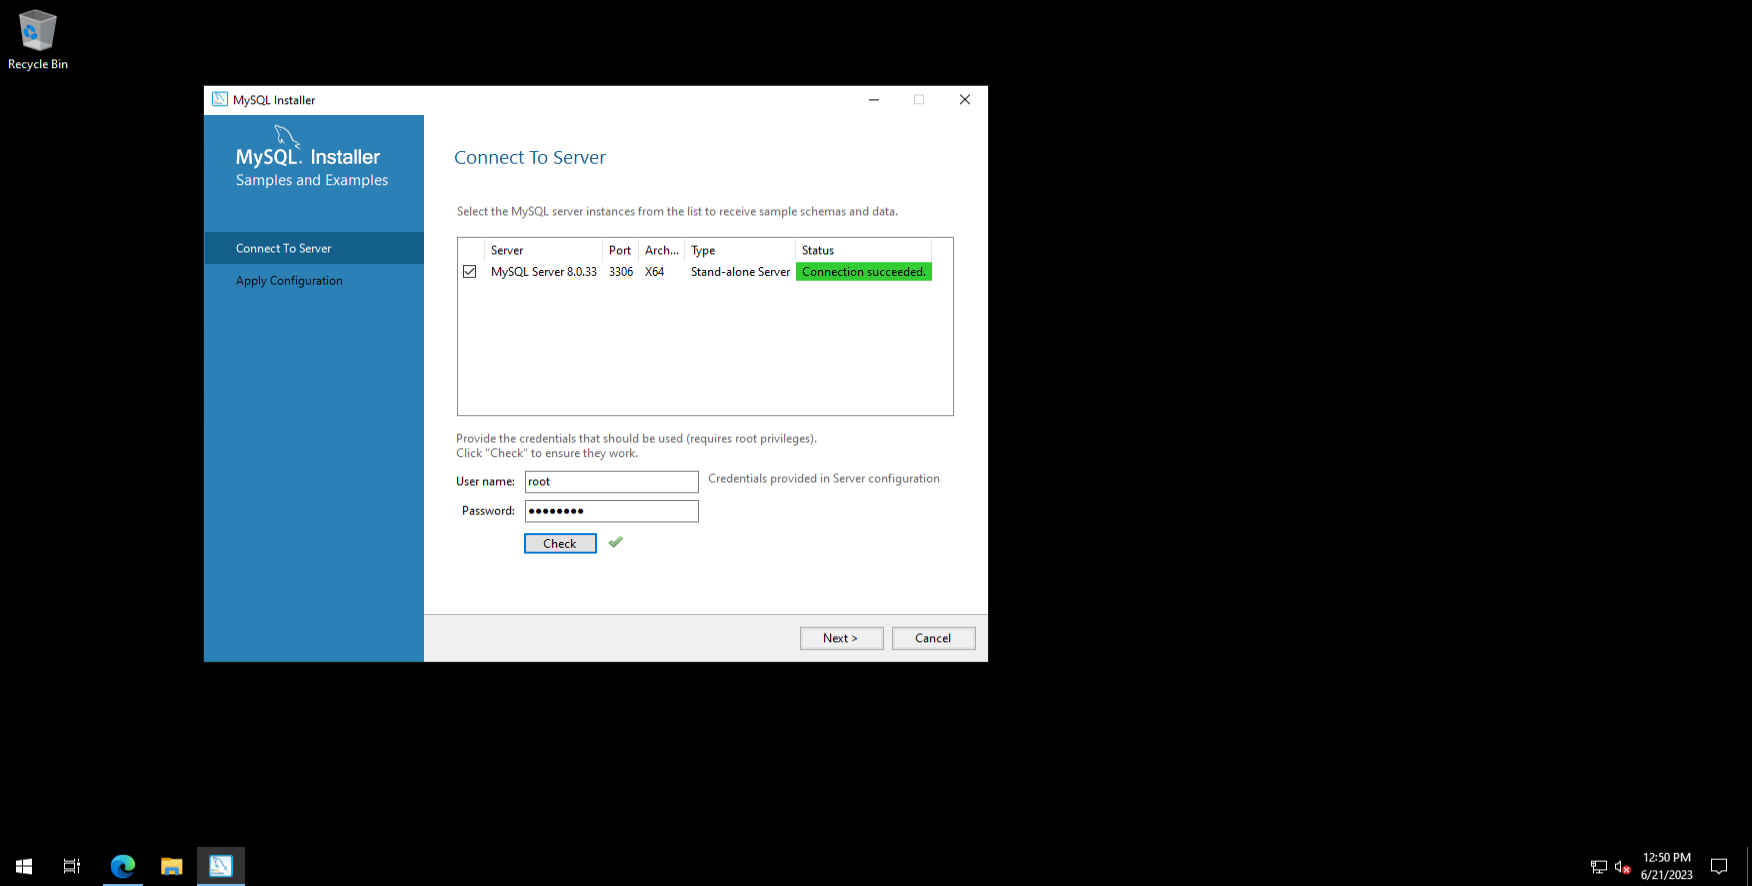
The next step is to set up connection types. If you need standard settings, leave the following items unchanged. At the stage of creating an administrator user, you will need to change its password. This account will be used to manage the MySQL system.
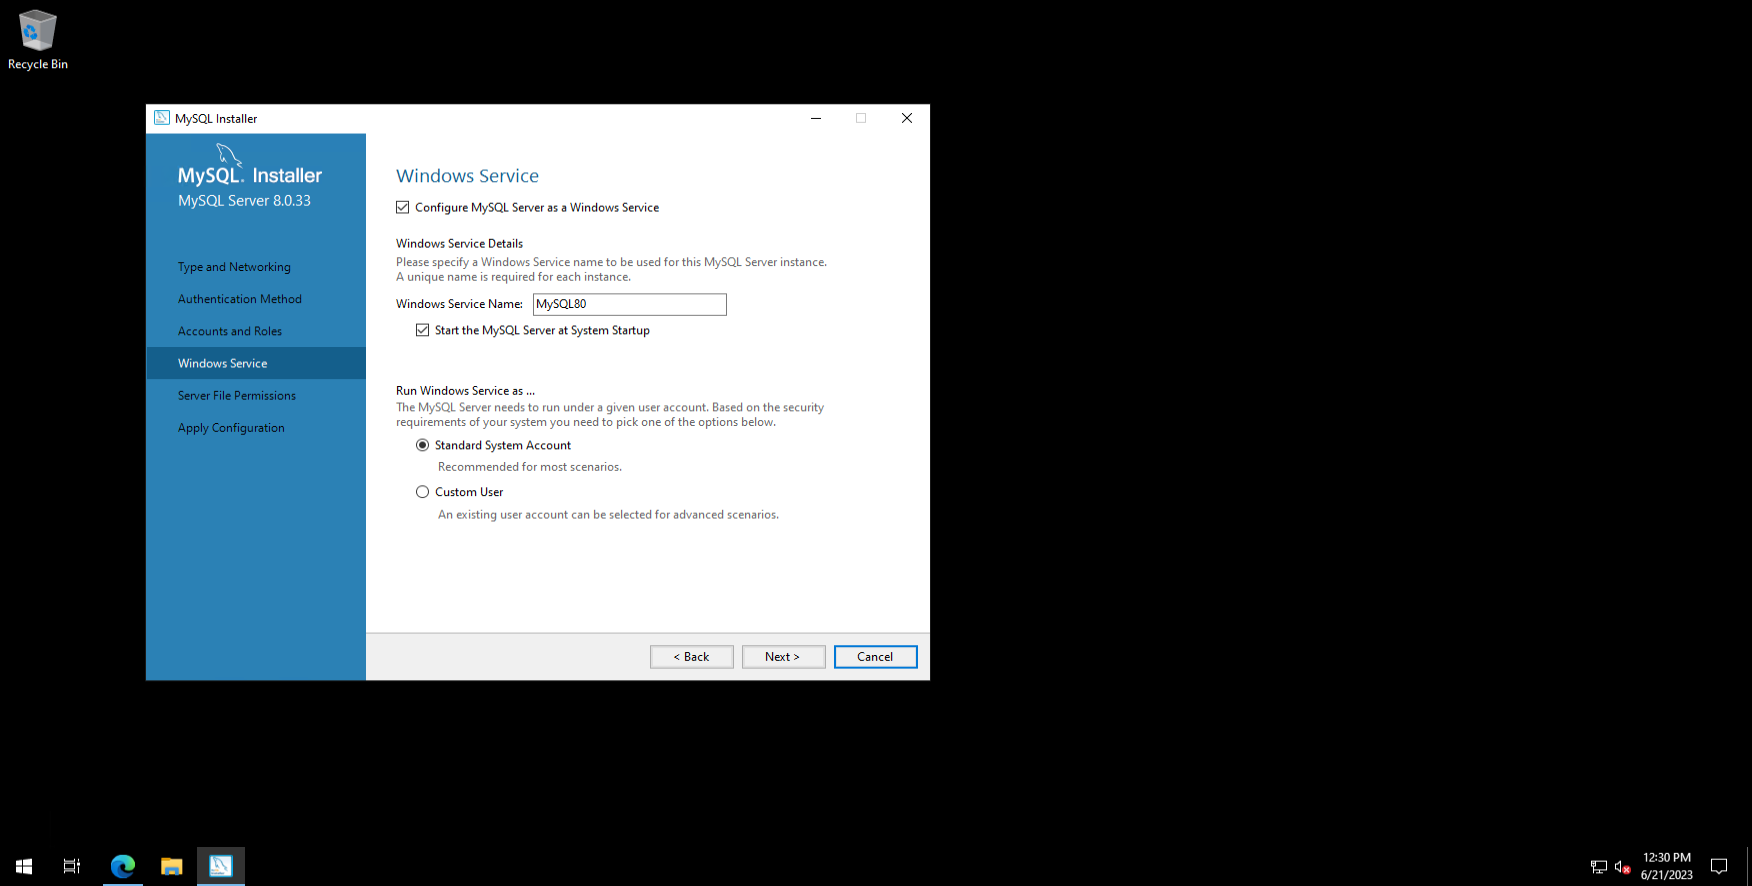
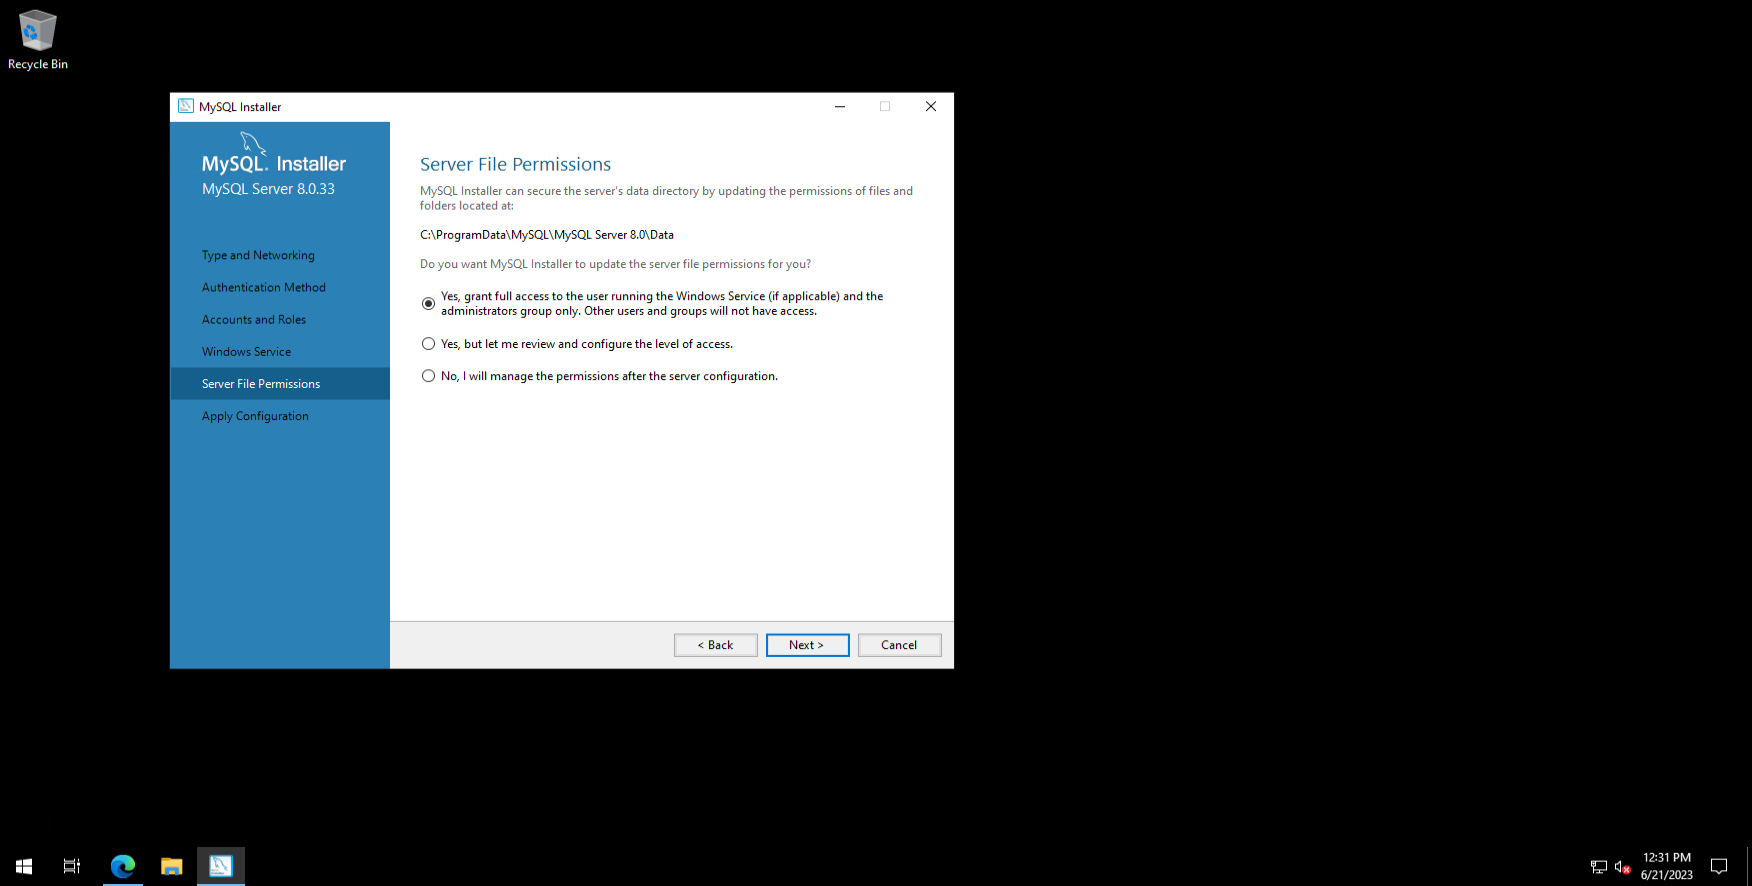
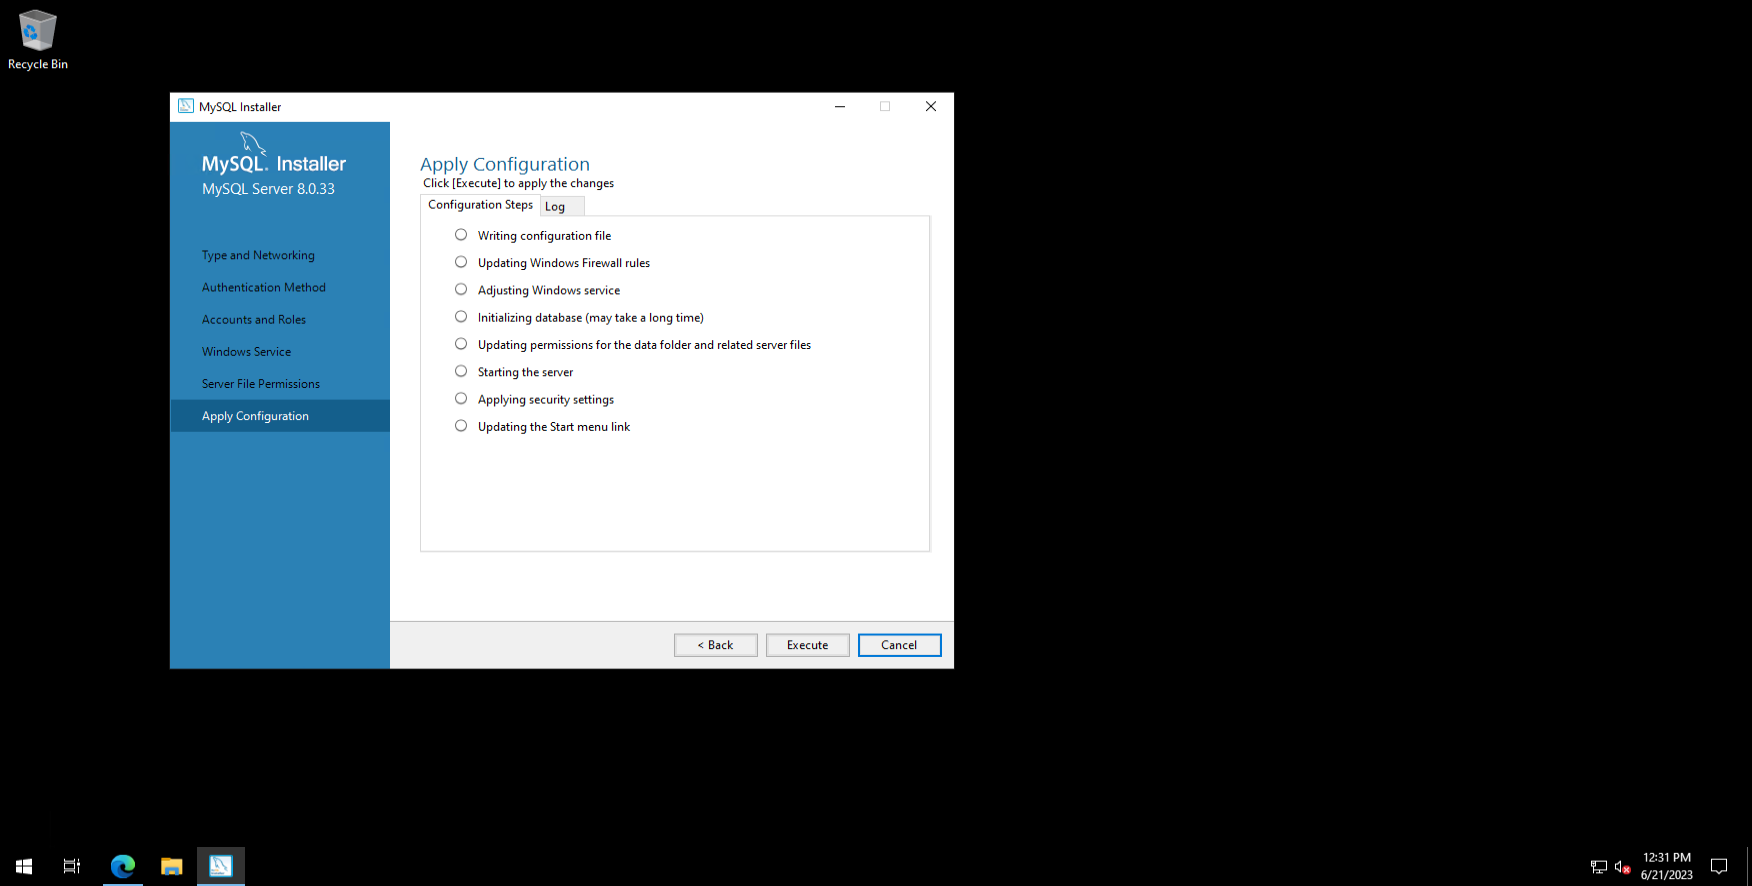
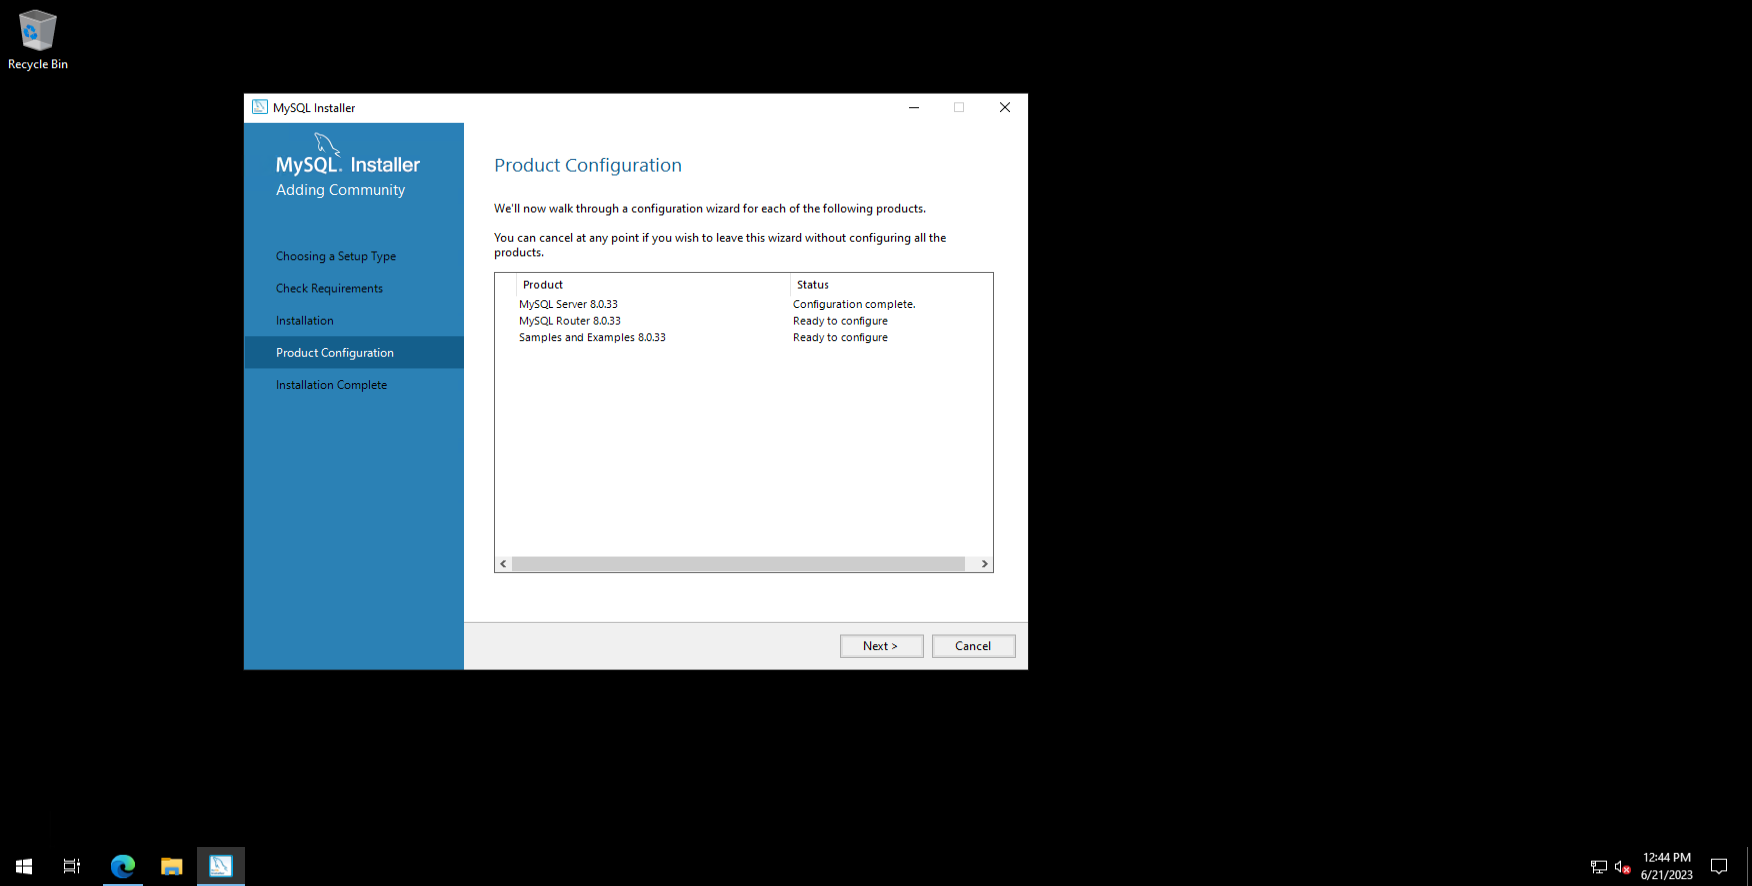
Server setup
After the installation is complete, you need to configure the MySQL server. If there are problems, the installer will be able to provide detailed information about what needs to be configured.
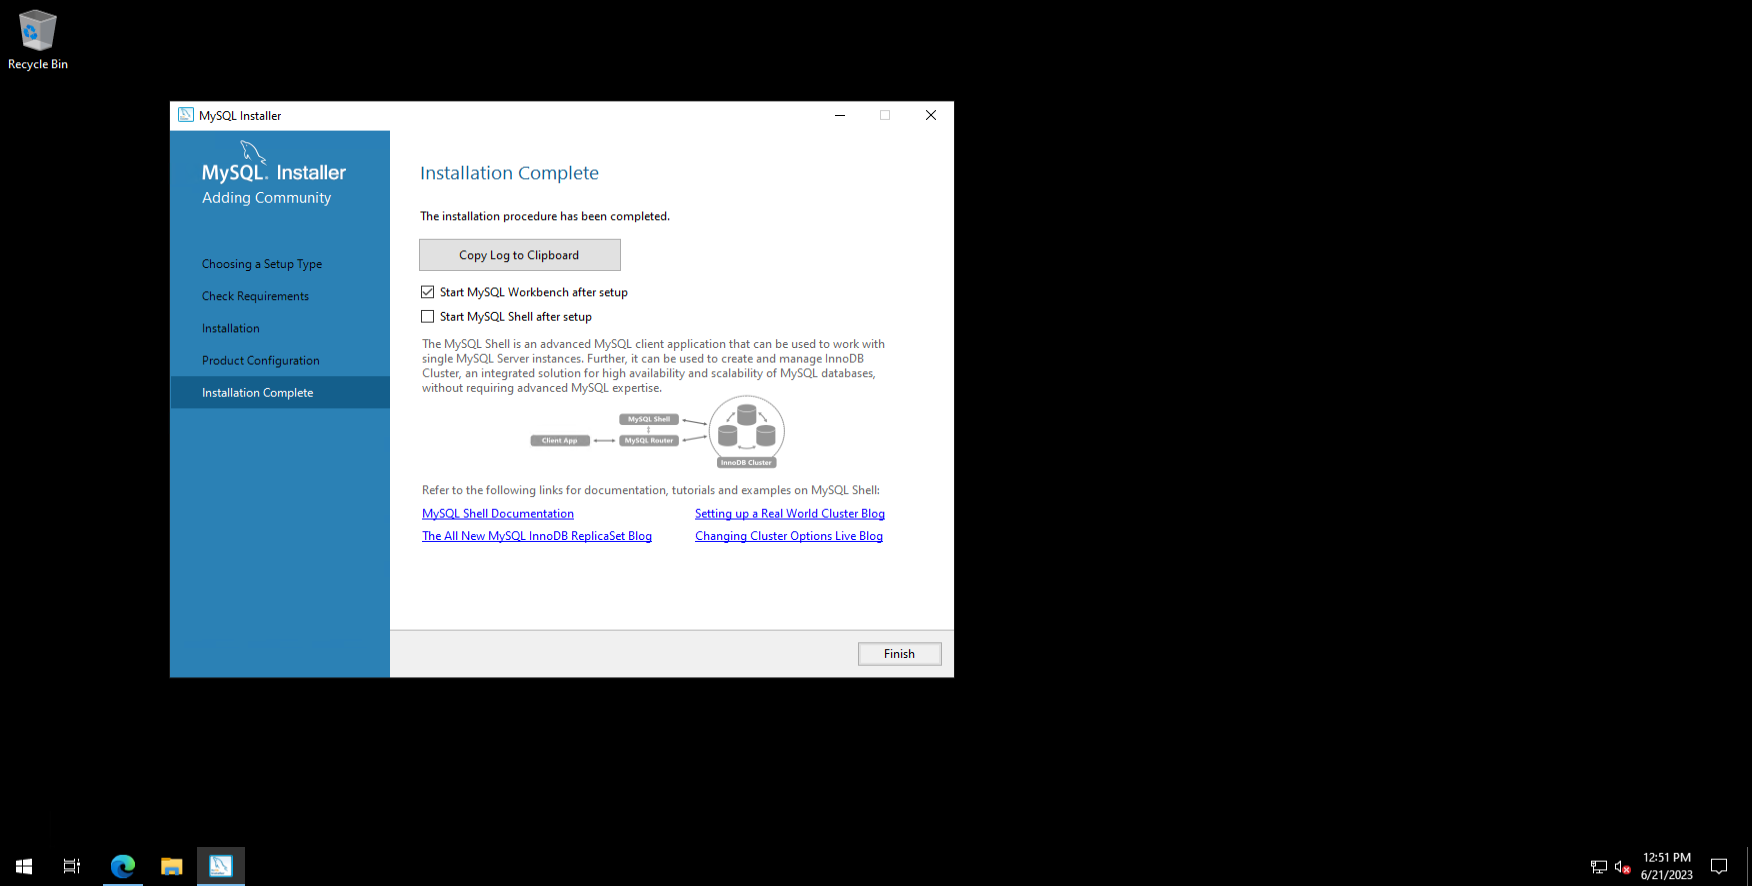
Checking the installation
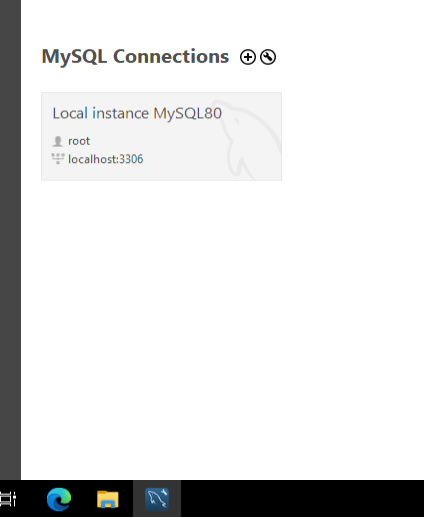
Once the system is installed, we recommend testing performance of new installed server. This can be done using tool MySQL Workbench or any other database management software. Launch Workbench, and connect to the local server :
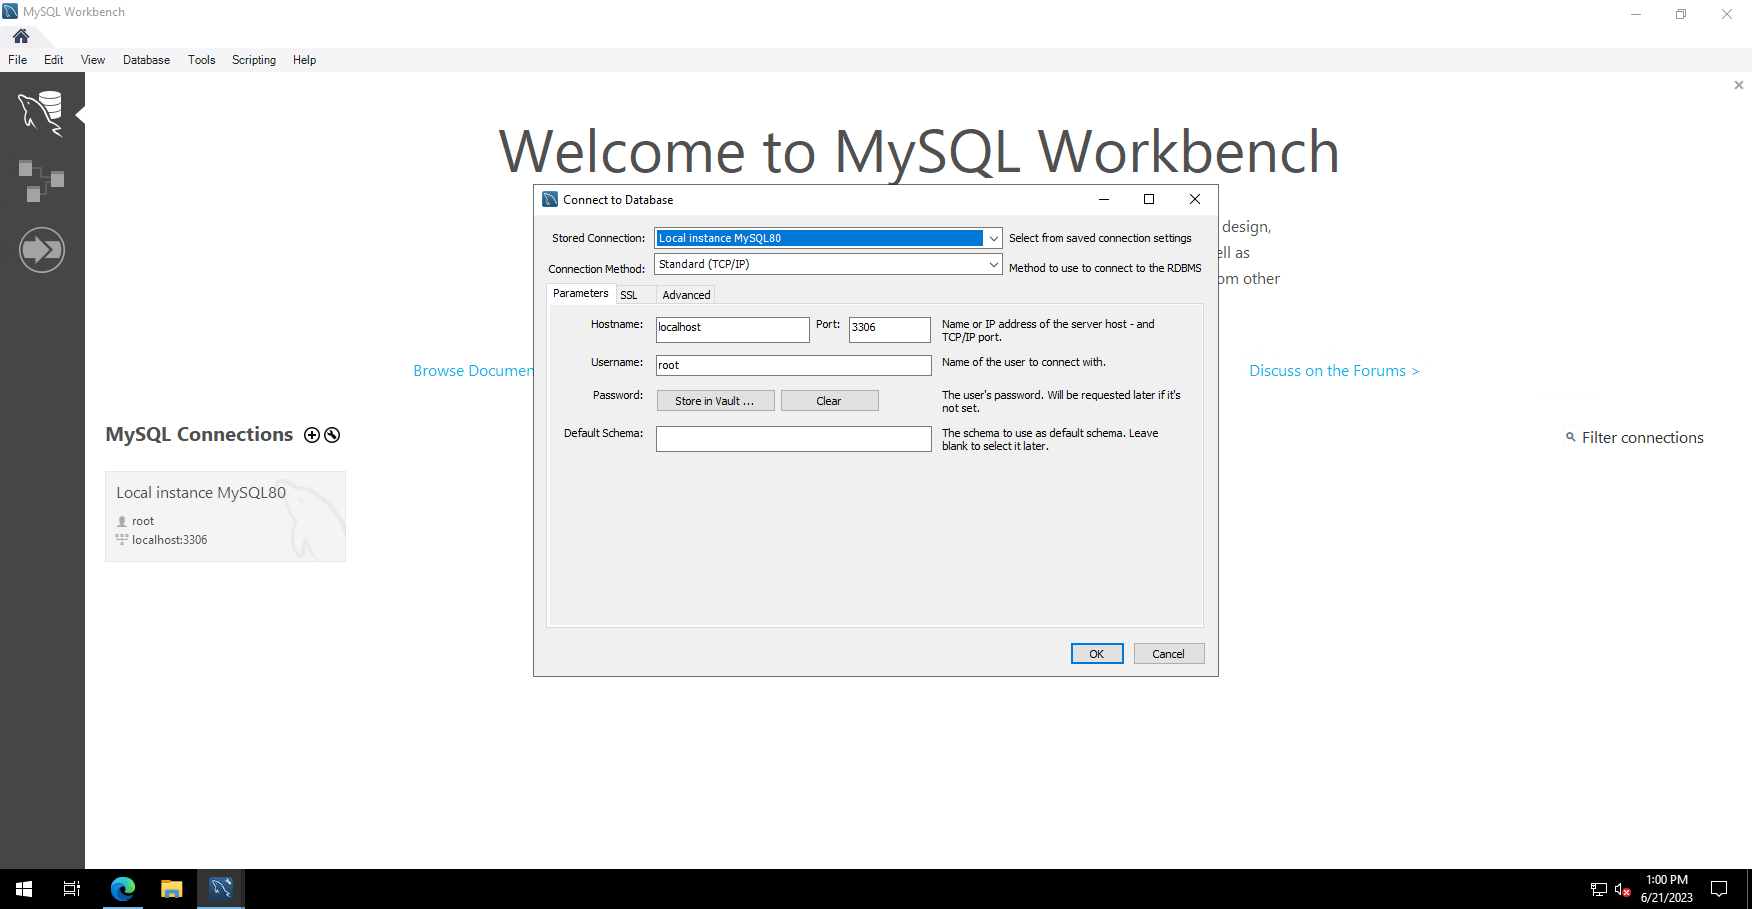
After connecting to the database, you can use the following query to check the version of the DBMS:
SELECT version();The result will look like the screenshot below:
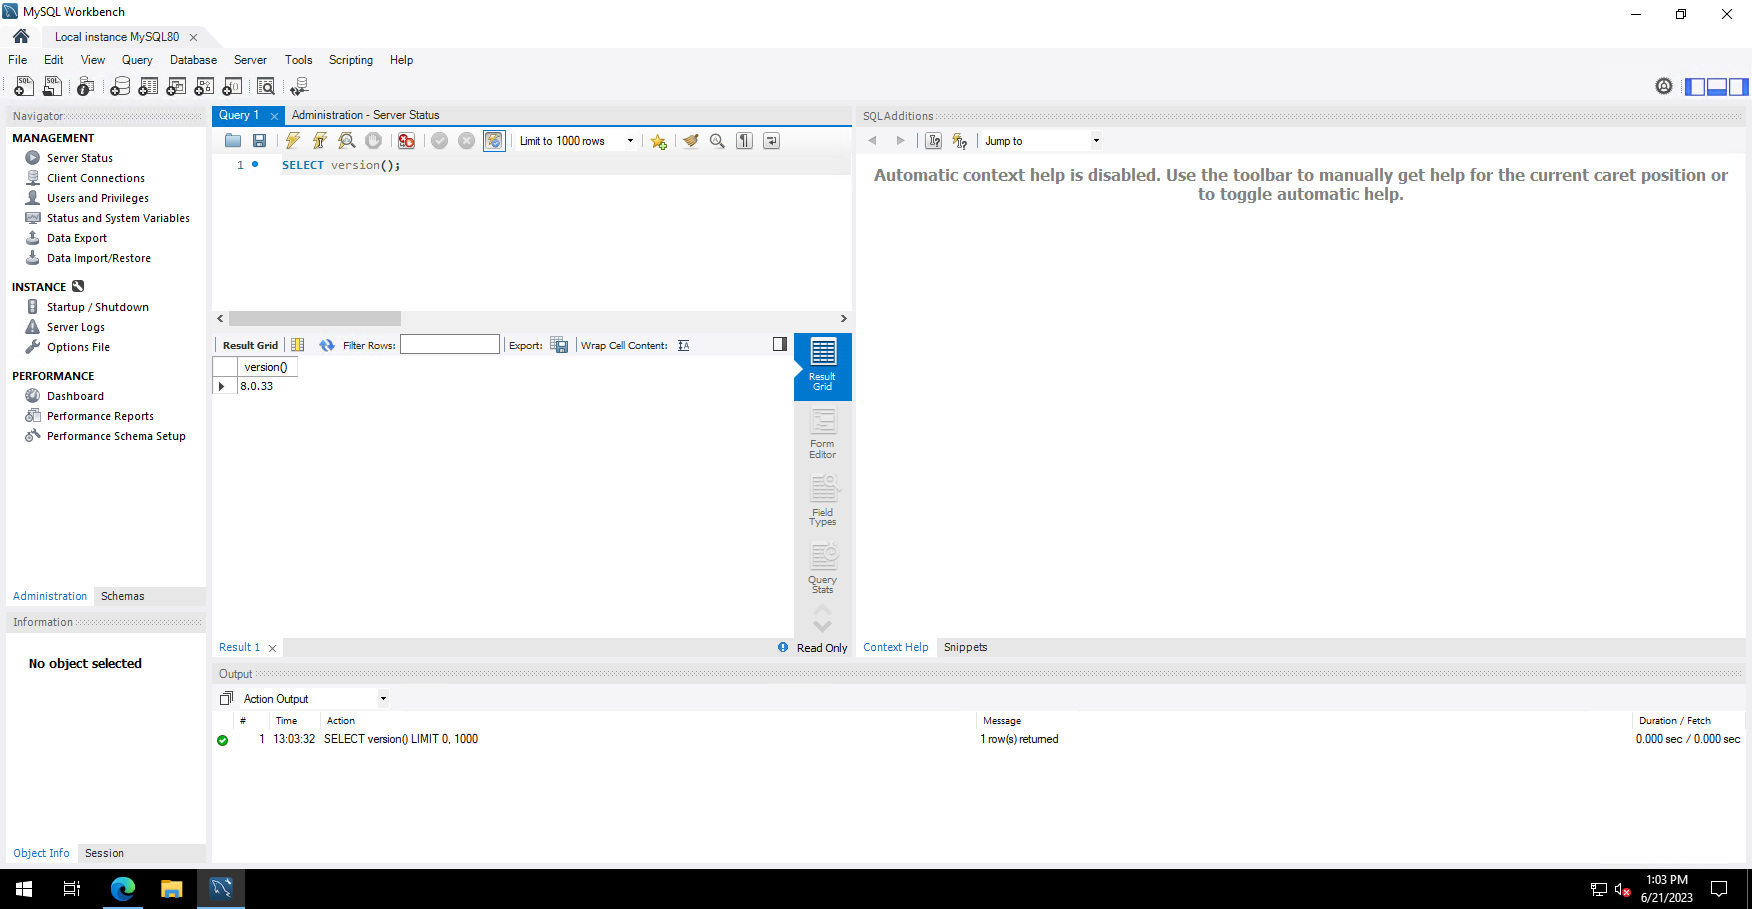
As a result, we can say that the installation was successful.
Conclusion
The main steps for installing this DBMS on a server were covered in this article. If you follow the mentioned steps carefully, installing MySQL on Windows Server 2019 should be a relatively simple process. In case you encounter any difficulties, or need further assistance, we recommend consulting the MySQL documentation or reaching out to the developer community for additional support.


