One of the first tasks after installing a Linux system is configuring network interfaces and internet connectivity. Depending on whether the system is used as a server or a workstation, different network settings may be required.
In this guide, we will walk through how to configure network settings and manage interfaces on AlmaLinux, an enterprise-ready Linux distribution compatible with RHEL. AlmaLinux uses NetworkManager, which provides flexible configuration options via command-line tools, terminal-based UI, and configuration files — making it suitable for both beginners and advanced users.

How do I open Network Manager?
NetworkManager is a service installed by default on AlmaLinux. It is responsible for managing network interfaces and connection settings.
In order to open Network Manager it is necessary to use one of the convenient tools for interaction:
- nmtui, is a user-friendly graphical environment for configuring and creating interfaces;
- nmcli, is a utility for editing and creating interfaces via the command line;
- any text editor that can be used to edit configuration files.
Once the list of tools has been defined, let's move on to configuring the network interfaces on the machine!
Server preparation
GPG or GNU Privacy Guard is a crypto package that allows you to encrypt, decrypt, sign documents and messages with EDS, store keys with identifiers in a database, and perform many cryptosystem functions. Just one of these is signature verification on apt packages.
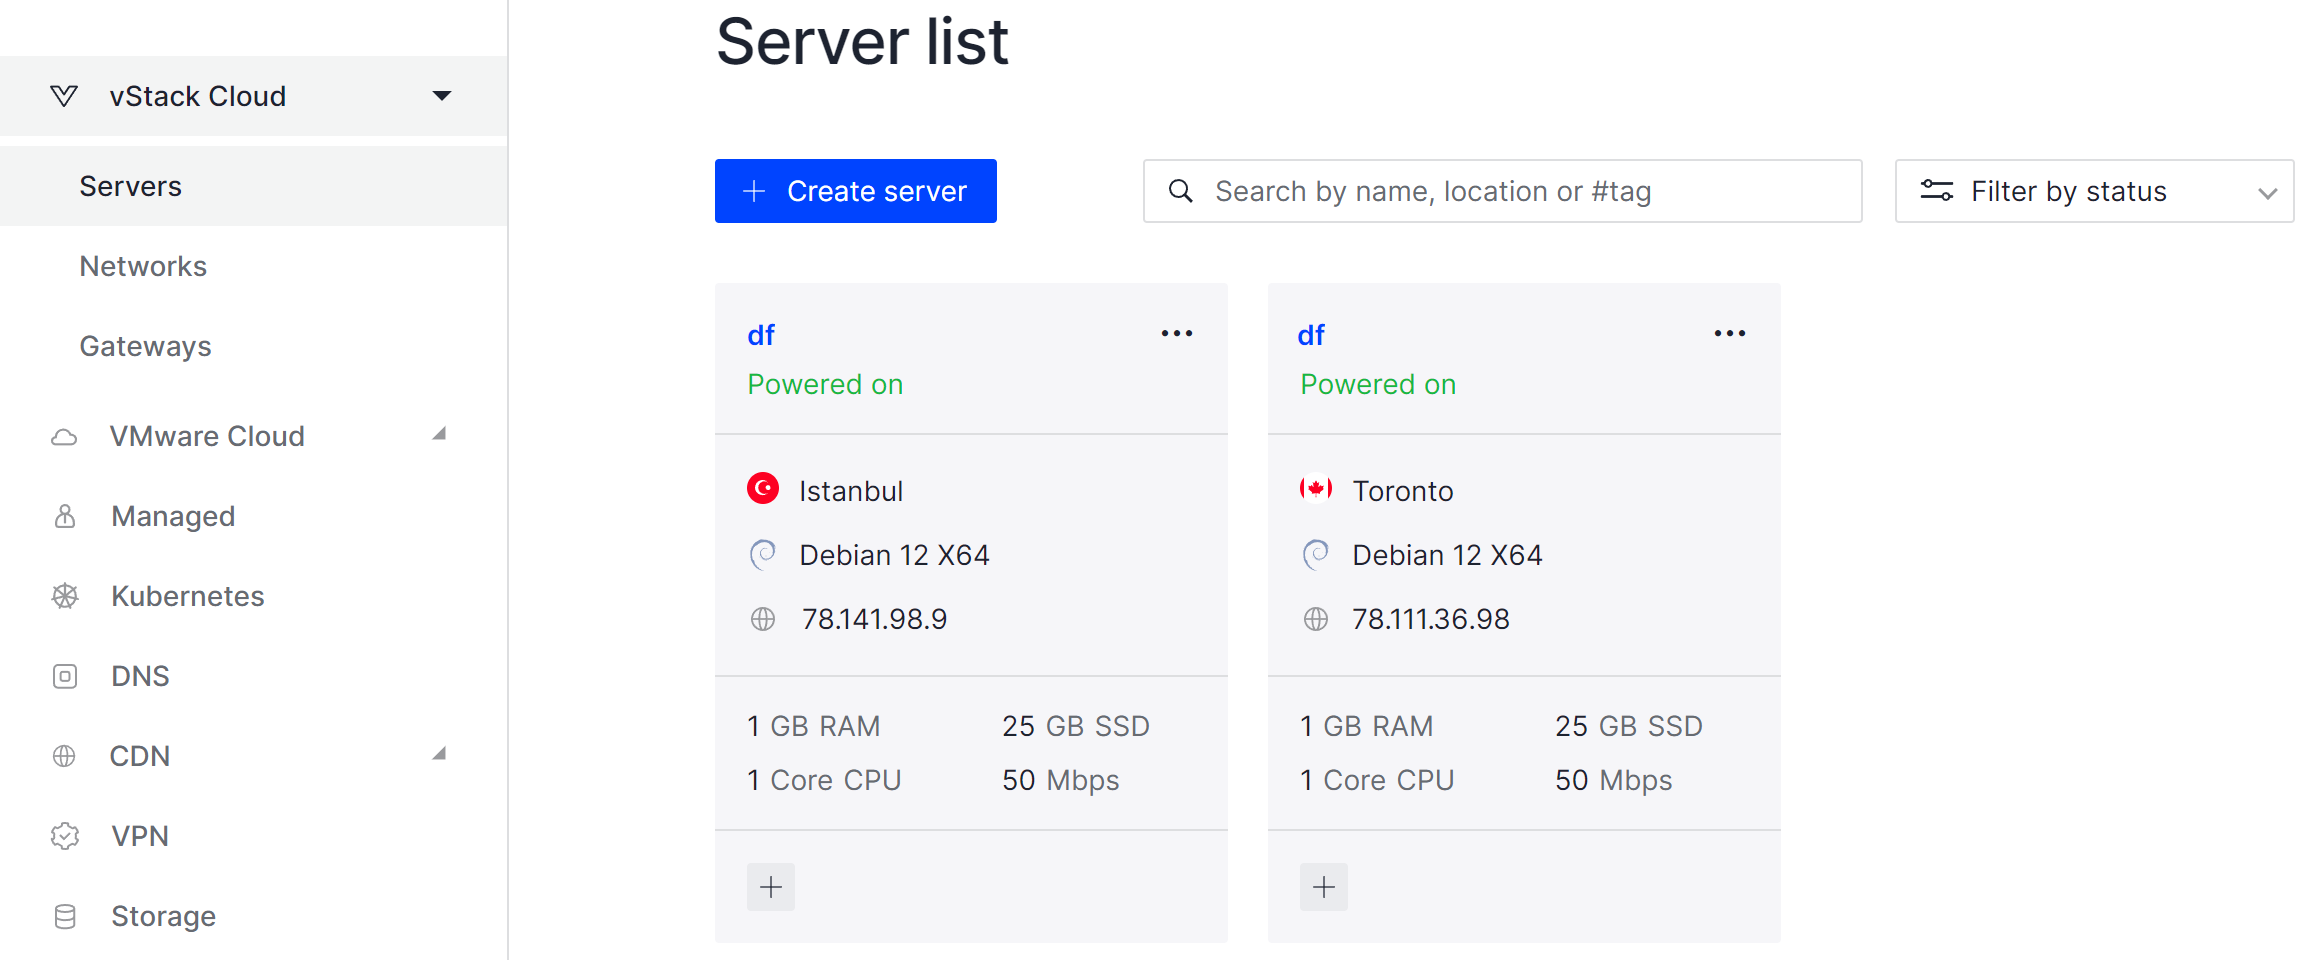
All actions we can do in isolate environment on Serverspace cloud platform which will help in easy deployment, also you can skip this step if you have a cloud server. To create the node we need to find the cloud platform from the left menu which you can choose depending on your requirement. We choose vStack or VMware platform and click on Create Server button.
It will take some time to deploy server capacity. After that you can connect in any of the convenient ways. Let's return to our terminal with the action of update packets, that we can do by command:
dnf update && dnf upgrade -y
After that, you need to install a text editor and network management utilities:
dnf install nano net-tools -y
The net-tools utility will help you take a closer look at the network configuration on your system and make additional settings!
Configuring network interfaces
First, physically or virtually connect the network interface to the computing device and check its availability with the command:
ip a 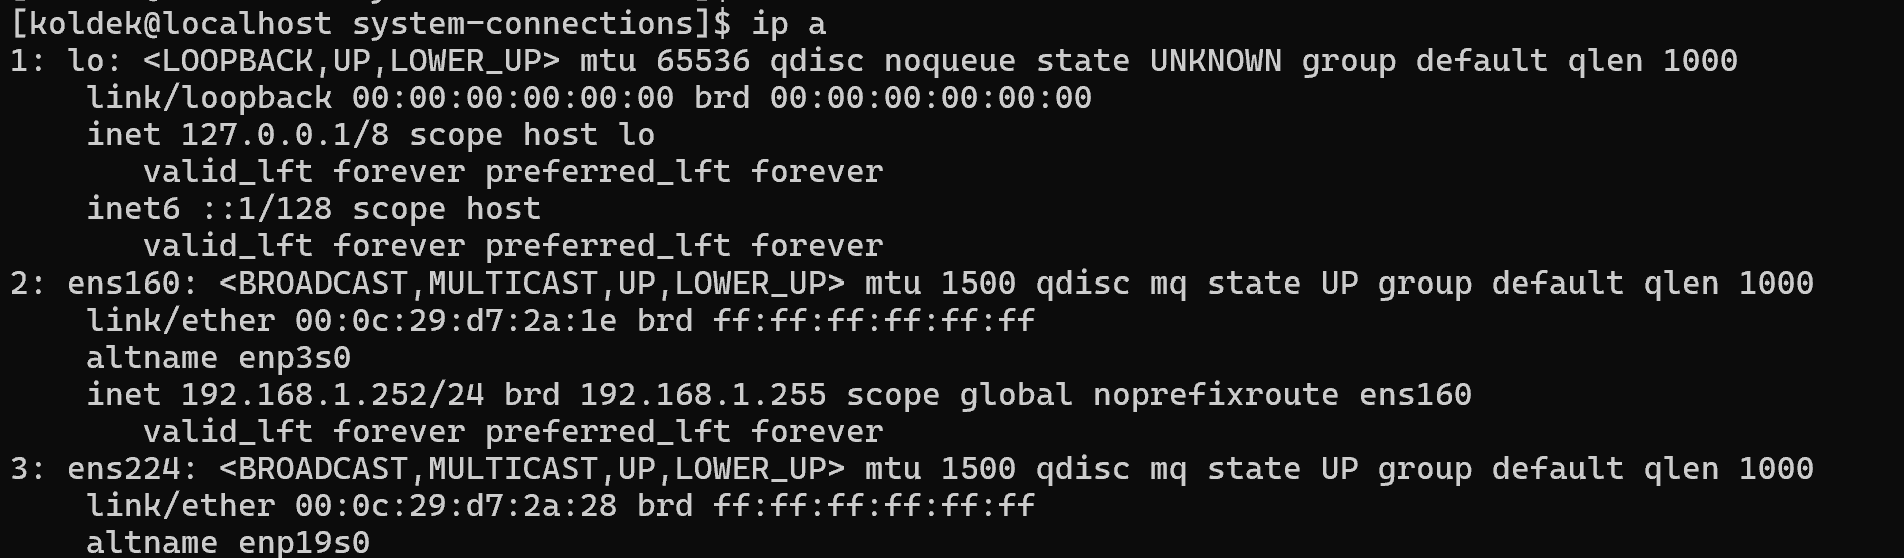
In the list of network interfaces we can find already configured interfaces such as lo and ens160. As well as the interface ens224, which is just to be configured. For the configuration, as it was already mentioned, it is necessary to use one of the presented tools. For graphical configuration let's open the nmtui utility with the command in the terminal:
sudo nmtui 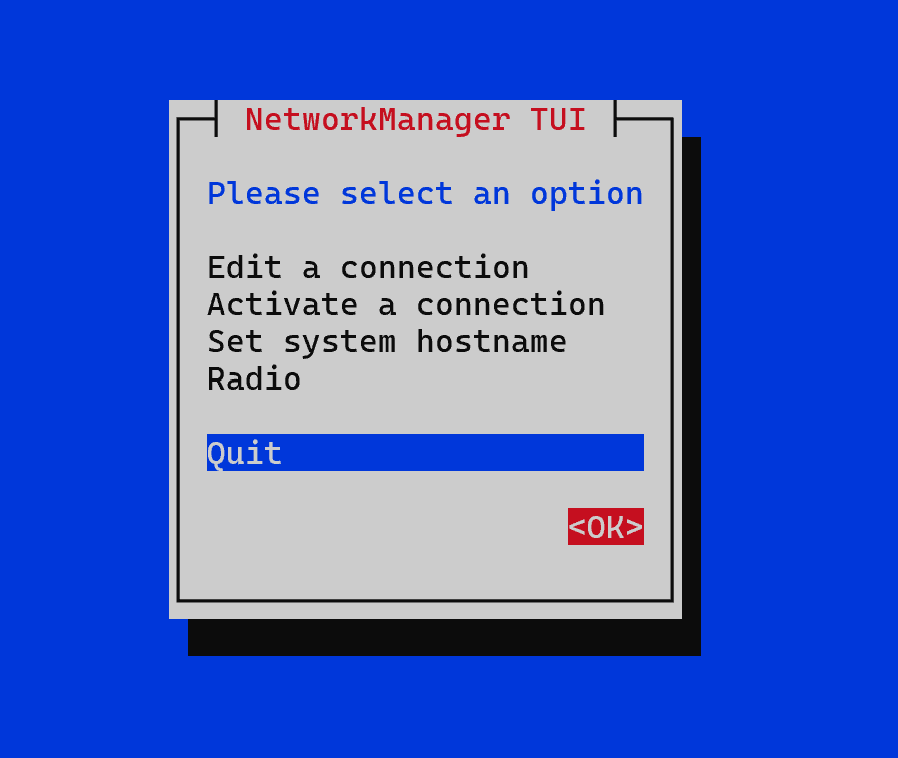
There are many variations of interface management and network connection settings in the menu, let's go to Edit a connection:
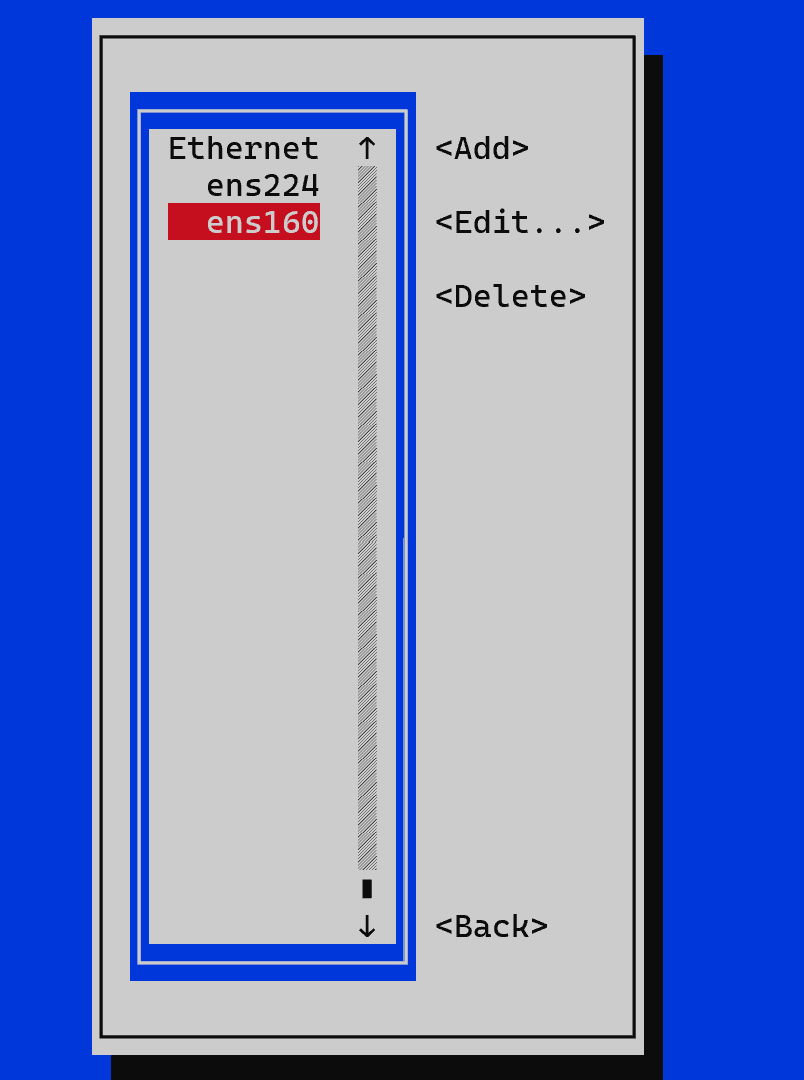
First, select the interface of interest and configure the connection on it by selecting Edit in the right column. Optionally, you can change the Profile name field, Device remains unchanged. It is necessary to specify the configuration protocol, the default is Automatic, which means that the settings will be received through DHCP. If it is necessary to specify the settings manually, Manual mode will be used. It can be changed against the IPv4 Configuration item.
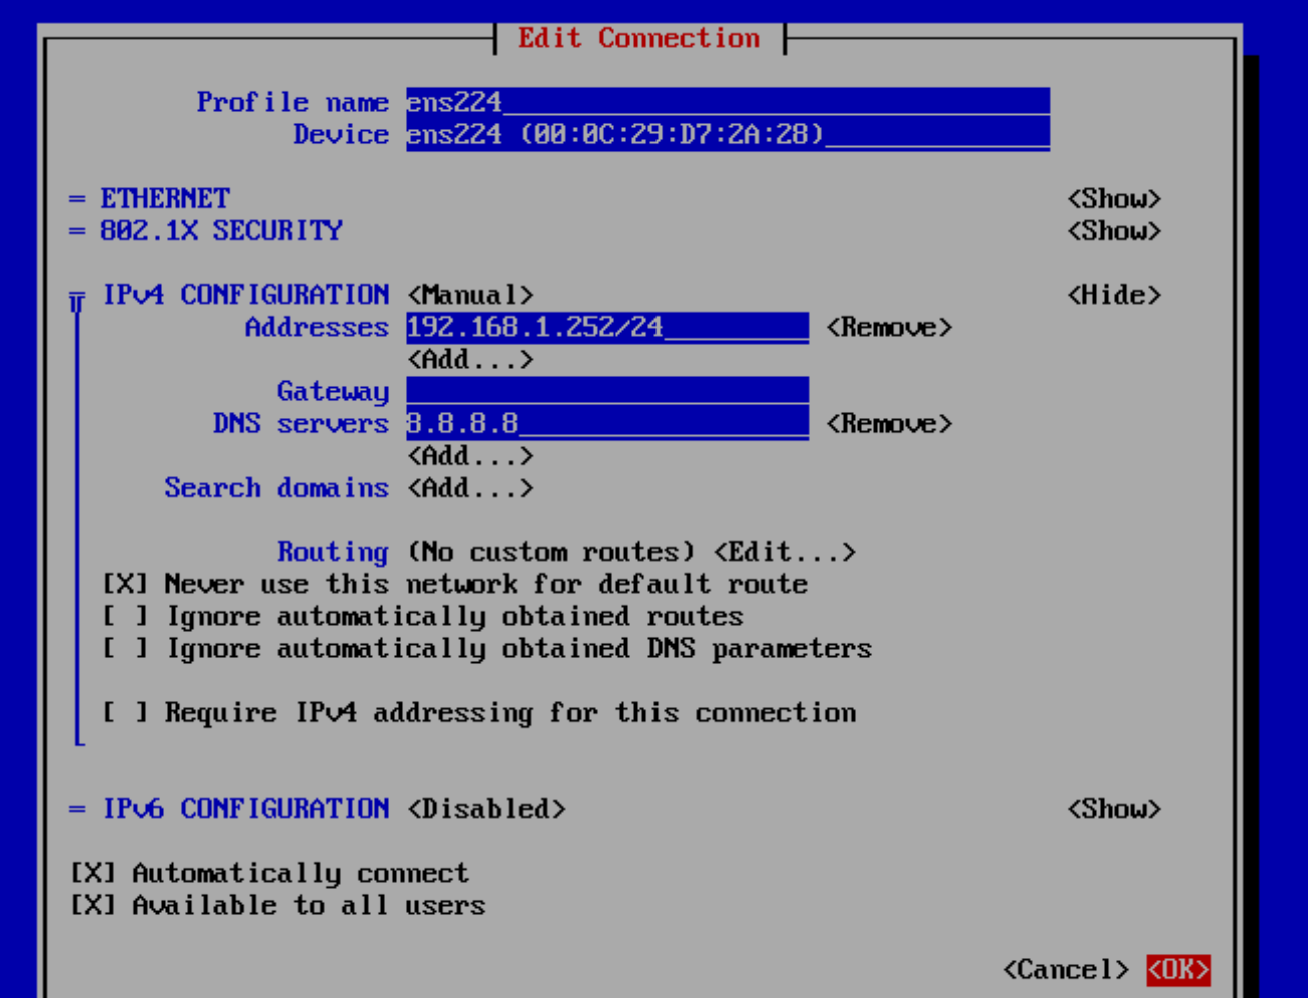
In manual mode, we will specify the address of the device itself with its network mask, which will allow us to determine the address of the network and the number of devices that can be in it. This setting allows you to implement the segmentation mechanism at the network level and isolate sections from each other.
If your system requirements do not require the use of IPv6, you should disable configuration at this address for security reasons. After the configuration is complete, apply the changes by clicking OK. Reload the network settings:
nmcli connection reload Or use a daemon call to reboot:
systemctl restart NetworkManager After that, be sure to verify the changes and addressing of the new interface:
ip a 
If you are using a server with a standard set of utilities or for any other reason you do not have nmtui installed, you can always use the configuration via a file. To do this, navigate to the network interfaces configuration folder:
cd /etc/NetworkManager/system_connections 
If there is a configuration file, open it, if not, create it. It is necessary to take into account the format of the file, for example, the name can be name-of-interface.nmconnection:
nano ens160.nmconnection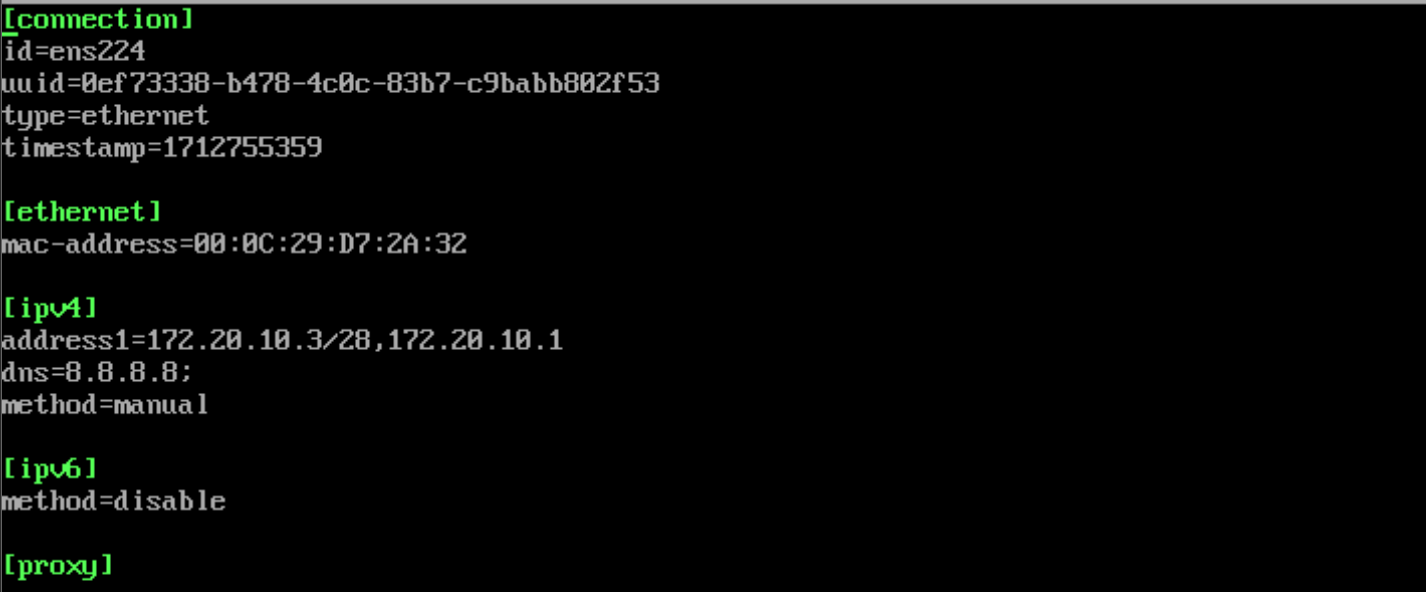
Below is the configuration of the file:
[connection]

id=ens224

uuid=0cf73338-b478-1c0c-83b7-c9babb882f53

type=ethernet

timestamp=1712755359

[ethernet]

mac-address=00:0C:29:07:2A:32

[ipv4]

address1=172.20.10.3/28,172.20.10.1

dns=8.8.8.8:

method=manual

[ipv6]

method=disable

[proxy]
The screenshot shows the configuration blocks to be used for configuration:
- connection is responsible for the basic interface parameters;
- ethernet identifies the interface to which the configuration should be applied;
- ipv4 is a block for configuring IPv4 operation. In this example, manual was selected, where address/network_mask, dns_server was specified;
- ipv6 is a block for configuring ipv6 operation, disabled;
- proxy is a configuration block for proxy.
After making the changes, save the file and apply the settings with the command:
systemctl restart NetworkManager After that it is necessary to check the settings and make sure that the network is functioning correctly via the ping command!
FAQ - Frequently Asked Questions
- What is NetworkManager in AlmaLinux?
NetworkManager is a service that simplifies network configuration and management on AlmaLinux. It allows you to configure interfaces via CLI (nmcli), GUI (nmtui), or by directly editing configuration files. - How can I open NetworkManager?
You can use:
nmtui - a terminal-based graphical interface
nmcli - command-line interface
Any text editor (e.g., nano) to edit network configuration files in /etc/NetworkManager/system-connections/ - How do I assign a static IP to an interface?
Open the interface configuration in nmtui or edit the corresponding .nmconnection file. Set IPv4 method to manual and specify the IP address, network mask, gateway, and DNS servers. - What should I do if I have multiple interfaces with default gateways?
If another interface already has a default gateway, select “Never use this network for default route” for the new interface to avoid routing conflicts. - How do I apply network changes?
After editing a connection in nmtui or a configuration file, reload or restart NetworkManager:nmcli connection reload# or
systemctl restart NetworkManager - How do I verify network settings?
Use the following commands to check your configuration:ip a # List interfaces and IP addressesping 8.8.8.8 # Test connectivity - Can I disable IPv6 if it’s not needed?
Yes. Disabling IPv6 can improve security if your environment does not require it. Set method=disable in the [ipv6] block of the connection file. - What if nmtui is not installed?
You can always configure network interfaces manually by editing the .nmconnection files in /etc/NetworkManager/system-connections/ and then restarting NetworkManager. - What configuration method is recommended for servers?
For servers, using static IP addresses and managing connections via nmcli or .nmconnection files is recommended to ensure stability and predictable routing.
Conclusion
In this guide, we covered how to configure network settings and manage interfaces on AlmaLinux using NetworkManager. You learned how to view interfaces, assign static IP addresses, manage routing behavior, and apply changes using both interactive tools and configuration files.
Proper network configuration is essential for stable and secure server operation. With NetworkManager, AlmaLinux provides flexible and reliable networking suitable for both servers and workstations.


