Introduction
Encrypting sensitive data before transfer is crucial to ensure its confidentiality, integrity, and authenticity throughout transmission. Encryption converts the data into a secure, unreadable format that only authorized recipients with the correct decryption key can access. This process protects your information from interception and unauthorized access by hackers or malicious actors while it’s in transit.
Moreover, encryption acts as an additional layer of security, safeguarding sensitive information like personal data, financial details, or intellectual property from unauthorized access and eavesdropping. When data is transmitted over unsecured channels like the internet, encryption becomes crucial in mitigating risks associated with interception and data breaches. For solve that task we have SCP.
SCP - is a utility in the UNIX-like systems that allows you to copy files and directories between local and remote hosts over a secure SSH protocol.
Overall, using encryption, such as through utilities like SCP, instills peace of mind for both senders and recipients. They can be assured that their sensitive information is shielded from unauthorized access and manipulation. Embracing encryption is a fundamental practice for secure data communication in today's computing landscape.

Requirements
- Root rights;
- Debian 11 or higher version;
- Several knowledge about work OS ;
- Internet connection.
Installation
For the securely transfer we think more complex about our guard system and we need to update, upgrade all packages before using utility:
apt update && apt upgrade -y
After that, we need to check the repository list and packages. If you are certain that your system meets all requirements, you can skip this step. However, if you haven't done that yet, enter the following CLI command:
apt list | grep scp && scp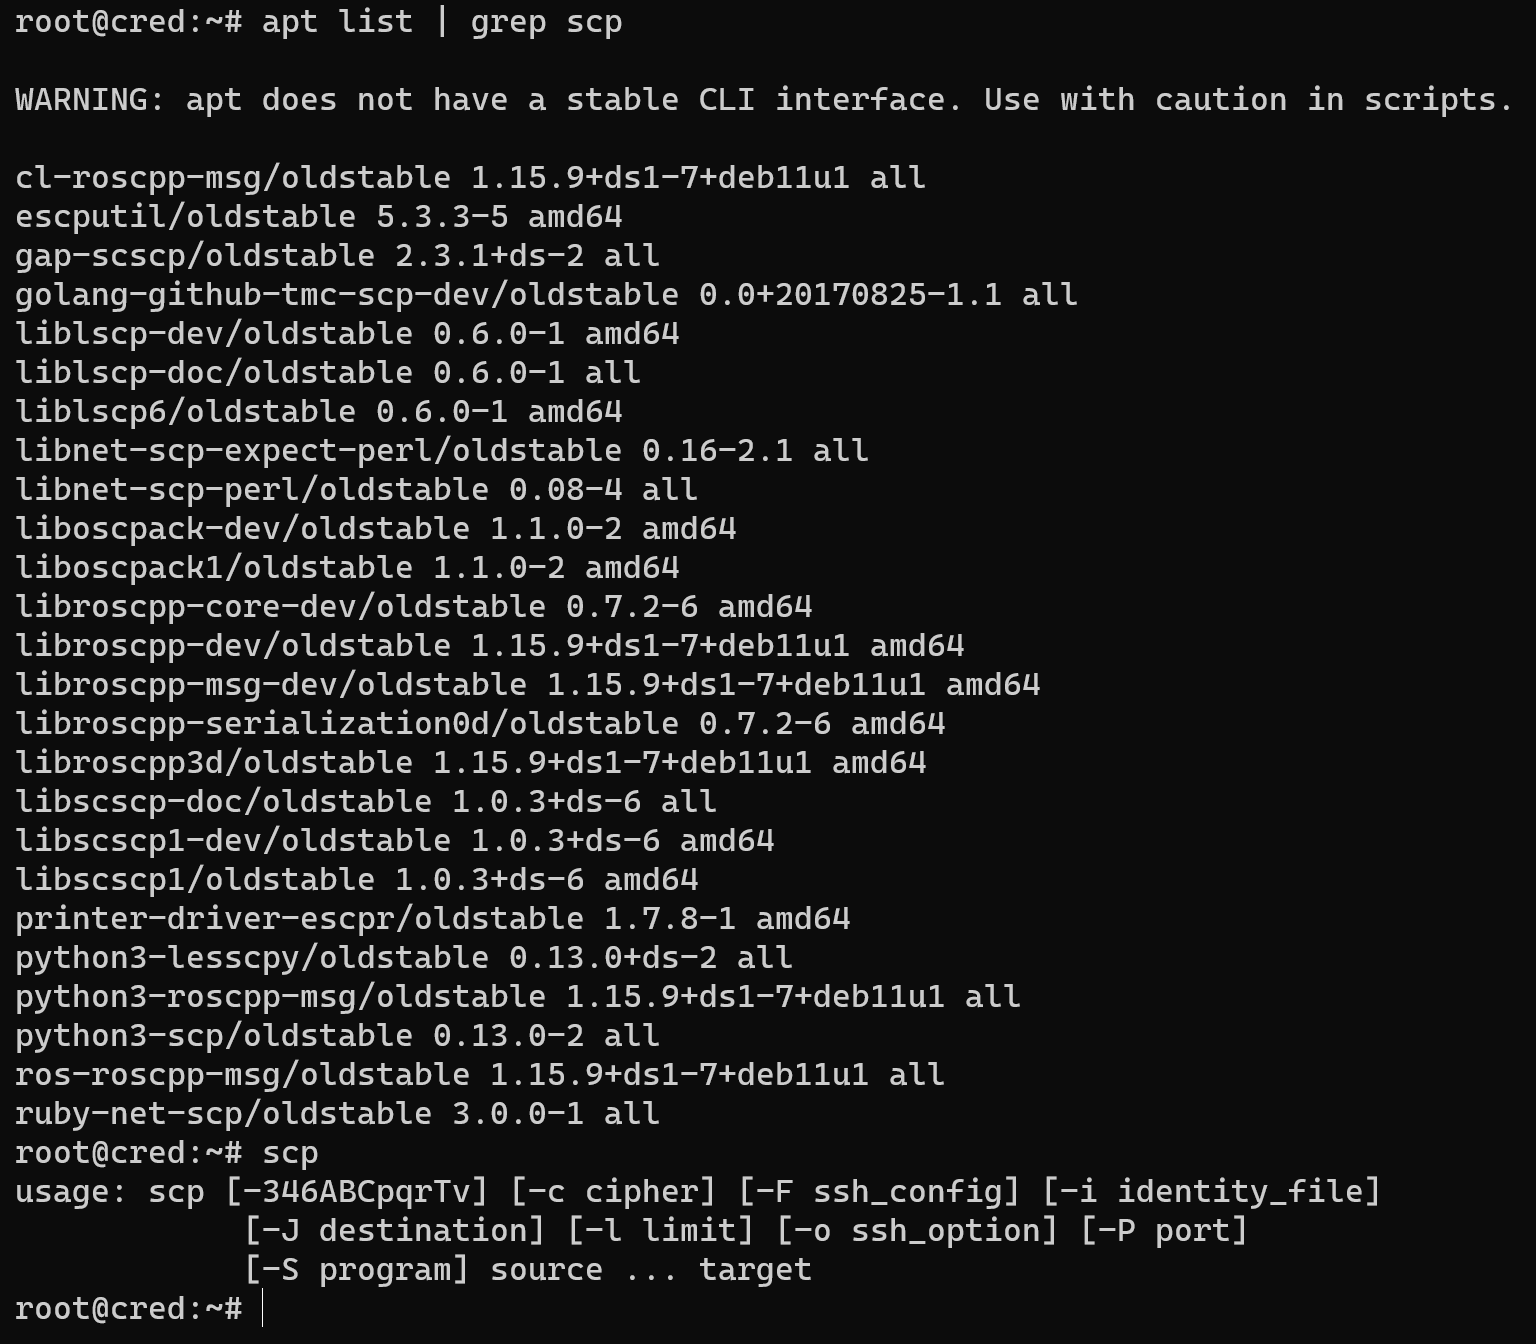
In the picture above we can see amount packages and using the written command, we can check the currently installing package. Let's have a look at the syntax of that command:
scp [-346ABCpqrTv] [-c cipher] [-F ssh_config] [-i identity_file] [-] destination] [-l limit] [-o ssh_option] [-P port] [-S program] source… target
- [-346ABCpqrTv]: This is a set of options for controlling scp behavior. Each option has its own meaning:
- -3: Allows you to copy files between two remote hosts via a local host.
- -4: Force uses IPv4 for connection.
- -6: Forcibly uses IPv6 for connection.
- -A: Authentication via SSH authentication agent.
- -B: Optimizes bandwidth and makes copying a background process.
- -C: Enables data compression during transmission.
- -p: Saves the attributes and access rights of the source files.
- -q: Silent mode, does not display messages about the progress of copying.
- -r: Recursive copying of directories and their contents.
- -T: Disables the TTY check for the remote host (used when redirecting I/O).
- -v: Detailed output, displays information about the progress of copying.
- [-c cipher]: Specifies the encryption algorithm to be used to protect data during transmission. For example, aes128-ctr or blowfish-cbc.
- [-F ssh_config]: Specifies an alternative SSH configuration file where the connection settings to the remote host are defined.
- [-i identity_file]: Specifies a file with a private key that will be used for authentication when connecting via SSH.
- [-] destination: Optionally specifies the location where the source files or directories on the remote host will be copied. If the parameter is omitted, it will be copied to the current directory of the remote host.
- [-l limit]: Limits the bandwidth of the connection in Kbit/s.
- [-o ssh_option]: Allows you to set additional SSH options.
- [-P port]: Specifies an alternative SSH port to connect to the remote host.
- [-S program]: Specifies the path to the program that will be used to perform encryption, for example, ssh-program.
At the above we consider all options and parameters which get utility in usage. Let's consider different way to use that utility.
Usual transfer file
Utility allows us to move securely file between different machines. For that we need type in the CLI command:
scp /etc/apple.txt root@78.140.240.178:/etc/
Enter your credentials in the form user, IP, password and agree with connect. Good job! Now we can find that in the target machine the same file via command below:
cd /etc && ls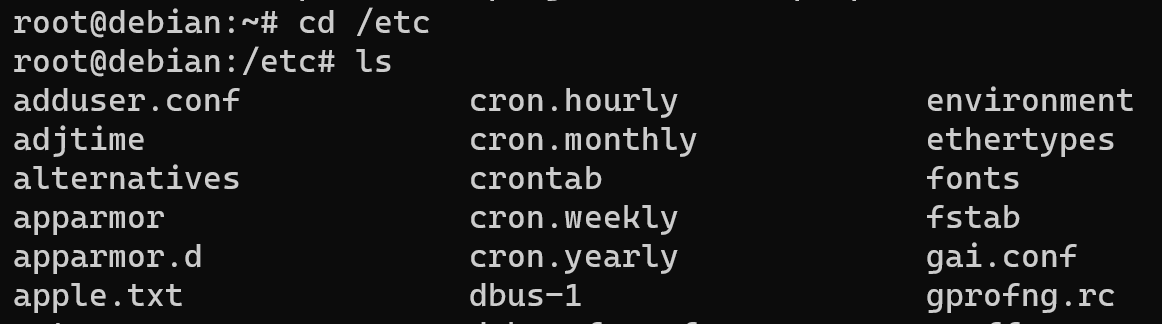
In the firts column apple.txt successful transfered between two systems via ssh! If you want to send whole folder or directory, use -r options, let's have a look to the example of that:
scp -r -C -4 /etc/network root@78.140.240.178:/dump 
The feature of that program can be used for backup purposes, transfering start with simple file and finished ISO of whole disk and system. Fortunately, Linux system have settings in the config file. which transfer without any problem. Also we can use reverse connect and transfer file from remote machine to local, just switch them. Consider different way to transfer below.
Archive backup
Wiht SCP we can create archive of all disk, system data base and another things that can contain amount of data. Have a look at the bundle of tar and scp, how to transfer this type of data? Additional many company use non standart port for SSH connection, let's change on the target machine port to 2222 and consider how to communicate in that situations. Write commands below:
tar -cvzf dump.tar.gz / && ls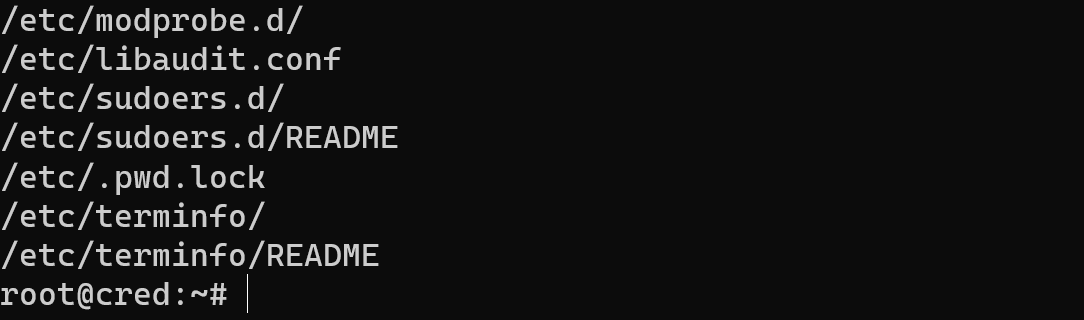
Make sure that file will archive and write this command bellow:
scp -4 -C -v -P 2222 dump.tar.gz root@78.140.240.178:/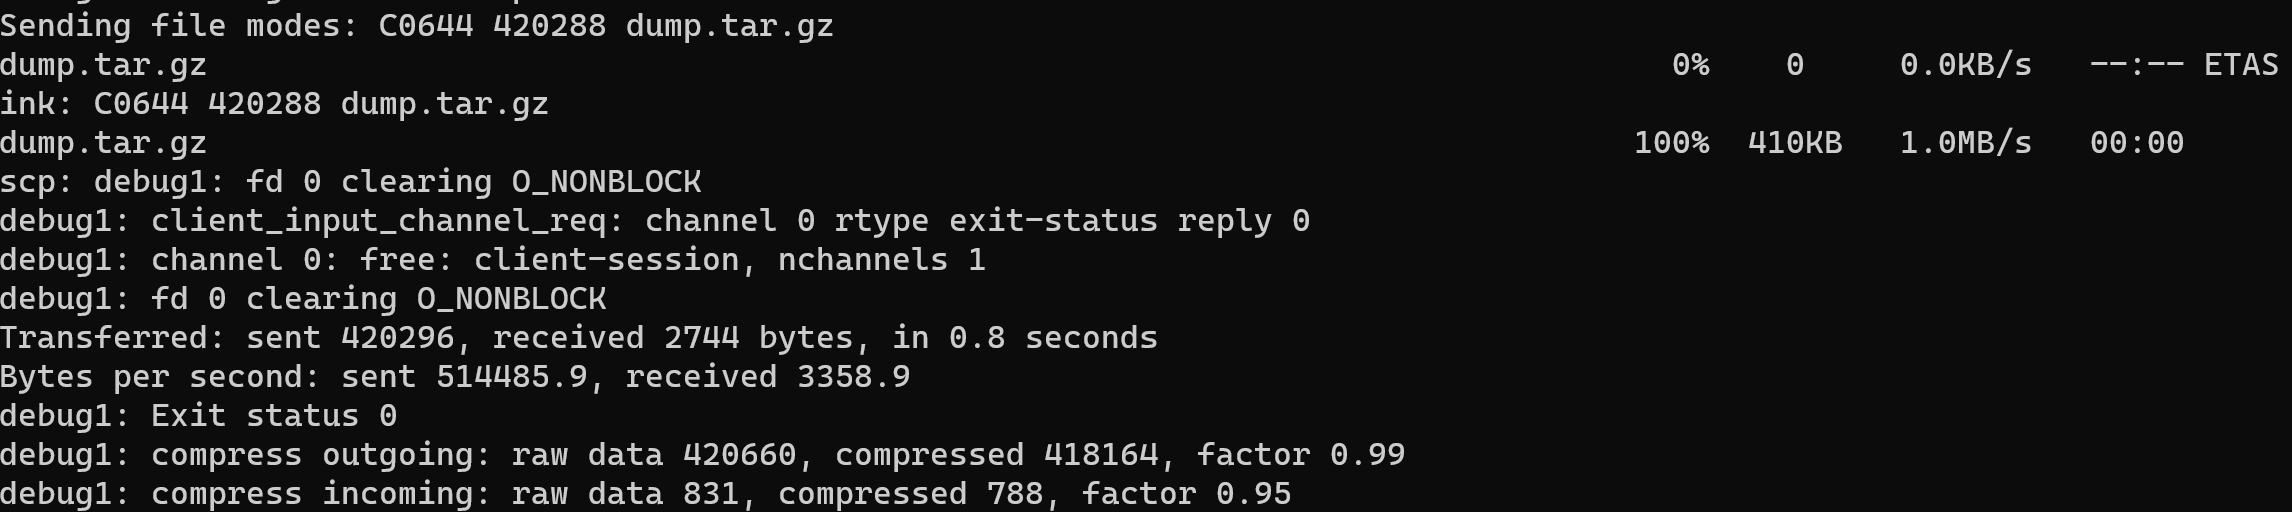
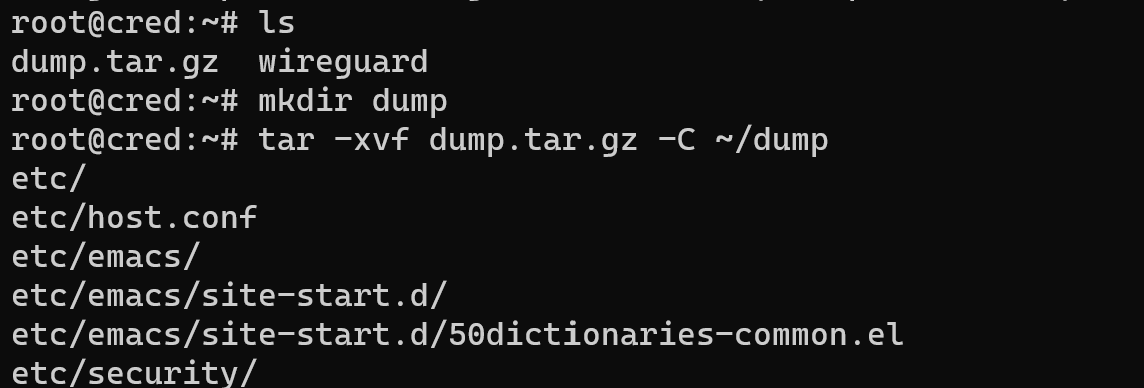
Now, we need to unzip folder and use it for our purposes via command below:
mkdir dump && tar -xvf dump.tar.gz -C /dumpWe create folder and extract all content in the folder:
Transfer dd image of disk
Please make sure that you have sufficient permissions to access the source image file and write to the destination directory. Also, keep in mind that transferring large DD image files may take some time, depending on your network connection and the size of the image. Before we create ISO image of entire system you need to discover your storage parameters via command below:
lsblk
In our case we can see one physical drive and two logical space for our manipulating which we use to create ISO image:
dd if=/dev/vda1 of=dump.iso bs=4M status=progress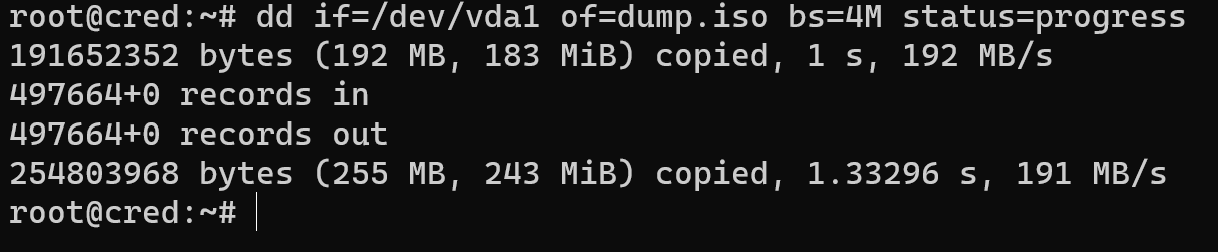
After successful creation of image file we can transfer that by the previous way:
scp -4 -C -v -P 2222 /dump.iso root@78.140.240.178:/tmp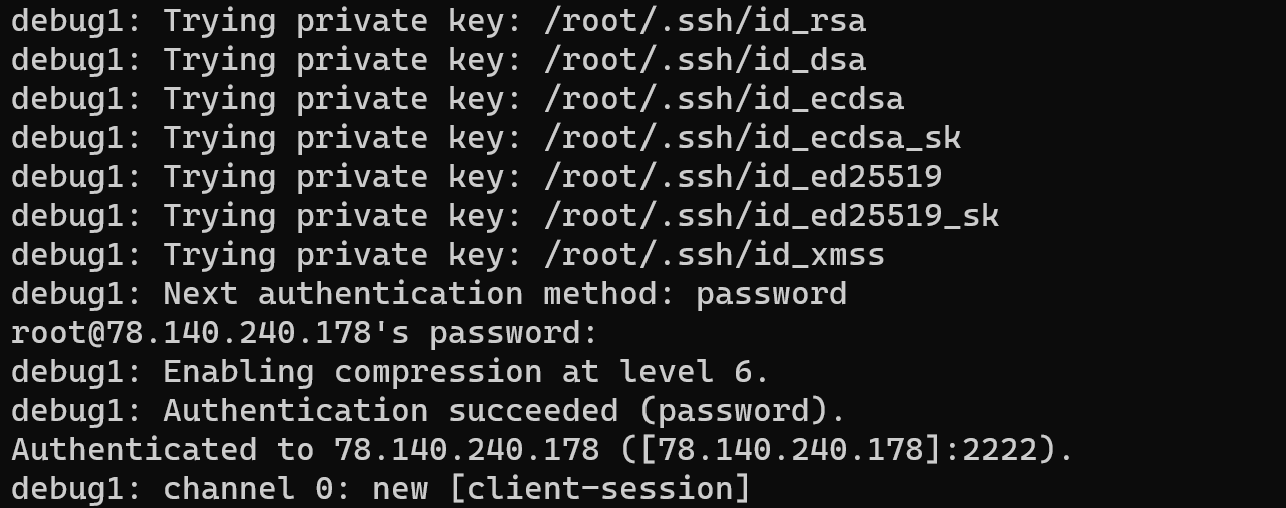
Conclusion
In conclusion, encrypting sensitive data during transmission is essential to maintaining robust data security and privacy in today’s digital environment.
SCP (Secure Copy Protocol), a widely available utility on UNIX-like systems, plays a vital role in enabling secure transfer of files and directories between local and remote hosts by leveraging the SSH (Secure Shell) protocol for strong encryption.
By using SCP, both senders and recipients can have confidence that their sensitive information remains protected from unauthorized access, interception, or tampering throughout the transfer process.
Adopting encryption tools like SCP is not just a recommended best practice—it is a fundamental requirement for secure data communication, compliance with security standards, and safeguarding critical information in modern IT infrastructures.


