Introduction
Domain networks, also known as domainspecific networks or specialized networks, are highly useful in various fields and applications. Here are several reasons why domain networks are advantageous:
Improved Performance: Domain networks are specifically designed and trained for a particular domain or task. By focusing on a specific area, these networks can achieve higher performance compared to generalpurpose networks. They can leverage domainspecific knowledge, features, and patterns to make more accurate predictions or decisions.
Efficient Resource Utilization: Generalpurpose networks are often trained on large and diverse datasets, which require significant computational resources and time. In contrast, domain networks can be trained on smaller, specialized datasets. This reduces the computational requirements, training time, and data collection efforts while still achieving good performance within the target domain.
Faster Inference: Since domain networks are tailored to a specific domain, they can be optimized for faster inference, making them suitable for realtime or latencysensitive applications. By capturing the essential characteristics of the domain, these networks can process inputs quickly and provide prompt responses.
Simpler Model Interpretation: Domain networks tend to have fewer parameters and a more focused architecture compared to generalpurpose networks. This simplicity makes it easier to interpret and understand the model's behavior within the domain. It becomes feasible to analyze the learned representations and extract meaningful insights from the network's decisionmaking process.
Overall, domain networks offer specialized solutions tailored to specific domains, leading to improved performance, efficiency, interpretability, reduced data annotation requirements, and effective handling of domainspecific challenges.
In that instruction we will install service for domain management, centralized object storage and resources control Active Directory.

Minimal requirements
- Processor: A 64bit processor running at a speed of 1.4 GHz;
- Instruction Set Compatibility: Supports the x64 instruction set;
- Security Features: Provides support for NX (No Execute) and DEP (Data Execution Prevention) technologies;
- RAM: 512 MB (2 GB for Server with Desktop Experience option);
- Disk space: 32 GB.
Installation
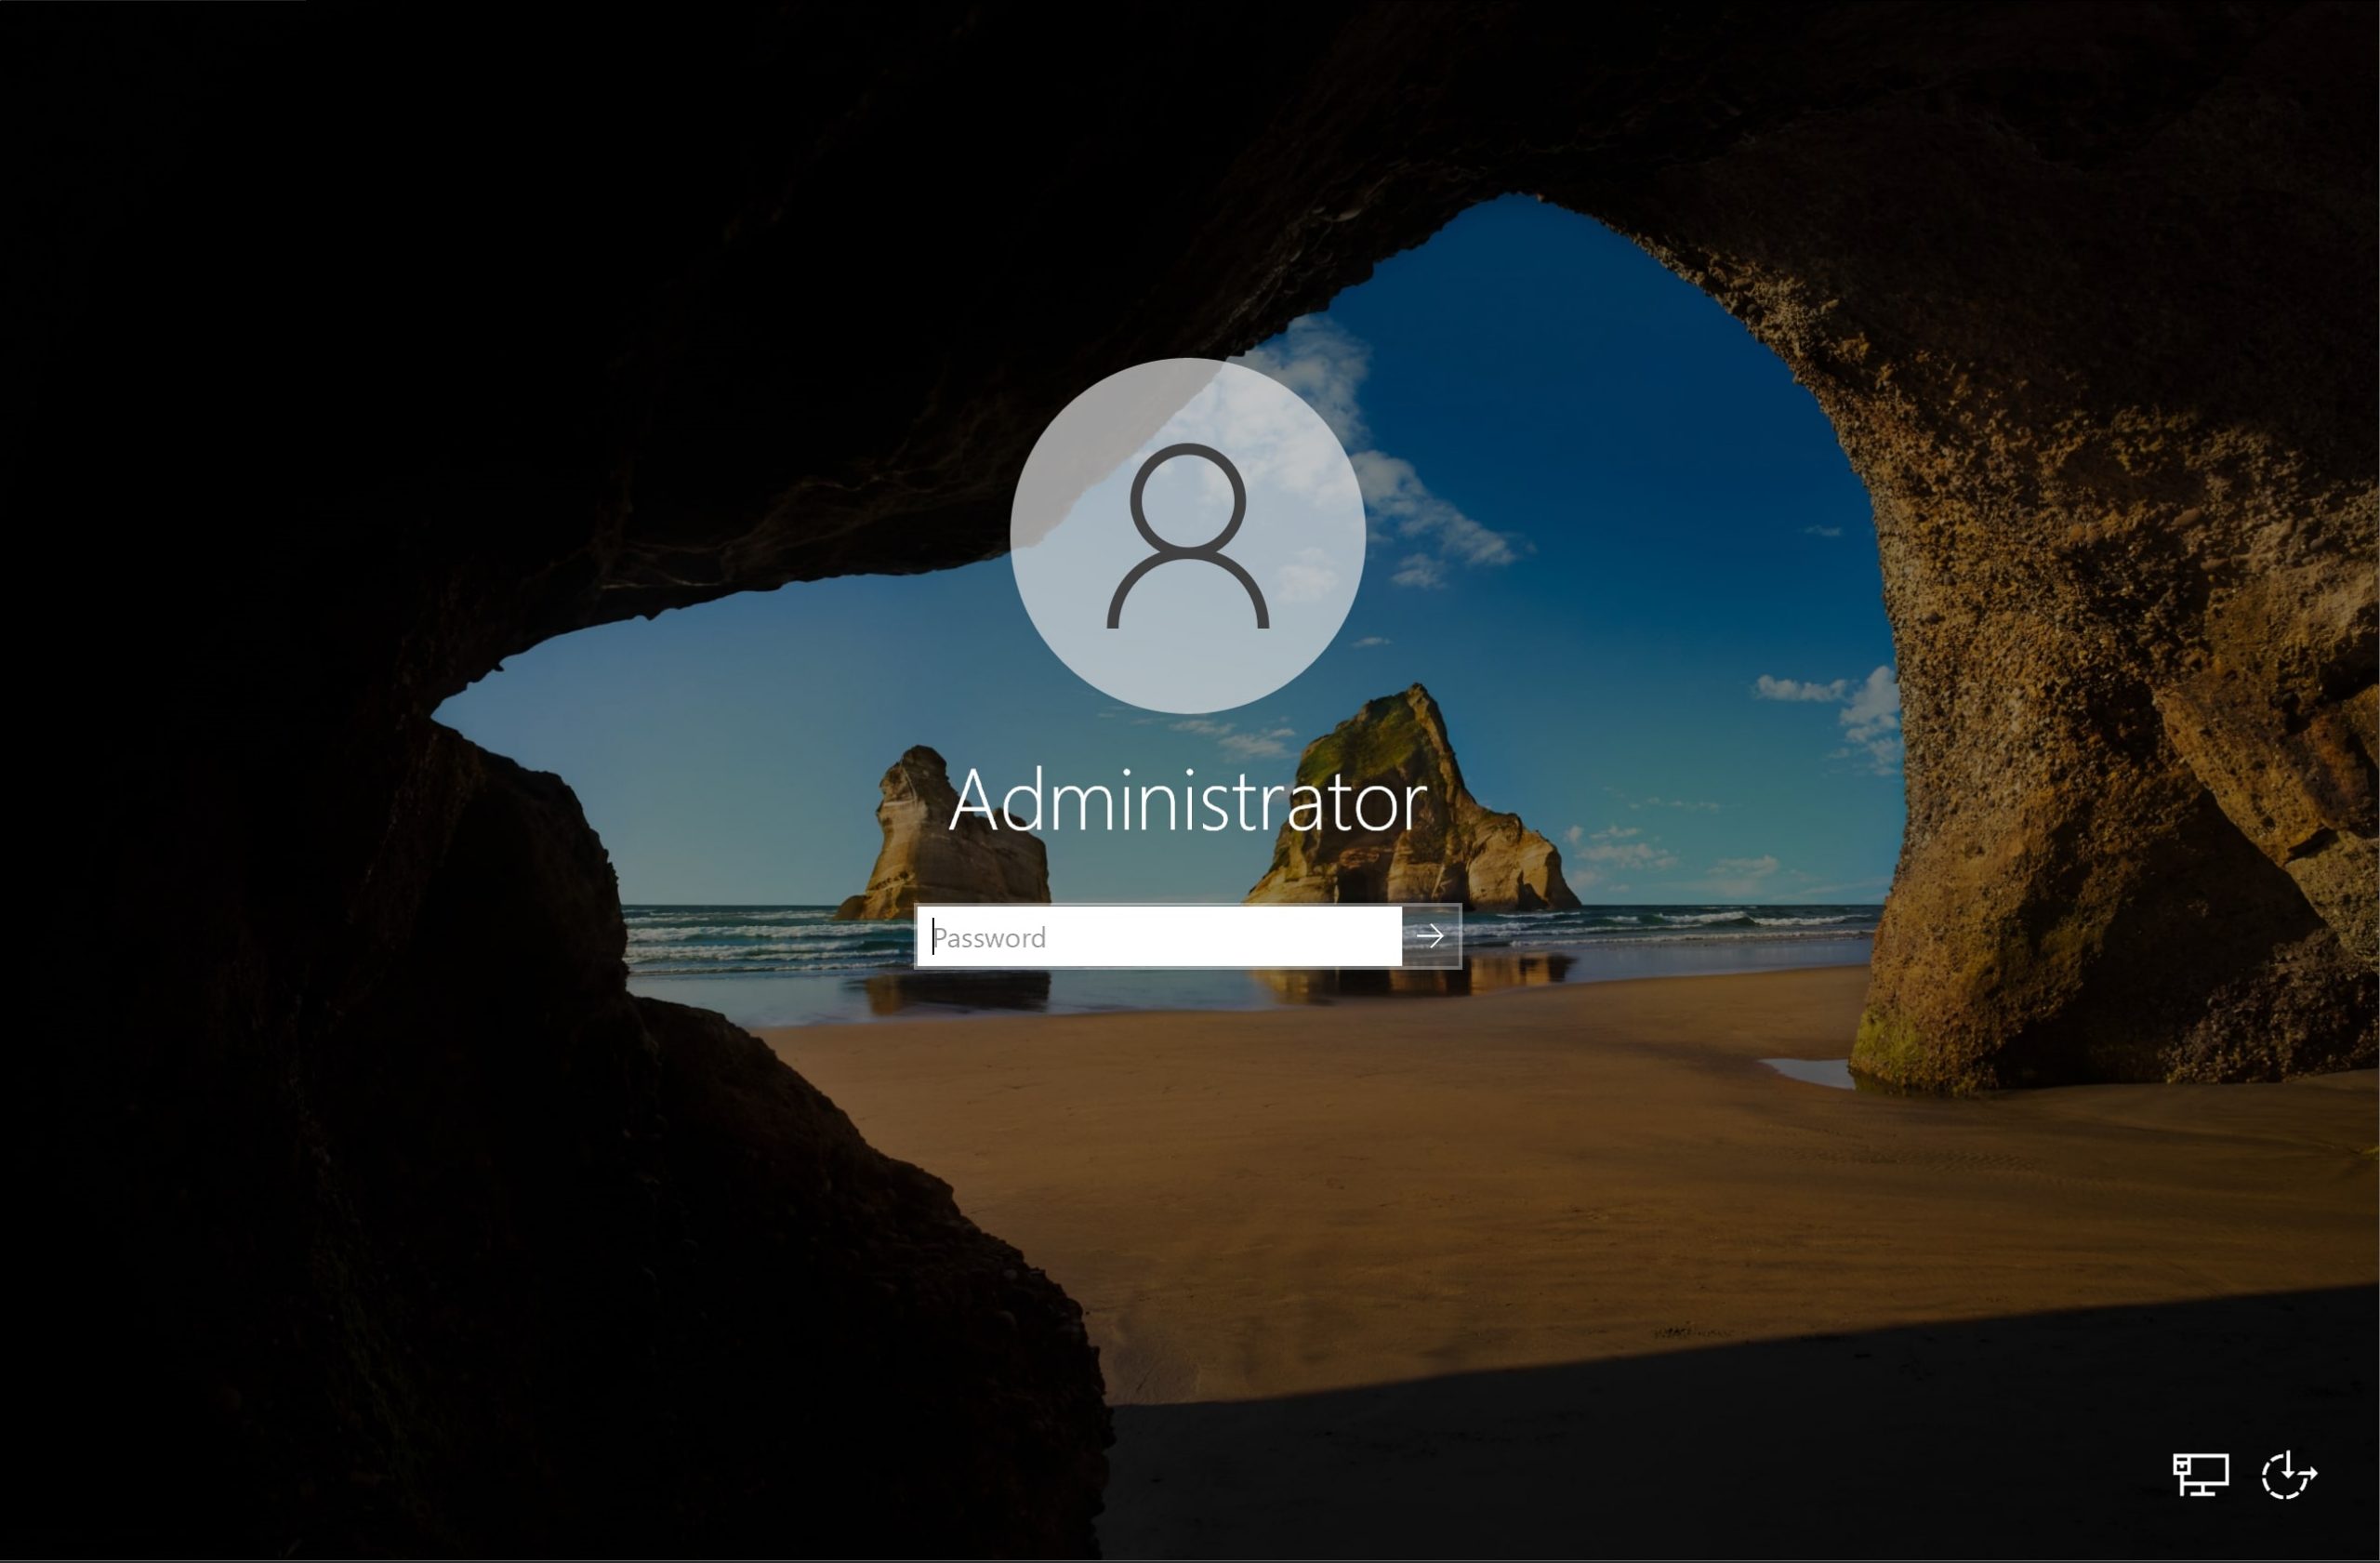
If all requirements are okey, we start install Active Directory via GUI with usage server management and master wizard program! Firts of all, login at account you create in moment of installation process, for unlock screen panel press button combination Ctrl + Alt + Delete and enter your credentials:
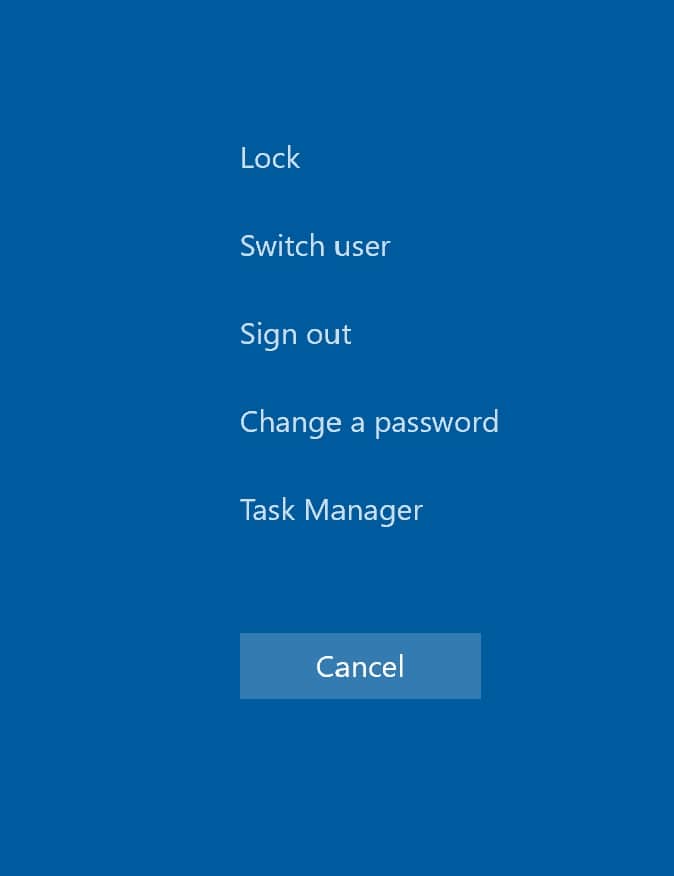
If you don't set password on your account, you need to press the same button combination and on new screen choose Change password:
It is necessity for security requirements setup Active Directory further we will mention that module as AD. In opened window set you new password, the requirements for which are significant: use symbols at least one of that capital, special sign and length of password in range from 8 to 63 symbols:

Then you get access to the desktop and you will see opened Server manager program, but if you accidentally close window, you always can find it in windows bar:
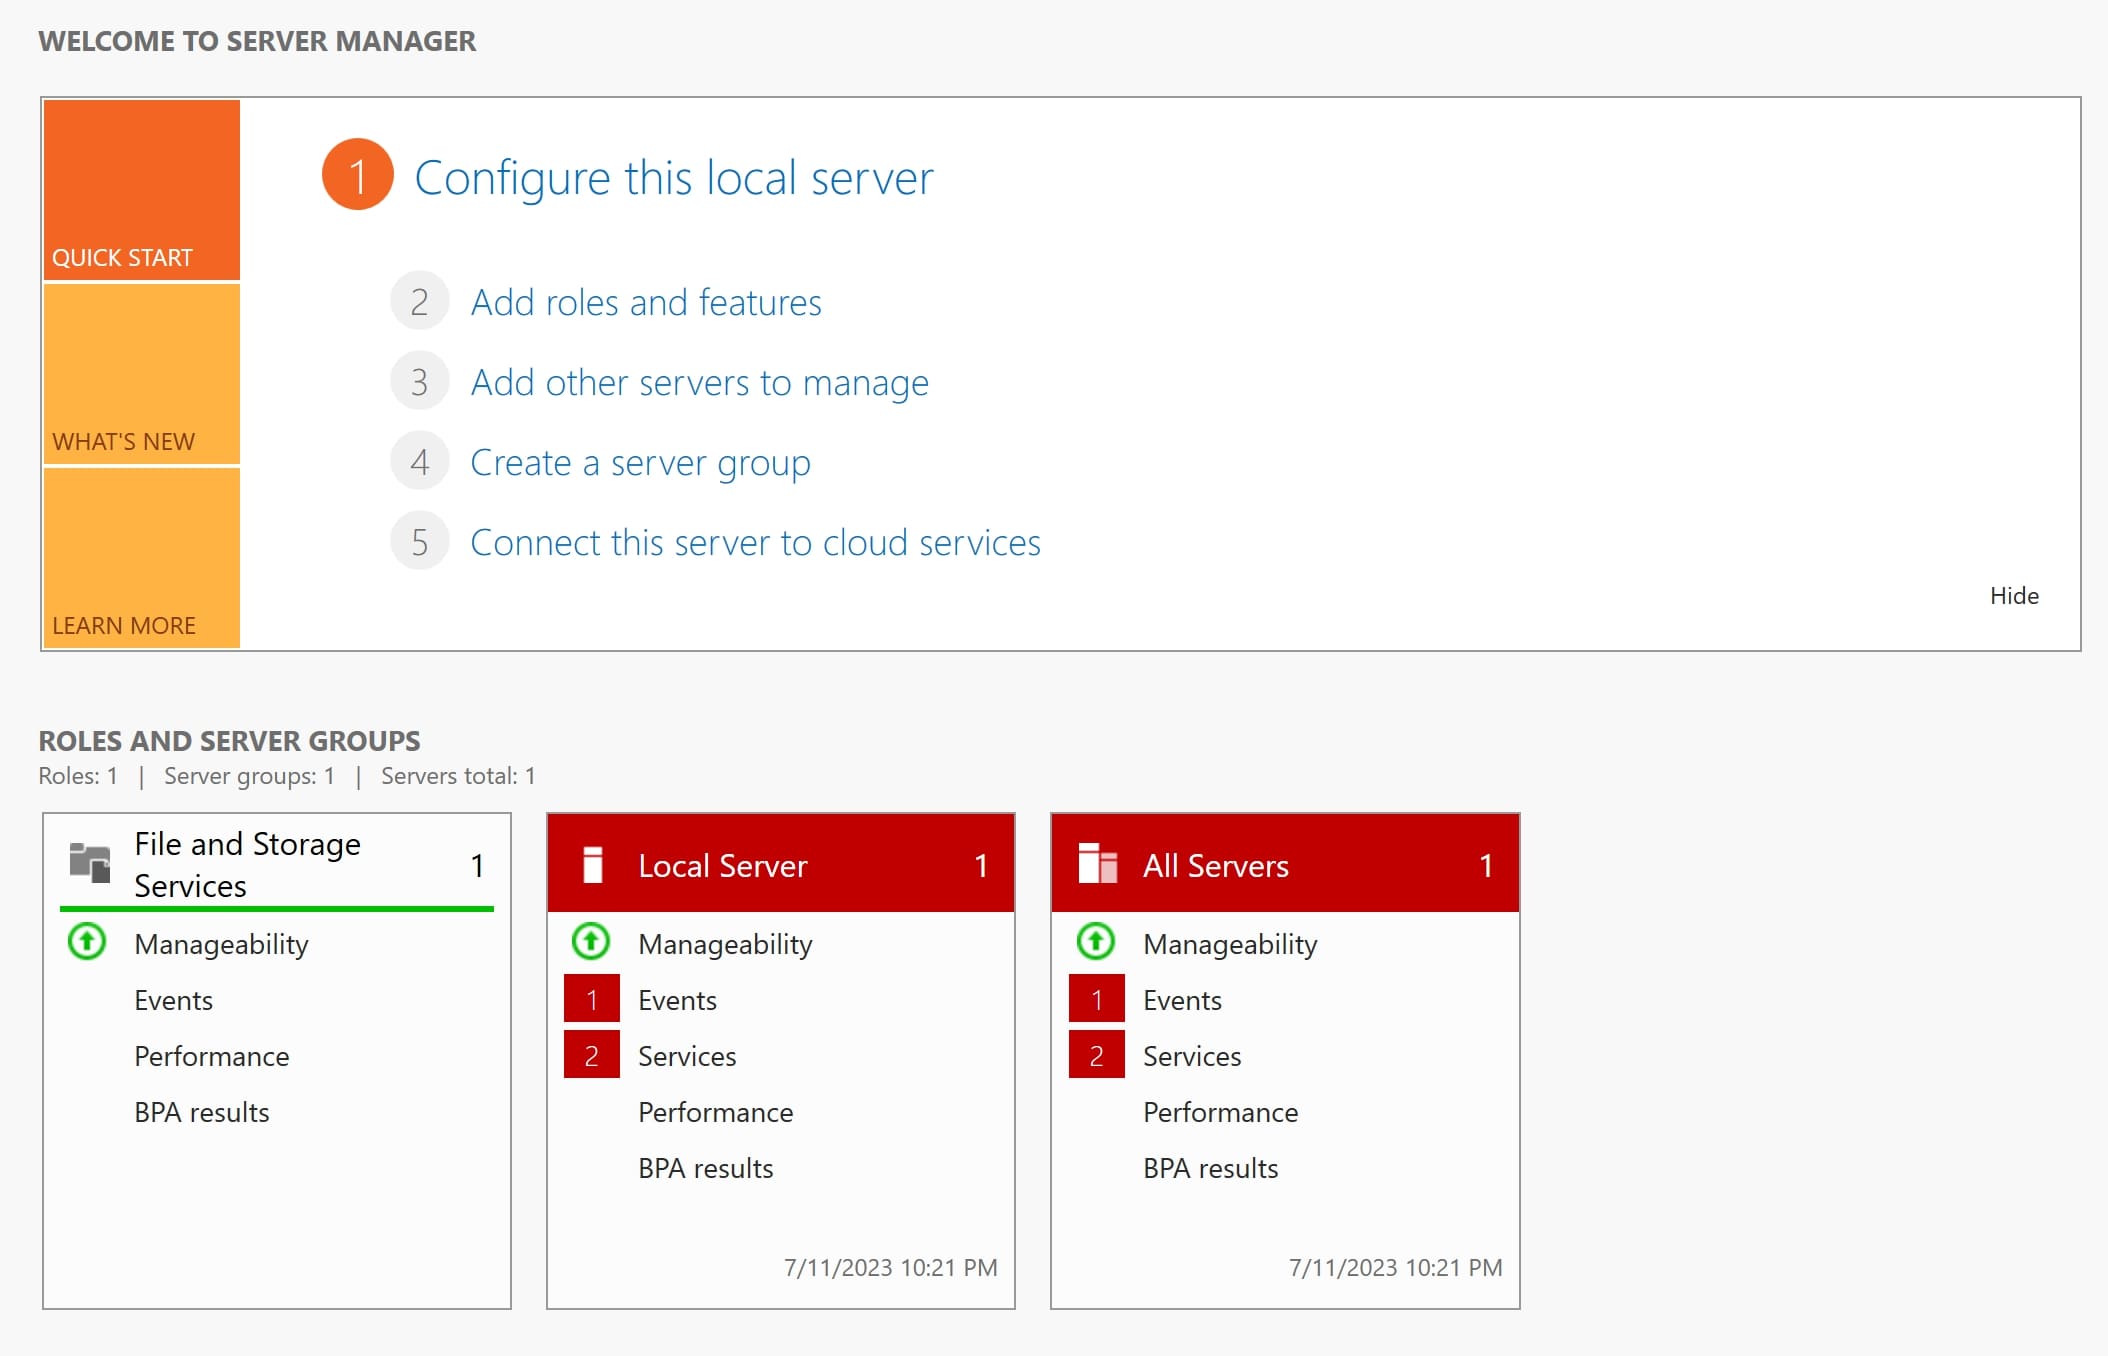
We can see a bunch of information, don't frustrate, we will consider all stepbystep. First of all, look at the panel with point of configuration above of the screen. We start from firts point Configure this local server. After press the button you will see window with summary information about your server: name, settings, network addresses etc.
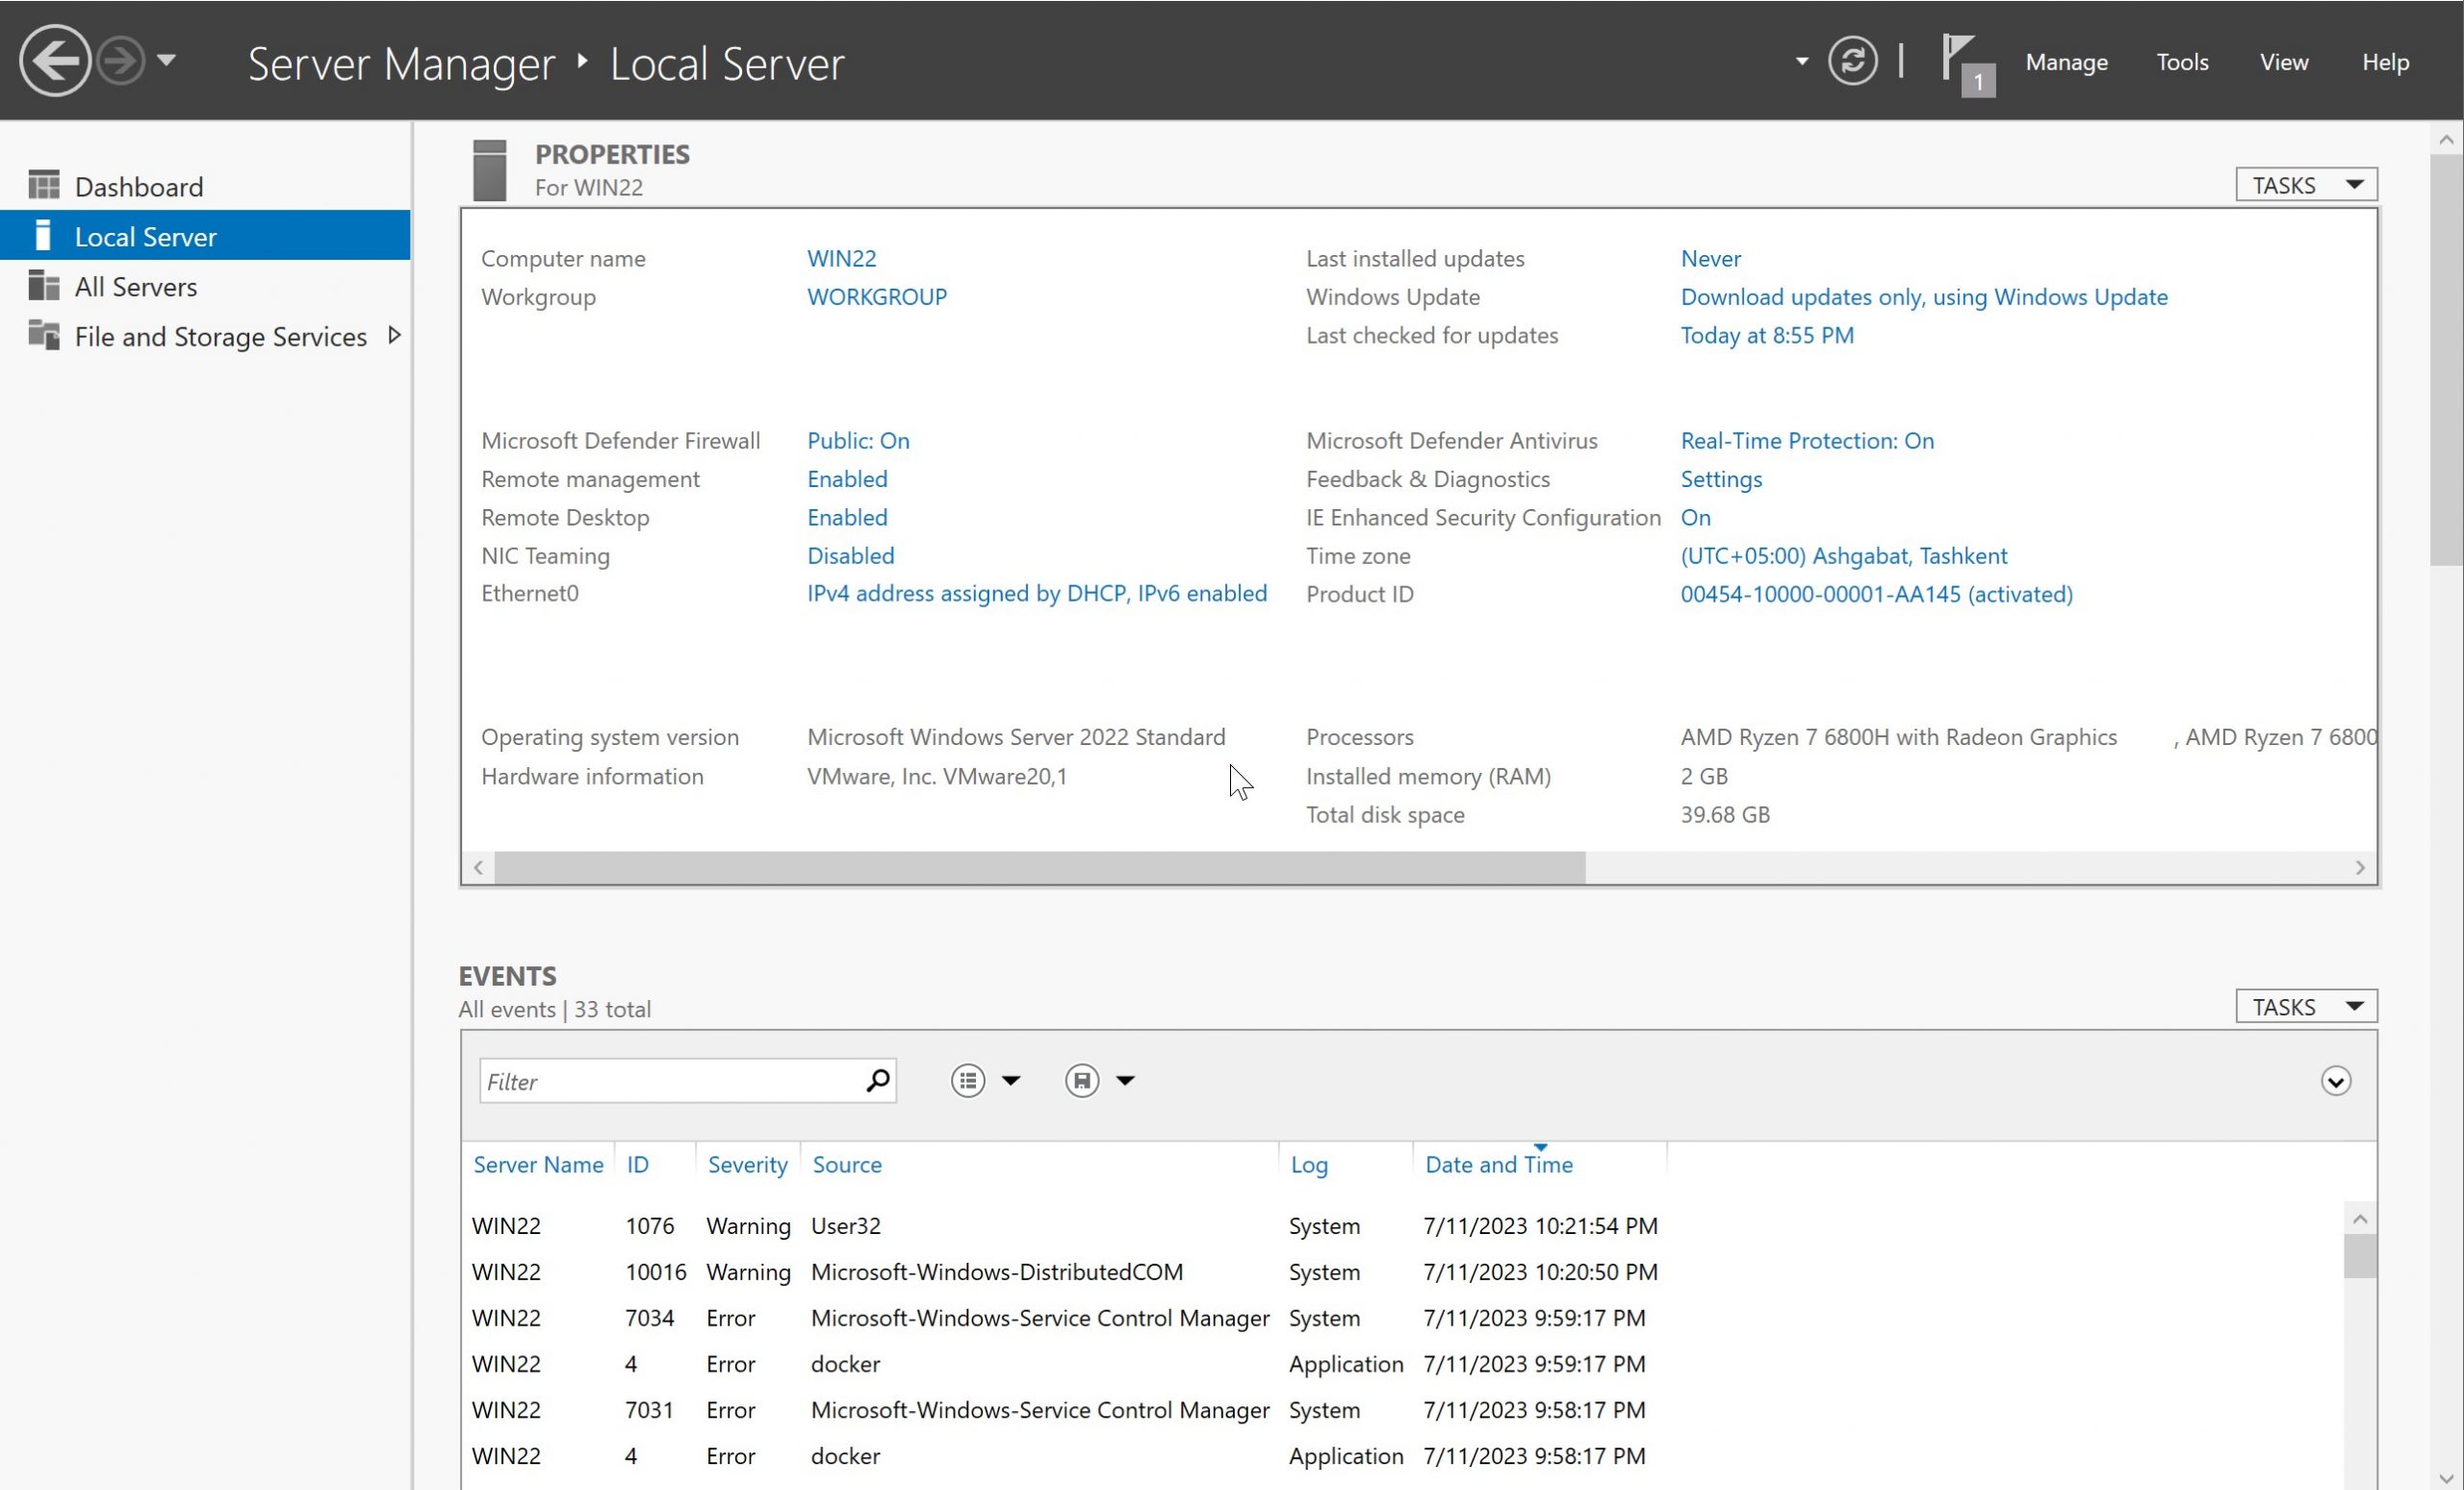
Find raw with value Computer name and click on it:

Press on the button Change... and enter new server name accordingly with functionality the machine. After click on the OK, in previous window Apply and you will see pop up window press to restart computer. Wait for the applying changes and finished restarting. Now let's return to window Properties or Configure server as we described before. If you want to control this machine remote, look for Remote Desktop and check accordance box:
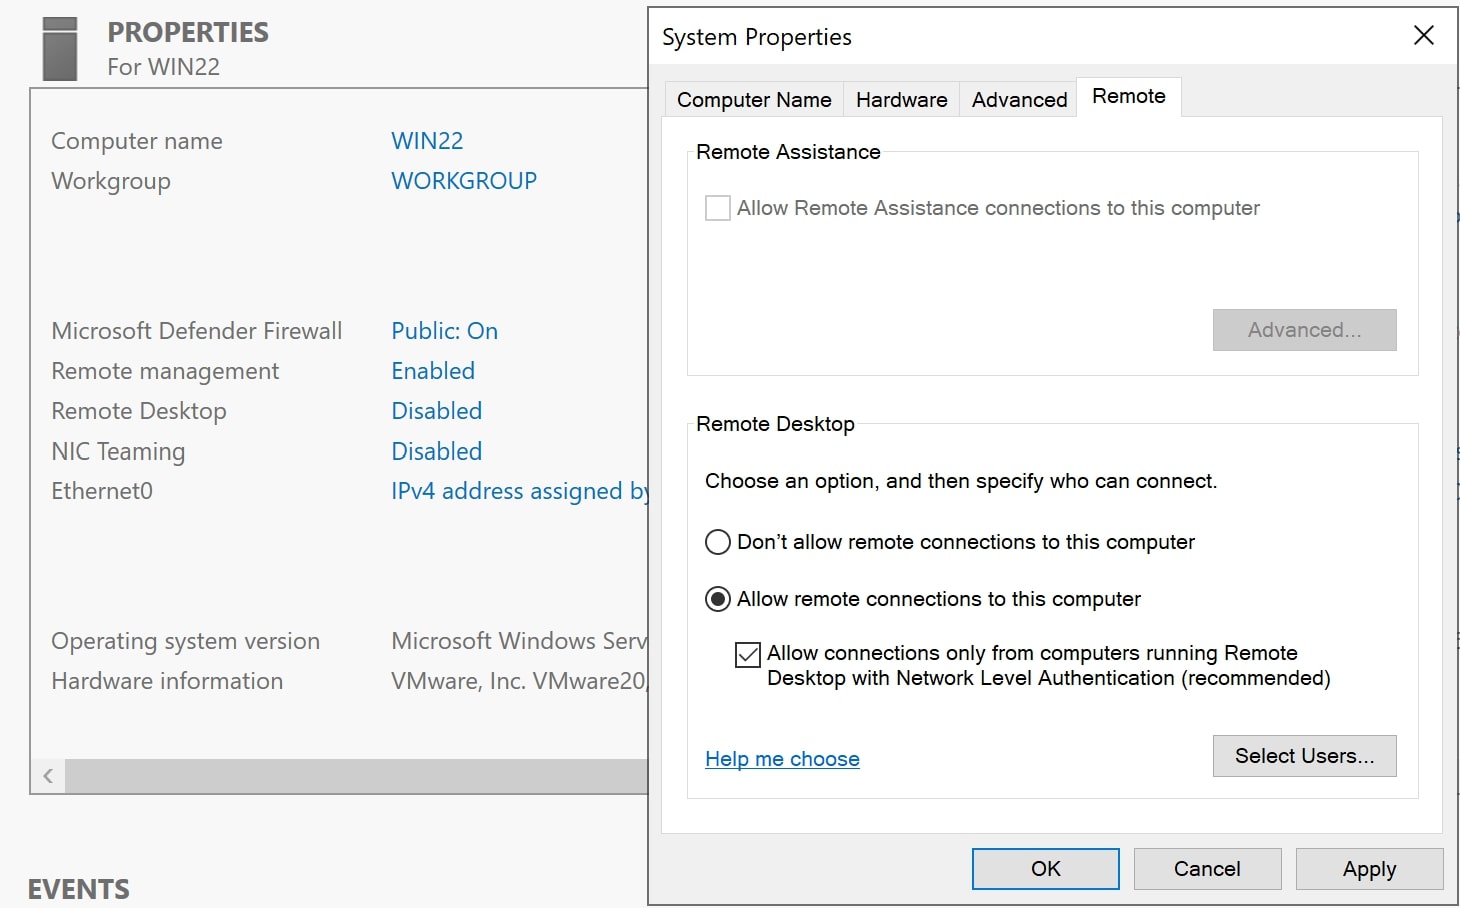
Press to OK or Apply button to update settings on your machine and on the menu at the left click Dashboard. We go to the second point of list Add role.
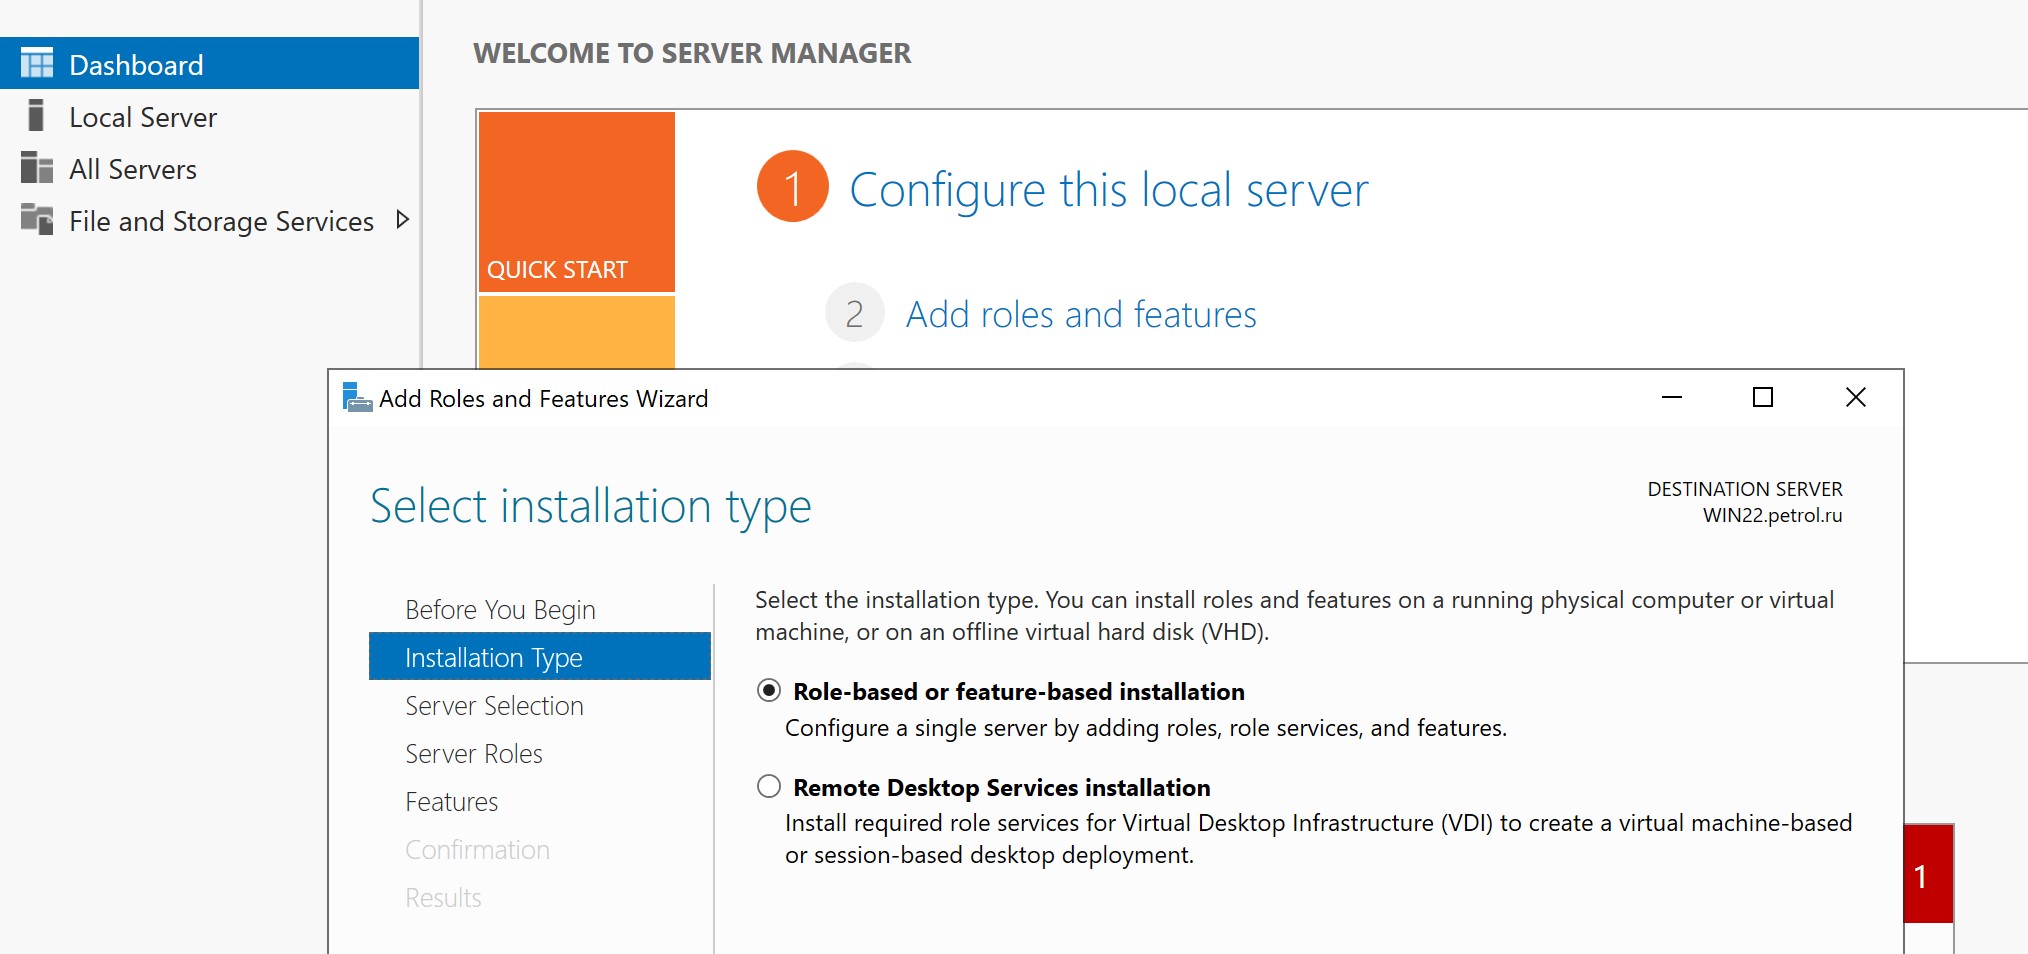
In the menu choose type of installation: offline VHD, current OS or Remote Desktop. In that case we will install on our machine and choose RoleBased installation.
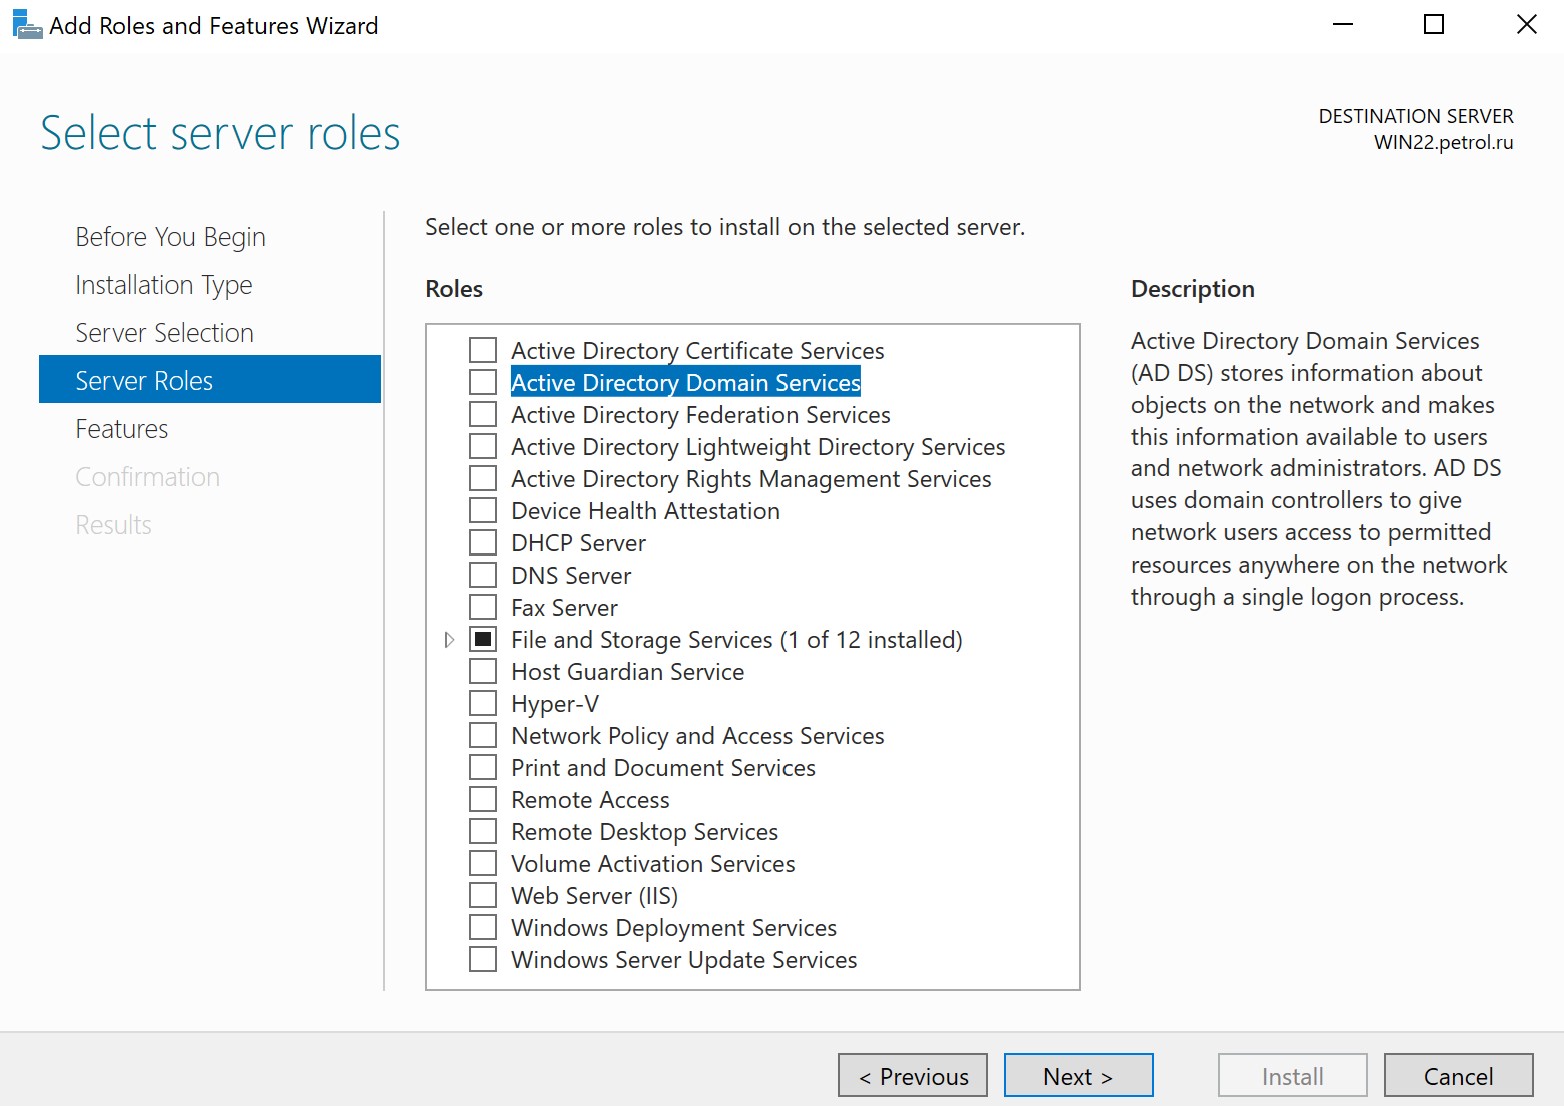
In that step choose AD Domain Services and confirm in pop up window:
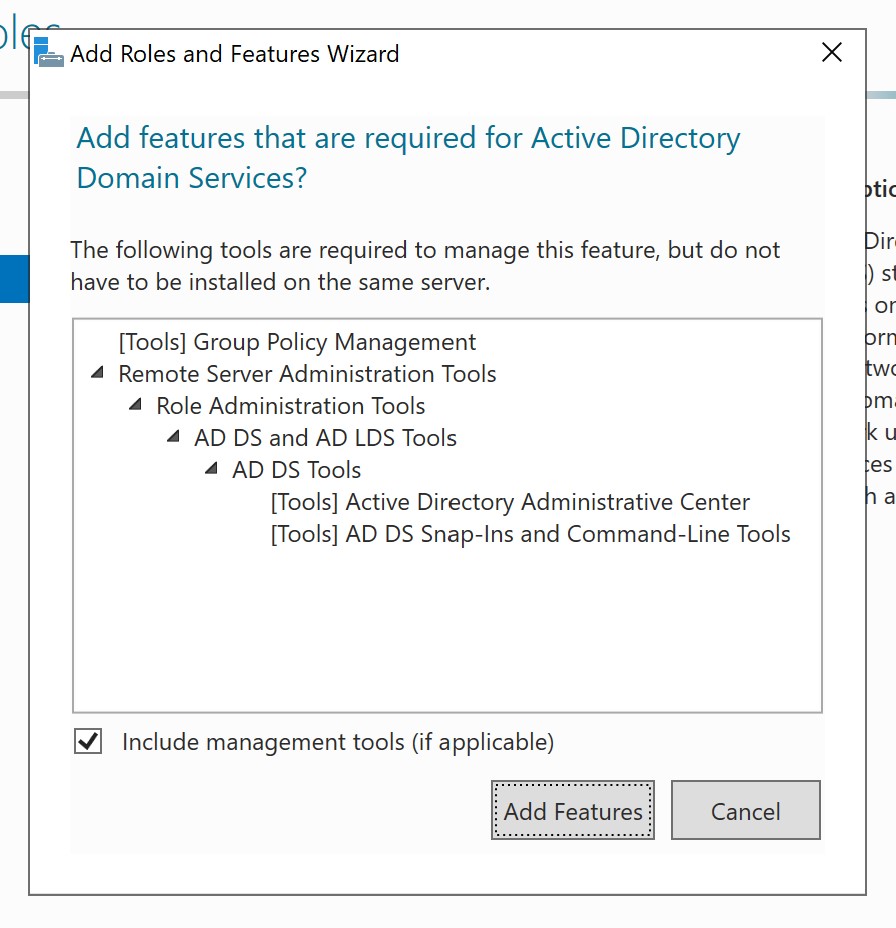
Press the button Add features to confirm installation. And choose features that you want install with server together, on the screenshot indicate minimal features needed to install:
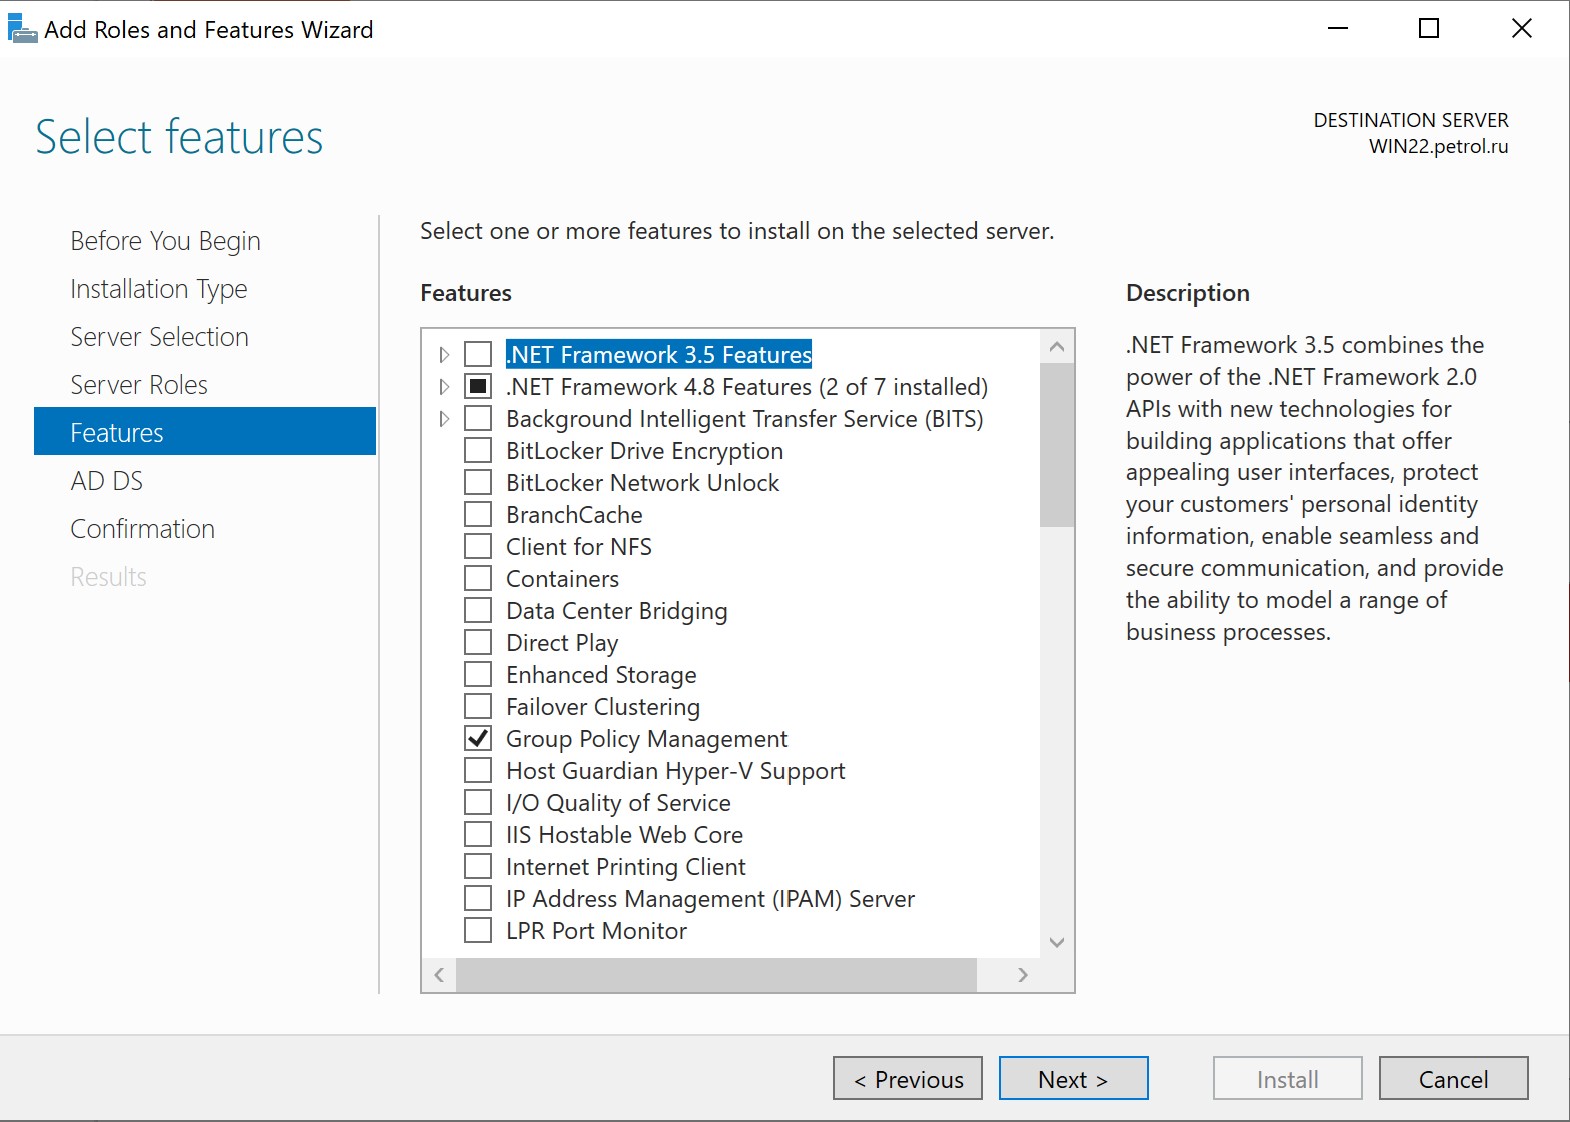
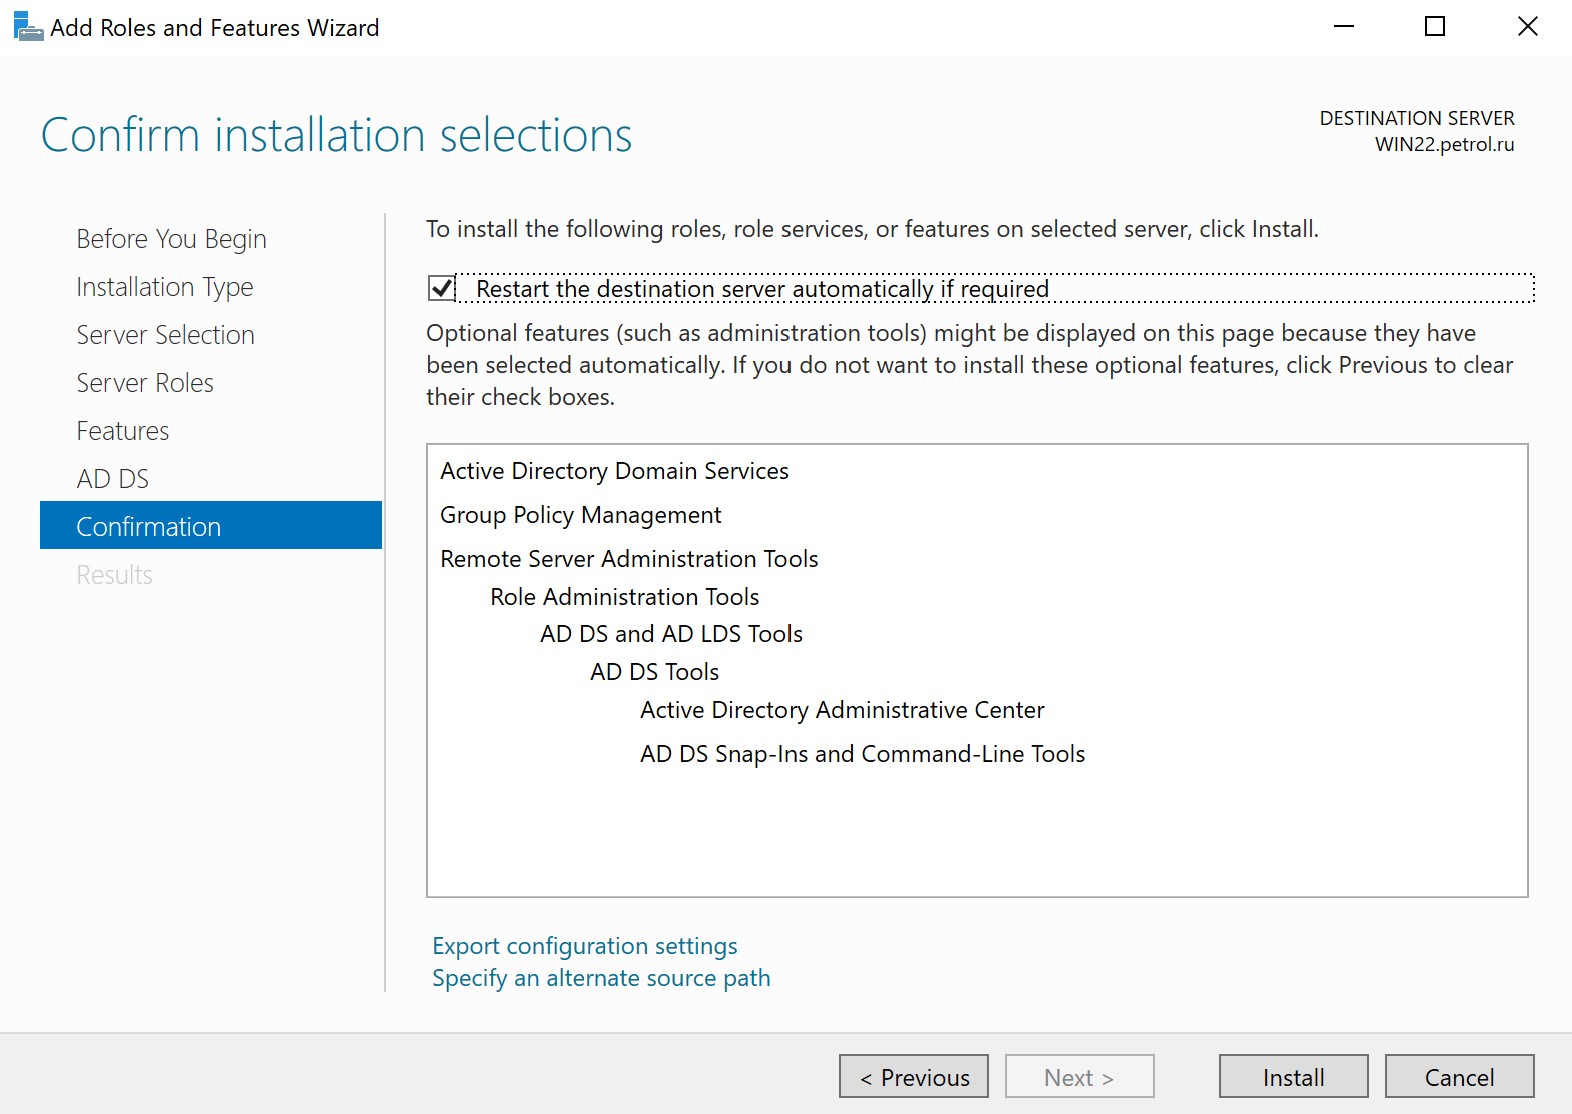
Check component for installation, check the box for the restart server after finished process and press to Install:
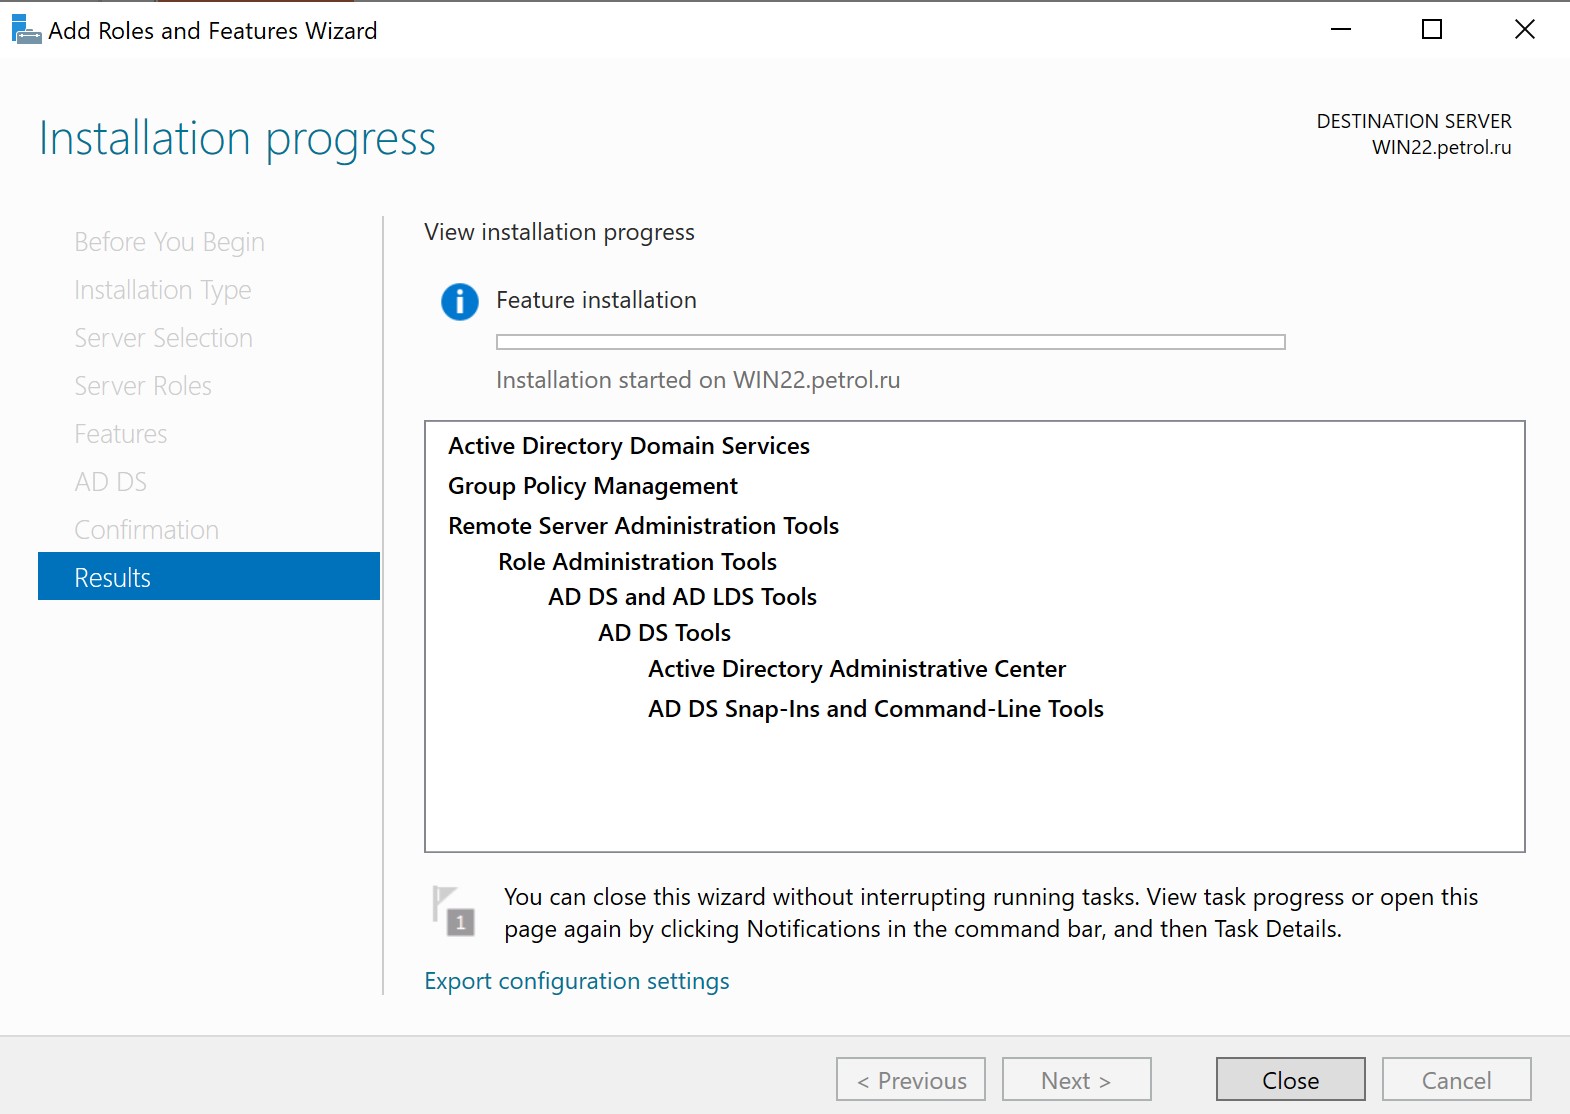
Wait till the end of the installation process and click Close:
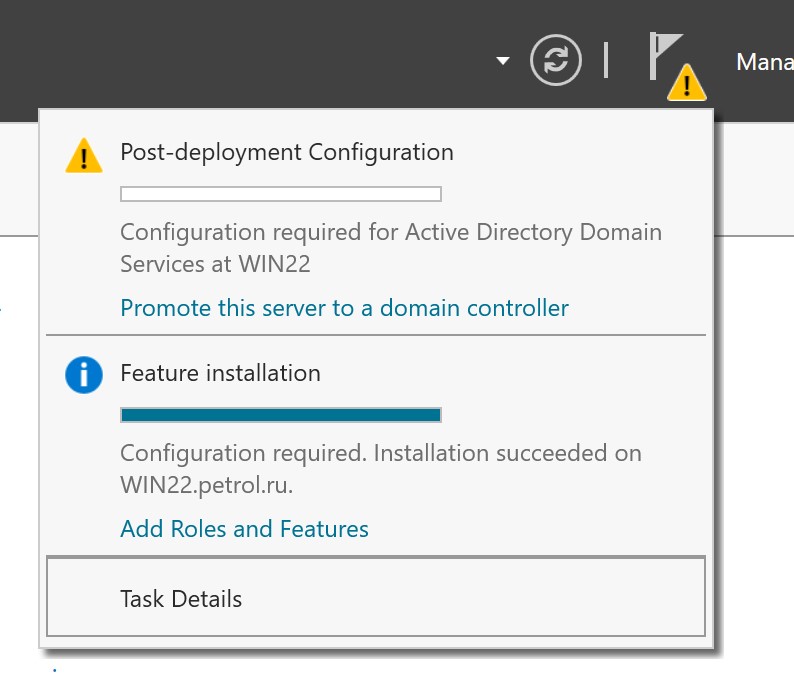
Press on the button flag above on the your screen and click on the Promote this server to a domain controller:
Choose type of activation accordance of your purpose, we make firts installation and choose New Forest:
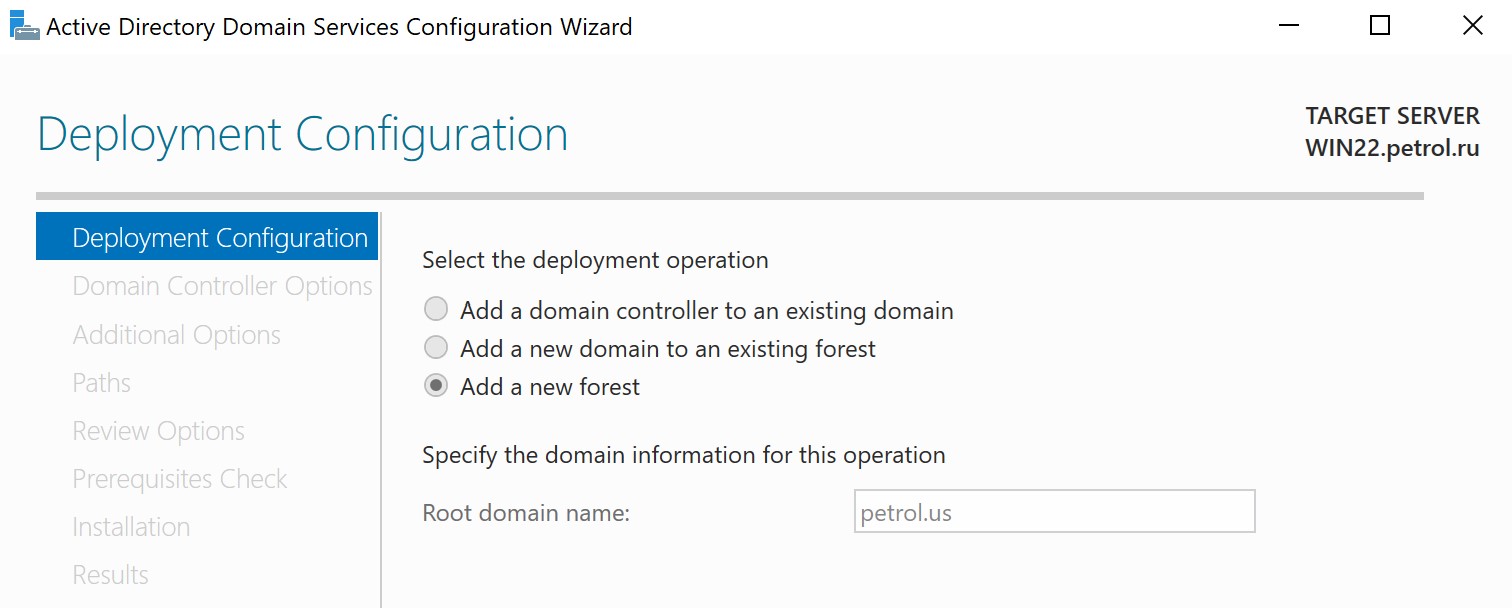
Write new domain name with TLD or for easily understanding in format example.com or example.local, which often use for routed network.
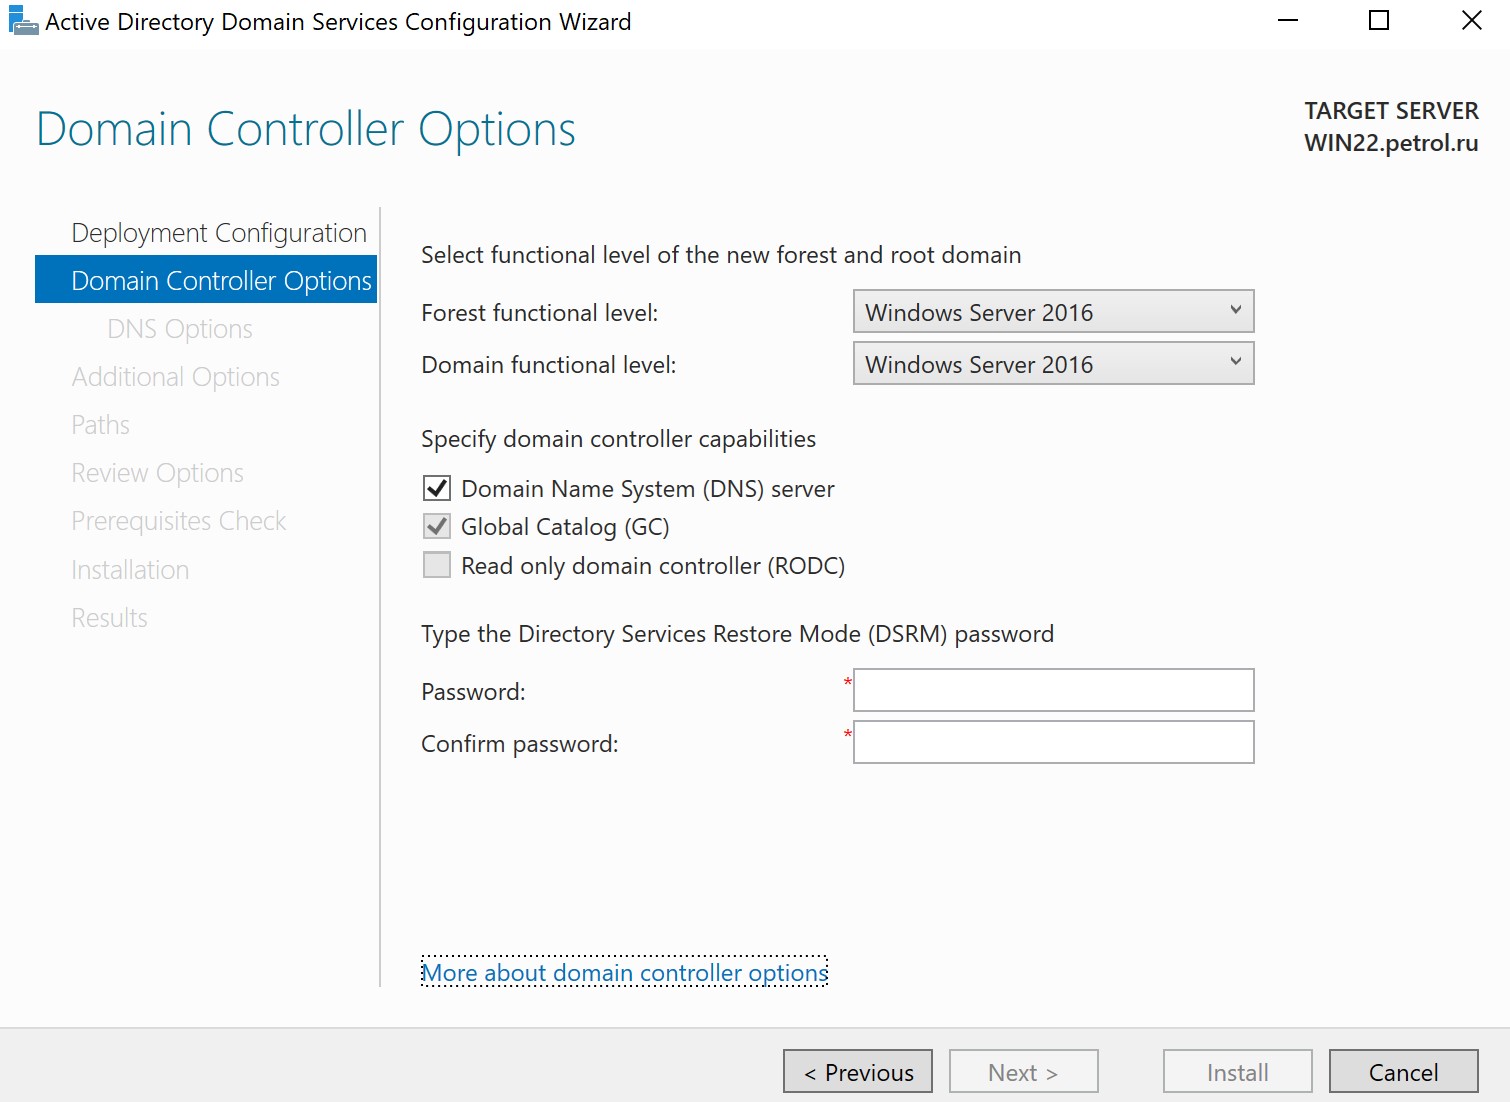
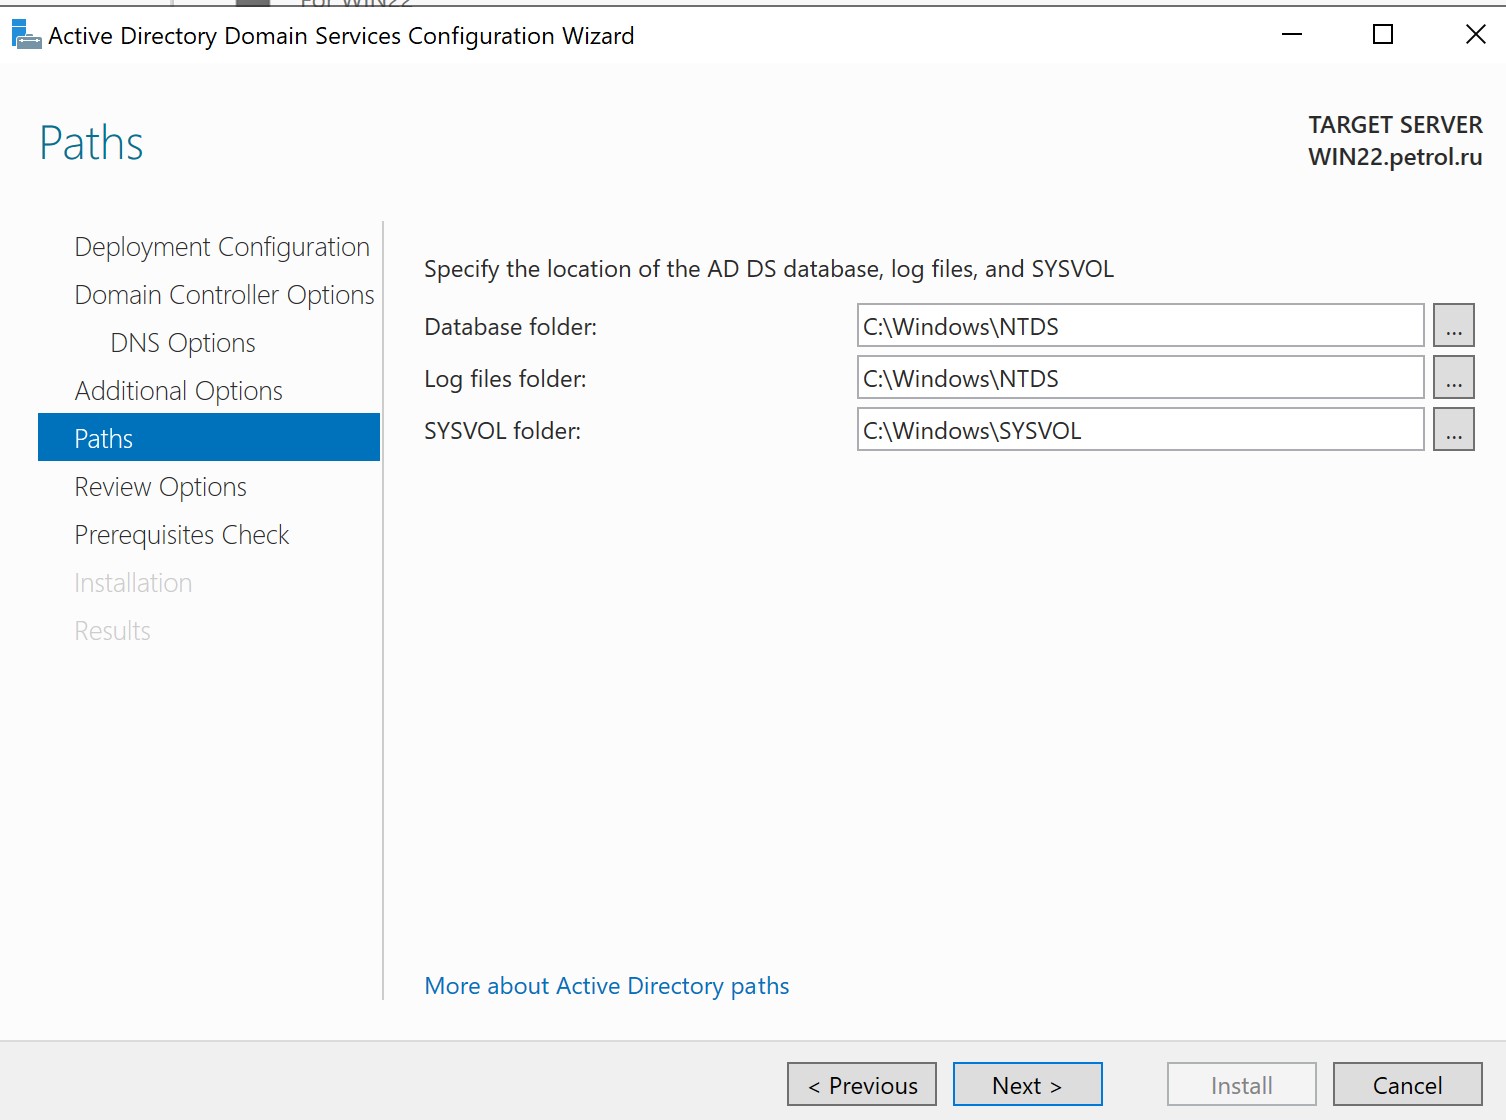
On that step choose functional level of your domain and forest, type password for restore directory. Follow on the step at the left menu and click next on the bottom installation screen. All point up to Paths will fill automatically and don't need to change it. Paths create also automatically, but if want change location logs and another information do it!
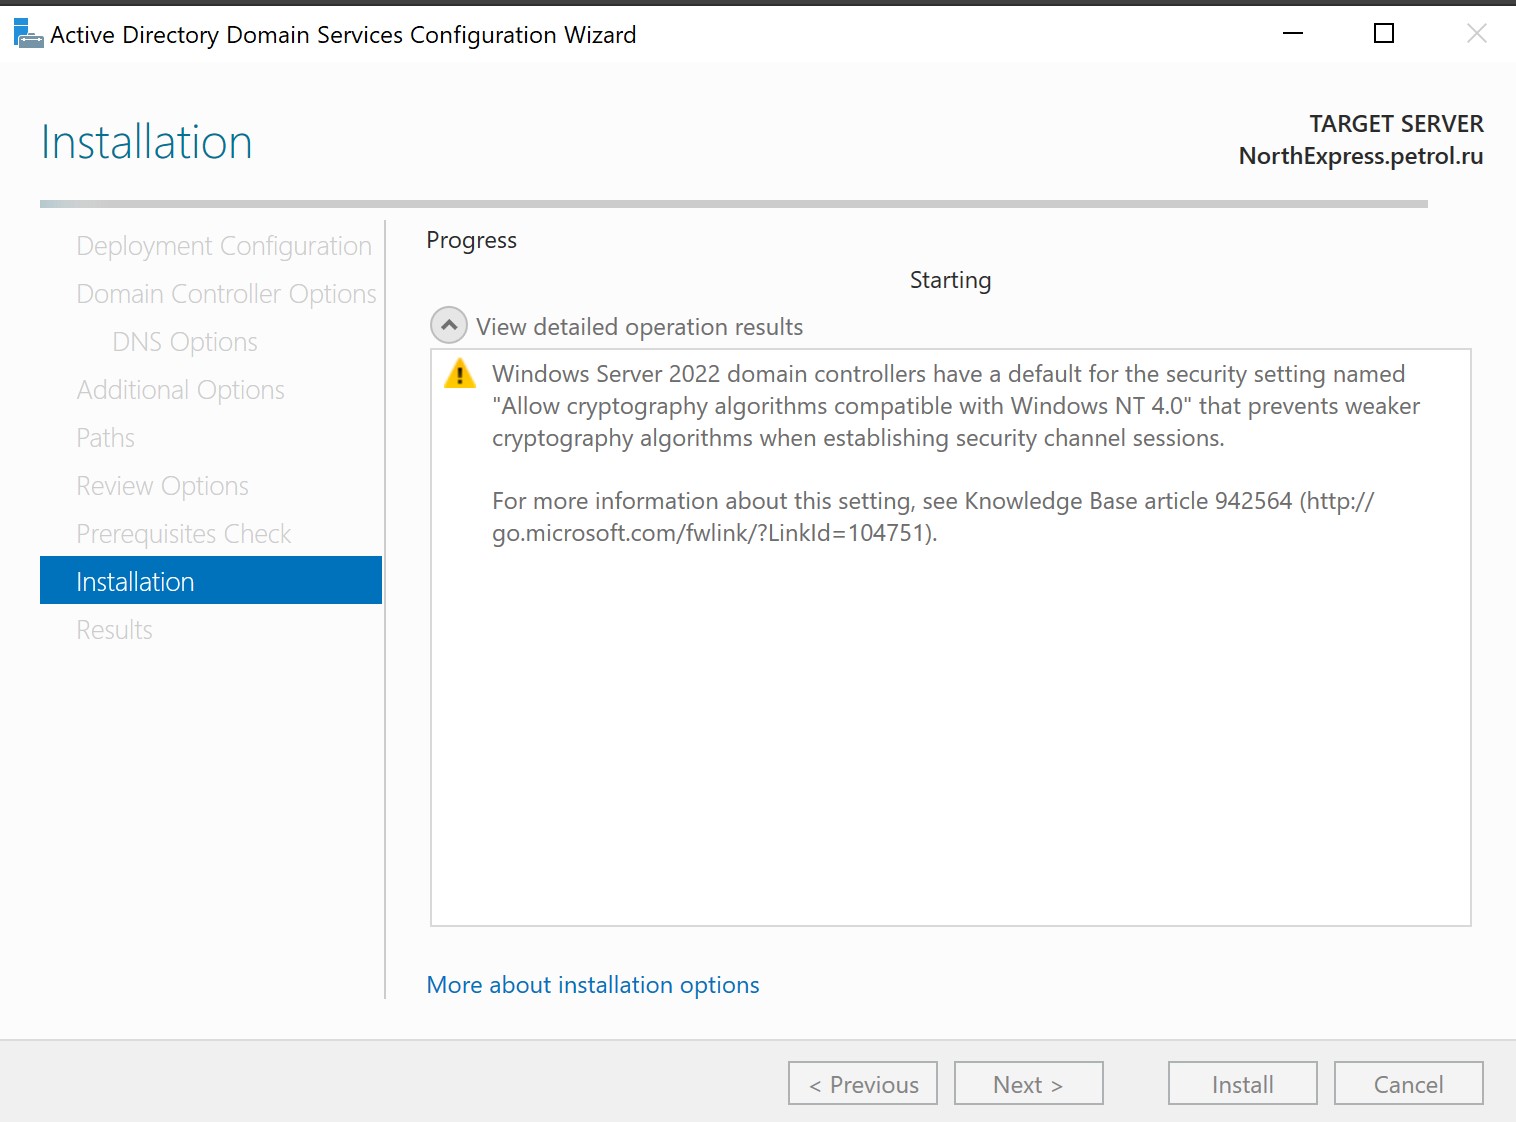
On the Review page check all installing components and conditions of system, if you will see green check with notification, that means system already to installation:
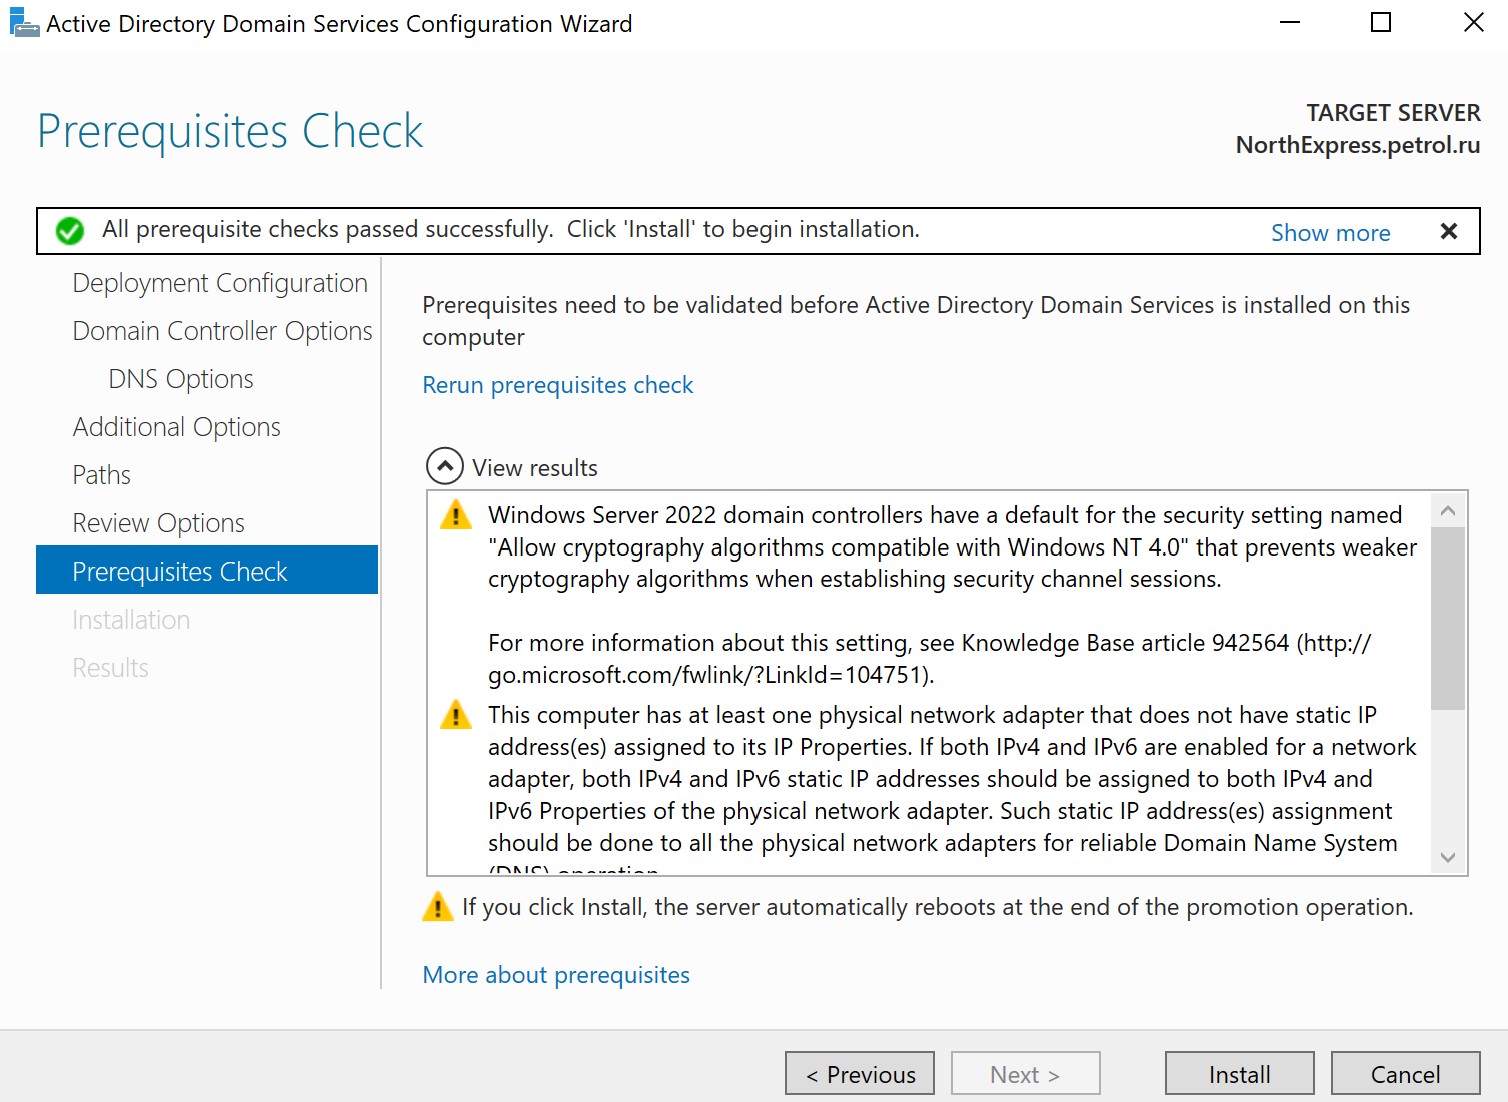
Press the button install and confirm installation process, wait for the finished server will restart:
If you see window of domain controller that means installation went successfully!

Conclusion
Domain networks have simpler model interpretation compared to general-purpose networks. With fewer parameters and a more focused architecture, it becomes easier to interpret and understand the behavior of these networks within the domain. This simplification facilitates the analysis of learned representations and the extraction of meaningful insights from the network's decision-making process.


