How to install and use the Google Authenticator application?
Google Authenticator provides two-factor authentication (2FA). 2FA is an additional level of protection that is used for confirmation of users that are trying to receive an access to online account. At first, the user enters his login and password, then, instead of immediately receiving an access, he must provide additional information, such as:
- additional information (personal identification number (PIN), password, answers to “secret questions” or specific sequence of keystrokes);
- confirmation of ownership (usually, it’s something that user owns, such as credit card, smart phone, or small hardware token);
- biometrical data (this category is a little bit more advanced and might include biometrical finger print, scanning of diaphragm or voice print).
This way, even if you have your password or telephone stolen, it’s not likely that someone else besides you will be able to access your information.
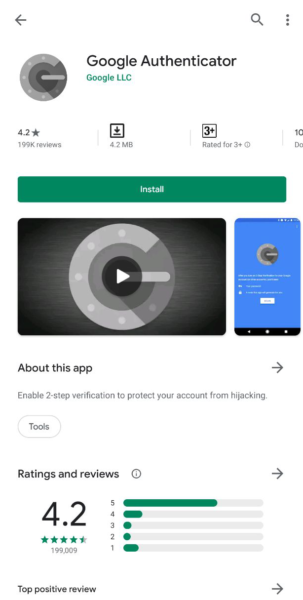
Installation of Google Authenticator on Android

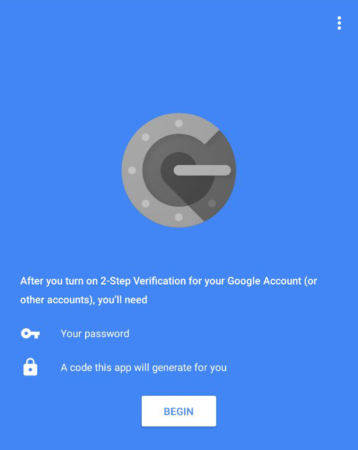
After installation, click on Begin, on the first page:
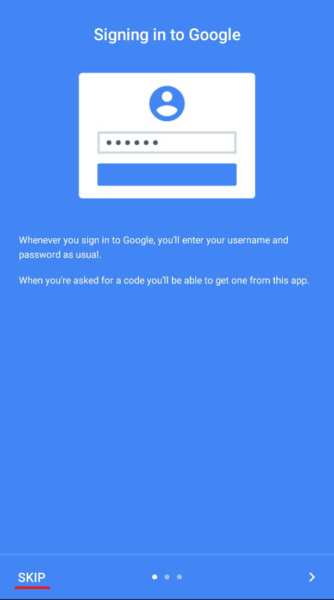
If you wish, you can set up 2FA on your Google account. If you don’t need it, click on the Skip:
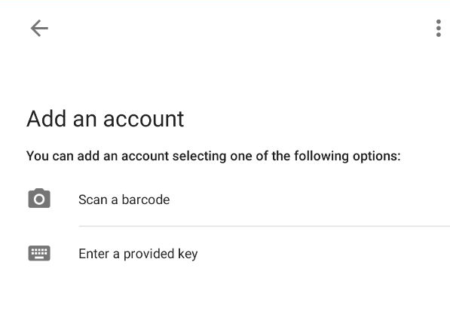
Now you can add the account. There are two ways to do it: scan the barcode or enter the key. The most convenient is scanning. In front of you will open up a camera. In the selected square you must enter the QR-code, which will be recognized automatically and the account will be added immediately:
Installation of Google Authenticator on iOS
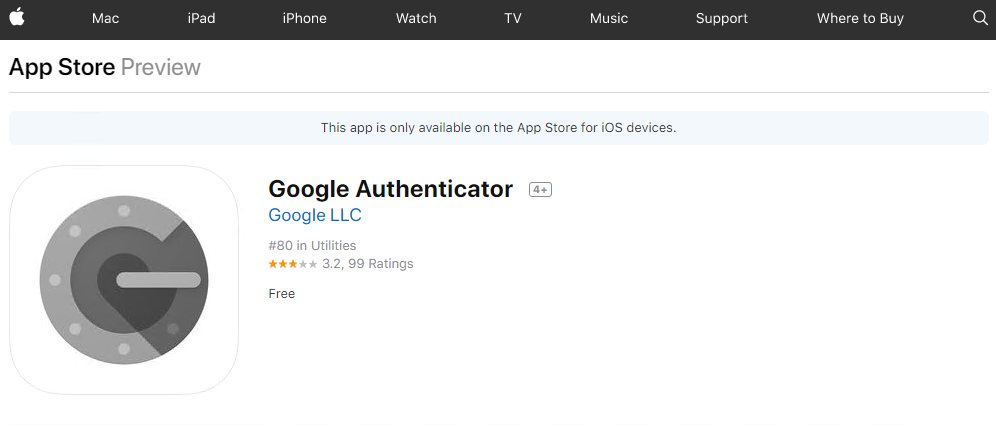
To install the installation on the iOS operational system, you must download it at AppStore:
After installation, open the application and click on the Begin the set up.
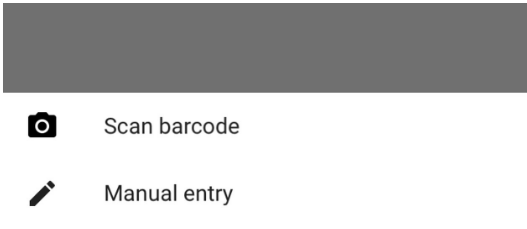
You can start to add the account. There are two ways to do it: scan the barcode and enter the key. The most convenient is scanning. In front of you will open up a camera. In the selected square you must enter the QR-code, which will be recognized automatically and the account will be added immediately:
Installation of Google Authenticator on Windows Phone
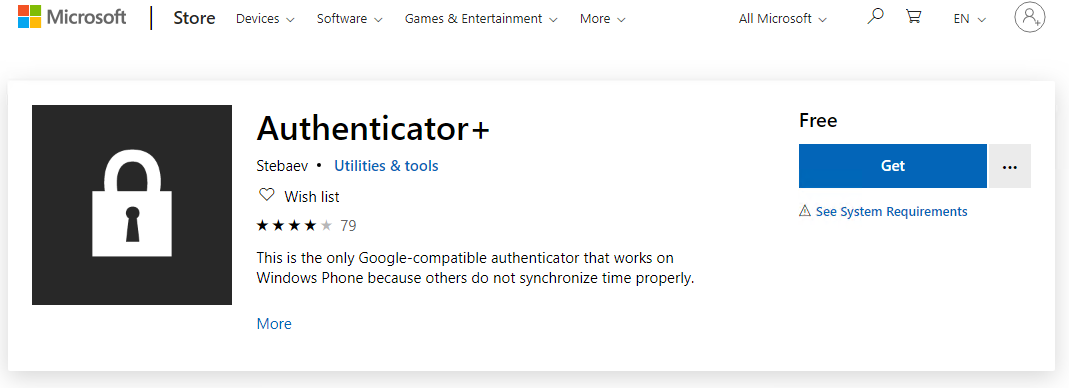
The use of authentication on Windows Phone is only possible due to Google-compatible apps such as Authenticator+. The Microsoft also has its own application called Microsoft Authenticator.
Let’s consider installing the Authenticator+ application. To do that, you must download it from the Microsoft application store:
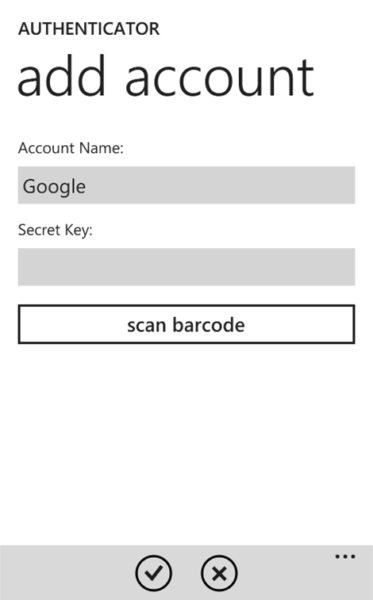
After the installation you can open up the application and start adding the account. There are two ways to do it: scan the barcode and enter the key. The most convenient is scanning. In front of you will open up a camera. In the selected square you must enter the QR-code, which will be recognized automatically and the account will be added immediately:
Installation of Google Authenticator in Google Chrome
The use of authenticator on the computer is possible only due to compatible applications. For example, it’s Authenticator for Windows, Nox App Player and WinAuth emulator, on Linux google-authenticator-libpam is available.
The instruction provides the most convenient method — connection of extension in Chrome web-browser.
To install the extension, open up the Chrome internet store and find the Authenticator application:

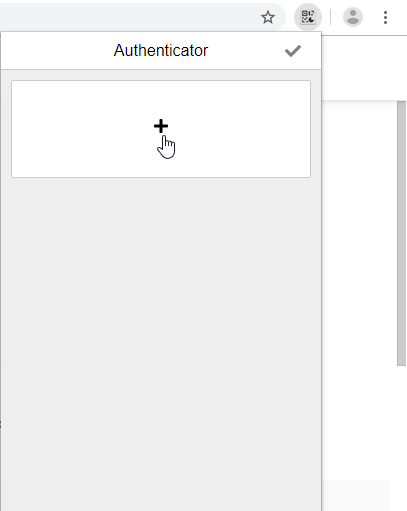
After that, you will be redirected to the developer's page on Github. Extension will show up on your browser in the upper right corner. To add the account press on the Pencil, then press on the Plus:
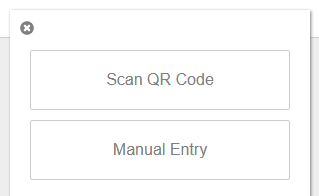
Here, you also have two methods: scan the barcode or enter the key. In the first case it’s necessary to make a screen print of part of the monitor with QR-code. In second case, you must enter the secret key manually:
Use the Google Authenticator application for connection to the control panel
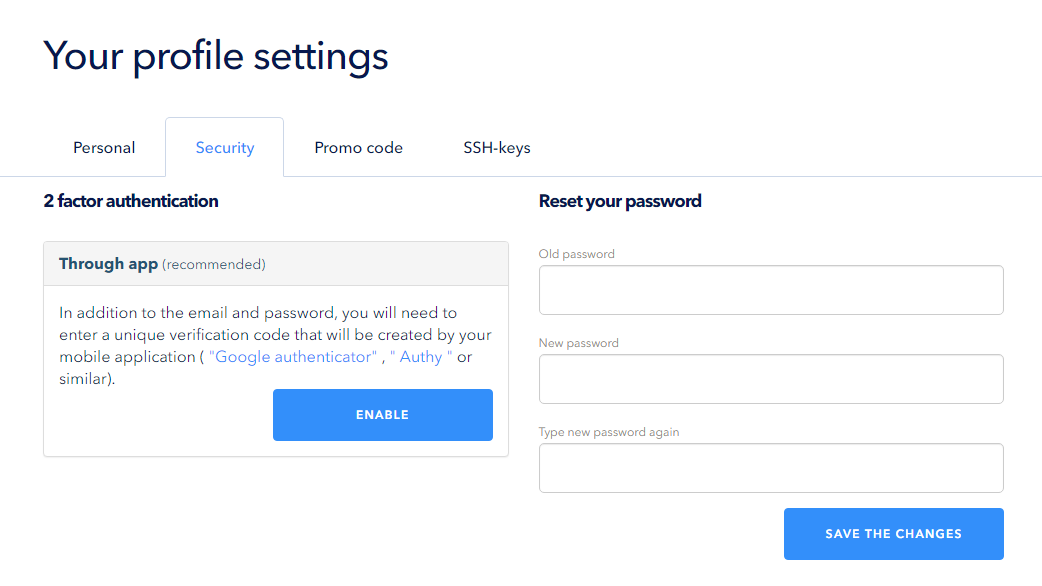
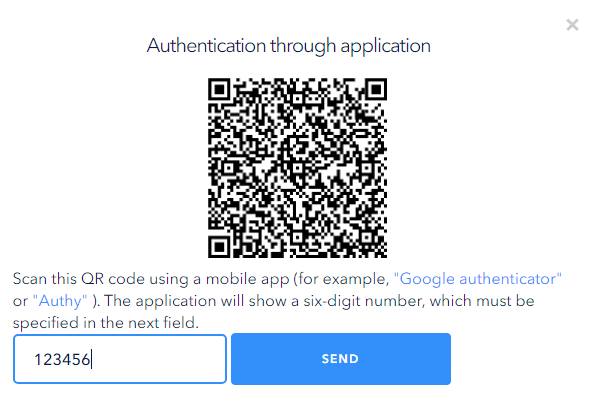
After installing the application on your system, open in the control panel section Profile settings, then Security. On the page, that will open up, choose two-step authentication through the application:
QR-code will open up in front of you. Then, in the Google Authenticator application, choose scanning of the barcode. When the camera opens up, place the barcode in the selected square on the monitor of the application, which will be recognized automatically. In the application, six-digit code will be created, which you must enter:
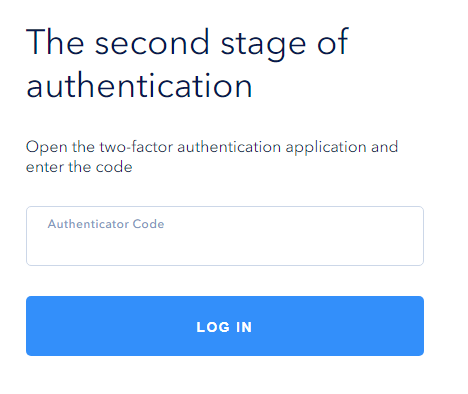
After you enter it, you will see that two-stage authentication is switched on through the application.
Now, to enter the panel control, you must enter the code from the application:
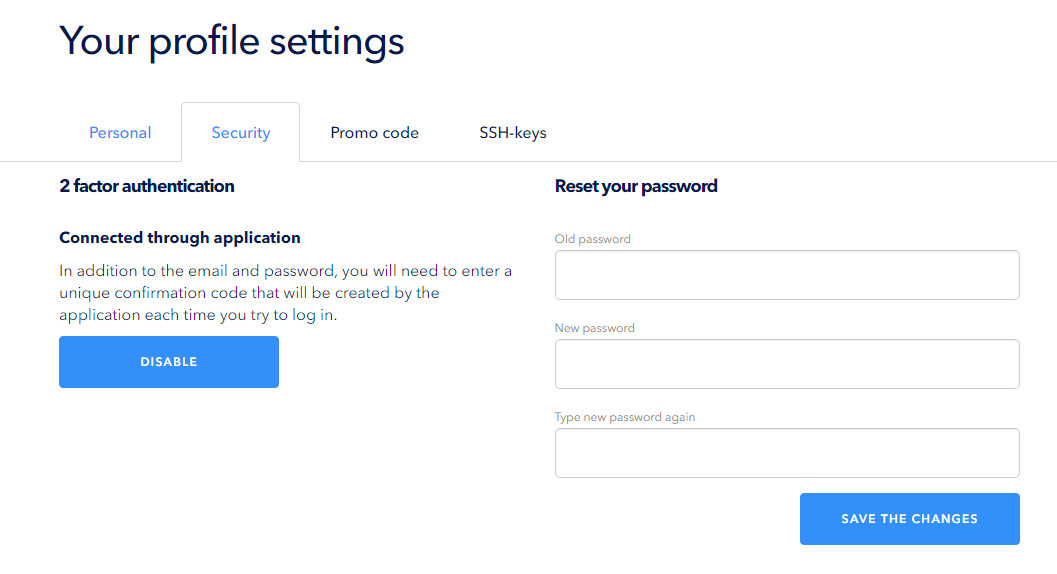
Disabling two-level authentication for the entry to control panel
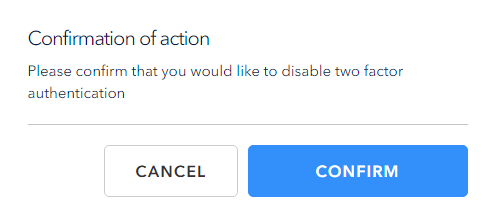
To disable 2-level authentication option in the control panel, go to the Profile Settings then click on the Safety. To disable it, click on Disable:
Confirm your actions: